The E2E Library Wizard helps you to define all components, classes, interfaces, artifacts, and dependencies that are needed to build a complete library diagram. It guides you through all necessary steps and supports you with the customization of all artifacts.The Library Wizard can be started by selecting the menu icon E2E Library Wizard in he menu bar shown below. It is used when starting a new library diagram.

Alternatively, you could select Tools > Library Wizard from the Model Compiler window.
Wanting to edit an existing library diagram use the E2E Edit Library Diagram Wizard that supports you in changing a specific part of the library diagram. It can be started by selecting the appropriate icon from the middle bar of the library diagram.
The following chapters are ordered according the steps needed to create a library component diagram and describe each creation step in detail.
- Assigning the Diagram Name
- Defining the Library Composite
- Defining Classes, Interfaces and Signals
- Defining Backend Aliases
- Finishing the Library Wizard
Assigning the Diagram Name
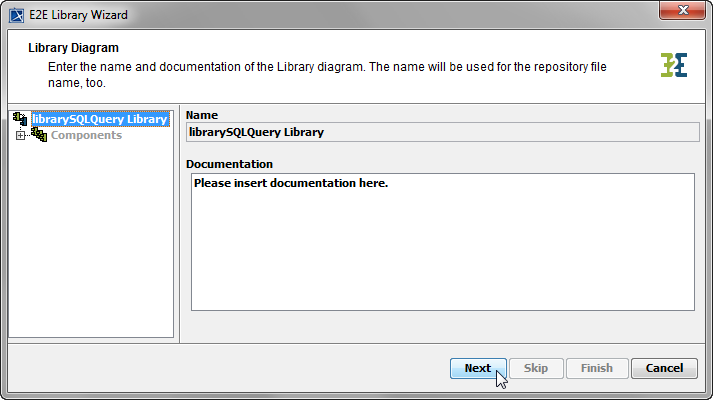
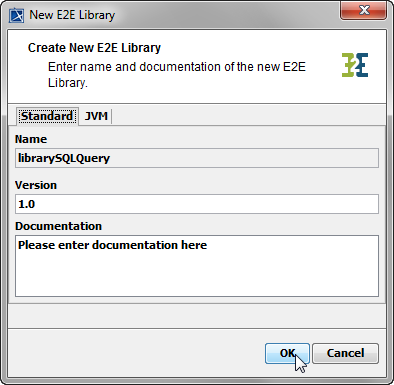
After starting the Library Wizard, the first dialog opens and shows the diagram name.
| The Name field is disabled. This is due to the fact, that the library name is equal to the libraries file name, just without the extension. Enter a meaningful description of the library in field Documentation. Click Next to proceed or Cancel to abort. |
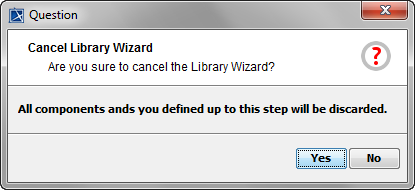
The Library Wizard can be canceled any time.
| After clicking cancel, the Library Wizard prompts for confirmation. |
Defining the Library Composite
In the next step, you will define both the library composite. The composite represents the repository of the library and will contain all necessary configuration information.
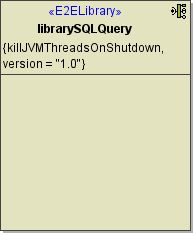
Clicking Next after assigning the diagram name will bring you directly to the following dialog. Create the library composite here.
The library component contains the tagged value version. It will be initialized with value 1.0 and can be used to distinct different versions of the library.
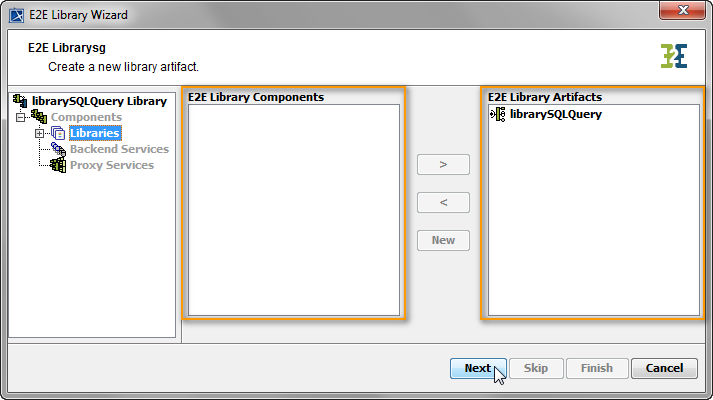
In the following dialog, you will create the library artifact. The Library Wizard will create the corresponding component automatically.
| The Name field is disabled. This is due to the fact, that the library name is equal to the libraries file name, just without the extension. Click OK to proceed. |
 | In other cases, e.g. if you want to add additional composites, you can open the above dialog by clicking New on Composites level of the tree. |
The Create New Composite dialog contains one more tab.
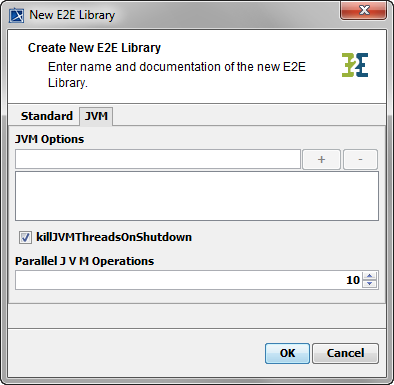 | Using Java services in the composite service, you can specify the JVM options here.
For more information on Java Components refer to Modeling the Java Components. |
Up to this point, you have defined the library component librarySQLQuery.
| In the customization panel, you will find the library artifact on the right side of the customization panel. Click Next to proceed. |
Defining Classes, Interfaces and Signals
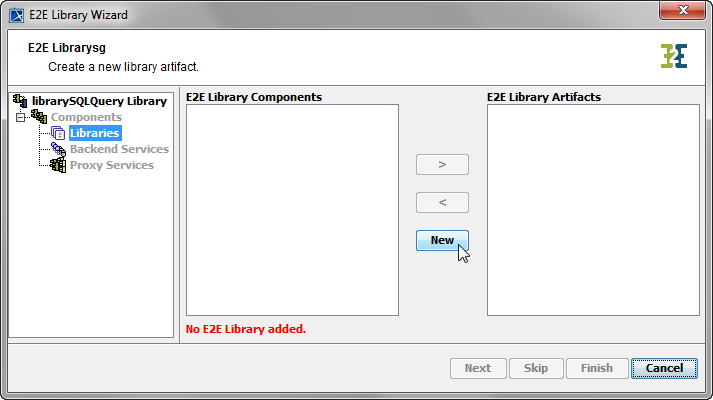
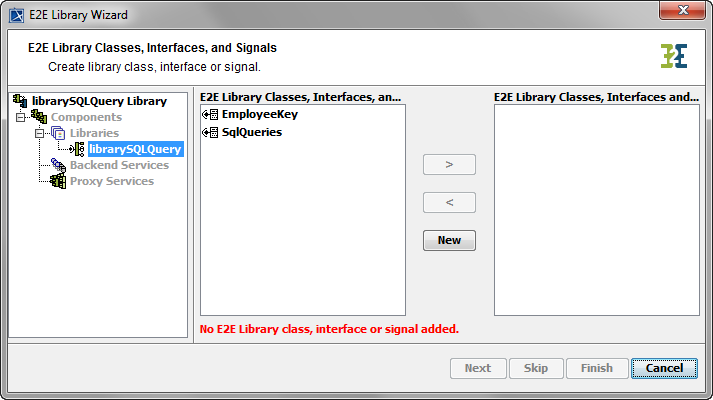
In the next step, you will add the interface of the library.
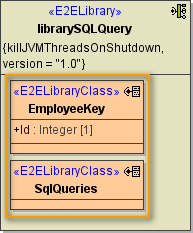
| The Library Wizard complains that definitions of classes, an interface or signal are missing. All buttons besides the New and the Cancel buttons are disabled. |
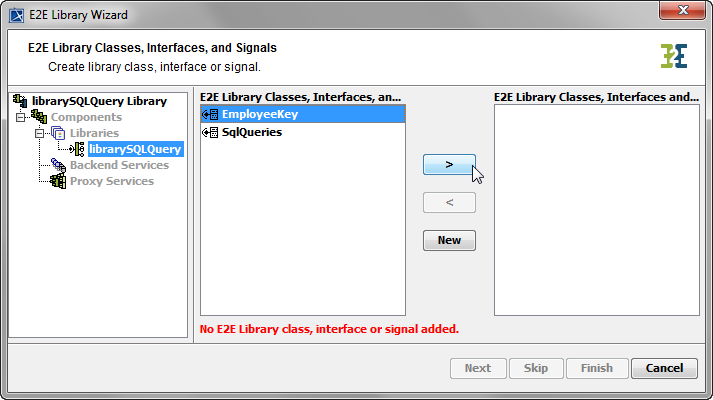
| Select the elements you want to be part of the library and click > . Additionally, by clicking the New button you may add a JVM (Java Virtual Machine) component and artifact if needed. For more information on this refer to section Defining the Frontend Service which is part of the description of the Components Wizard. Click Next to proceed. |
Defining Backend Aliases
Furthermore, the Library Wizard can be used to define backend access as already described for the Components Wizard. For more information on defining backends refer to Defining Backend Aliases of the description of the Components Wizard.
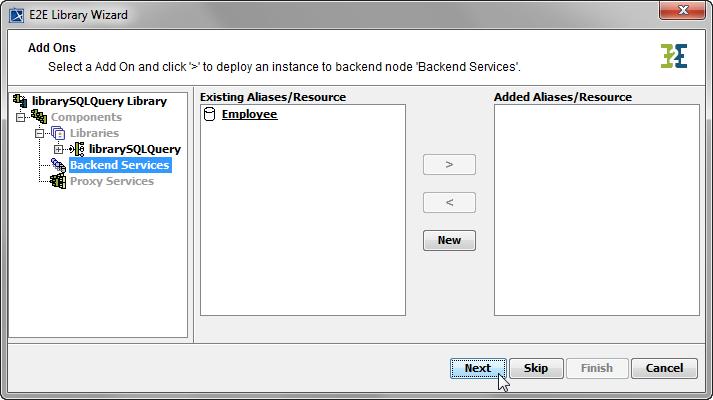
Click Next to proceed.
Finishing the Library Wizard
As a final step, you need to confirm to draw the component diagram. If the definitions are not complete yet, you may select an element node in the tree panel and add further UML elements to the diagram.
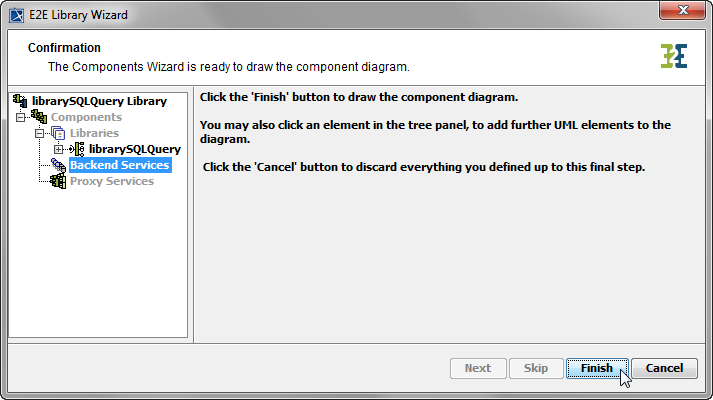 | The Library Wizard generates the library component diagram. If no errors occurred, it is necessary to save the model. On saving, the deployment data of the E2E Model Compiler gets refreshed and you can proceed with e.g. compiling the model. |
On this Page:
Overview
Content Tools