The following screenshots were taken from a Microsoft Windows platform using MagicDraw version 18. The Builder is embedded in MagicDraw and cannot be run stand-alone.
Starting BUILDER for MagicDraw the Very First Time
To open a Builder project, you will need MagicDraw with Builder for MagicDraw. These two products are perfectly tuned and synchronized to work together.
| After the Builder has been installed, you can open MagicDraw by using the shortcut on the desktop. |
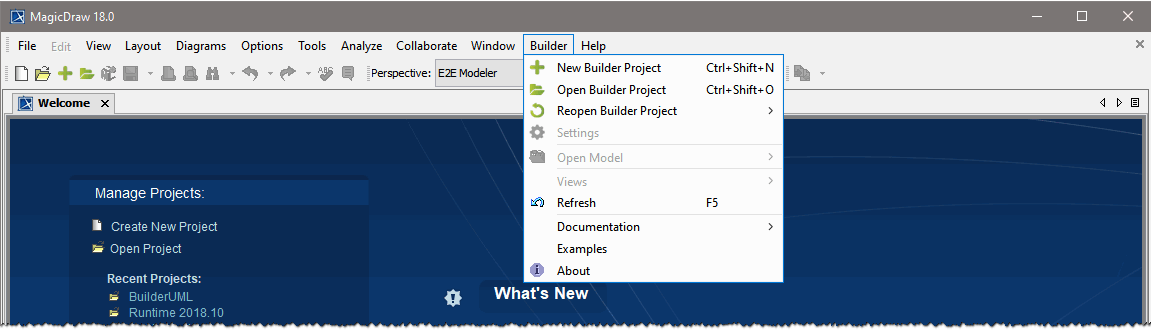
The MagicDraw window will open as shown in the picture below.

From this point, you can use MagicDraw with the Builder without any restrictions. The Builder plugs itself into the MagicDraw menu bar like show below.
To make first steps with Builder, follow the instructions below.
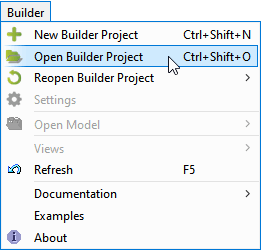
| Click the menu item Builder > Open Builder Project. |

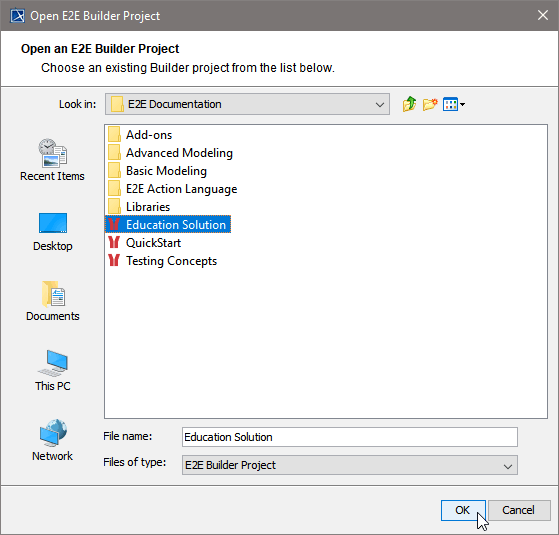
If you have chosen the default settings while installing the Builder, you will find the Builder project Education in C:\E2E Documentation. Builder projects are directories marked with an ![]() icon.
icon.
| In the same folder, you will also find further examples. To open the Education project select it and click OK. |
Applying the Bridge Developer's Perspective
MagicDraw knows the concept of perspectives to satisfy the needs of different software development process roles.
Perspectives allow:
- The selection of a predefined MagicDraw configuration and features according to your software development process role.
- Customizing a set of predefined features and configuration based on user needs.
- Finding features faster, because there are less of them.
We created a specific perspective to serve the needs of Bridge developers. MagicDraw features are reduced to the ones needed for service modeling.
From the Options menu, choose Perspectives > Perspectives. Select the E2E Modeler perspective from the dialog and click Apply.
On this Page:
Overview
Content Tools