Private APIs are only accessible for known consumers, called clients. Each client can consume multiple APIs within API Management. The relation between client and API is defined via a contract and a plan. Every client has an individual key to access the API.
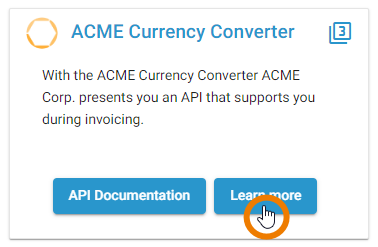
| If you want to consume a Private API, you must first register for it. |
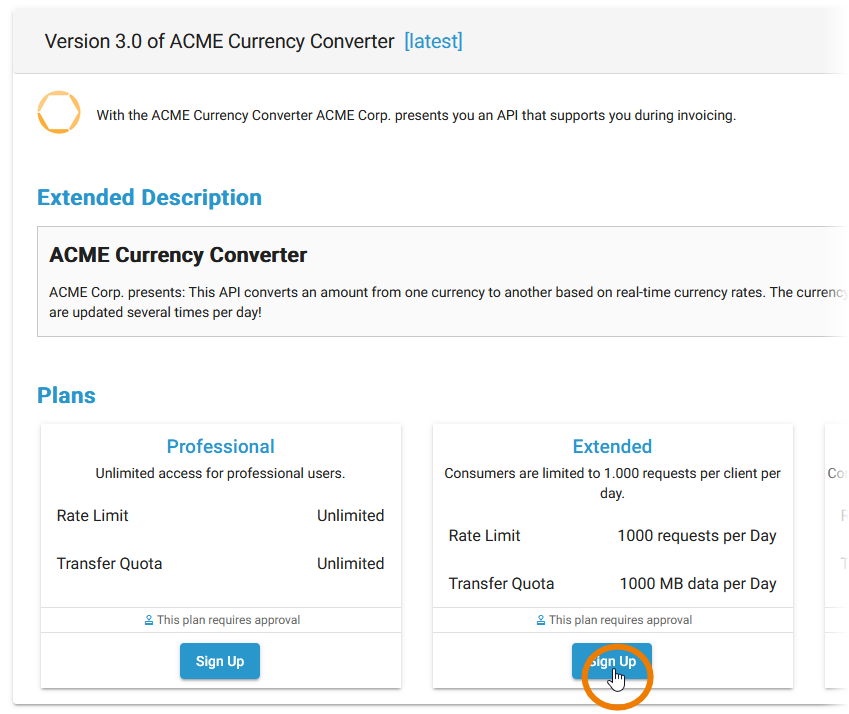
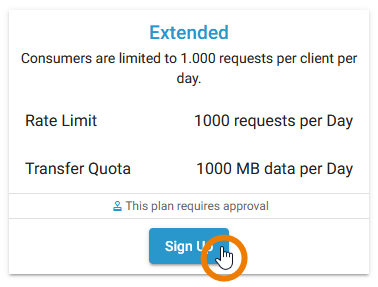
| In section Plans you will find all available plans for the API and the information if approval is required for a plan. Click the Sign Up button on the plan you want to register for. Users must have a valid account to consume the APIs. The API Developer Portal offers a user self registration feature that allows customers to request for an account. Ask your Scheer PAS administrator if you want to enable the user self registration. Refer to Register as New User for a detailed description how your customers can use the user self registration. |
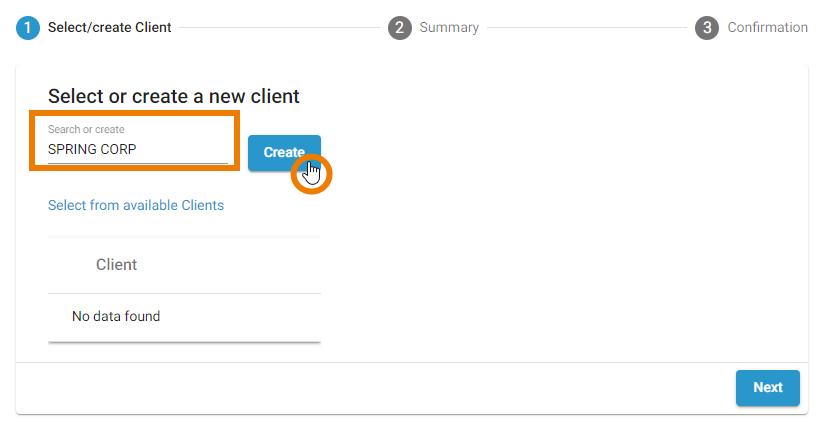
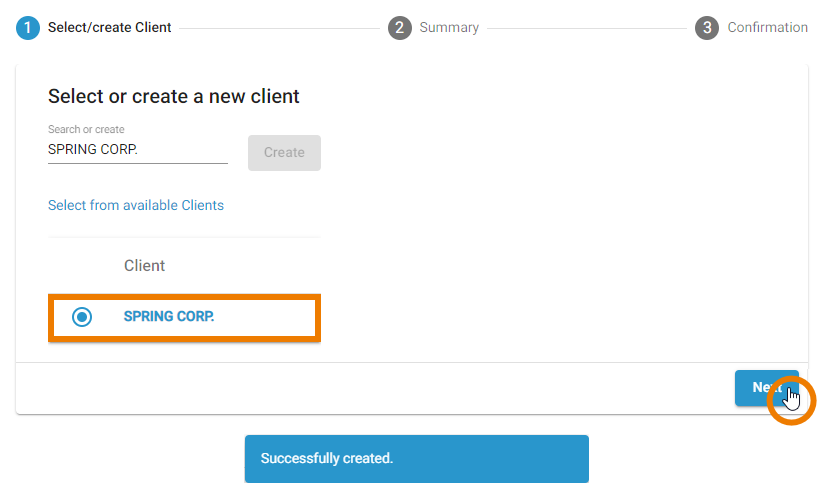
| Now follow the wizard through some simple steps:
|
|
|
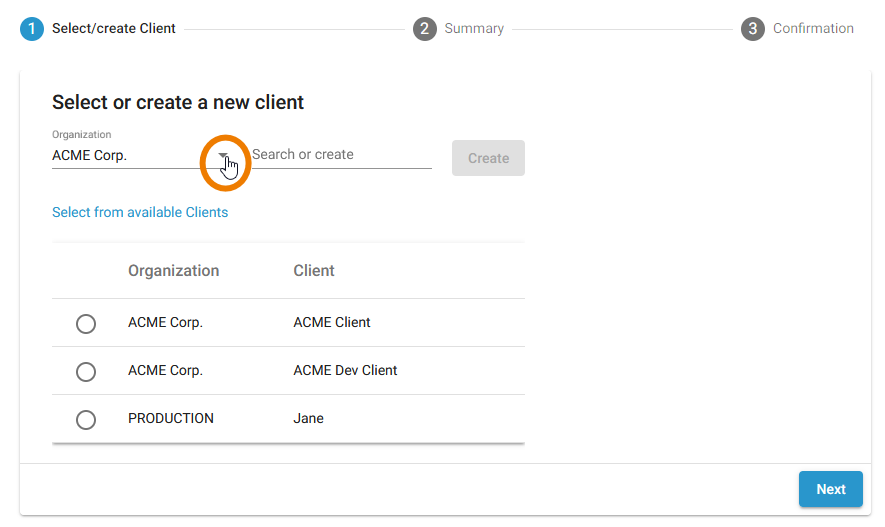
| If your user has permission to use or create clients in various organizations, a different view will be displayed: A drop-down list Organization will appear.
If clients are already available for the chosen organization:
|
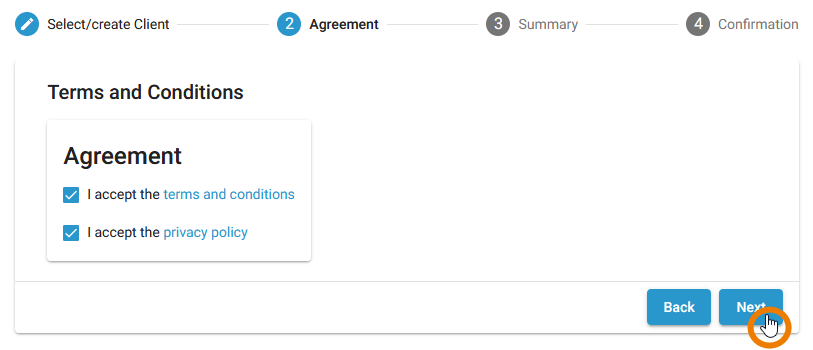
| Terms and Conditions It is possible to enable the additional step Terms and Conditions where you can link to your terms and conditions and enforce users to accept them before they can register for your APIs. If you want to enable this option on your system, please contact our Scheer PAS support team. |
|
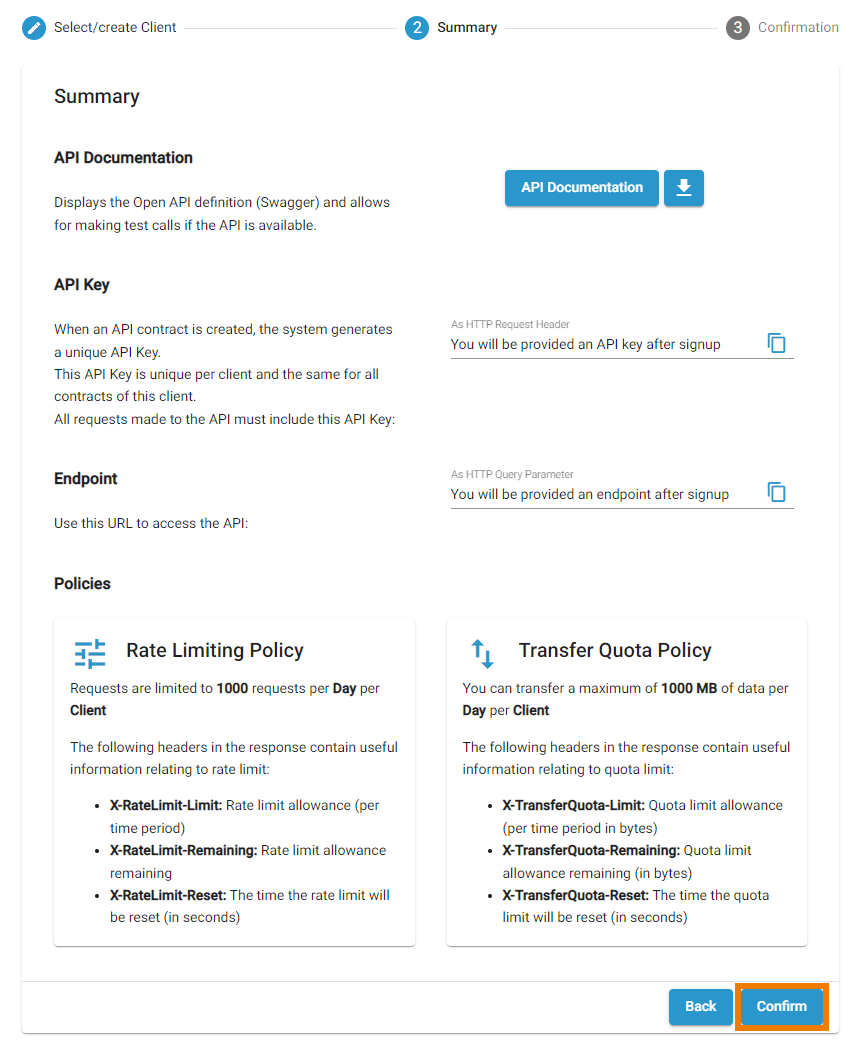
API Key and Endpoint will be provided to you after your request is approved. |
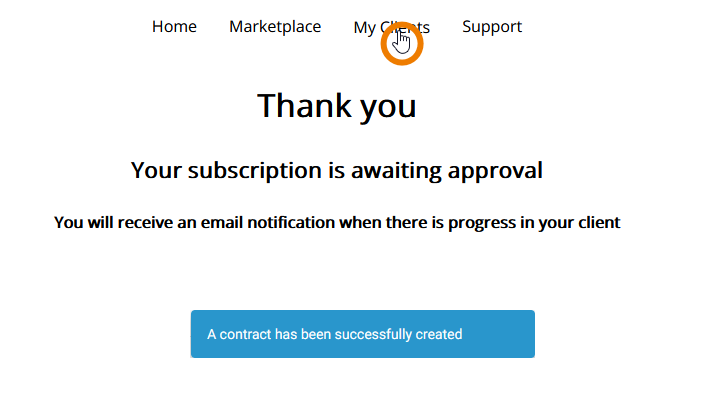
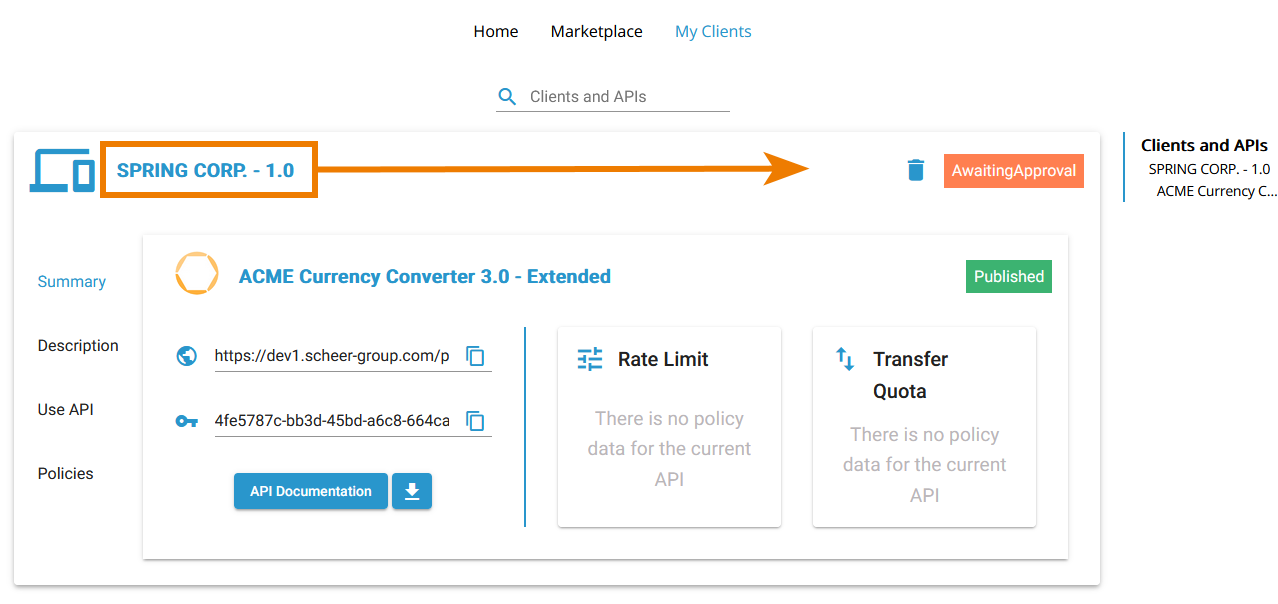
| A success message is displayed in the Developer Portal. If approval is required for the API you subscribed to, you now have to wait for the approval. If you want to check your newly created client, switch to the My Clients tab. Go to Using "My Clients" for detailed information. |
| Your new client is displayed and labeled as AwaitingApproval. |
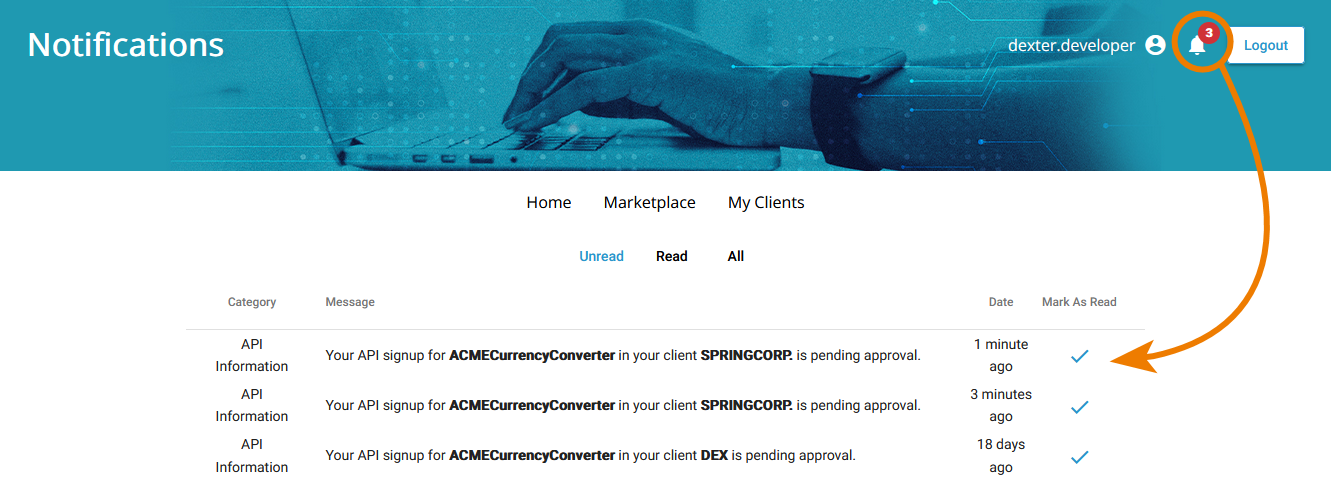
| As soon as an administrator approved your request, you will get a notification. Now you can start using the API. |
Register as New User
The user self registration is an optional feature, which is disabled by default. See Customizing PAS for further information.
| Users must have a valid account to consume the APIs. When a user presses the Sign Up button of a plan, the system checks if the user is already logged in. |
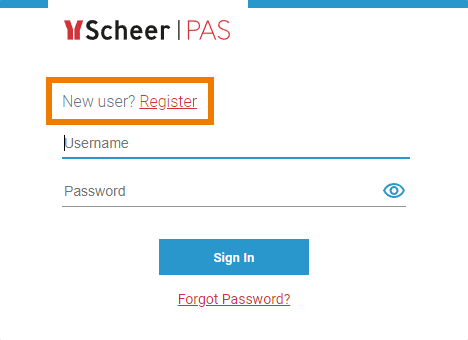
| If a user is not logged in, he is forwarded to the login page. He is now able to login if he already has valid login credentials. Or he can use the Register link to request for an account. |
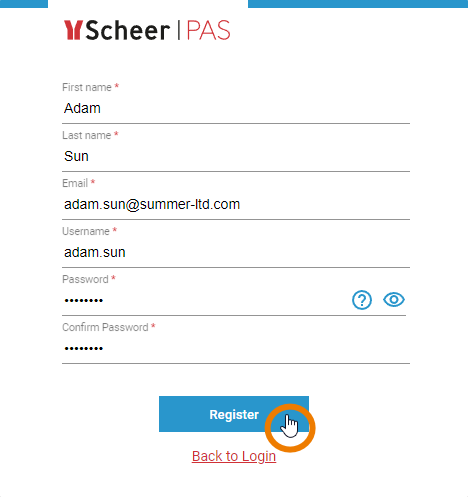
| Clicking on the link will open a new window where the user can enter his account details. To send his request, the user must confirm his entries with the Register button. |
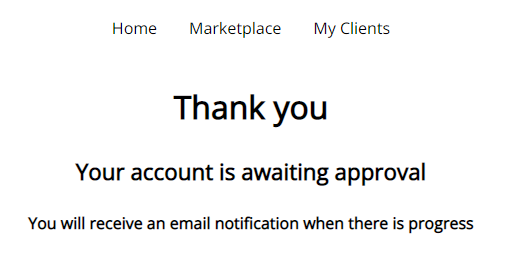
| The user is forwarded to the API Developer Portal, where a message informs him that his account is waiting for approval. API Management administrators will receive an email notification that a new user request has been made. An administrator must now approve the request. After approval, the user will also be notified by email. He can then login and continue with the sign up process. |
On this Page:
Related Pages:
Related Documentation:
Overview
Content Tools