
First, you will update the use case diagrams to consider the new functionality of the Web service.
Linking a Use Case to a Use Case Diagram
You already drew a more detailed use case diagram for the first use case Define Title in lesson 1. Now, you will link the use case Define Title to this use case diagram Define a Title. This facilitates navigating through the model and makes complex models easier to understand.
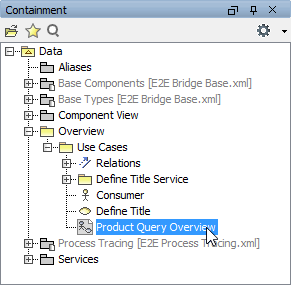
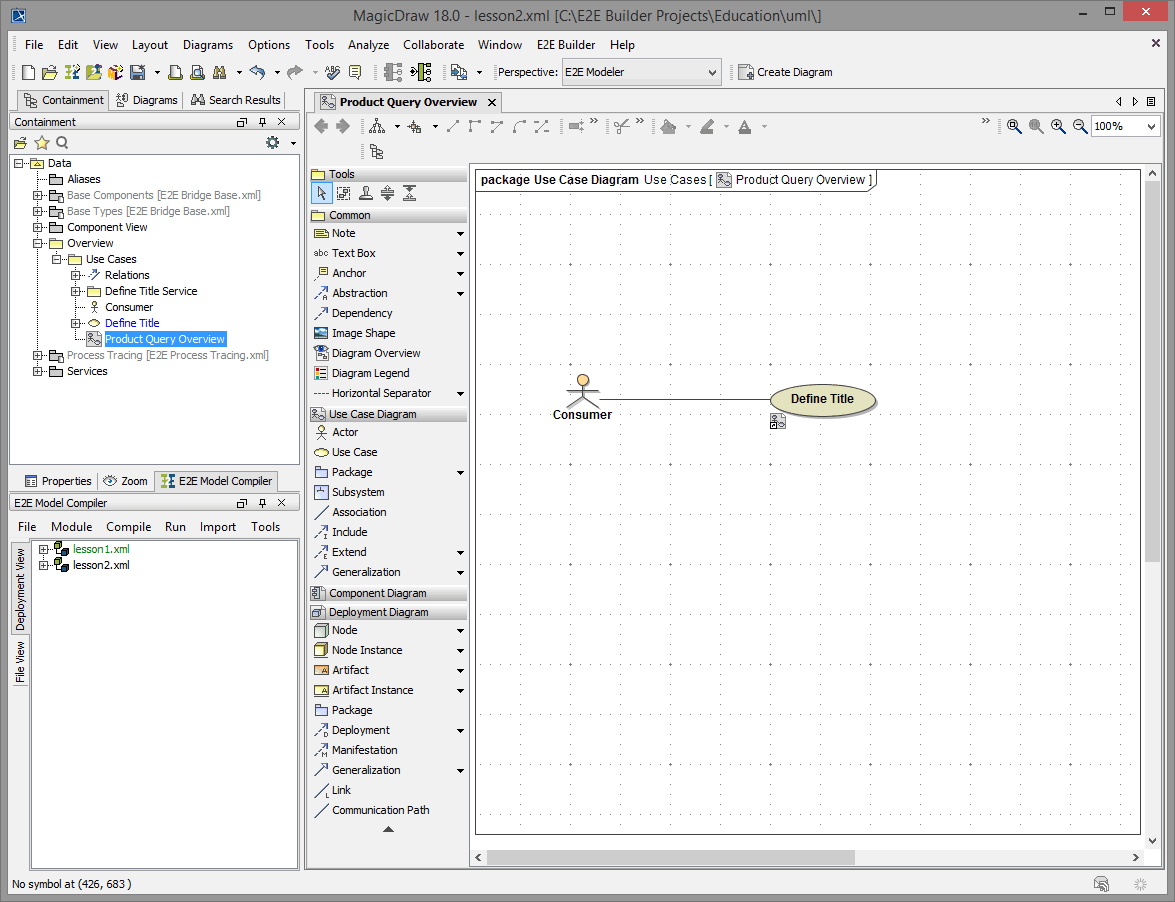
| In the containment tree, navigate to the use case diagram Product Query Overview in the package Data / Overview / Use Cases, and double-click it to open it. |
Right-click the tab of Product Query Overview and select Close All Tabs But Current. This will close all open diagrams except the use case diagram Product Query Overview.
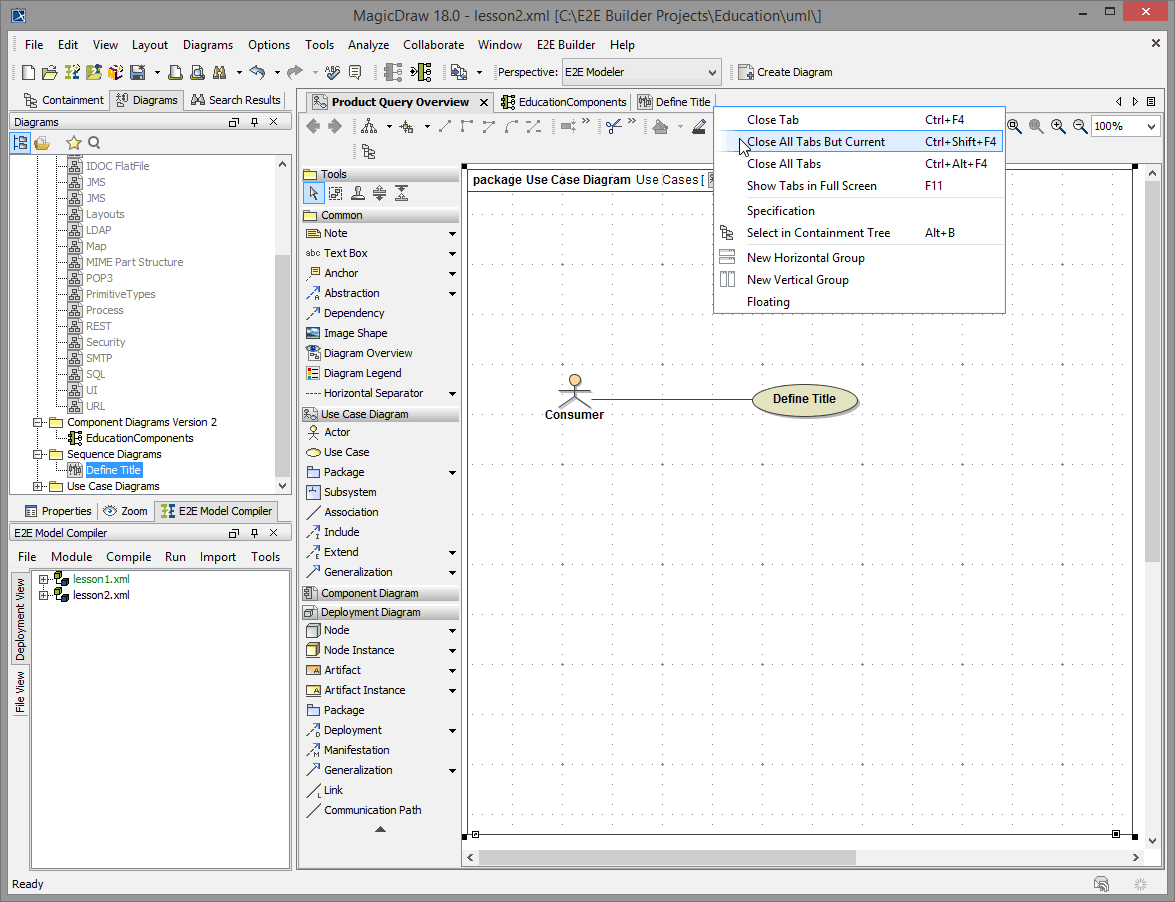
Select the use case Define Title with the right mouse button and choose Specification from the context menu as shown below.

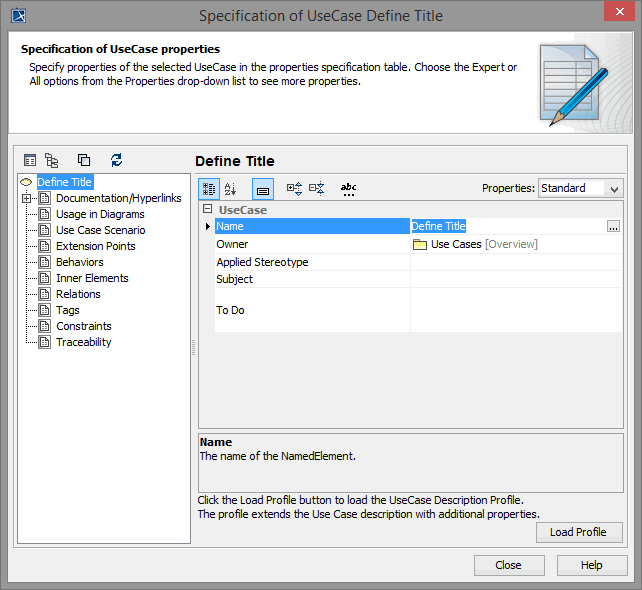
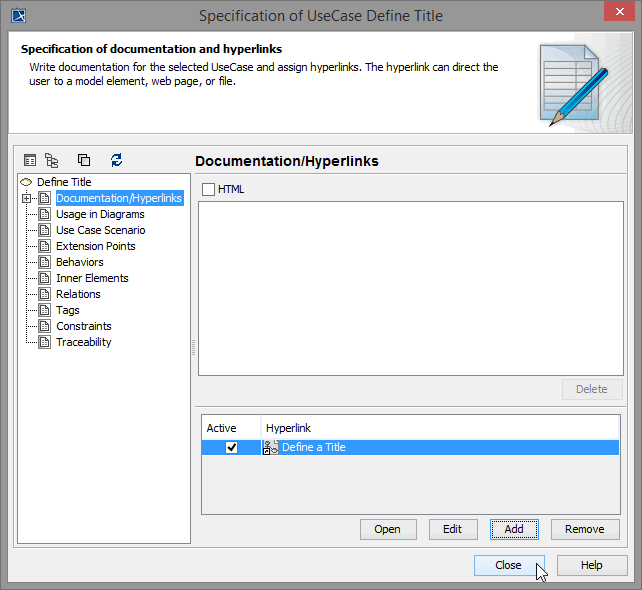
| The UseCase Specification dialog opens. Select the entry Documentation / Hyperlinks in the left panel. |
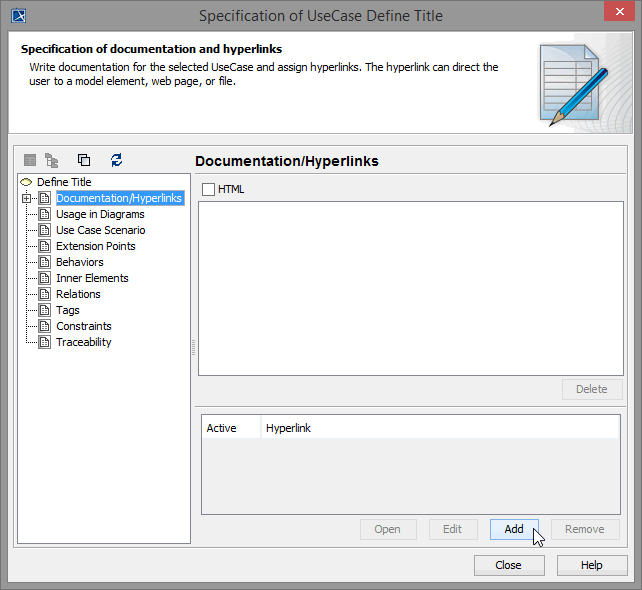
| Click Add to insert a hyperlink. |
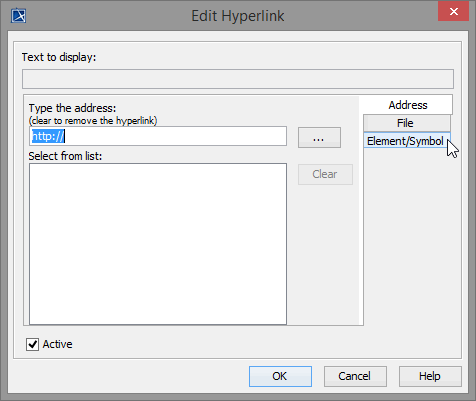
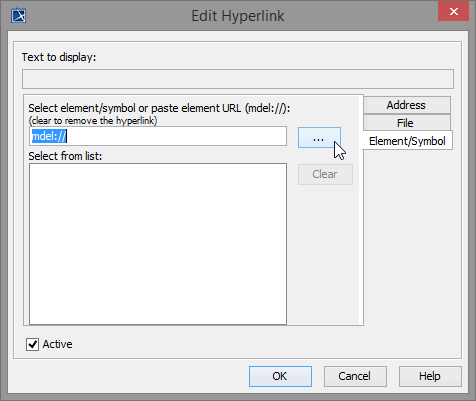
| Change to the tab Element/Symbol to select a UML diagram. |
| To choose a diagram of your UML model, click the button .... |
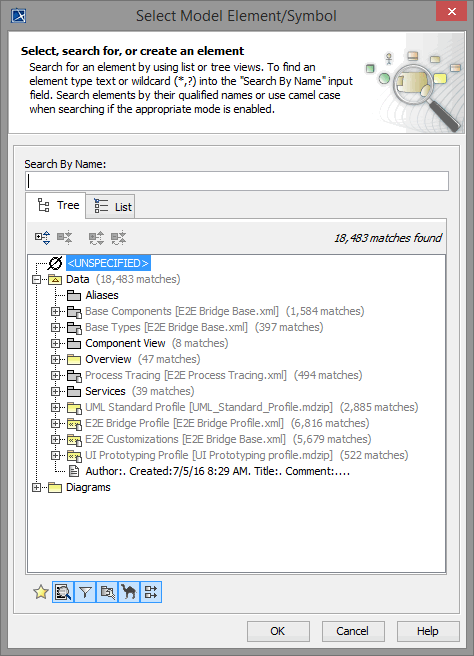
| The containment tree with a collection of UML models is listed. |
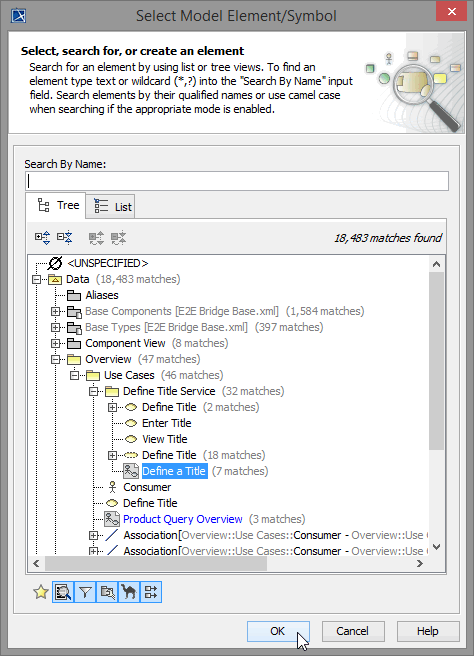
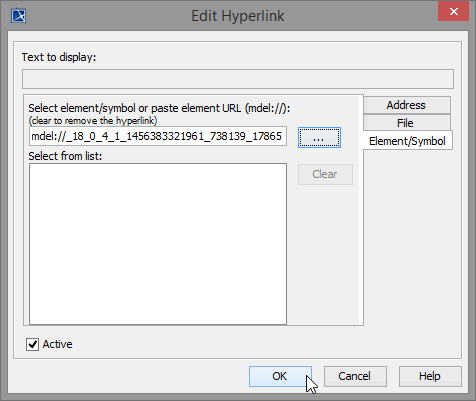
| Select the use case diagram Define a Title. Click OK. |
| The path of the selected diagram is displayed in the field Select element/symbol or paste element URL. Click OK. |
| The hyperlink to the use case diagram Define a Title is set. Click Close. |
When selecting a UML element, it shows the symbol ![]() to add a hyperlink. If a hyperlink has been added to a use case symbol, the icon of the target diagram
to add a hyperlink. If a hyperlink has been added to a use case symbol, the icon of the target diagram ![]() will be embedded in the UML symbol (if the UML element has not the focus). The use case Define Title is linked to use case diagram Define a Title now. Whenever you double-click a UML element having defined a hyperlink, the linked diagram will open:
will be embedded in the UML symbol (if the UML element has not the focus). The use case Define Title is linked to use case diagram Define a Title now. Whenever you double-click a UML element having defined a hyperlink, the linked diagram will open:
Double-click the use case Define Title either on the diagram pane or in the containment tree in the package Data / Overview / Use Cases. The linked use case diagram opens:

Extending Use Case Diagram "Product Query Overview"
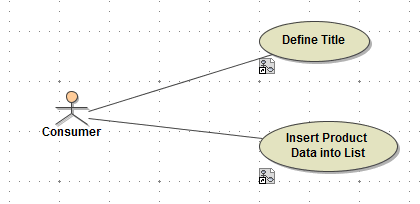
You now will extend the use case diagram Product Query Overview considering the additional functionality of the Web service.
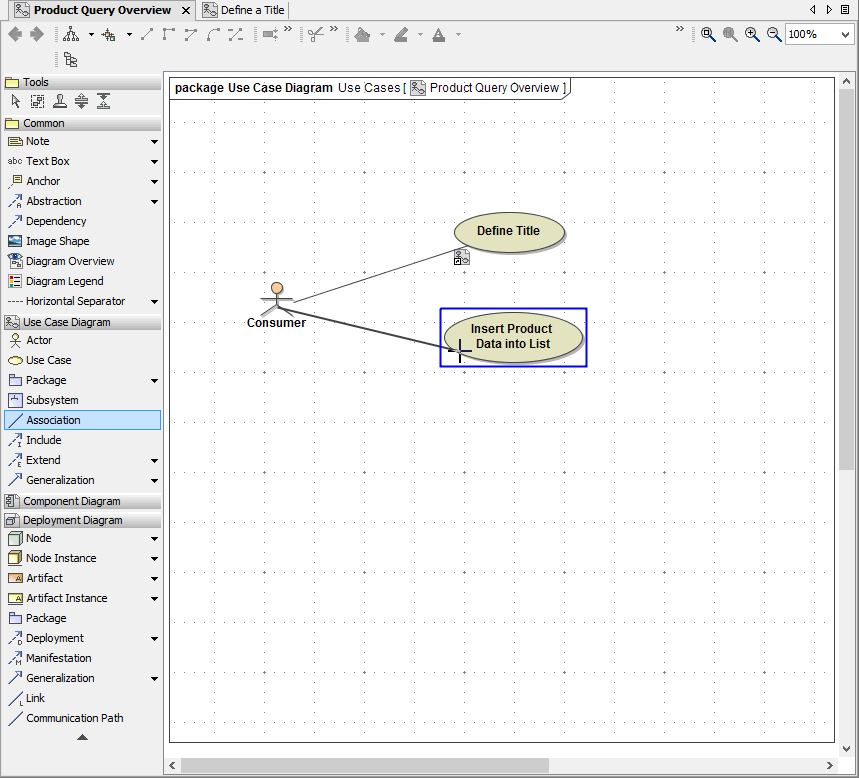
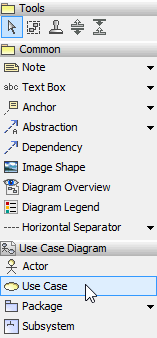
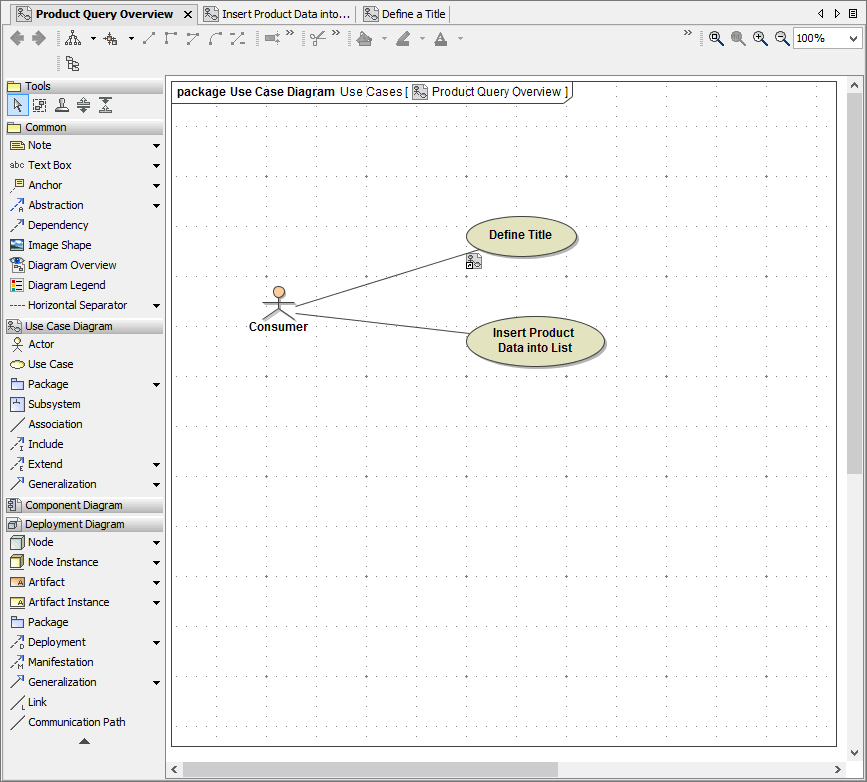
| In order to draw another use case, you will use a different technique. Select the Use Case symbol from the diagram toolbar, place it on the diagram pane, and start immediately typing the name Insert Product Data into List. Then, press Enter to finish entering the use case name. |
Rearrange the UML elements on the diagram pane as shown below:

Draw an association between the actor Consumer and the use case Insert Product Data into List.
Save ![]() the UML model.
the UML model.
Creating Use Case Diagram "Insert Product Data into List"
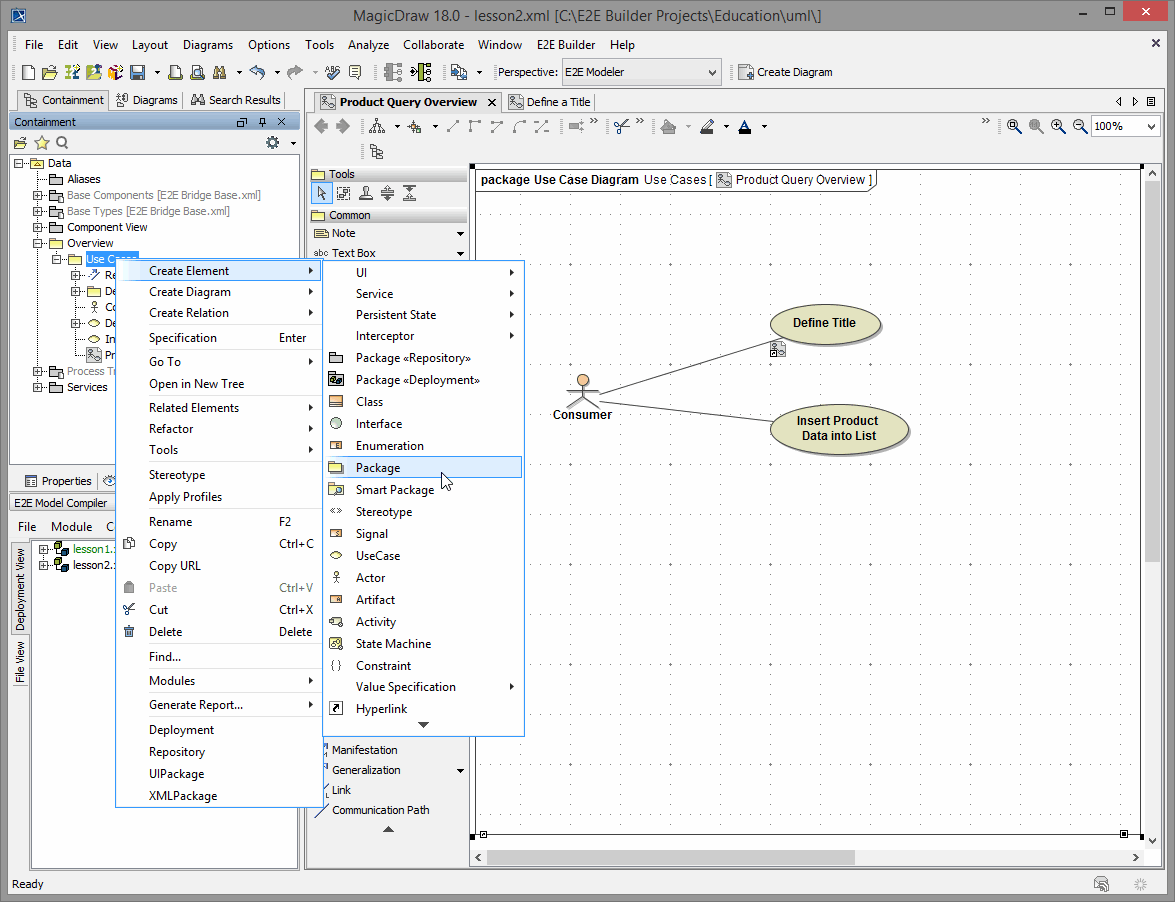
Select the package Data / Overview / Use Cases with the right mouse button and create a new package as shown below:
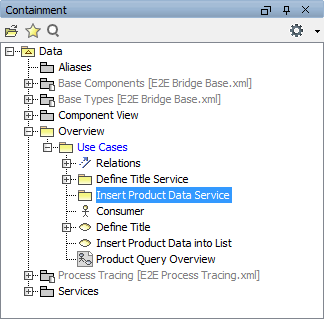
| Assign the name Insert Product Data Service. |
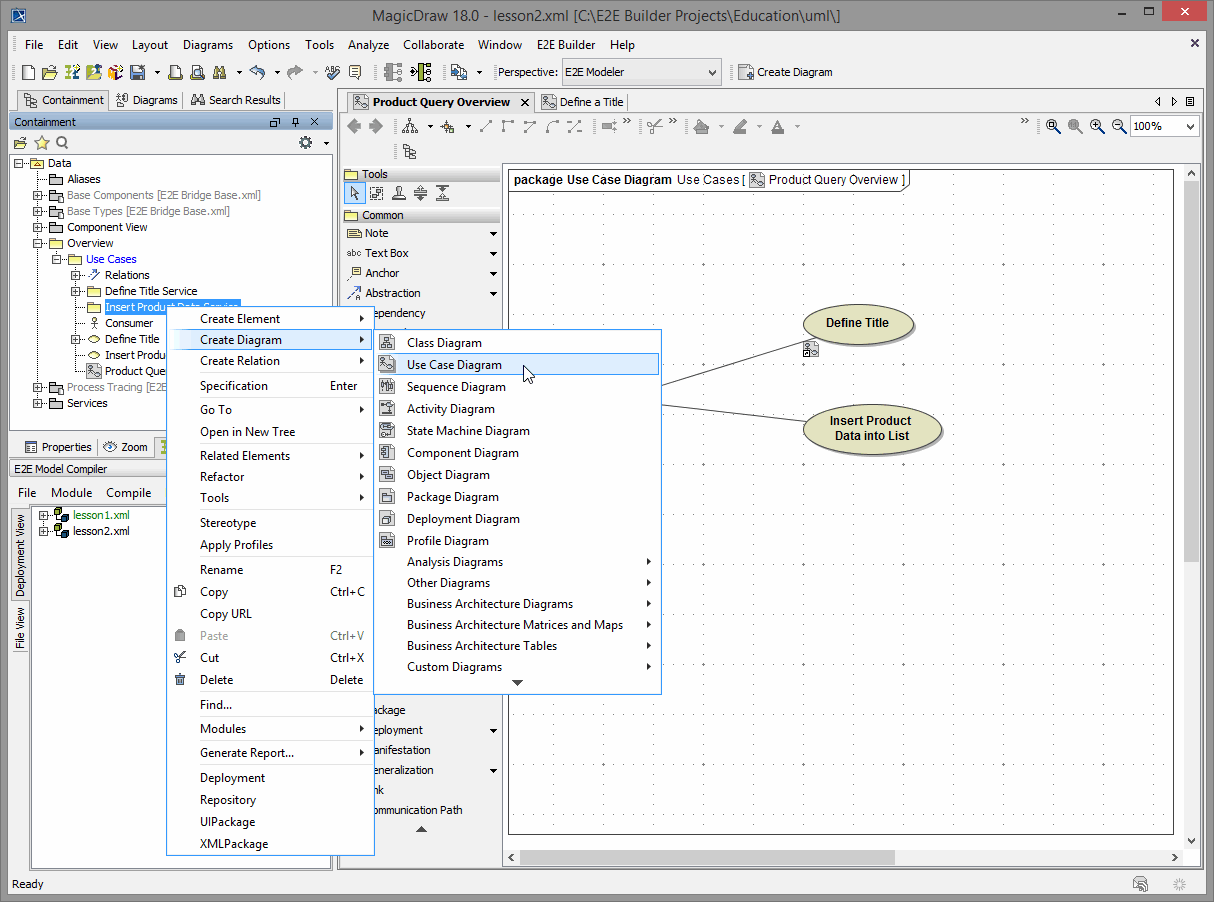
Select the package Insert Product Data Service with the right mouse button and create a new use case diagram as shown below:
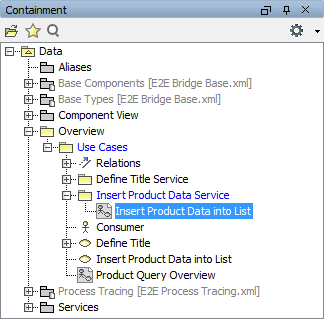
| Name the use case diagram Insert Product Data into List. |
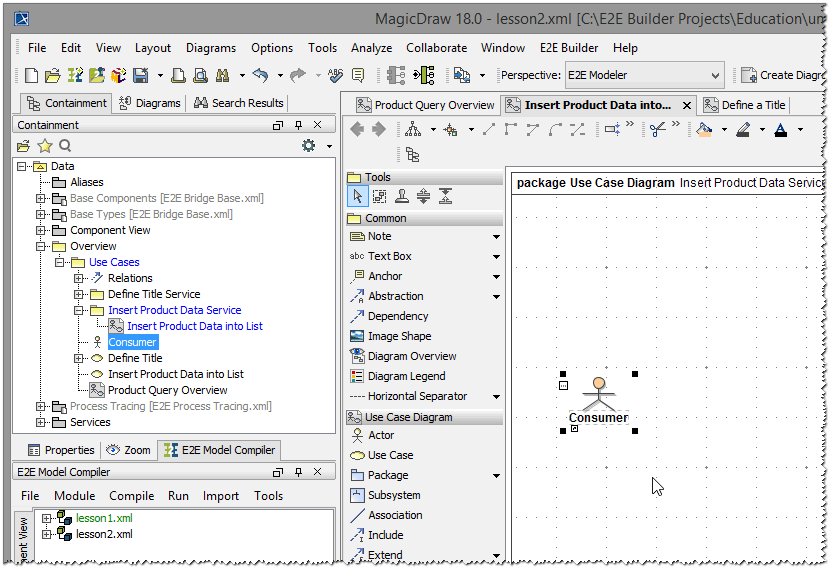
You will now add the actor and the use cases to the new use case diagram Insert Product Data into List. Reuse the actor Consumer from package Data / Overview / Use Cases.

| Drag and drop the actor Consumer onto the use case diagram Insert Product Data into List in the diagram pane. |
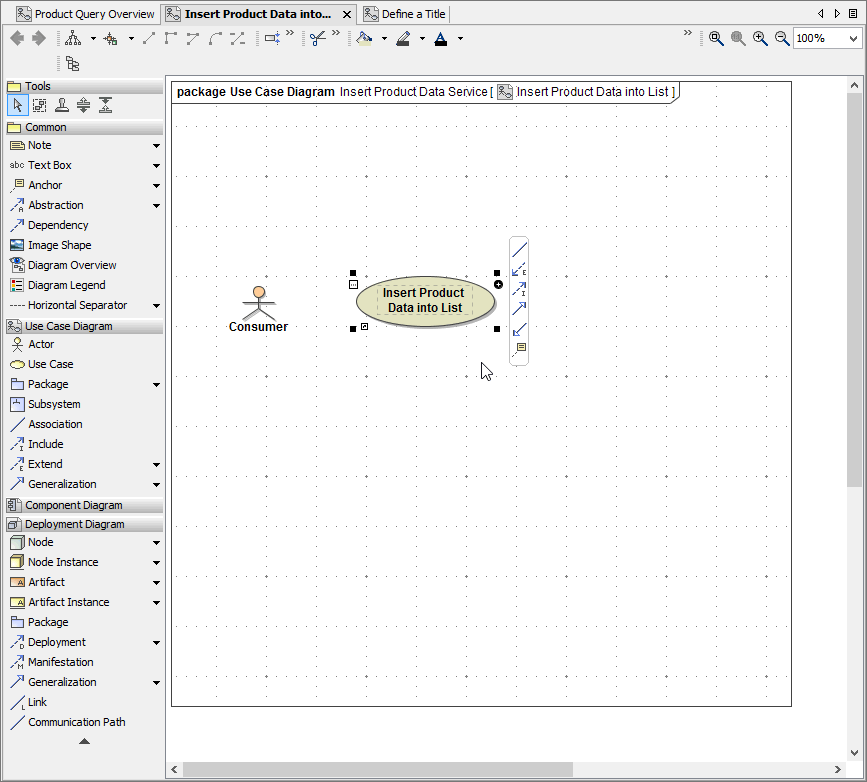
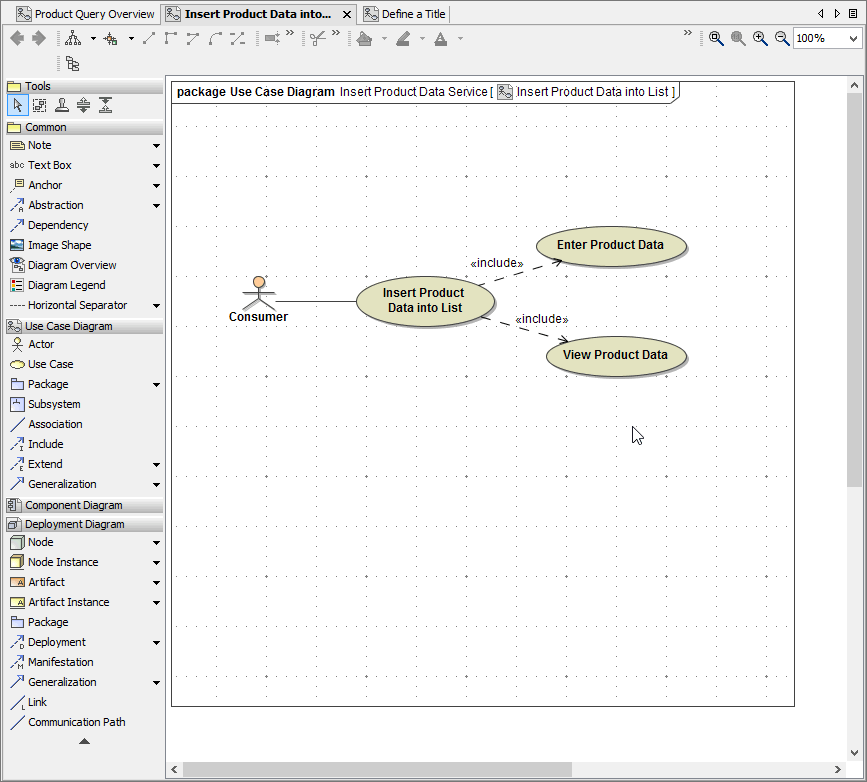
 | Draw the detailed use case diagram for lesson 2 by choosing the appropriate icons from the diagram toolbar. |
Draw a use case and name it Insert Product Data into List.
Add the use cases Enter Product Data and View Product Data.
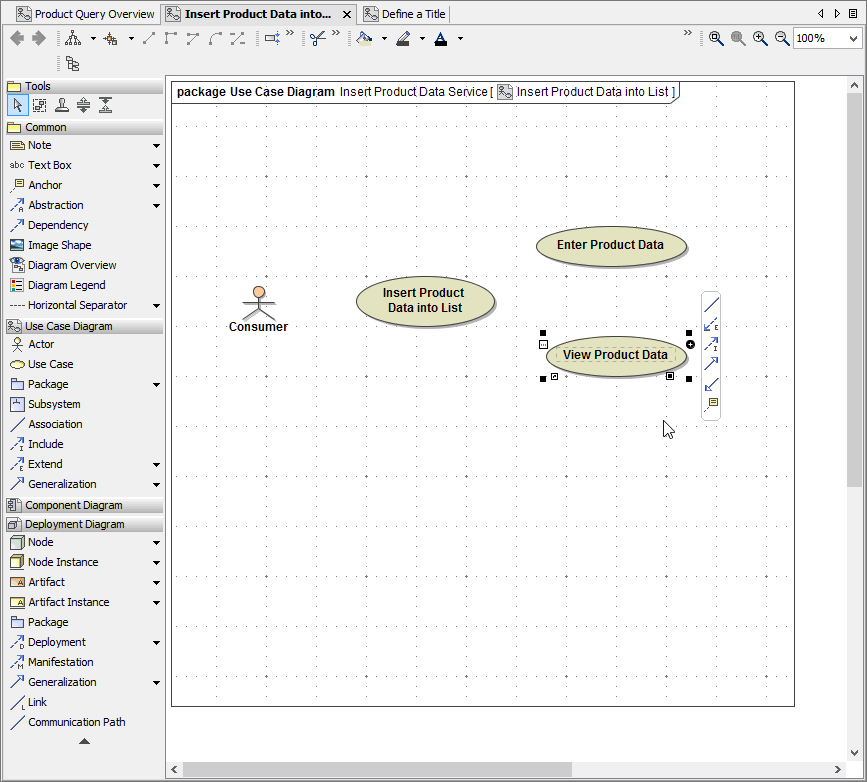
Draw an Association between the actor Consumer and the use case Insert Product Data into List.

Draw Include relations between the use case Insert Product Data into List and the other use cases.
Linking UML Elements via Drag & Drop
Linking UML Elements is also possible via drag & drop. You will now link the new use case diagram Insert Product Data into List to the corresponding use case in the overview diagram Product Query Overview.
Switch to the diagram Product Query Overview.
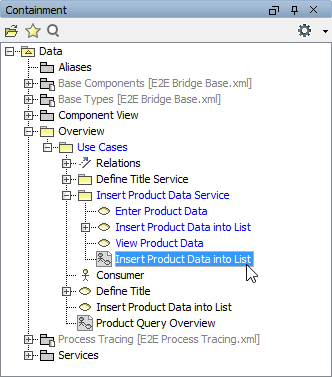
| You will now use a different technique to link diagrams. In the containment tree, navigate to the use case diagram Insert Product Data into List. |
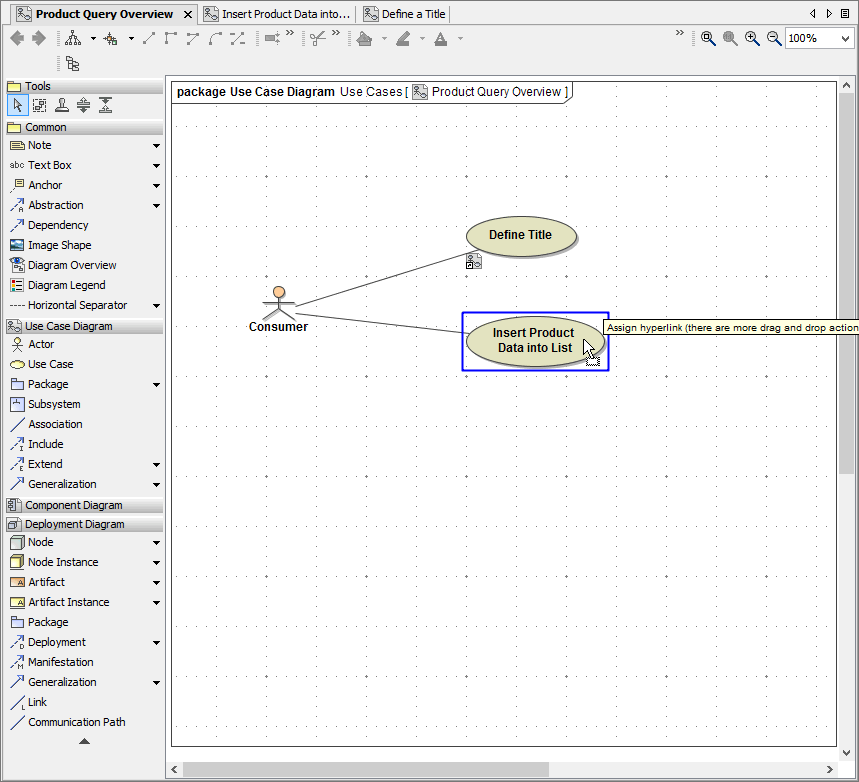
| Drag the diagram element from the containment tree to the use case Insert Product Data into List on the diagram pane until the UML element gets surrounded by a blue rectangle. Release the mouse button. |
| The use case Insert Product Data into List now is linked to use case diagram Insert Product Data into List and shows the icon |
Save ![]() the UML model.
the UML model.

On this Page:
Overview
Content Tools