Follow Our Example User Story
David Stringer wants to add roles to his order process. To do this, he needs to insert lanes into the BPMN model and assign the appropriate roles.
Add Lanes for the User Roles
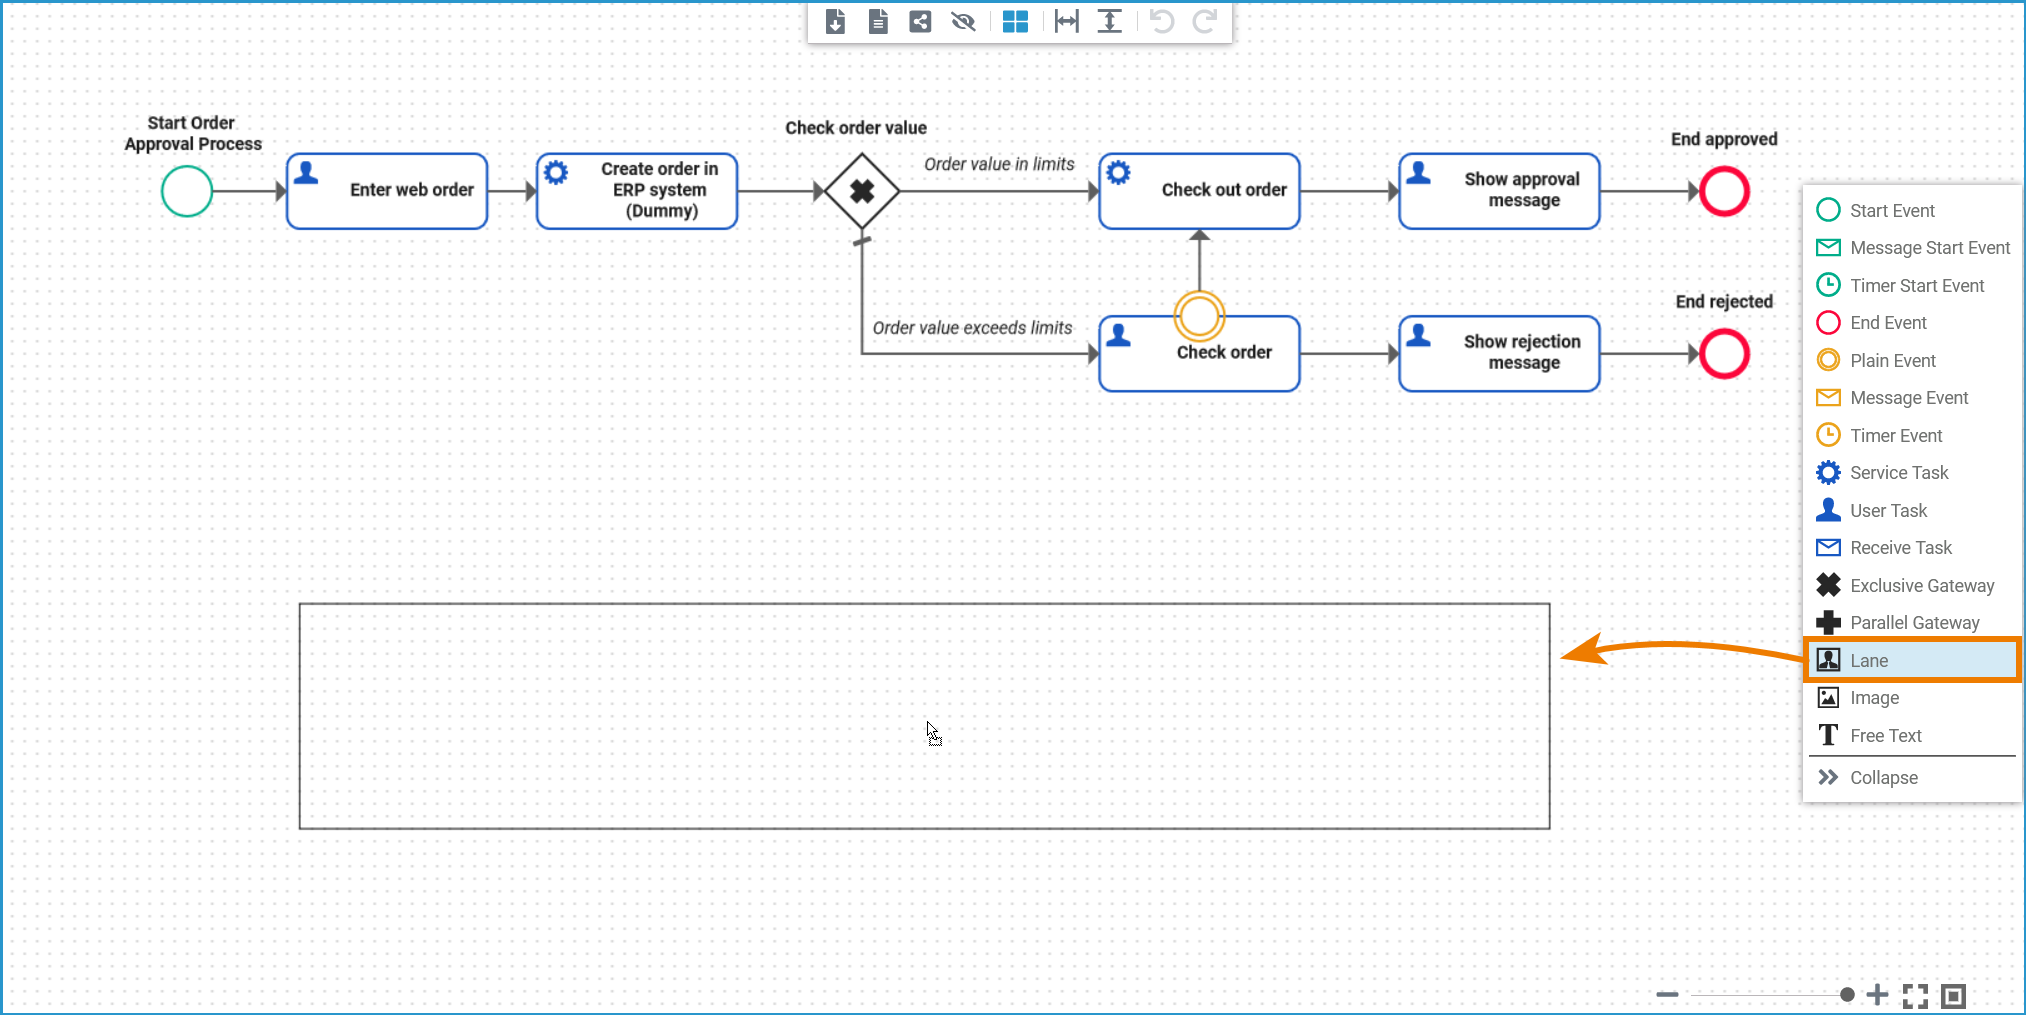
| In tutorial 1, you have created BPMN model Order_approval_1. Select a lane element |
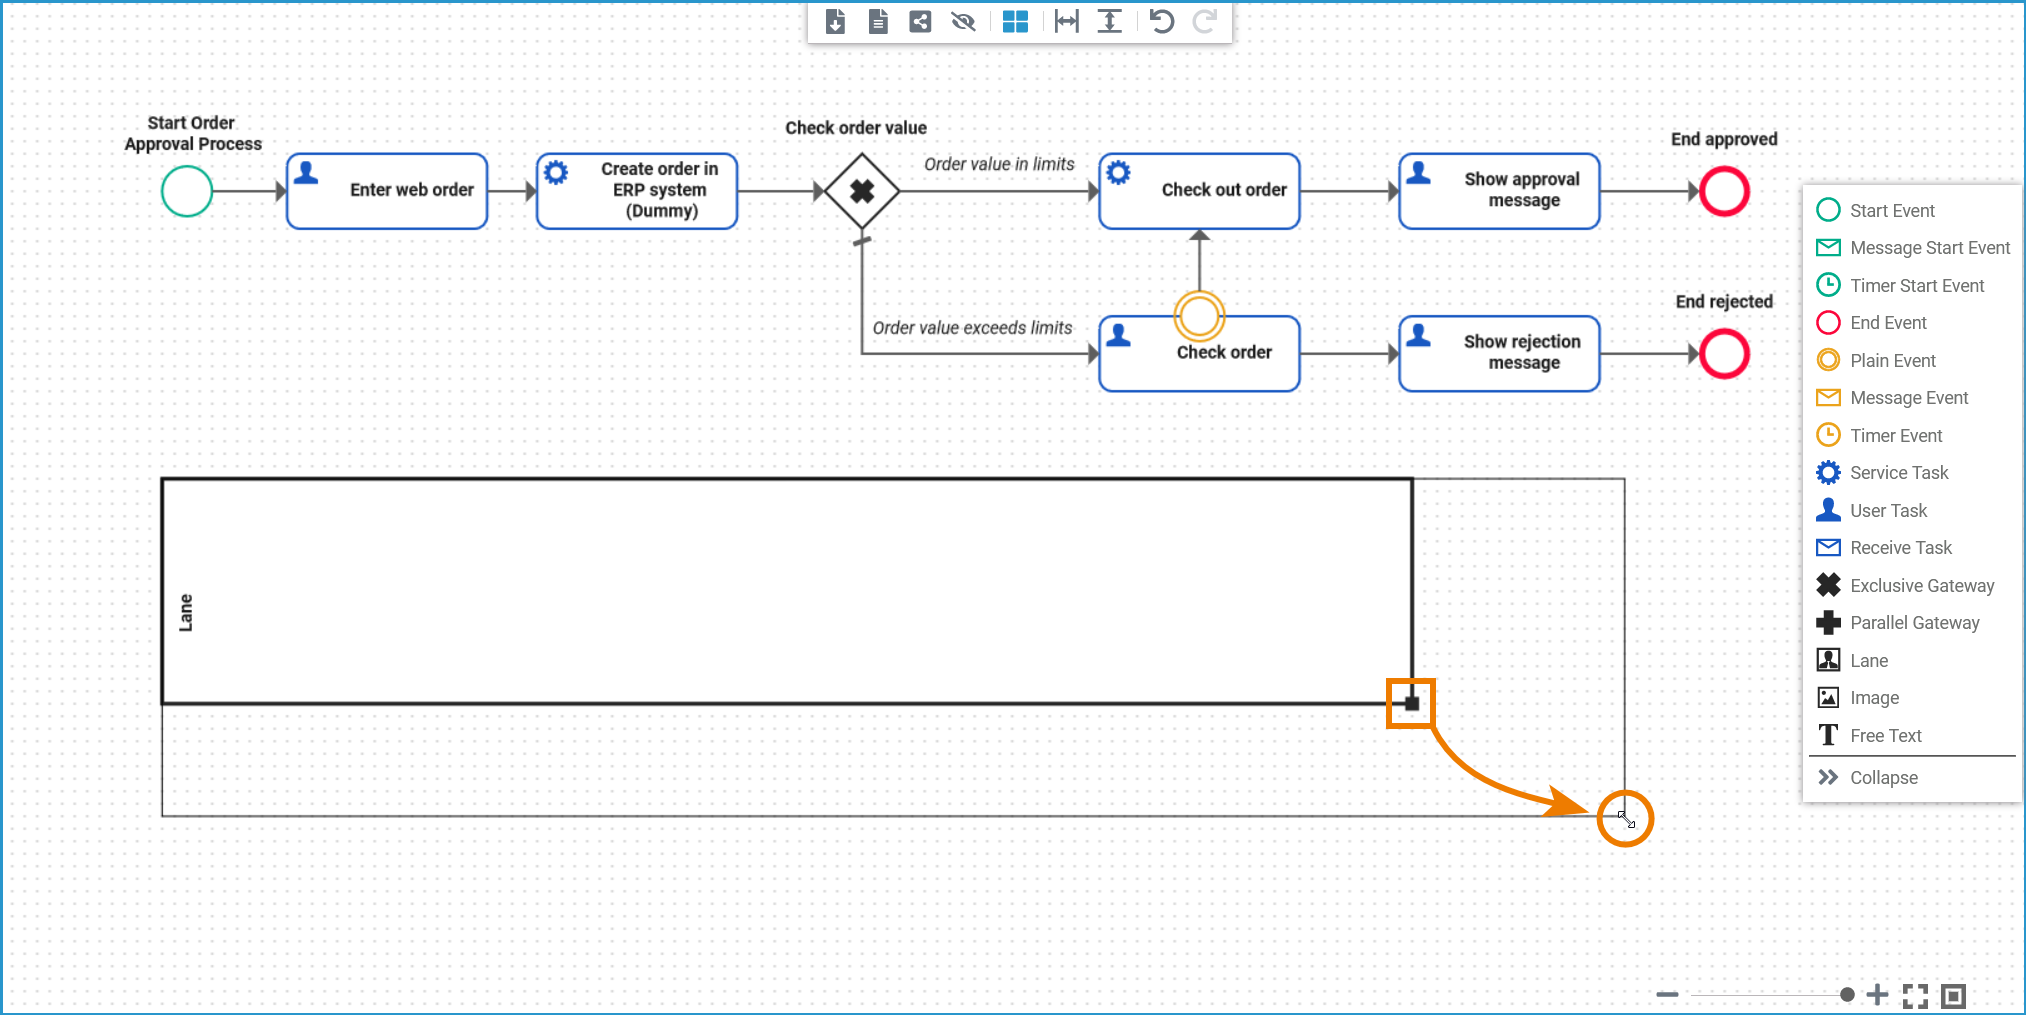
| If you click on the lane element at the lower right edge, you can enlarge the element. Enlarge it to the point where the entire BPMN process could fit inside. |
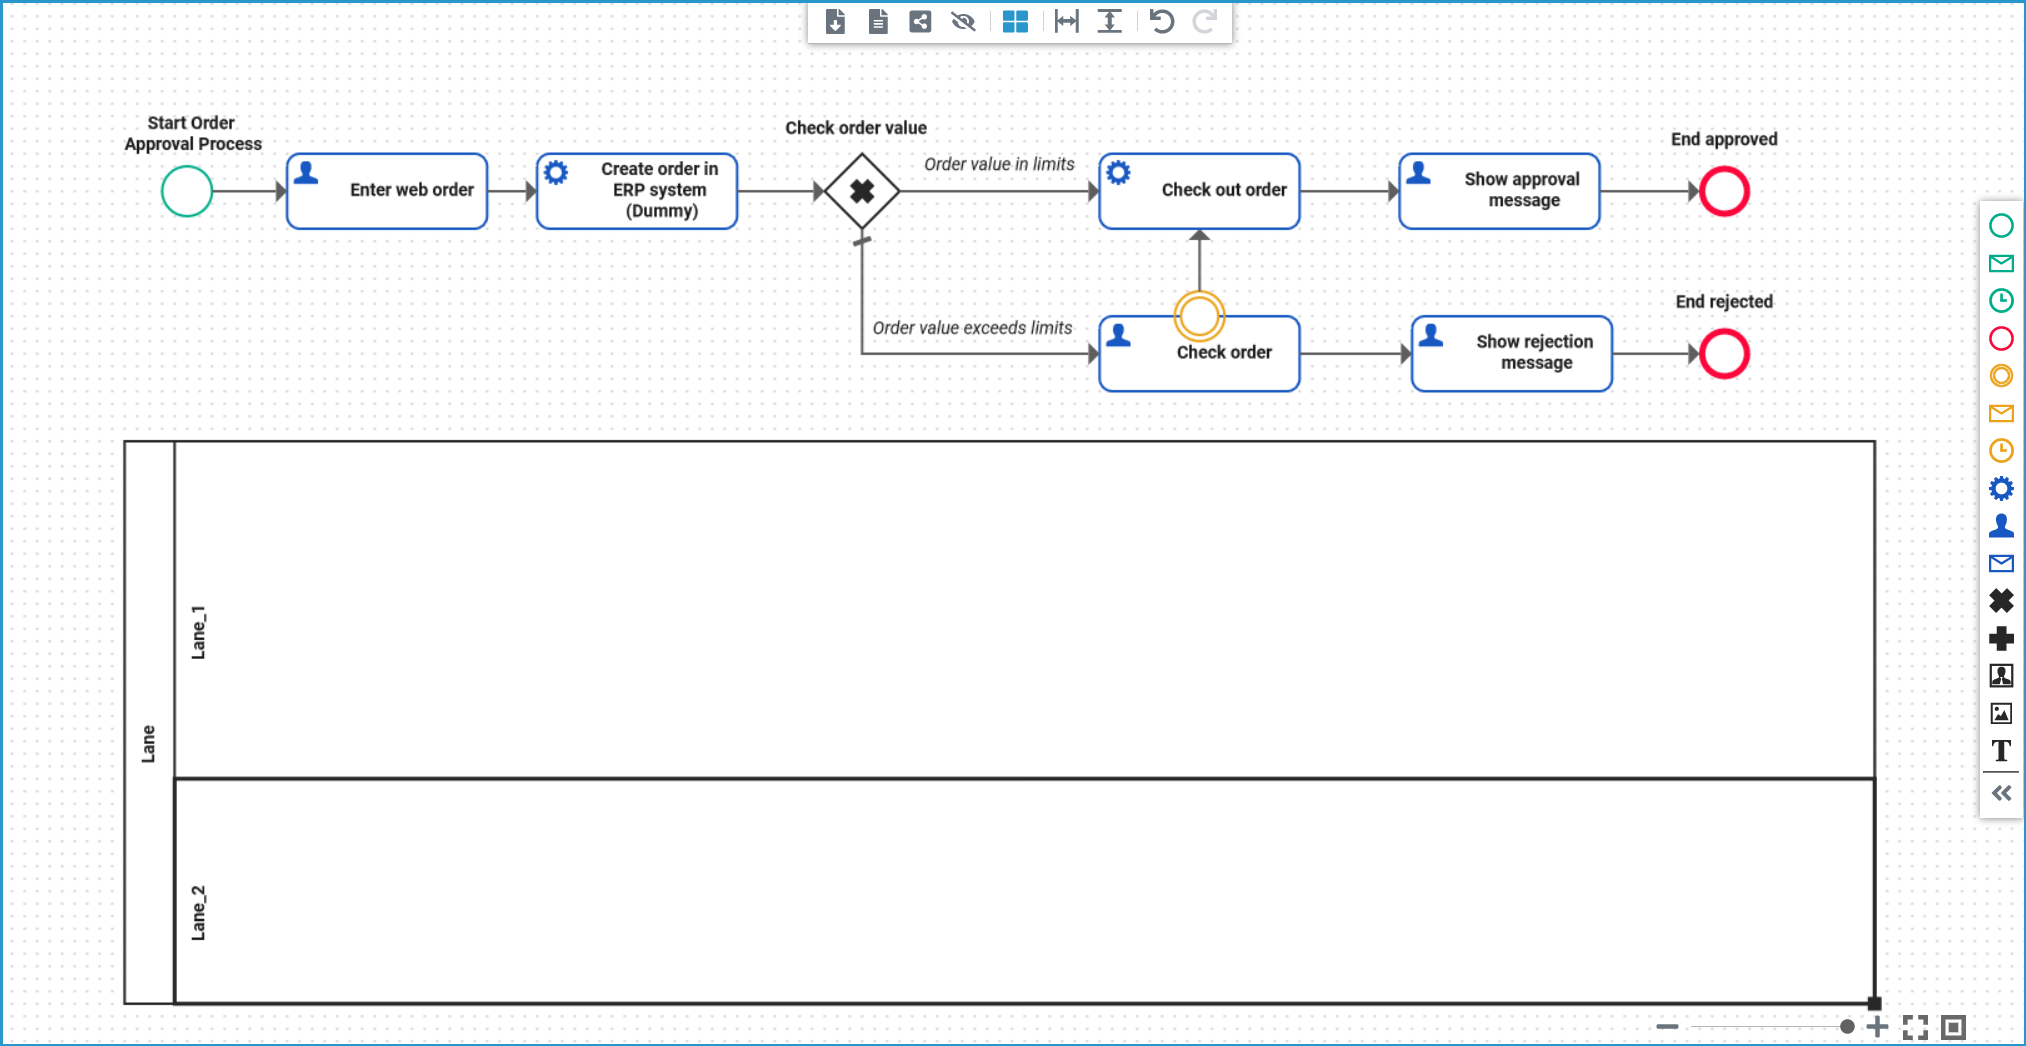
You need a separate lane for each role you want to use in the process. All role lanes must be modeled within one main lane. You have created the main lane, now drag two more lanes into it.
Click on the image to run through the animated version once. Click again to repeat.
Lane handling can be tricky. If you have problems placing the lanes correctly, we recommend to have a look at the explanations on our documentation page Lane > Notes on Lane Handling
| Arrange the two new lanes within the main lane. |
| If you want to adapt a lane element, select it by clicking on its name or border. The selected lane is outlined in bold and a black square will appear at the lower right edge. Use the square to adjust the size of the element. Click on the image to run through the animated version once. Click again to repeat. |
Configure the Lanes
Follow Our Example User Story
David has added the lanes. Now, he can configure the lanes and name them according to the roles he wants to use them for.
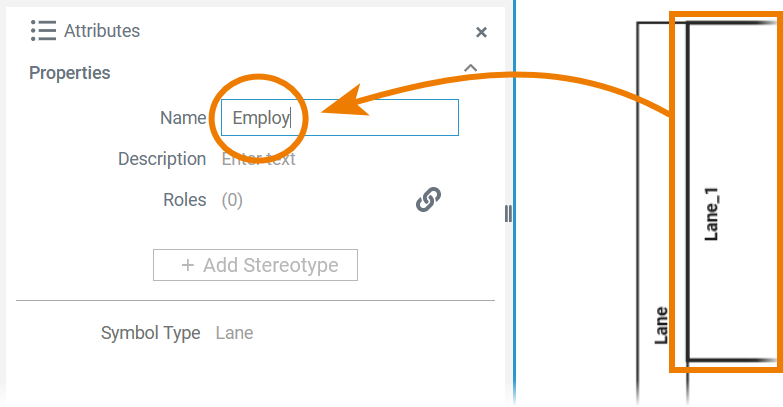
| Select the lanes one by one and assign the following names in the Name field of the Attributes panel:
|
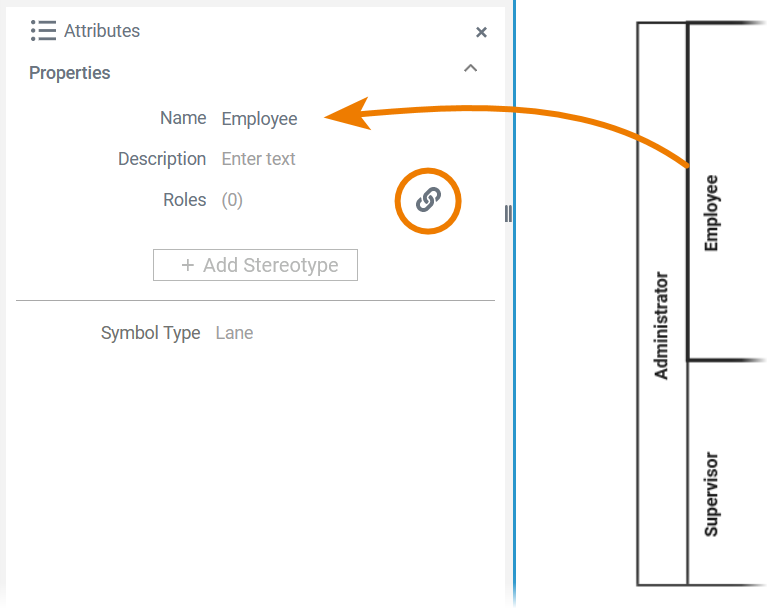
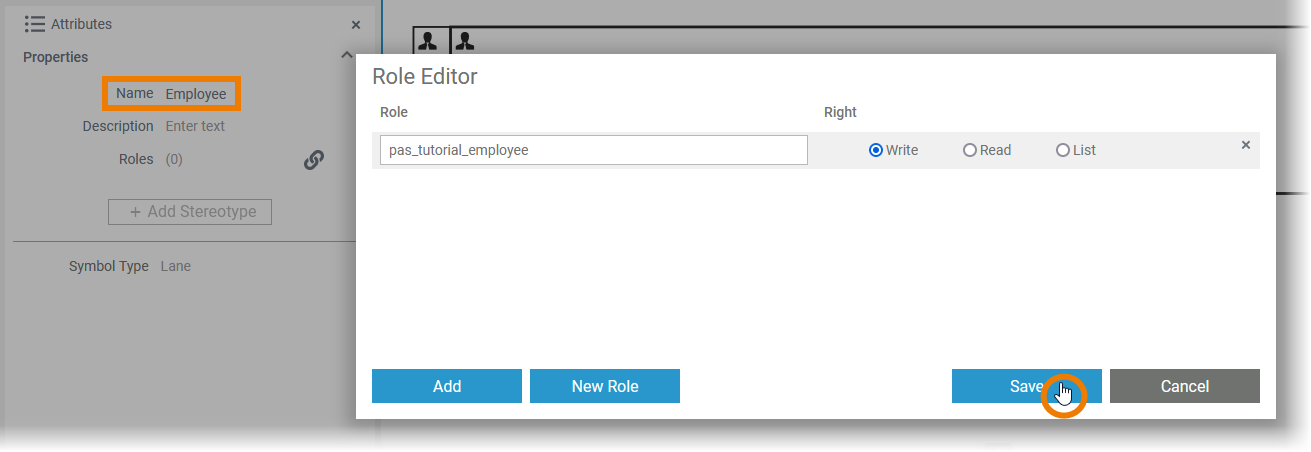
| In the next step, you are going to assign roles to the lane elements. The administrator should be able to execute the whole process, so you will not assign any role to lane Administrator . Select the Employee lane. Go to its attributes panel and click icon |

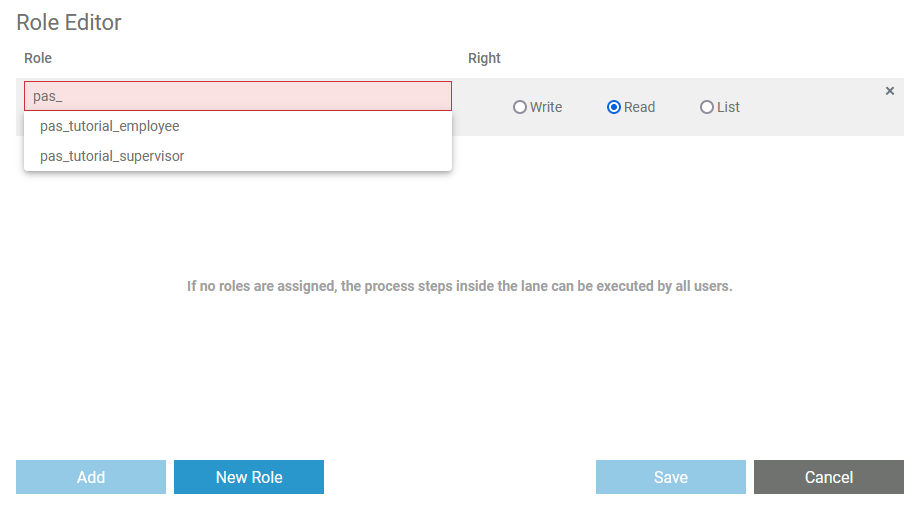
| In the role editor, you can search for already created roles to reuse them or create your own roles. You can also define different rights to each role:
| ||||||||||||
| The roles needed for this tutorial have already been created in the user management:
In a real process, you would assign the employee role to lane Employee and the supervisor role to lane Supervisor. However, since you are working on a tutorial, you should be able to execute the entire process with your personal user. Your user is assigned only the pas_tutorial_employee role. | ||||||||||||
| So that you can recognize the different role rights, please configure your lanes as follows:
|
In the next step, you will remodel your process.

On this Page:
Overview
Content Tools