Now you can test your service. As in the previous tutorials, you will again use the service preview. Refer to Working with the Test Environment in the Designer guide for detailed information about the application preview.
| In the Controls panel you should see the message: Test environment ready. Click the Open application icon |

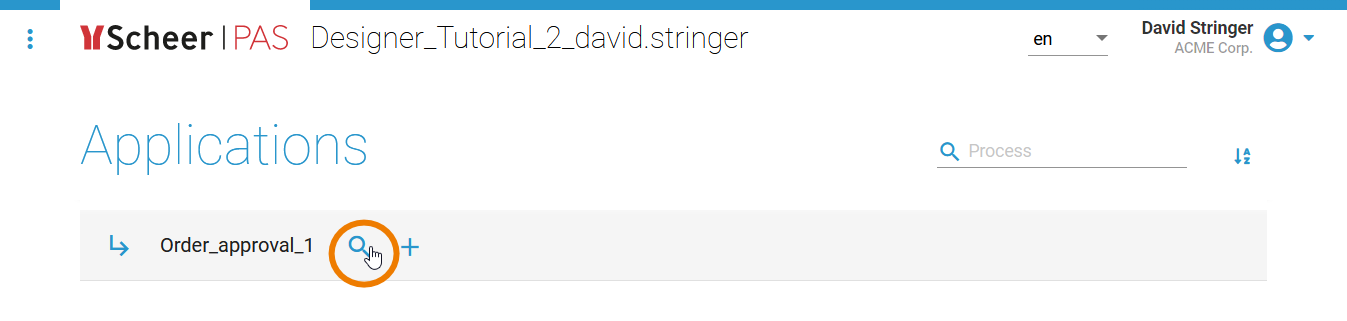
The Applications start page is displayed. It lists all available processes in this service. Hover over the name of your service to display the quick start icons. Click icon ![]() to display the instance list of your process:
to display the instance list of your process:
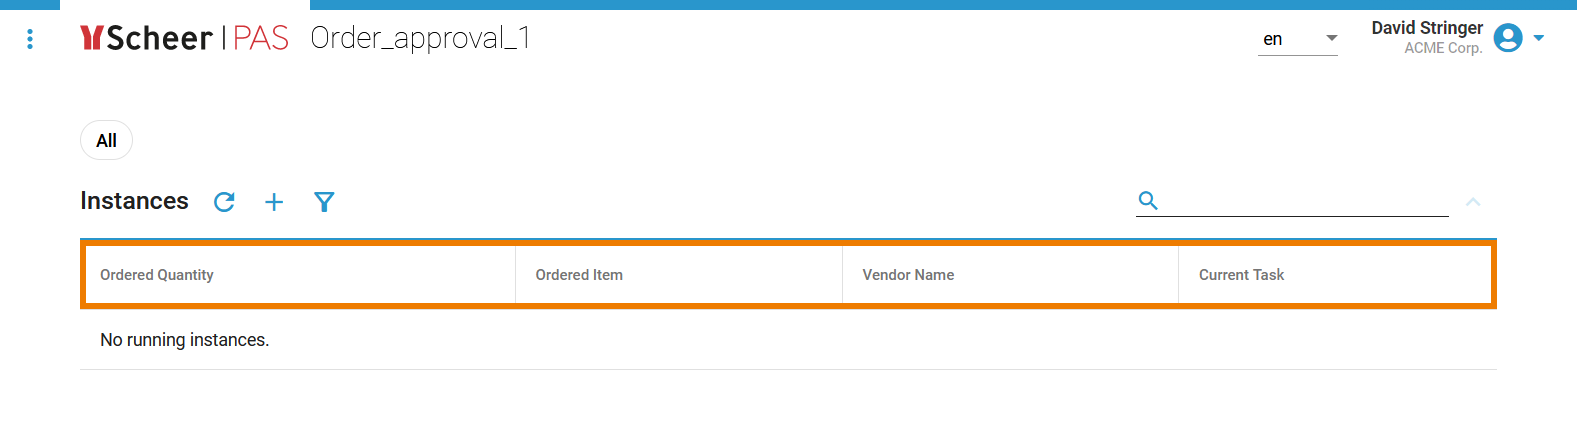
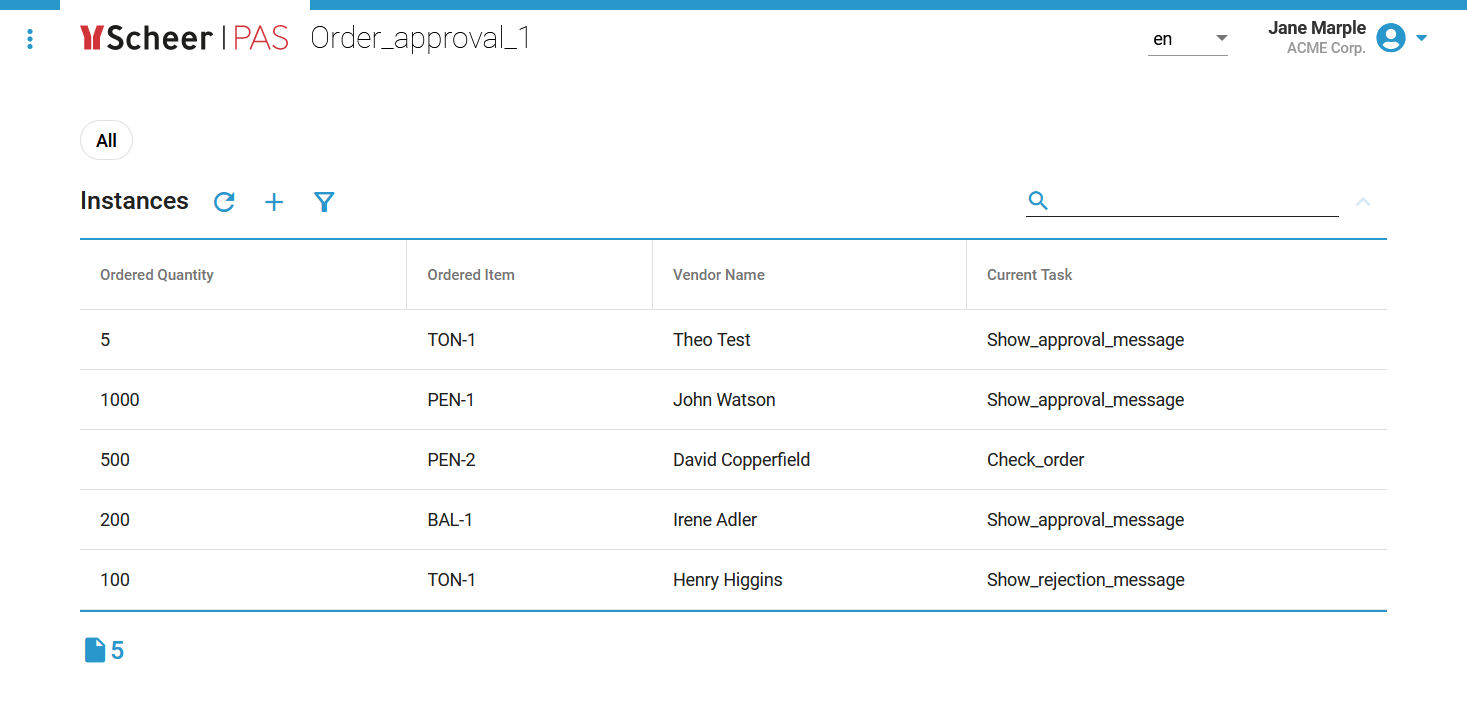
The list displays the content in the order you defined in the column configuration:
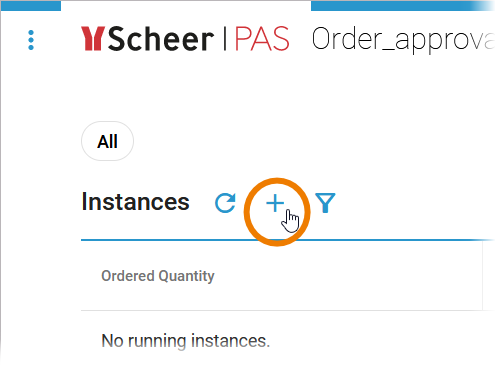
| To check if the defined content is correctly displayed in your instance table, use icon Remember: The value of the order limit is 1.000. |
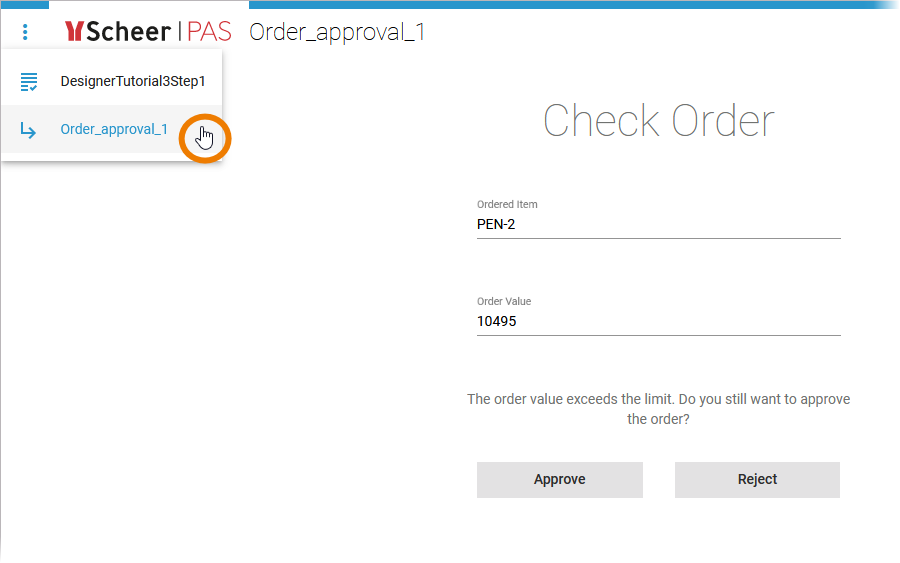
| Keep in mind that the instance list only shows running instances. Do not process the new instances until the last process step but change back to the process overview after the first or second form. |
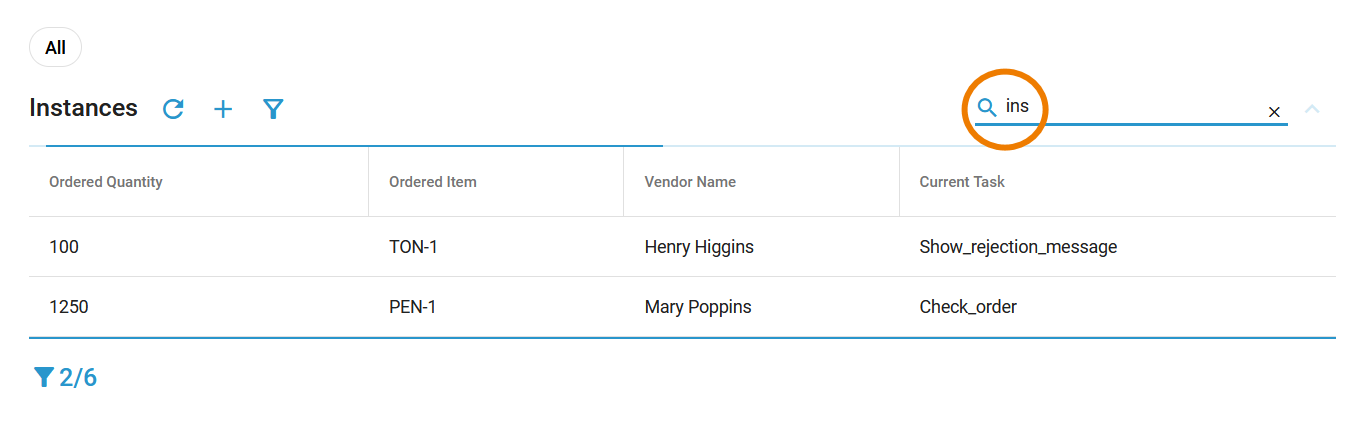
Running instances are displayed in the instance list, showing quantity, item, vendor name, and the name of the current task:
Try Further Functionalities of the Instance List
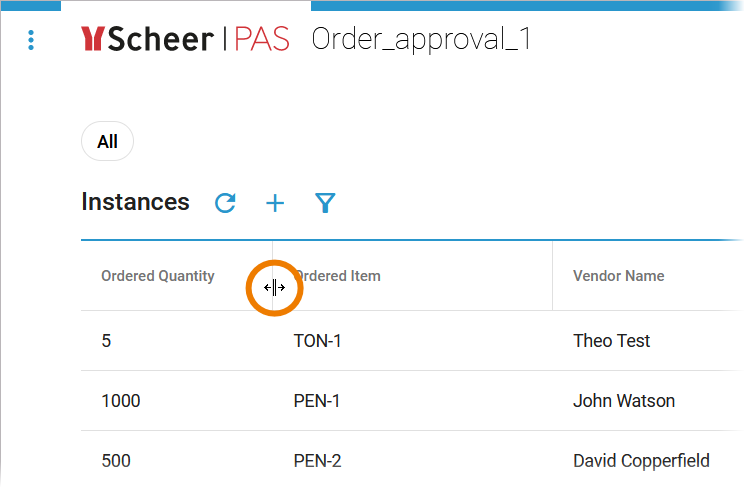
| You can adapt the column size: Just drag the column borders. |
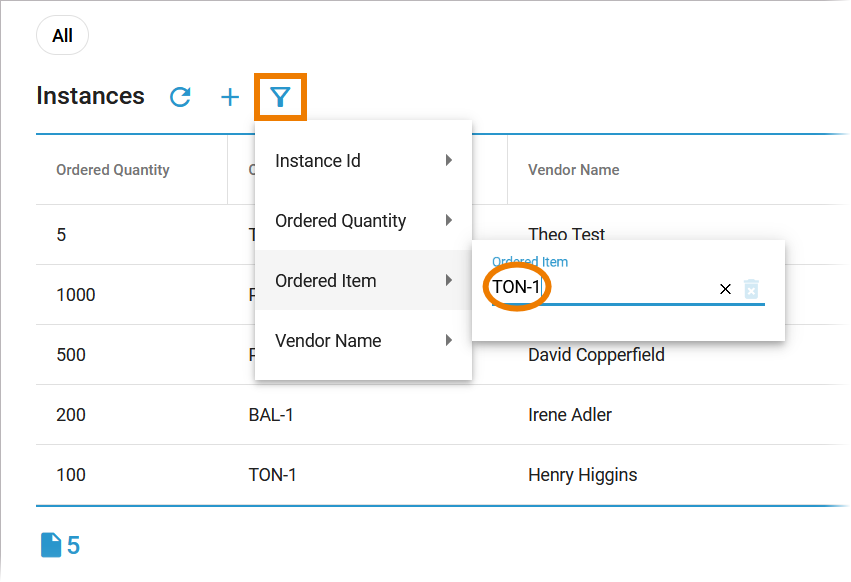
| Enter a content-specific filter to reduce the list. |
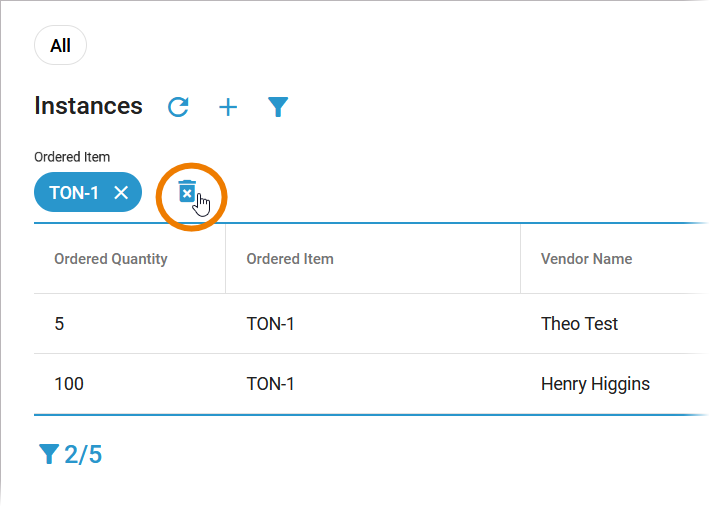
| The filter is displayed on top of the instance list. It will be applied until you delete it. |
| Use the full-text filter to search the whole list. |
| Congratulations - you have done it! Next Level |


On this Page:
Related Documentation:
Overview
Content Tools