Jane Marple wants to give supervisors the opportunity to approve ideas on the way. The approval step therefore has to contain a mobile form. You are going to model this form now.
| Open the element Mobile Form Idea Check. |
| The mobile form contains a predefined area including the following elements:
At the right side of the workspace you find the New Elements sidebar. Use it to drag and drop additional form elements onto the workspace. |
| The elements are classified in four categories:
Click on the category name to display the associated elements. |
| If you want to delete a form element, right-click on it. Select option Delete in the context menu. |
| Click on an element to activate it. The active element is marked by a red frame. In the Edit Sidebar
|
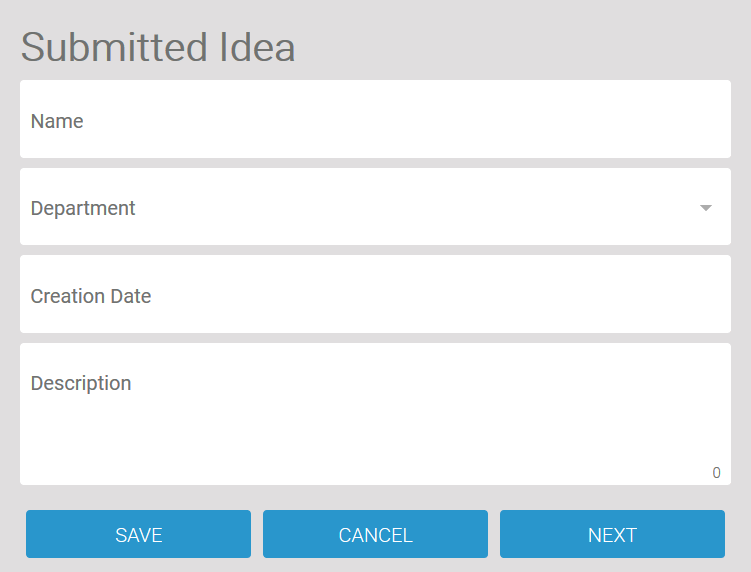
| Use the explanatory text element Main Area as header and enter an appropriate text, for example Submitted Idea. Now add all form fields you are using in the first form Idea:
Use the same Field Names in Container for all fields as in the responsive form. Activate the Read Only option for all fields. |
|
|
| An editors opens where you can insert the possible values of the radio button. Keep the default settings Yes and No. |
| At least rename the button Next. Use an appropriate description such as Submit Decision. |
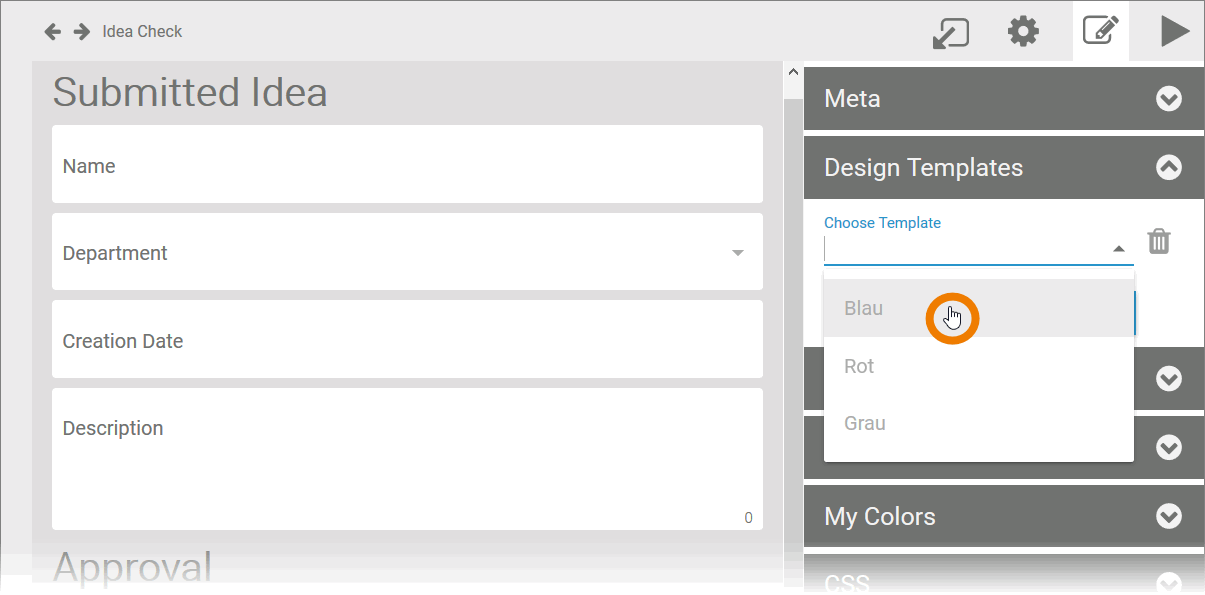
| Switch to the sidebar Form Properties Choose one of the templates. |
| Use the Play button to execute your model. If you use the preview function in the Forms Editor, only the current form is displayed. |
| The form preview is displayed in a pop-up window. The icons at the top of the screen allow you to switch between the different views:
Try different views, then close the window. |
| You have finished designing your forms. Before you can execute your app, you have to configure the overview. To do so, switch back to the content of the app project. |


Related Documentation:
- MOBILE (German)
Overview
Content Tools