The development environment E2E Builder contains an embedded E2E Runtime to directly run and debug services. It does not include the E2E Bridge, which provides comprehensive features to manage services with a Web-based user interface.
E2E Bridge is part of E2E Runtime that can be purchased separately as Development, Test, or Production Server. This chapter lists the most important features of the E2E Bridge.
Advantages of the E2E Development Server containing the E2E Bridge
| Services that need to be shared | When you are developing services within a team, most times it is necessary to share deployed services on a common infrastructure. For instance, one developer provides a basic service that is needed by others for developing further services. |
|---|---|
| Proxies | Proxies can be managed within the E2E Bridge. |
| History | Each managing action (changing settings, deployments, starting and stopping services, etc.) is listed in the history of each service. |
| Static GUI | You can define static GUIs (for instance a statistics about a service) in the Bridge. |
| Managing of Resources | Manage resources like schemas, Java archives, XSLT scripts, etc. |
| Deployment Scenarios | The E2E Bridge supports different deployment scenarios. For instance, a service deployed on the Development Server can be exported including its settings and preferences. Then, it can be deployed on a Test Server. |
| Administration of several Bridges within one user interface | If several Servers are part of an E2E Bridge domain, all servers can be managed within one Bridge. |
| Users and Groups | You can set up a role model for users managing services in the Bridge. |
| Logging | The Bridge provides several logs to analyze the behavior of the system. |
| Monitoring | In the Bridge, it is possible to register high-availability monitoring services that observe all deployed services and alert you upon errors. |
If you have purchased an E2E Development Server, you can continue reading. Otherwise you can directly proceed with lesson 2.
Installation of the E2E Bridge
Please refer to the E2E Bridge Bridge Installation Guide , which is part of the E2E Documentation.
E2E Bridge Domains
An E2E Bridge domain is an aggregation of several E2E node instances. The advantages of domains are summarized as follows.
- Several node instances can be aggregated in one domain. Each xUML service running on different node instances can be managed from one Bridge installation. It is possible to deploy, start, and stop xUML services even if they run on other node instances within the domain.
- User and group access rights are shared between each node instance that belongs to the same domain.
- Domains enable you to setup flexible configurations, e.g. load balancing configurations.
The Bridge can manage multiple installations of itself (respectively E2E node instances) on different systems, if the node instances are member of the same E2E Bridge domain. You may define an individual domain name, for instance E2E Bridge as shown below:
If you have not defined a domain name during the installation, you need to define it now. Refer to Creating a Bridge Domain in the E2E Bridge Integration Platform User's Guide.
Starting the E2E Bridge
With the Bridge, you can manage xUML services running on a node instance.
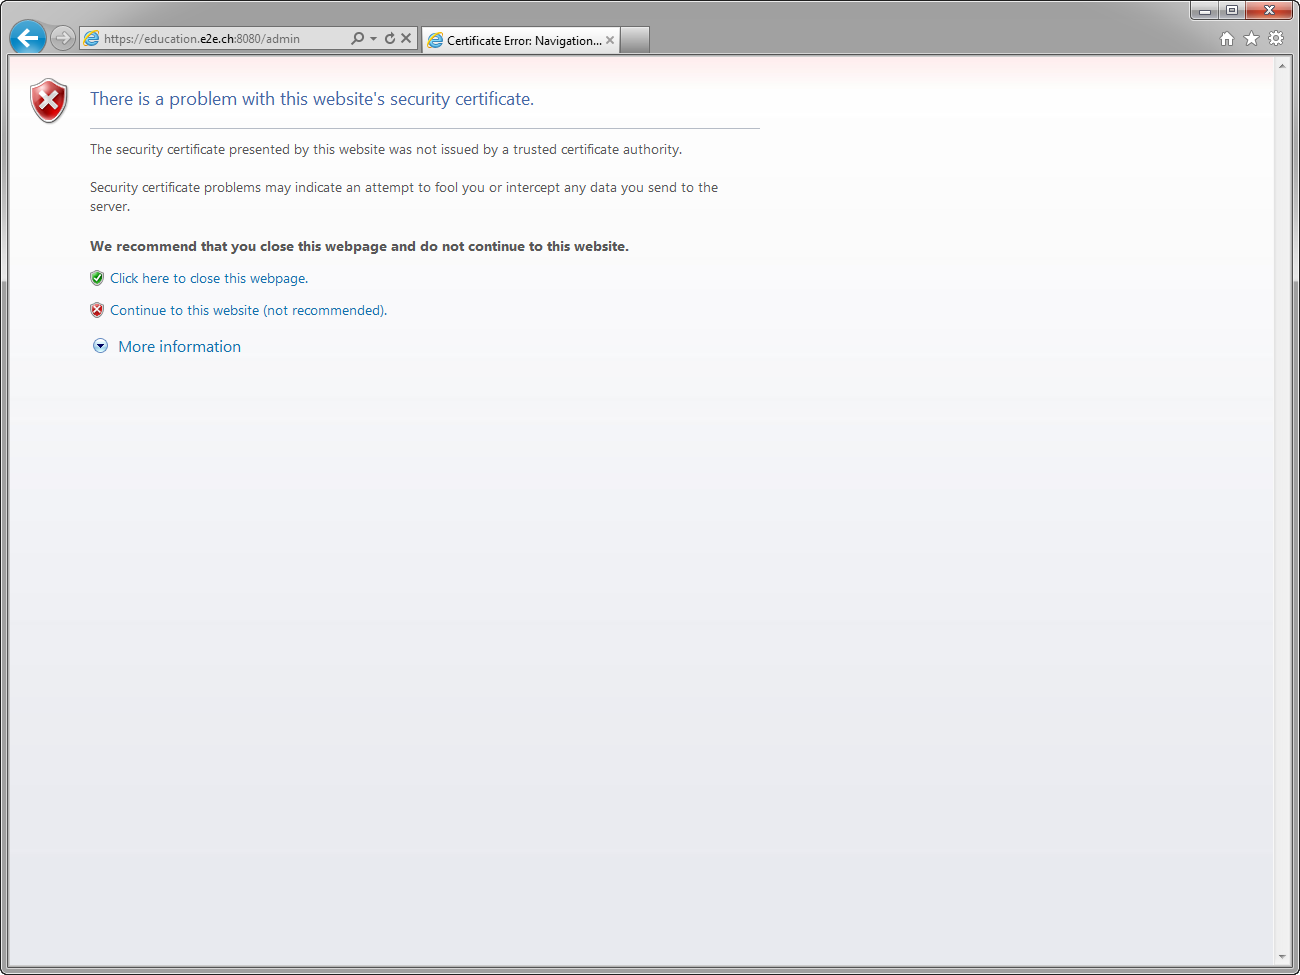
| Start a Web browser and enter the following URL in the address field to access the Bridge: https://<hostname>:8080. After entering the URL of the Bridge, the Web browser will display a security alert, as the Bridge runs with this self-signed security certificate, whose name may not match to the name of the site, or the certifying authority is not known by the browser. As this is a default certificate, always accept this certificate to run the Bridge. If using Internet Explorer 8 or higher, click the second hypertext link Continue to this website. If the Microsoft Phishing Filter dialog appears, select the recommended default settings and click OK. |
| The Certificate Error displayed is due to the certificate issue explained before. It can be ignored. |
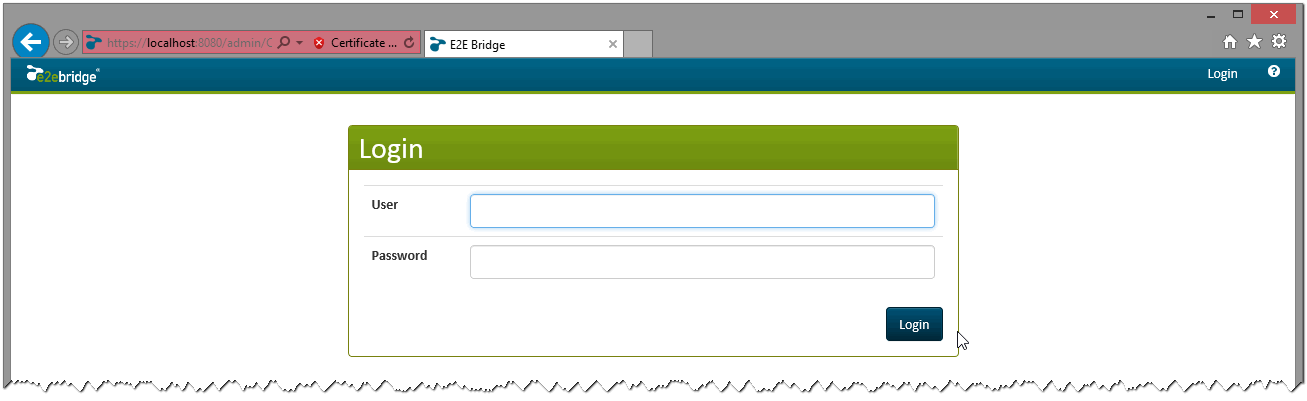
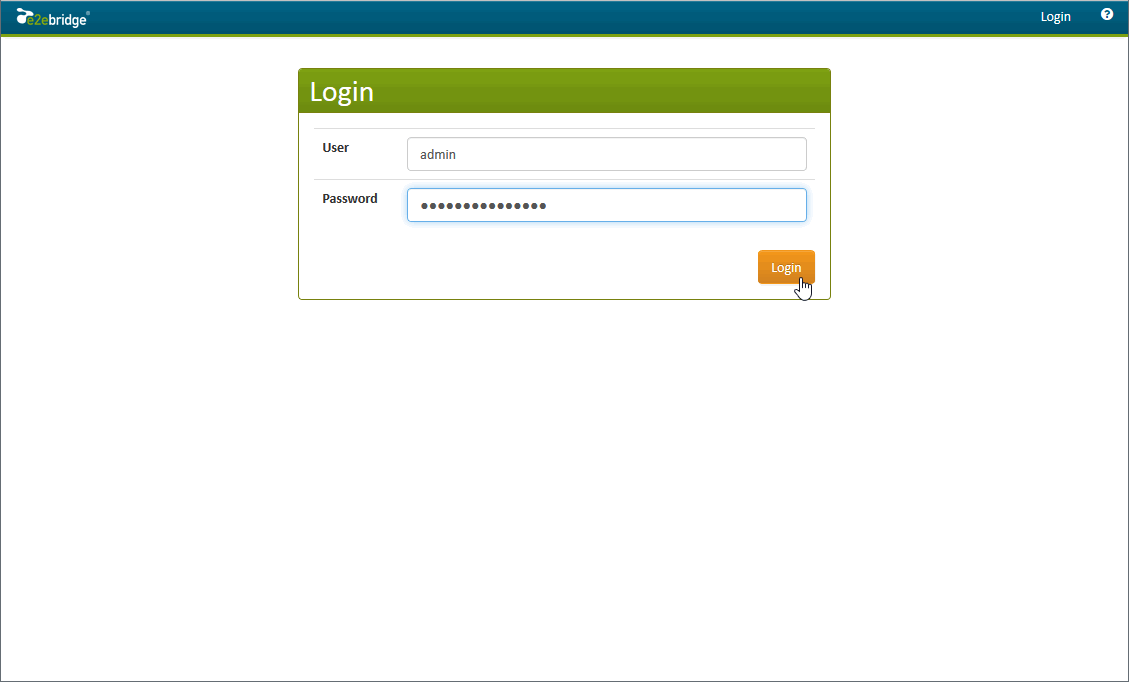
| Enter admin in the field User and the Password you have chosen during the installation of the server. Click Login. |
If you are have problems connecting to the Bridge, check the proxy settings of your browser and make sure that the proxy server is bypassed for the host you have chosen (see also Troubleshooting the Bridge and Related Problems in the E2E Bridge Integration Platform User's Guide).
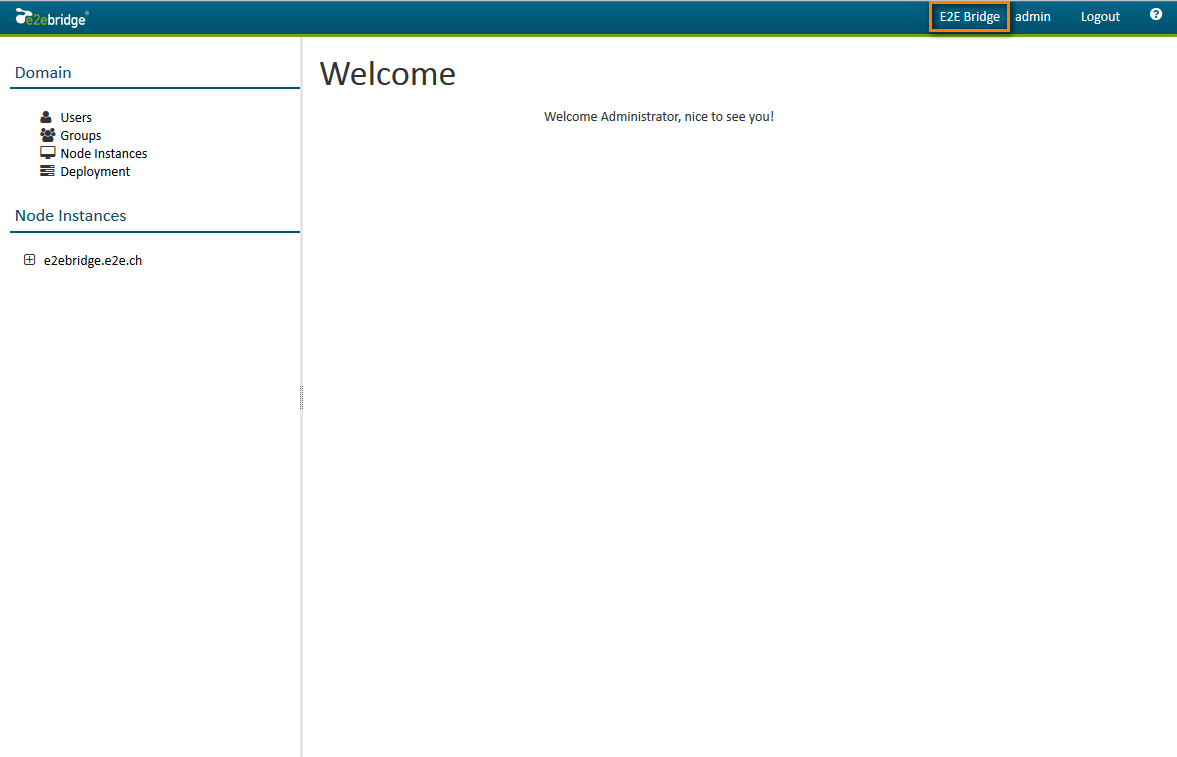
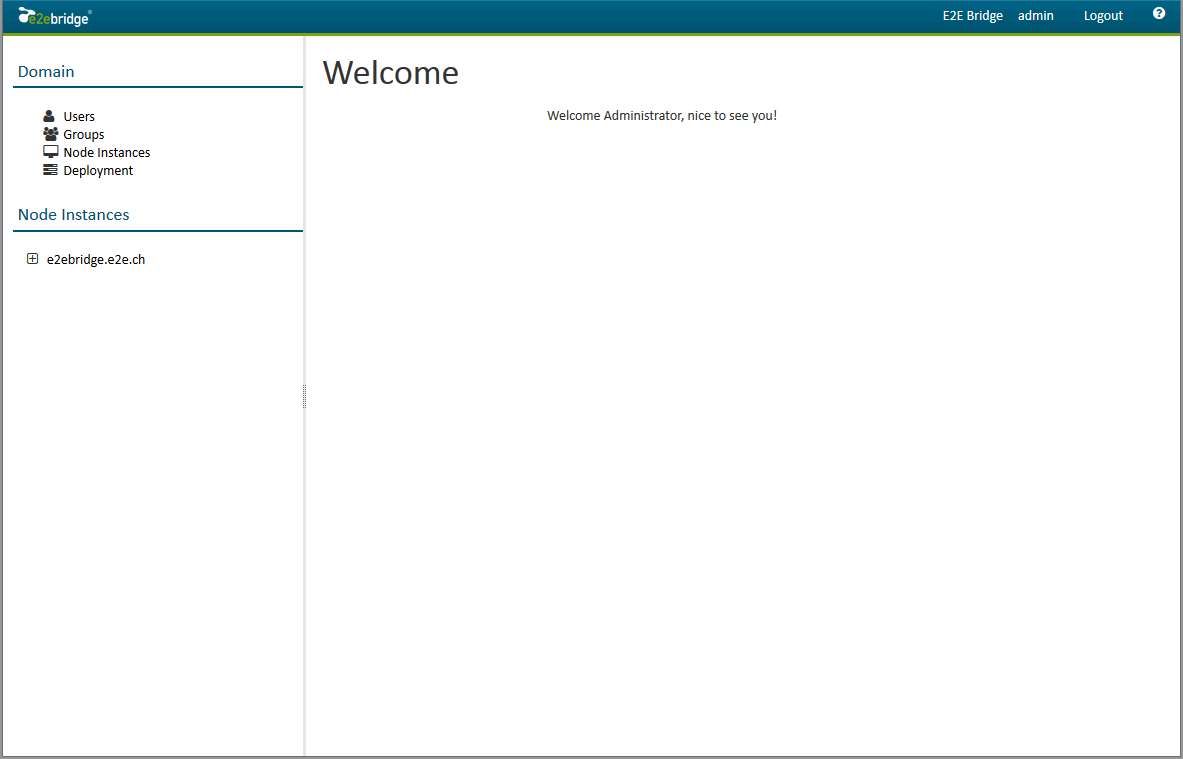
| After a successful login, a welcome screen is displayed. In the example shown on the left, the node instance e2ebridge.e2e.ch (on your system it will be the host you have chosen) is listed in the navigation panel. So far, no xUML service has been deployed to the server. |
Installing the E2E License Key
Before an xUML service can be started on the Bridge, the E2E License Key has to be installed.
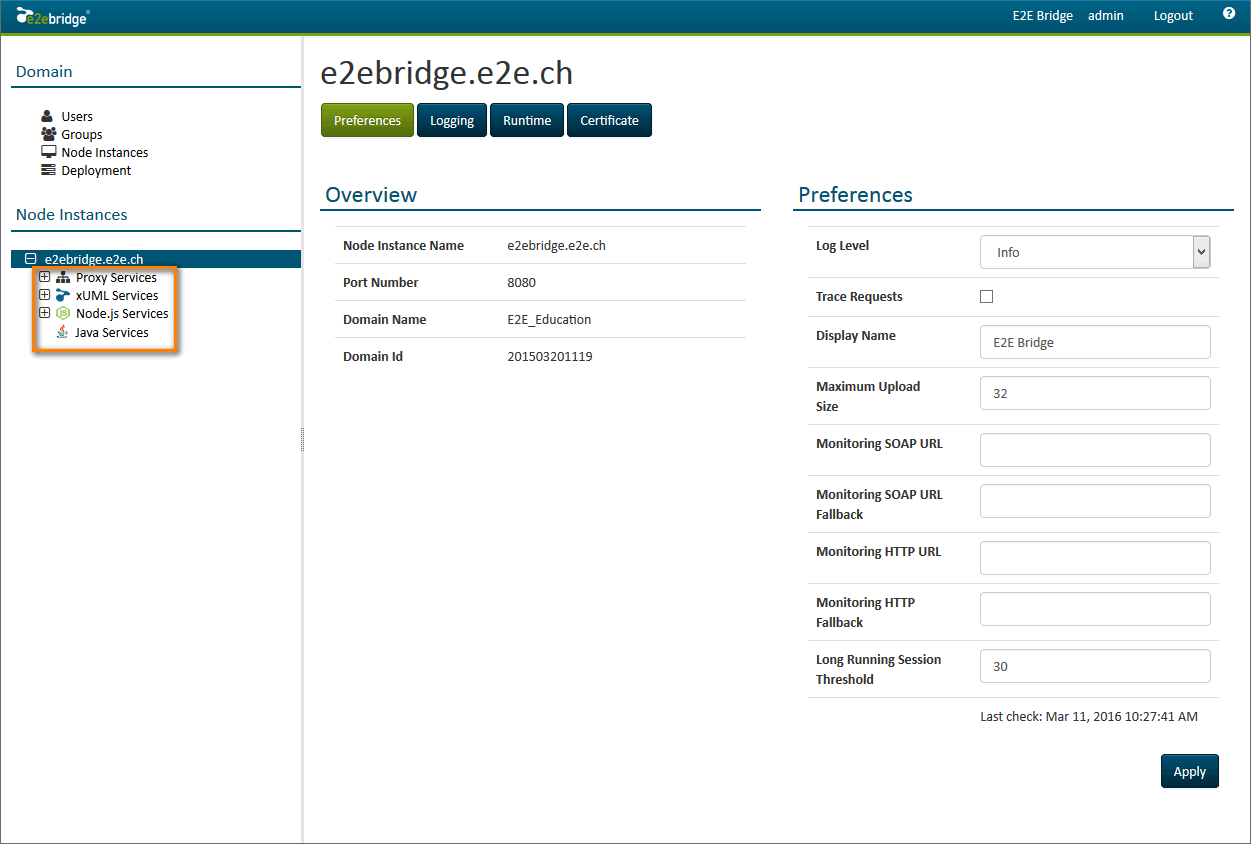 | Select the node instance (here e2ebridge.e2e.ch ) in the navigation panel on the left. The preferences of the node instance are displayed. Expand the navigation item by clicking the plus-sign. Four navigation items appear: Proxy Services, xUML Services, Node.js Services and Java Services. |
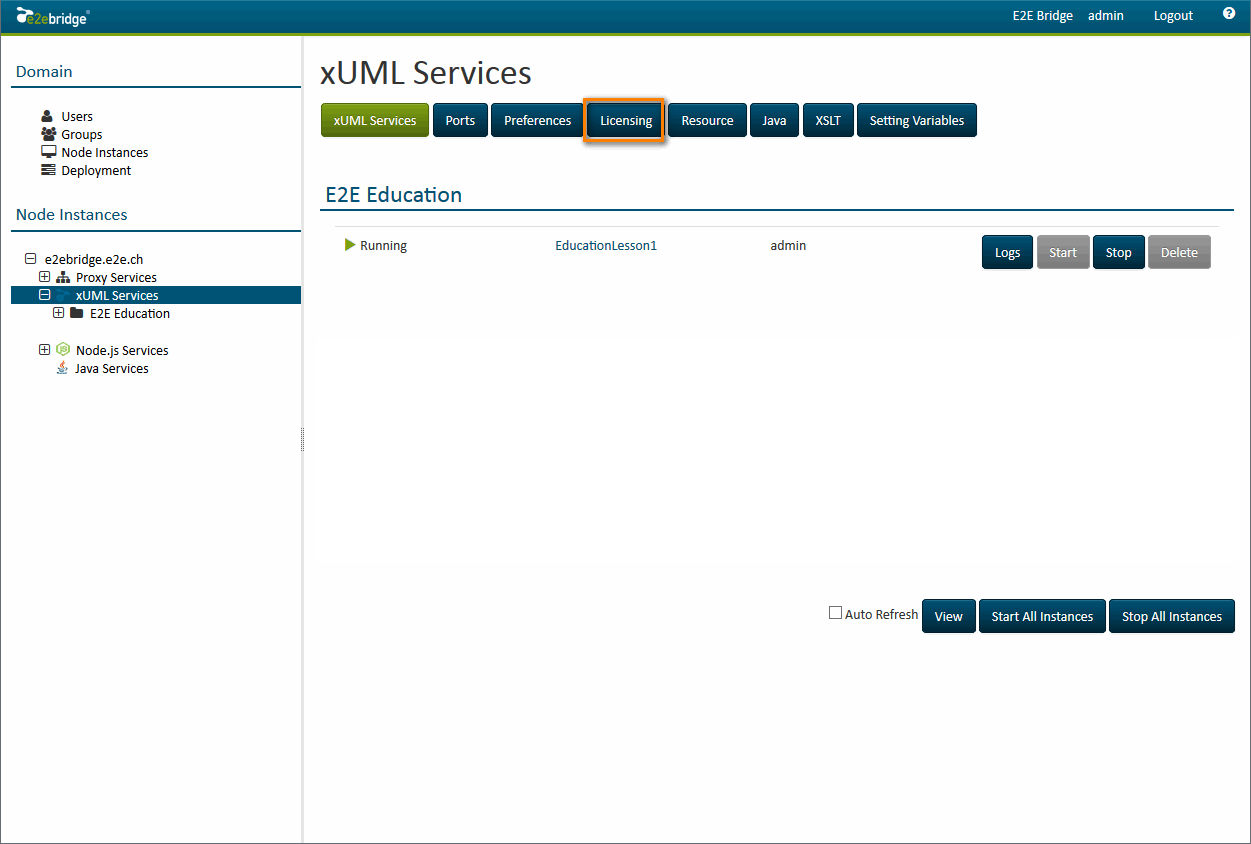 | Click xUML Services in the navigation panel. Several tabs for defining Server settings and administering other items are displayed. Switch to the tab Licensing. |
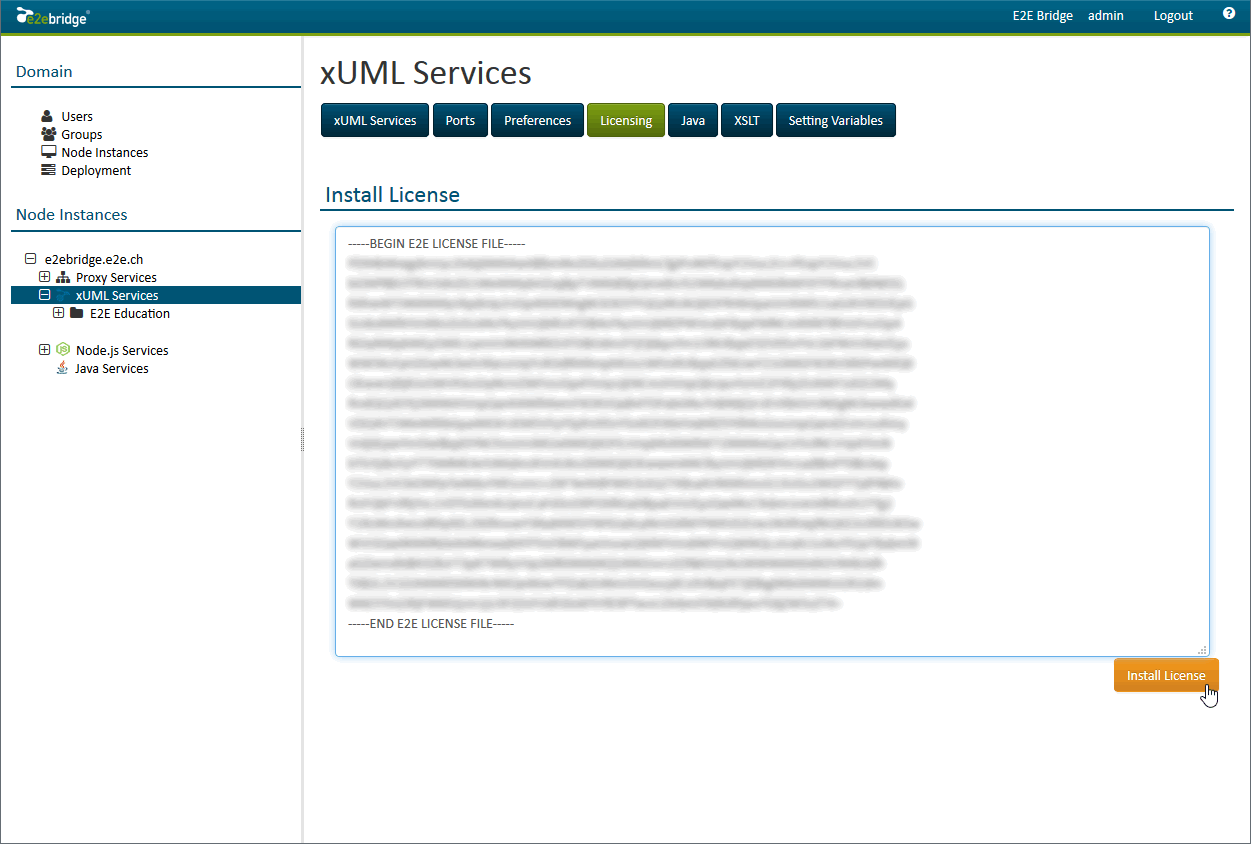 | Open the E2E license key file in an editor and copy all content. Paste the key into the field Install License and click the button Install License. |
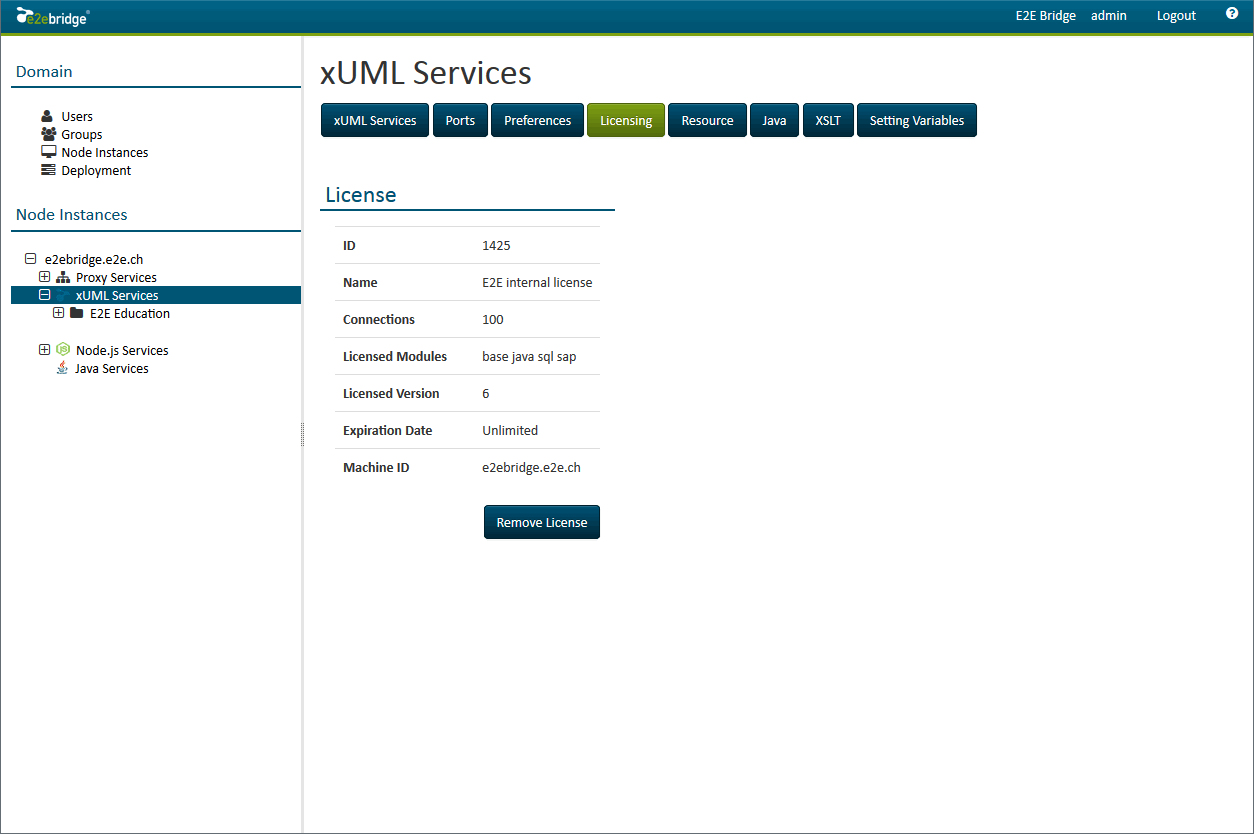 | After the installation of the license, the license details are displayed. |
Deploying the Compiled xUML Service
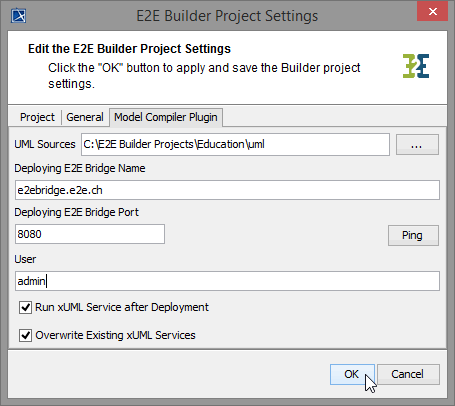
Before deploying the compiled xUML service, you first need to check the settings of the Builder project. Select E2E Builder > Settings from the menu.

| On the tab Model Compiler Plugin, you can check the deployment settings of your project.
Select OK to close the window, return to the Model Compiler window, and select the xUML service. |
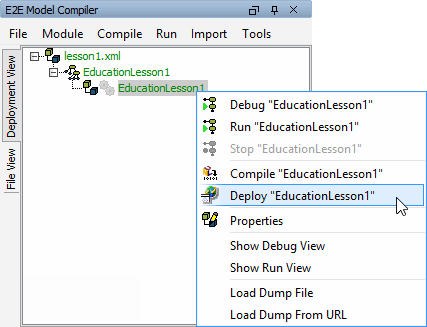
| Click the right mouse button and select Deploy "EducationDeployment". |
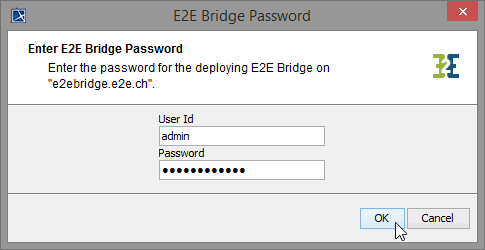
The next dialog asks you to enter a password. The Bridge addresses security issues and allows defining user and group access rights. For instance, users may be refrained from deploying xUML services (for more details see Group Roles in the Server User's Guide).
| If you have not defined other users on the Bridge, enter the user admin and the required password and click OK. |
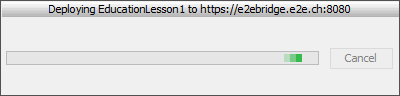
| The window shown on the left indicates that the deployment process is in progress. |
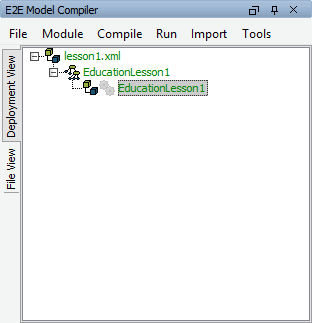
| If the deployment was successful, the file name and the xUML service name will turn green. If the deployment failed, then the name is displayed in purple. |
E2E Bridge
After you have logged into the Bridge for the first time, you deployed the compiled xUML service. Reload the browser window to see the change. As the Bridge session expires after approximately 30 minutes of inactivity, you may need to log in again.
 | The main window of the Bridge is displayed. |
| Expand the node e2ebridge.e2e.ch in the tree. Expand the entry xUML Services and the category E2E Education to see all deployed xUML service (here only EducationLesson1). |
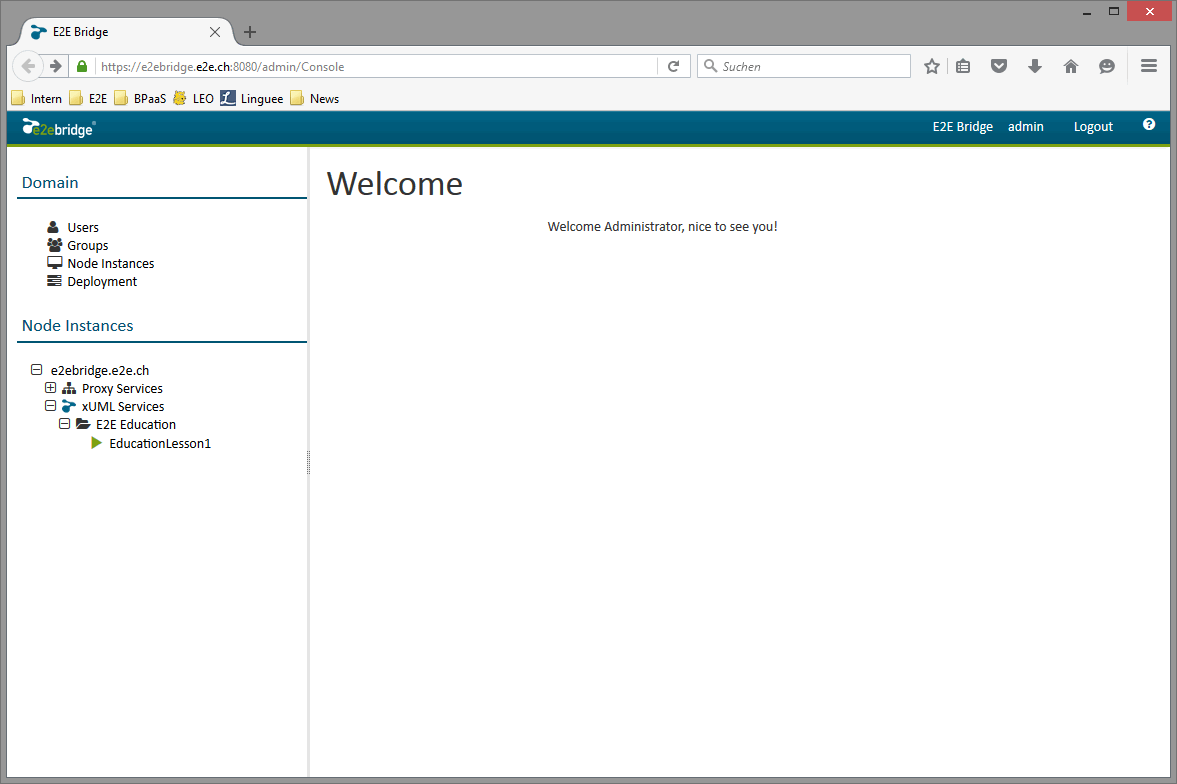
If many xUML services are deployed and managed in the Bridge, it makes sense to categorize them. Services belonging to the same category are grouped together in the navigation panel. In the example on the left, the xUML service EducationLesson1 is displayed below category E2E Education.
 | Clicking the hypertext link xUML Services, all deployed xUML services running on this node instance will be displayed in the working panel. You can start, stop, and delete them, and view their logs by using the appropriate buttons. To delete a service, you must first stop it. |
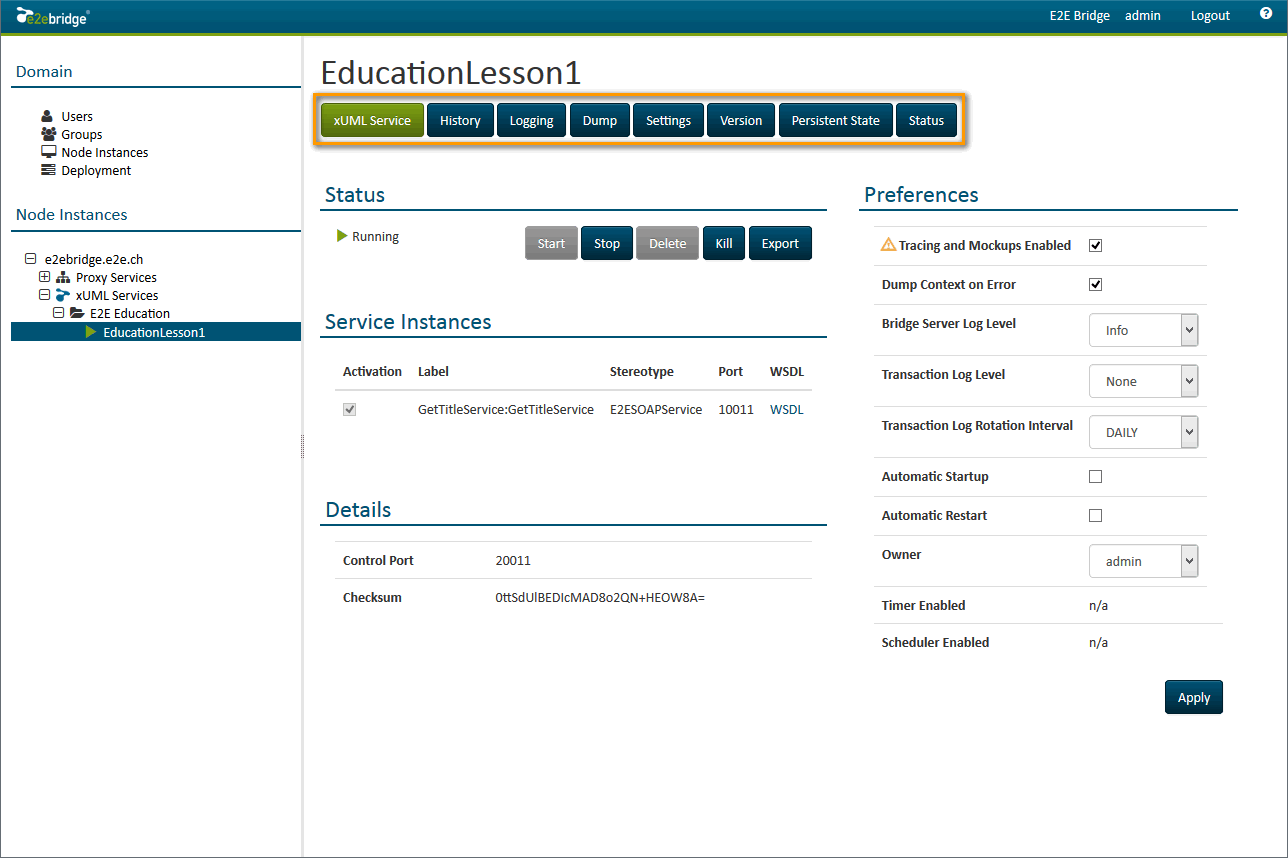
| You can click the xUML service EducationLesson1 to view further information on the tabs xUML Service, History, Logging, Dump, Settings, Version, Persistent State, and Status. The Start button is disabled, if the composite service is already running. The xUML service preferences can be changed even when the service is running. |
If you would like to read more about E2E Bridge, we recommend reading the E2E Bridge Integration Platform User's Guide.
Congratulations! You have successfully finished lesson 1 of the E2E Education.
Congratulations! You have successfully finished lesson 1 of the E2E Education.

On this Page:
Overview
Content Tools