
In the next modeling step, you will define the physical implementation of the Web service. Optionally backends can be defined that the service may need to connect to fulfill requests.
Component Diagram
A component diagram defines how components are wired together to form larger components or software systems.
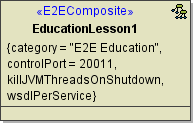
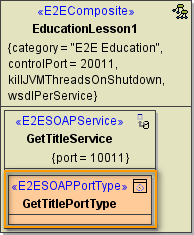
In context of the Bridge you define xUML services that are deployed to an E2E Runtime. In lesson 1 this is a Web service containing a SOAP interface. From the <<E2EComposite>> (see EducationLesson1 in the picture below), the E2E Model Compiler generates a repository file that contains the xUML service defined here.
The example component diagram below shows the component diagram of lesson 1.
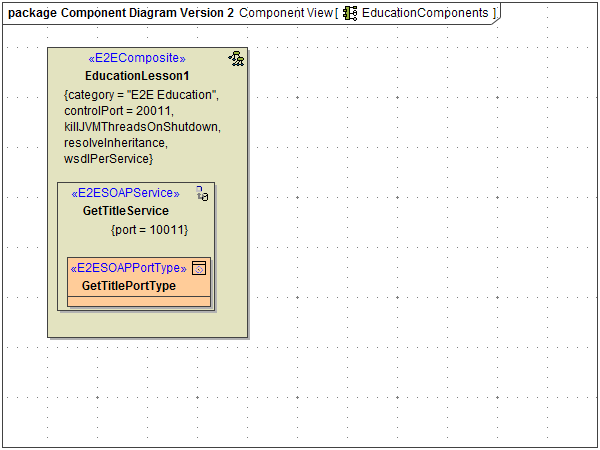
For each component in the component diagram you can define certain settings that a service needs in order to run properly. For the SOAP service component, for instance, these are the protocol and the port used by the service.
E2E Components Wizard Overview
The E2E Component Wizard helps you to define all components, classes, and interfaces that are needed to build a complete component diagram. It guides you through all necessary steps and supports you with the customization of all components.
Once the component diagram has been defined, you can deploy the compiled xUML service.
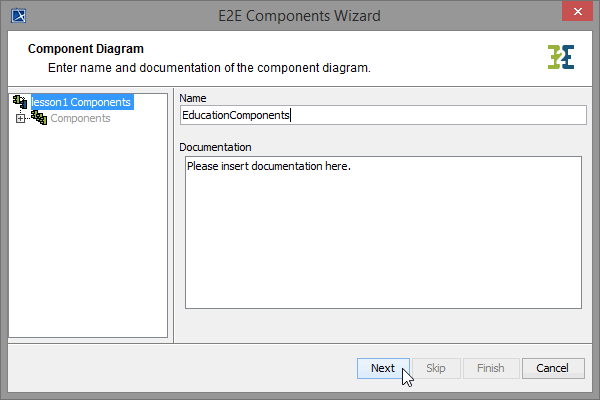
The picture below shows the starting dialog of the E2E Components Wizard.
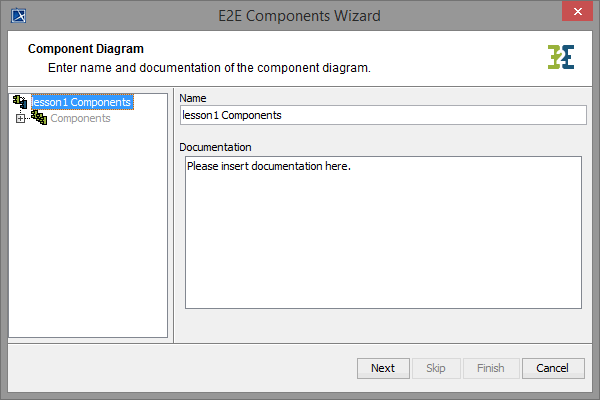 | The wizard is separated into two panels.
|
Each dialog of the Components Wizard provides different buttons. Some buttons are only enabled if a required previous step has been completed.
| Button | Description |
|---|---|
| Add | Adds the selected UML element to the component diagram. |
| Remove | Removes the selected element from the component diagram. |
| New | Defines a new component, class, or interface. |
| Next | Continues with the next step. |
| Skip | This button is enabled, if it is possible to skip some steps (however, if you defined frontend, backend, or proxy services, they need to be completed). You may continue with the definition of backends, proxies, or dependencies. It may also be possible to directly finish the wizard and confirm to draw the component or deployment diagram. |
| Finish | Closes the Components or Deployment Wizard and draws all defined elements in the component or deployment diagram. This button is only visible in the last step. |
| Cancel | Quits the Components or Deployment Wizard and discards all elements that were defined since starting with the first step. |
The Components Wizard can be canceled at any time.
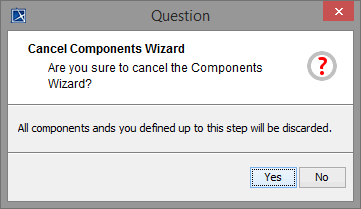 | After clicking cancel, the Components Wizard prompts for confirmation. |
Defining the xUML Service Components
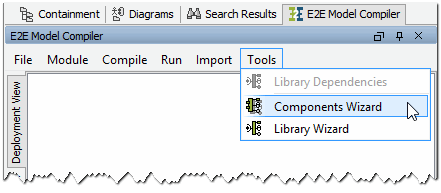
Select the menu icon ![]() E2E Components Wizard in the MagicDraw toolbar to start.
E2E Components Wizard in the MagicDraw toolbar to start.
![]()
You can also start the wizard from the Model Compiler menu Tools > Components Wizard.
The Components Wizard dialog window opens.
Defining the Components Diagram
| In the first step, you are prompted to enter the name of the component diagram. Name it EducationComponents. Click Next to proceed to the second step. |
In the second step, you will define the service composite. The composite represents the repository of the Web service and will contain all necessary configuration information.
| Name the composite EducationLesson1. In the field Control Port, enter 20011 (the value needs to be between 20'000 and 29'999). The E2E Console uses the control port to control a deployed xUML service. |
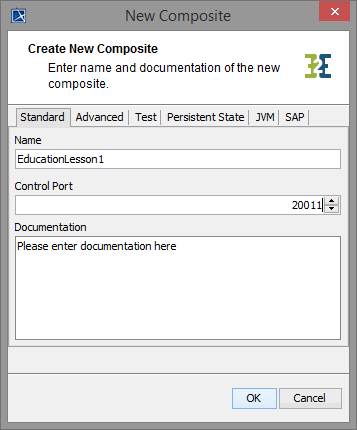
The service composite name EducationLesson1 is also used to manage the xUML service in the Bridge. This name will appear in the navigation pane of the Bridge of a development, test, or production Server.
Defining the Service Composite
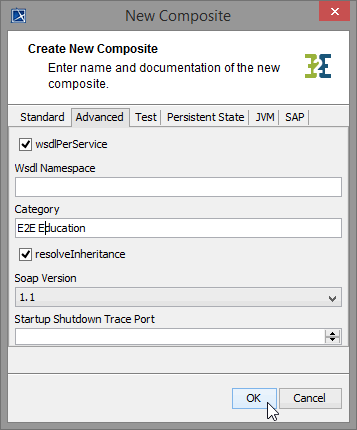
In the next step, you will define an advanced setting. Switch to the tab Advanced.
| If many xUML services are deployed and managed in the Bridge, it makes sense to categorize them. xUML services belonging to the same category are grouped together in the navigation panel. On the Advanced tab of this dialog you can define the category. Enter the category E2E Education and click OK. |
| With the steps until this point, you defined the xUML service component EducationLesson1. This will be drawn in the component diagram EducationComponents. |
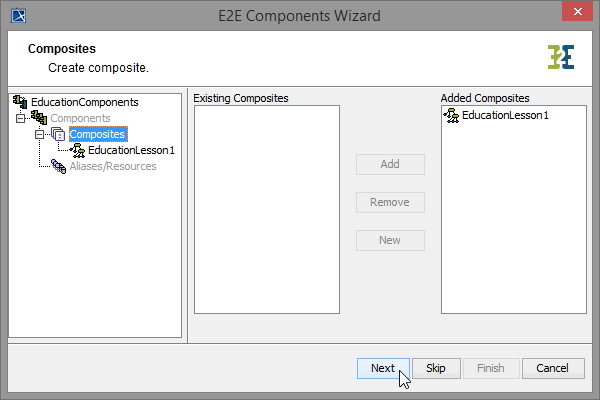
| In the customization panel, you will find the new xUML service component EducationLesson1 on the right side. Click Next. |
Defining the Frontend Service
In the next step, you define the frontend service that will be part of the xUML service.
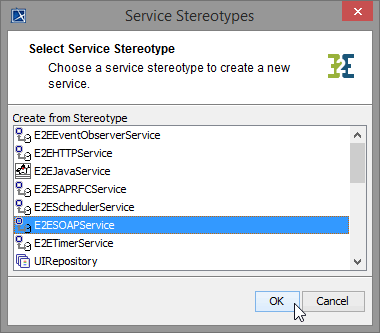
All possible frontend service stereotypes are displayed:
- E2EEventObserverService
- E2EHTTPService
- E2EJavaService
- E2ESAPRFCService
- E2ESchedulerService
- E2ESOAPService
- E2ETimerService
- ...
| As you model a Web service, you need to select the service stereotype E2ESOAPService. Click OK. |
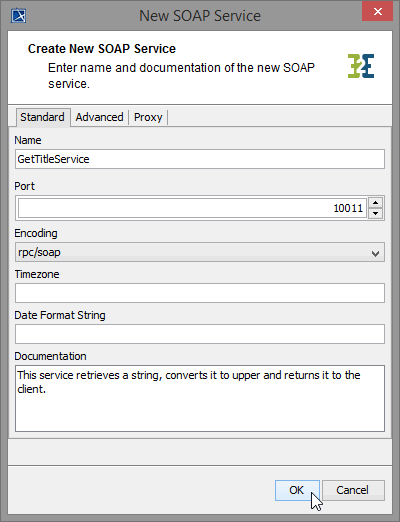 | Customize the service component:
Click OK. |
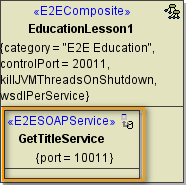
| Now, in the component diagram the service component GetTitleService is placed within the service composite component EducationLesson1. |
| In the customization panel on the right, you will find the new service component GetTitleService. Click Next. |
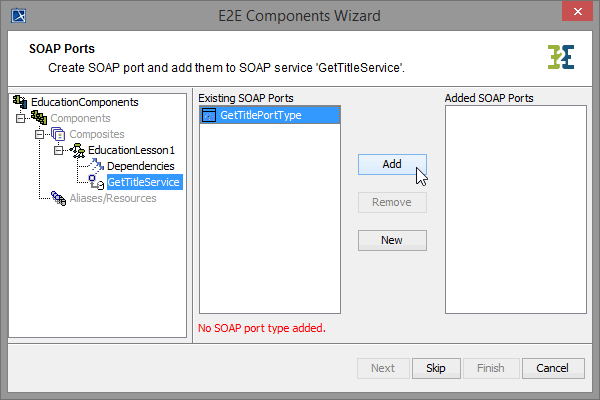
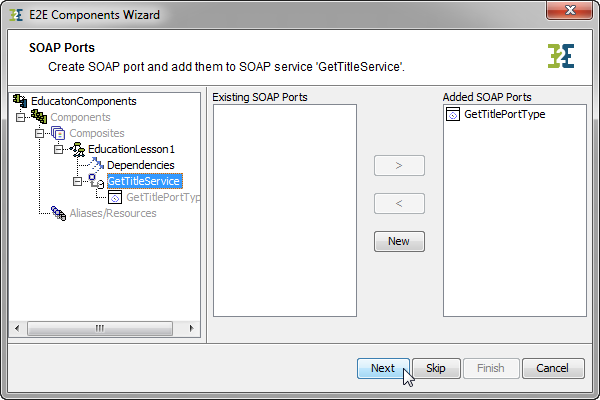
| In the next step, you will define the interface of the SOAP service. Through this interface, the Web service is accessible from the outside world. You already defined a port type class in step Web Service Interface. The Components Wizard lists the port type (GetTitlePortType) on the left. Select it and click the button Add to add the component to the component diagram. |
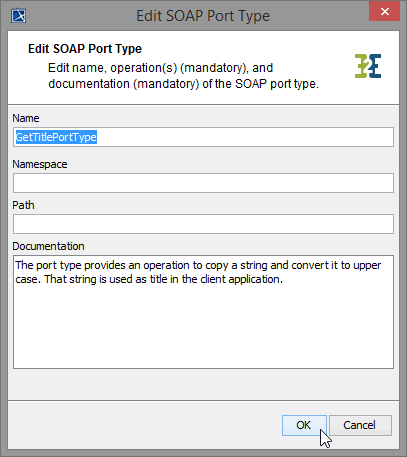
| In the following dialog, you can configure the port type. Just leave the default values and click OK. |
| In the component diagram, the port type class GetTitlePortType is placed within the service component GetTitleService. |
| In the customization panel on the right, you will find the selected port type GetTitlePortType. As an interface can only be added once to a component diagram, the port type GetTitlePortType is not displayed anymore in the Existing SOAP Ports list on the left. You have now completed the frontend of your Web service. First, you defined the xUML service, then the SOAP service, and finally the SOAP interface. Click Next. |
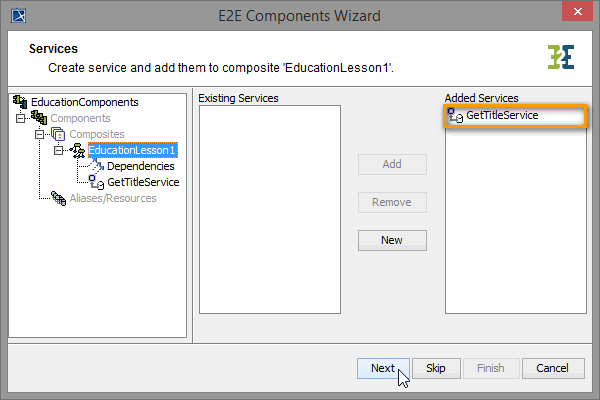
| In the Services tree of the tree panel, the xUML service is selected again, to give you the option to define further frontend services. As you do not need any further elements, click Skip. |
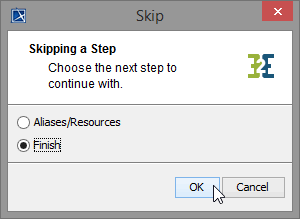
| All necessary components have been defined. As you do not define any backends or proxies in lesson 1, choose the option Finish to continue with the last step and click OK. |
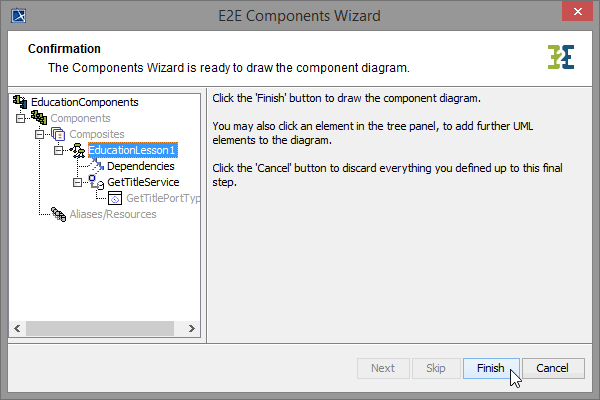
| This is the final step of the Components Wizard. You need to confirm drawing the component diagram. If the component diagram is not complete yet, you may select an element node in the tree panel and add further UML elements to the diagram. |

The component diagram EducationComponents is drawn in MagicDraw and will be opened afterwards.
Save ![]() the model.
the model.
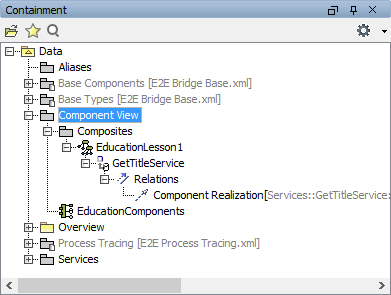
| The defined components are saved in the package Data / Component View. |
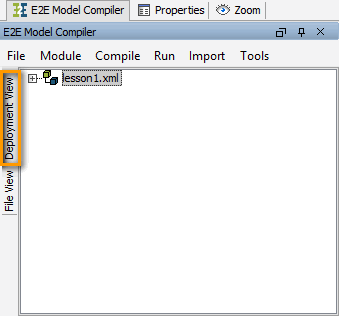
| In the Deployment View of the Model Compiler, the XMI file lesson1.xml is displayed. |
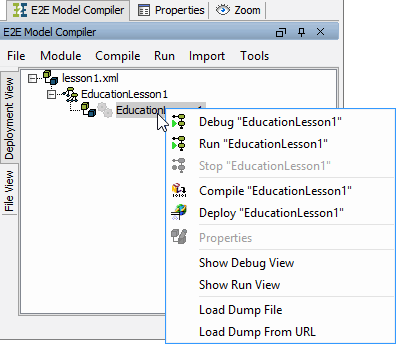
| Expand the XMI file lesson1.xml to unhide the composite service EducationLesson1 and further below its deployment definitions.The service is now ready to be compiled and deployed. |

On this Page:
Overview
Content Tools