
In the next modeling step, you will learn how to model data structures. You will start modeling a class that stores input data of the new Web service. Data structures are modeled with classes that are visualized in class diagrams. Objects, which are instances of these classes, will be used during the modeling process in activity diagrams.
Defining the Classes
In the containment tree, select the Classes package with the right mouse button and select Create Element > Class.
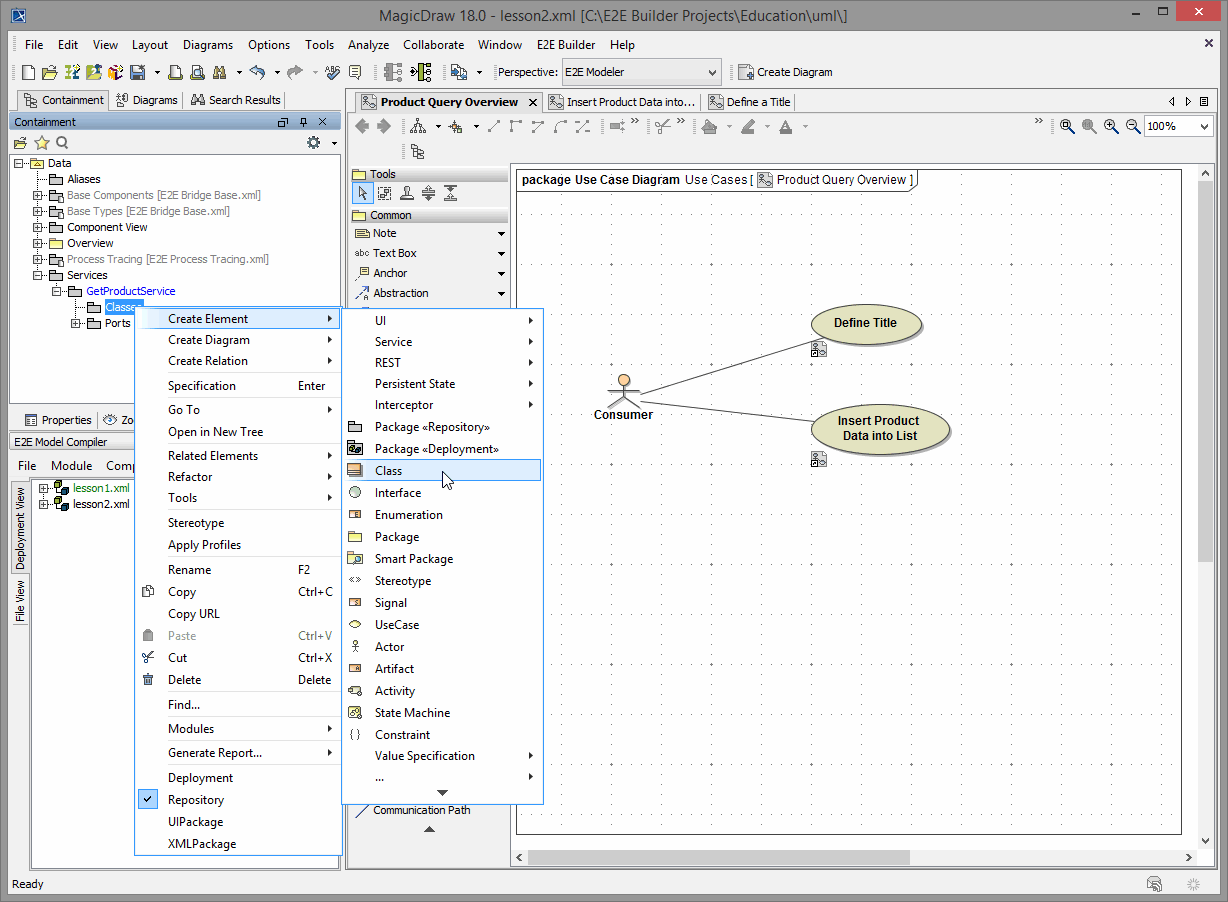
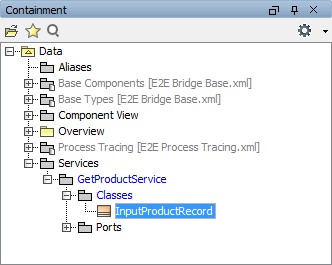
| The new class will store data that is entered by the actor. A data record represents a product. Assign the name InputProductRecord to the new class. |
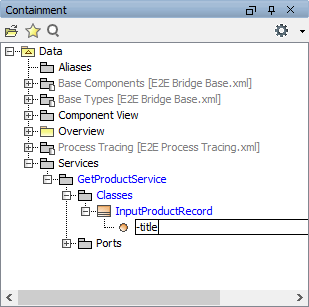
In the next step, you will define the properties of the new class by adding attributes. Select the class with the right mouse button and select Create Element > Property as shown below.

| Assign the name title to the first attribute of the new class. | |
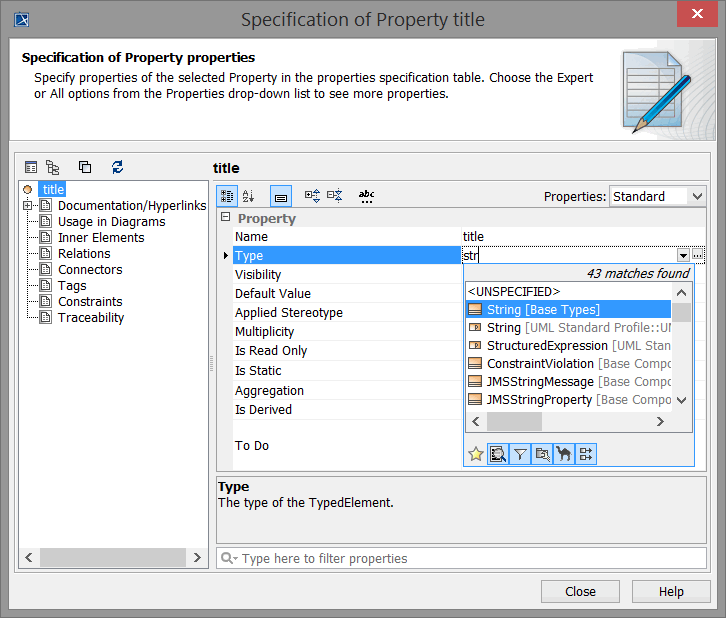
| Now, define the new attribute to be of base type String. Double-click the attribute node in the containment tree to open the Property specification dialog. Click into the Type field and start typing str on the keyboard to filter the list. Select String [Base Types] with the arrow keys and press Enter. |
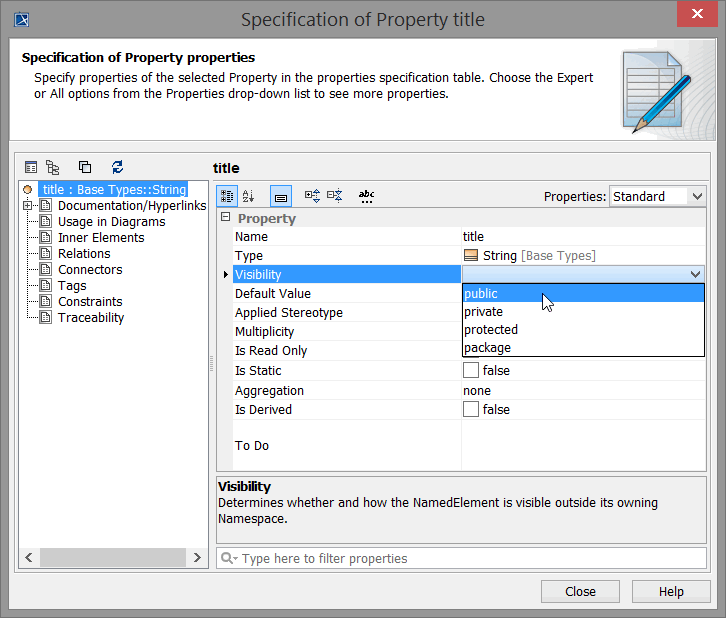
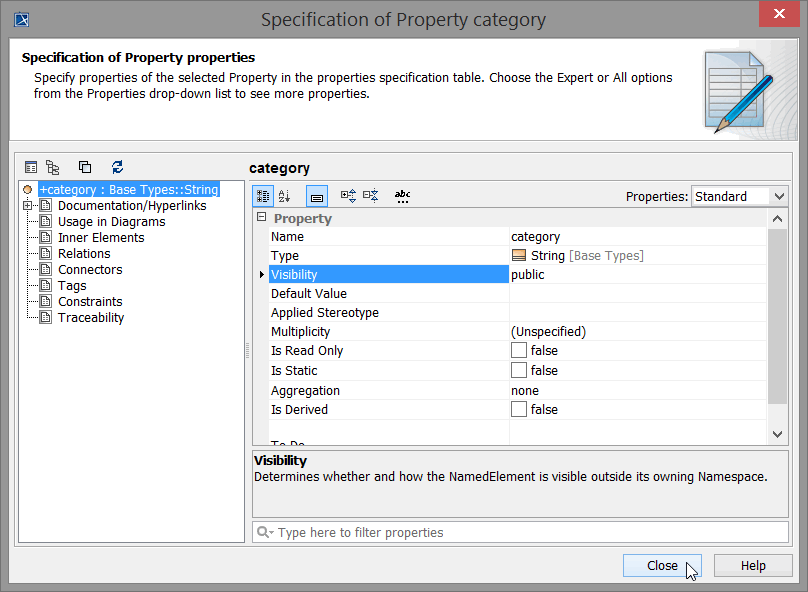
| Click the pull-down menu Visibility and select public. Public attributes can be read and modified in activities defined outside the class. Normally, you will use public visibility in E2E xUML service context. You can set the default visibility of a project to public, so you will not need to change it every time. How to change the default visibility of a project is described here: Attribute Specification > Visibility. | |
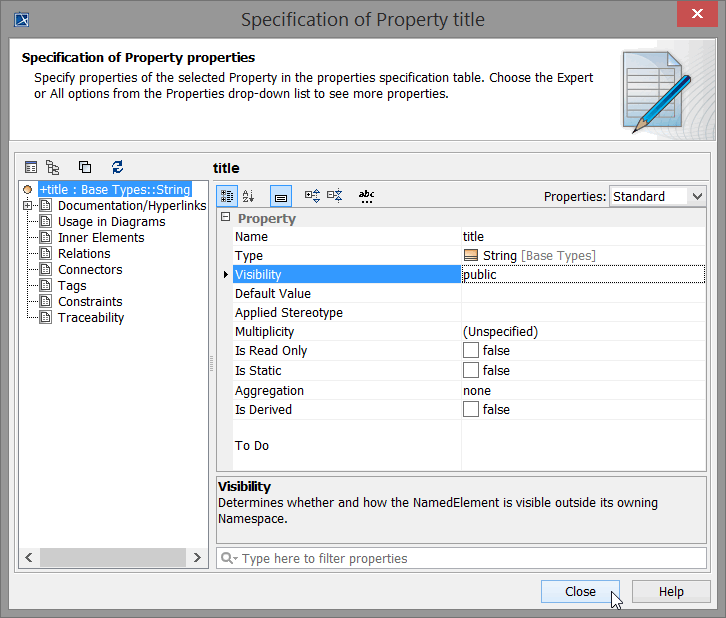
| Do not change any other settings and close the dialog. | |
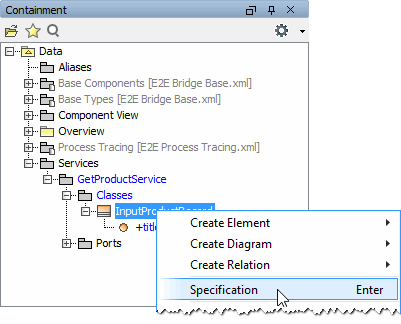
| You will now add the other attributes directly in the Class specification dialog. Select the class with the right mouse button and select the menu item Specification. | |
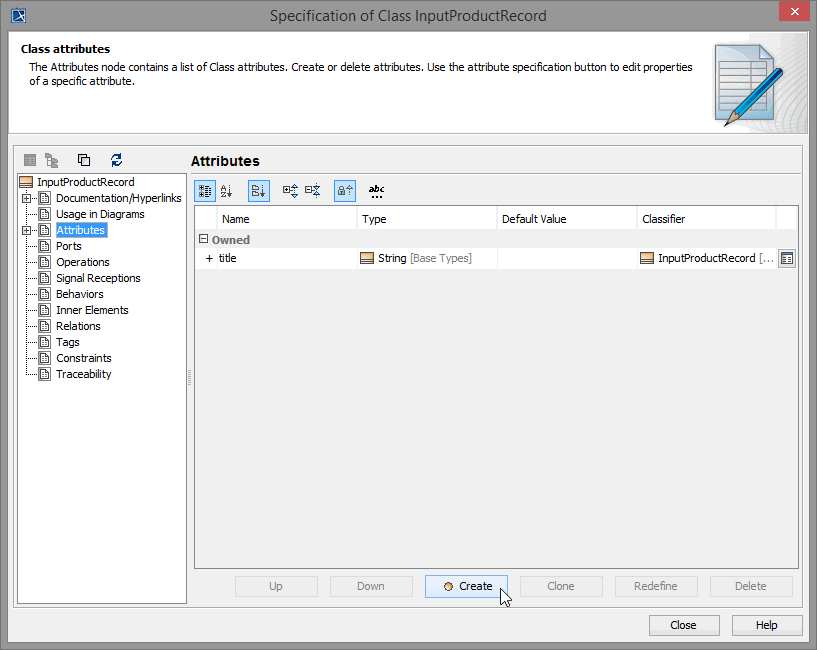
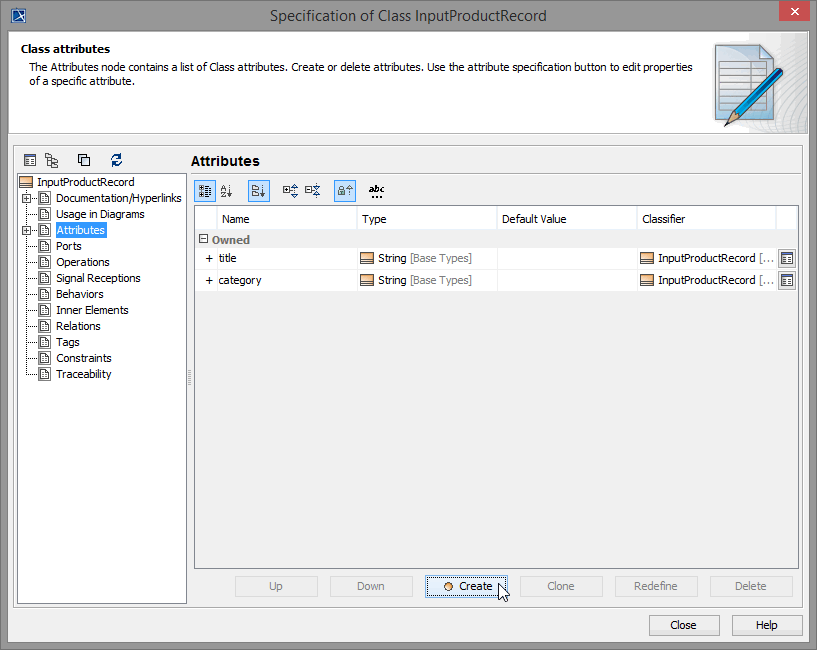
| Click the item Attributes in the left navigation panel. Click the Create button to add another attribute. | |
| Enter the attribute name category, set the type to String, and the visibility to public. Click the Close button to return to the attribute list. | |
| The second class attribute is defined now. |
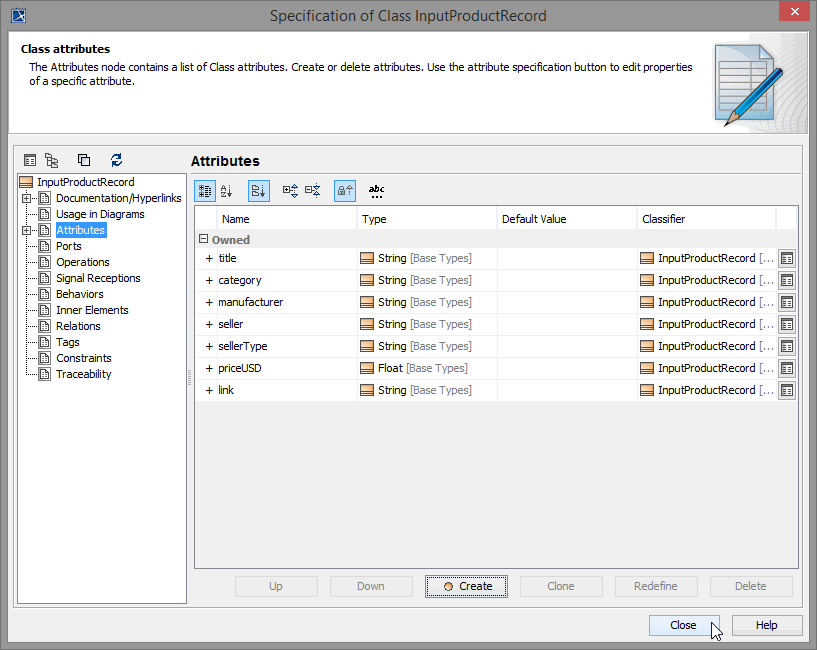
Now, add the following attributes to the class. Pay attention to correct spelling.
| Name | Type | Visibility |
|---|---|---|
| manufacturer | String | public |
| seller | String | public |
| sellerType | String | public |
| priceUSD | Float | public |
| link | String | public |
| The class InputProductRecord with seven attributes is completed. Click the Close button. |
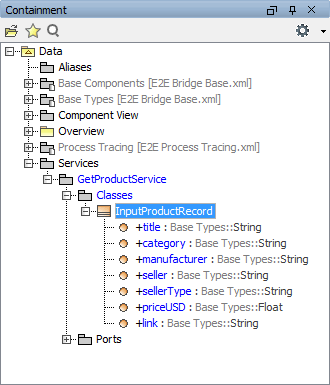
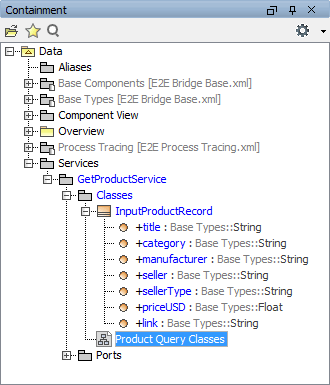
| The new attributes are listed in the containment tree as well. |
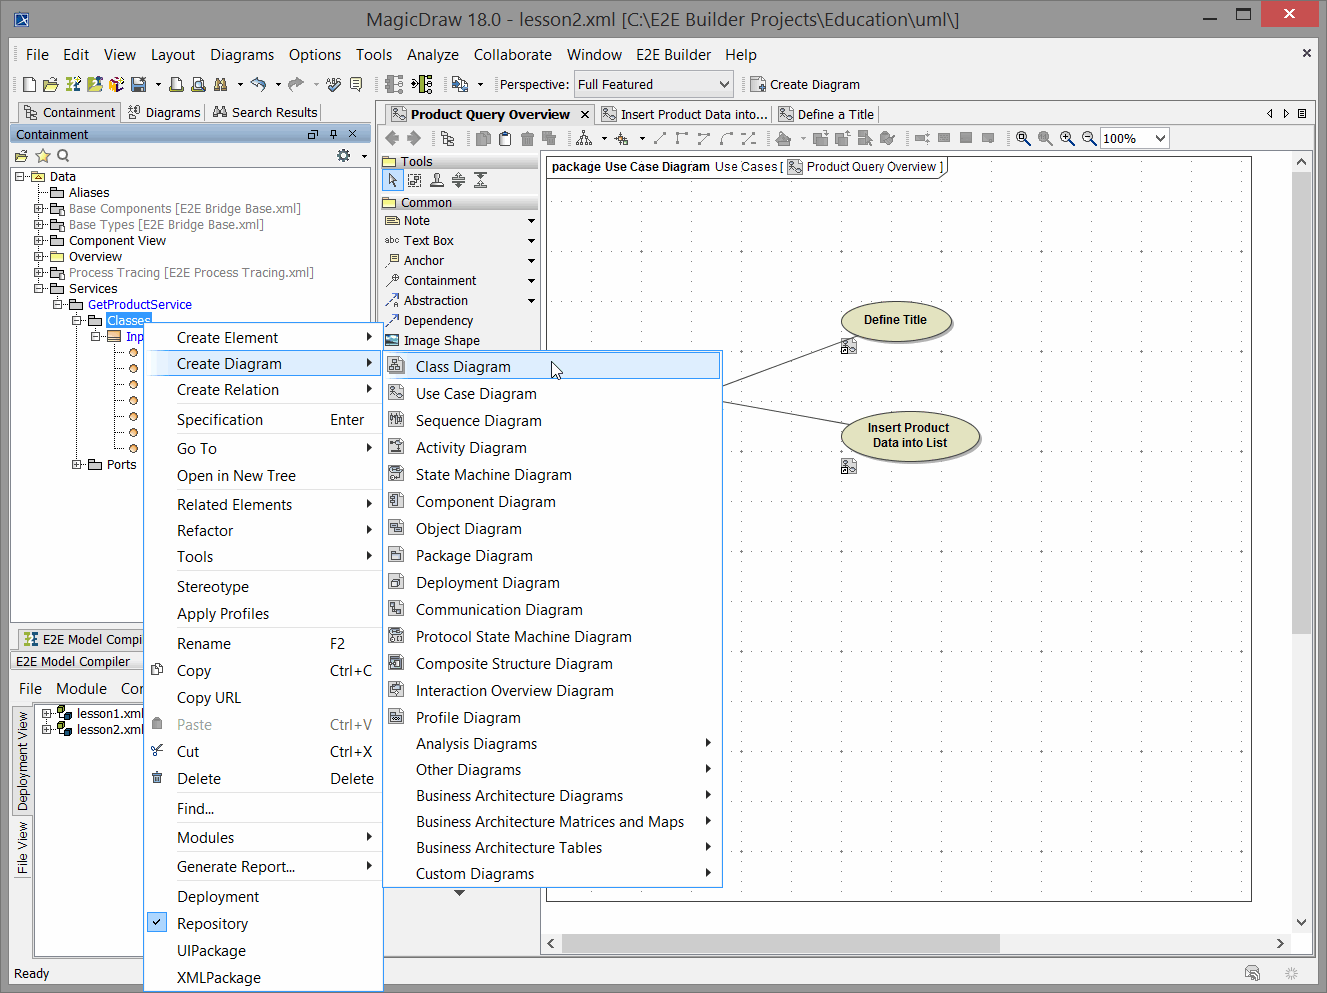
In the next modeling step, you will draw the previously defined class in the diagram pane. Select the package Classes in the containment tree and create a new Class Diagram as shown below.
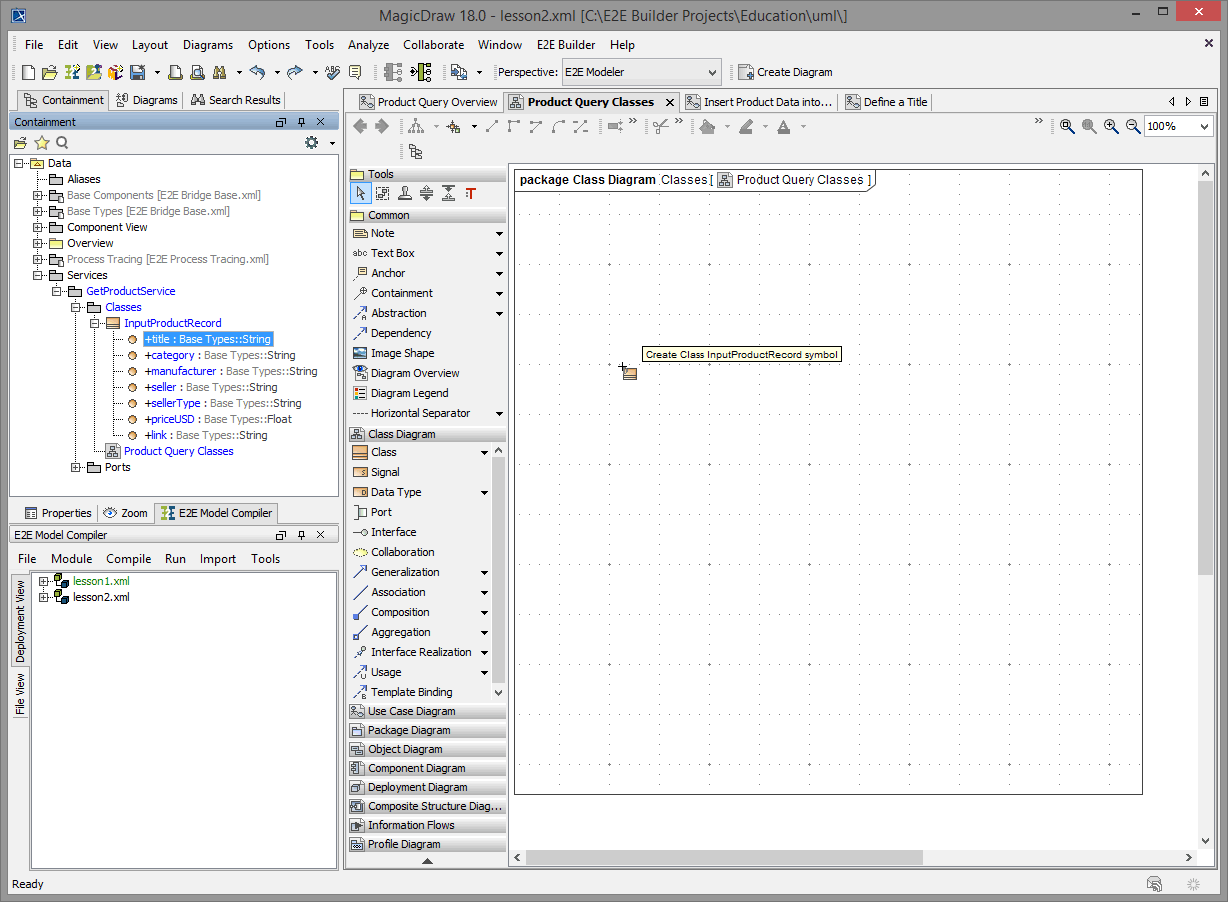
| Assign the name Product Query Classes to the new class diagram. The new class diagram will be opened in the diagram pane. |
Select the InputProductRecord class in the containment tree and drag and drop it onto the diagram pane.
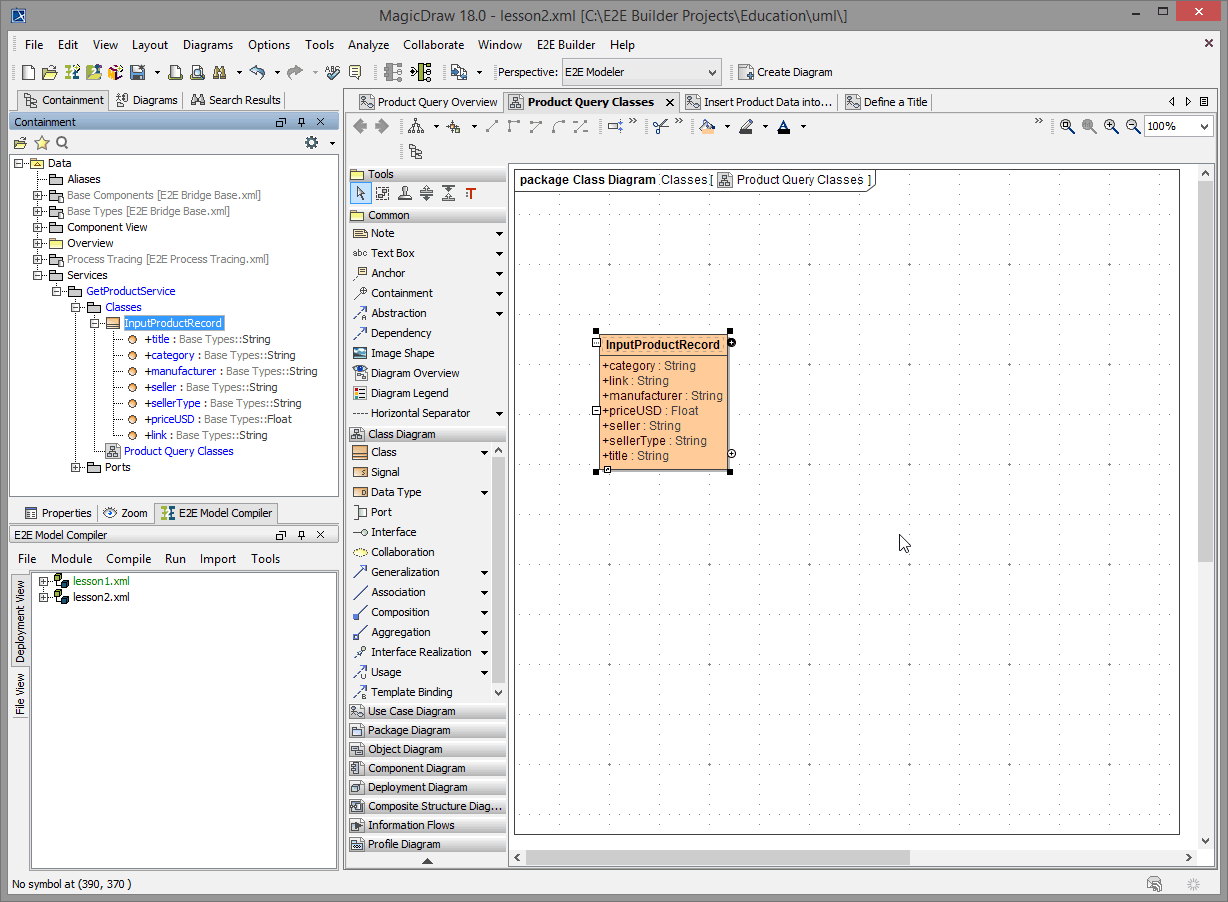
Now, the class with its attributes and attribute types is displayed on the diagram pane. The + sign in front of each attribute indicates that their visibility is public.
Each instance of the class represents a product. You have defined the attribute priceUSD in the class InputProductRecord. Later in the example, you will convert the price for each product into another currency. In order to perform this calculation, you will use exchange rates that are provided by another class, you will define later on.
The result of the currency calculation will be stored in an output class identically equal to InputProductRecord, but this class will have additional attributes to store the converted price in CHF and the exchange rate.
The easiest way to create the output class is to copy and modify the input class.
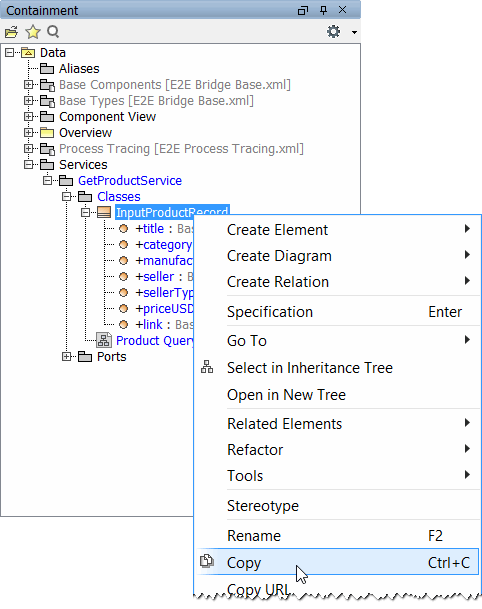
| Navigate to the InputProductRecord class in the containment tree, select it with the right mouse button, and click Copy. |
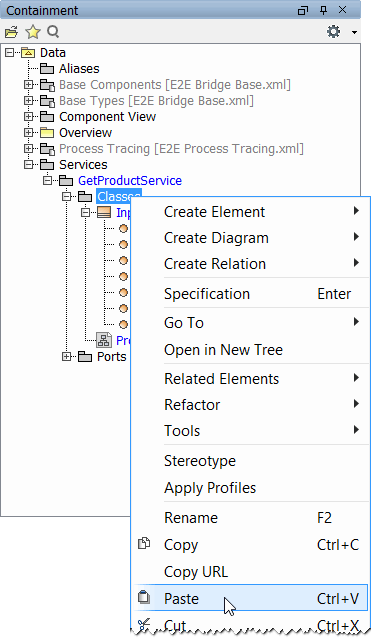
| Then, select the package Classes with the right mouse button and click Paste. |
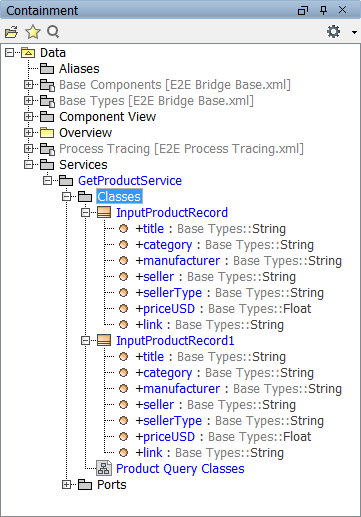
| The new inserted class automatically gets assigned the name of the copied class, with the figure 1 appended to it: InputProductRecord1. |
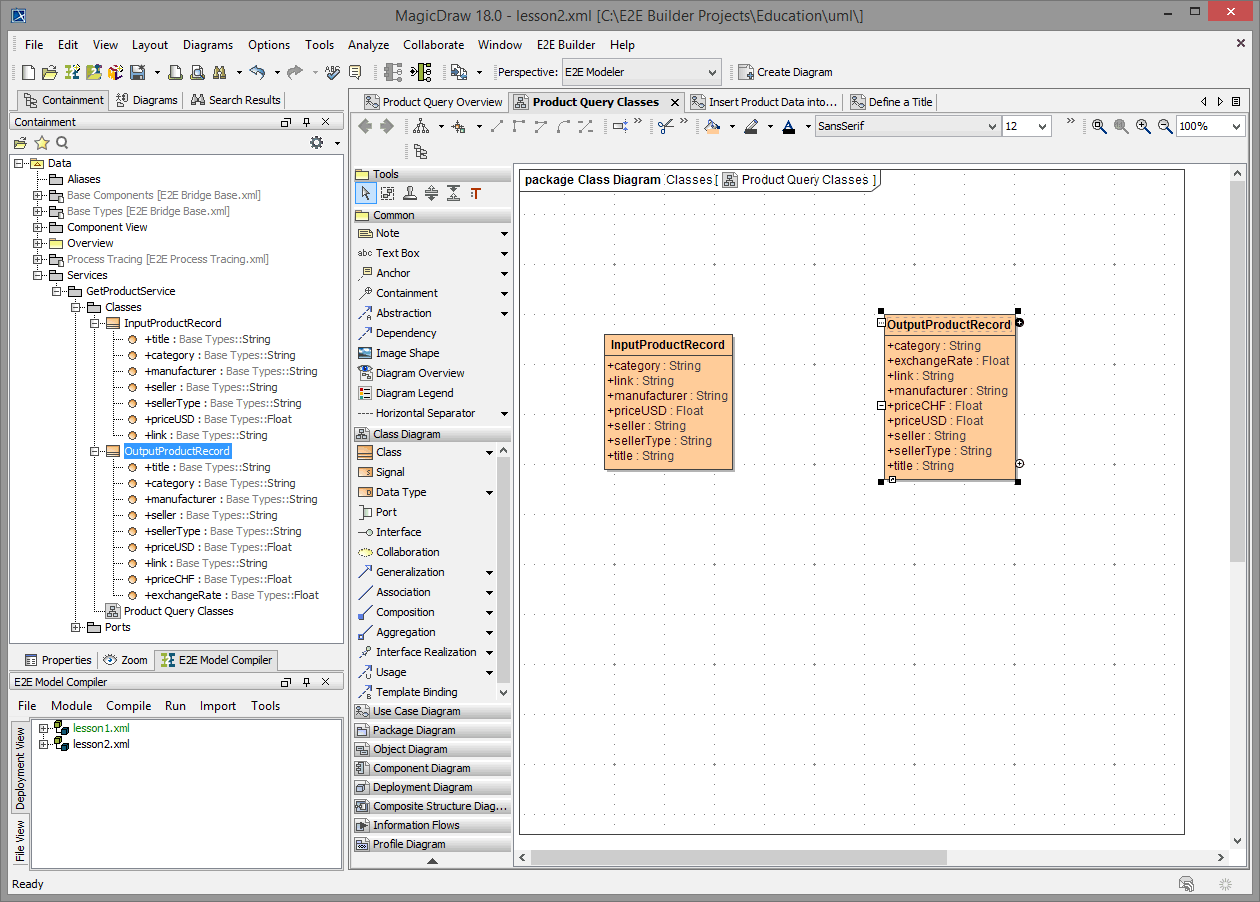
| Double-click the class InputProductRecord1 and rename the class to OutputProductRecord. |

Click Create and add the following attributes.
| Name | Type | Visibility |
|---|---|---|
| priceCHF | Float | public |
| exchangeRate | Float | public |
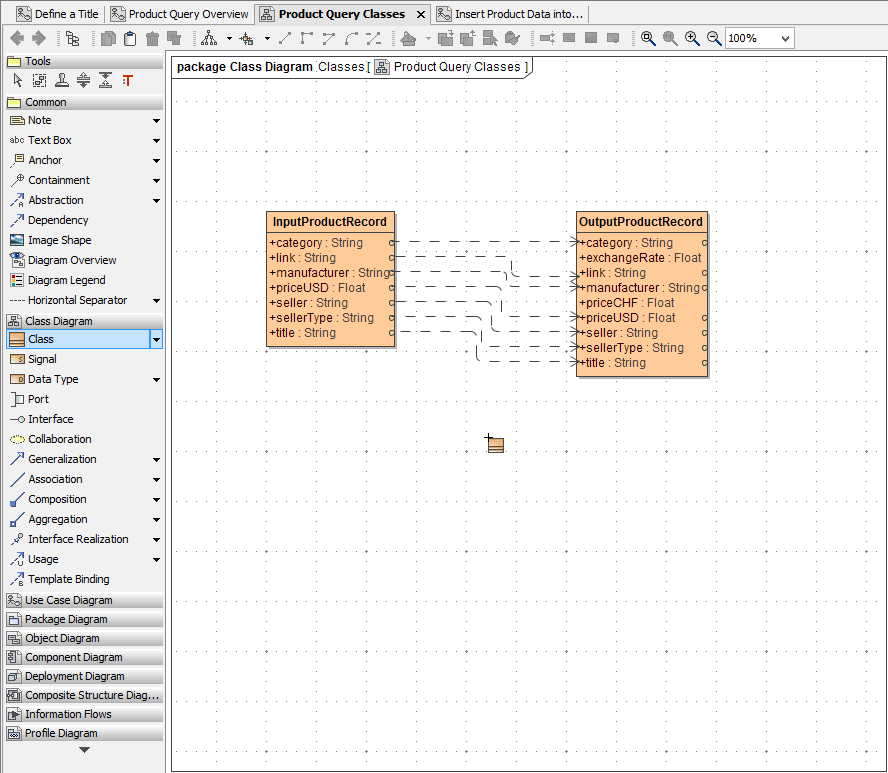
Add the new class to the class diagram, which afterwards should look like shown in the picture below.
Save ![]() the UML model.
the UML model.
Defining Dependencies
The Web service will return the input product data and additionally the converted price in CHF and the applied exchange rate.
By defining Dependencies between the attributes of the input and output class, the input data can easily be mapped to the output data. Thereby, the direction of the Dependency defines the direction of the information flow. Later, when implementing the behavior of the service in the activity diagram, you will initiate this mapping by using the <<Mapping>> stereotype in an action.
Choose a Dependency from the diagram toolbar.  | |
Move the mouse over the first attribute category of class InputProductRecord until the blue activation frame appears. 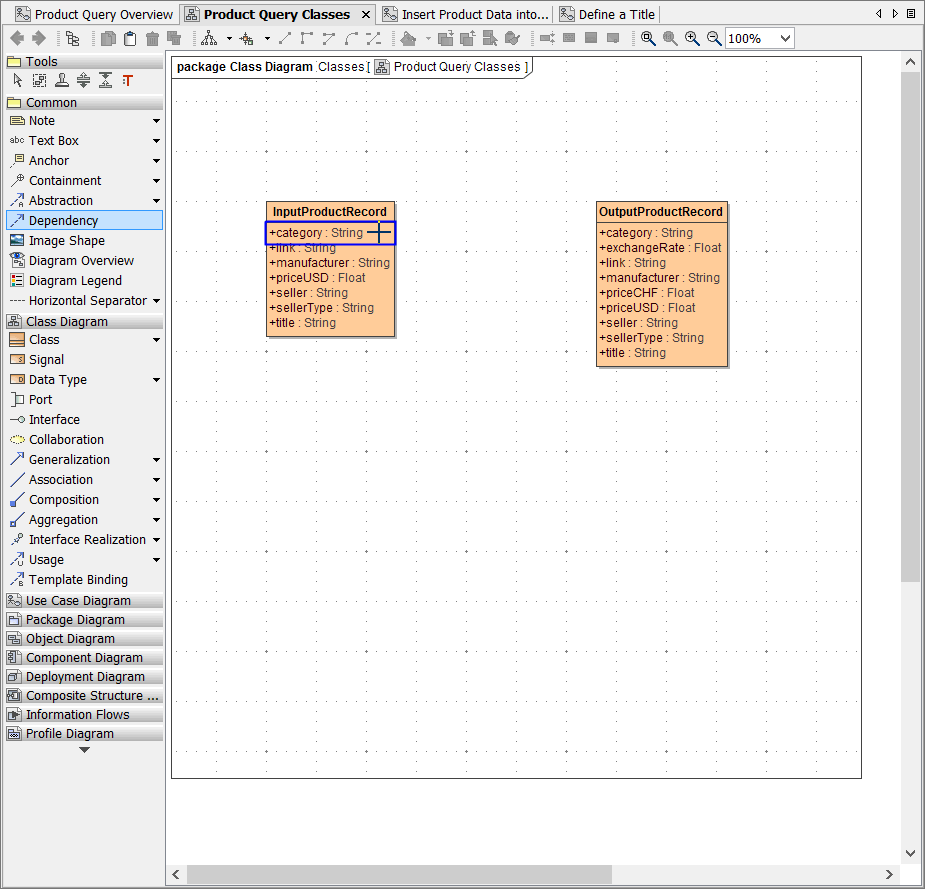 | |
Left-click and drag the dependency line to the corresponding attribute category of the other class OutputProductRecord. When the blue frame appears, click again to draw the dependency. 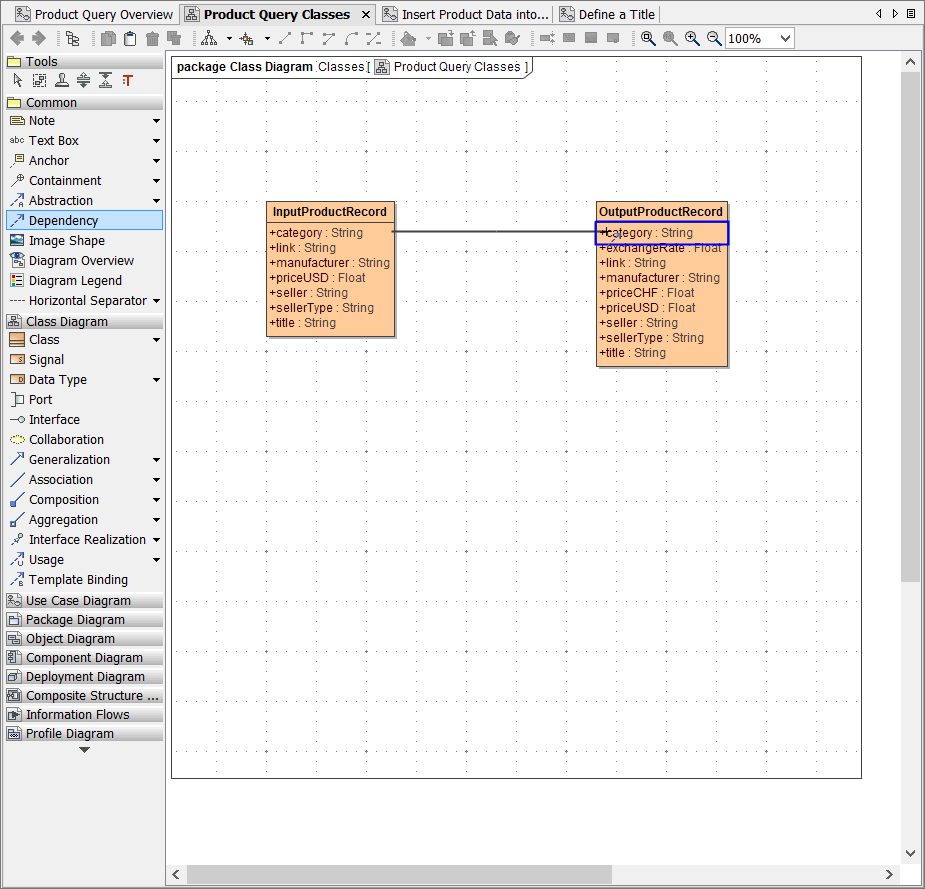 | |
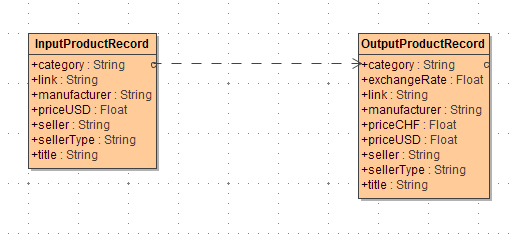
| The Dependency arrow may not be drawn as a straight line as shown in the example on the left. |
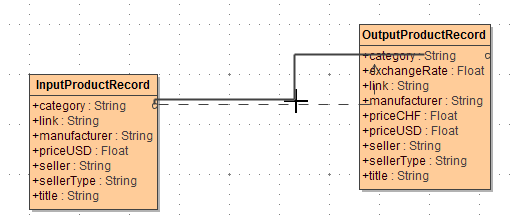
| You can reroute the arrow by clicking and dragging the black handles of the line. Alternatively, you can already route the path of the arrow while drawing it (see next step). |
| Choose another dependency from the diagram toolbar. Click the attribute title of class InputProductRecord. |
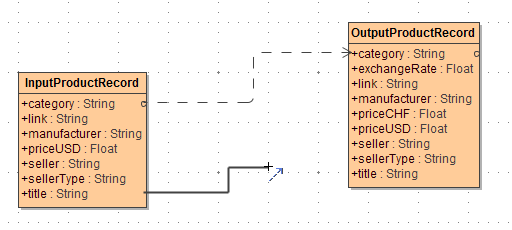
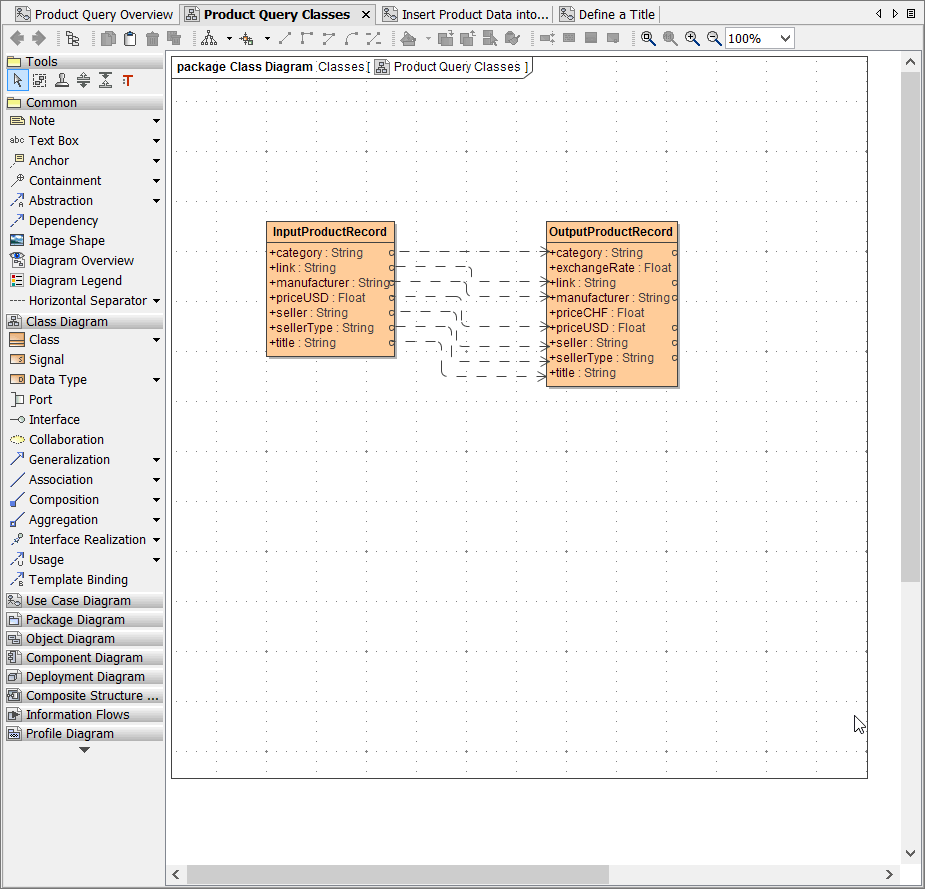
Draw dependencies from all InputProductRecord attributes to the corresponding attributes of class OutputProductRecord.
Now, the class diagram should look like shown in the picture below.
Save ![]() the UML model.
the UML model.
Defining the Currency Calculator
The currency calculator will be implemented in a separate class. In lesson 3, you will extend this class to call an external Web service.
| In order to create the class, you will use a different technique. |
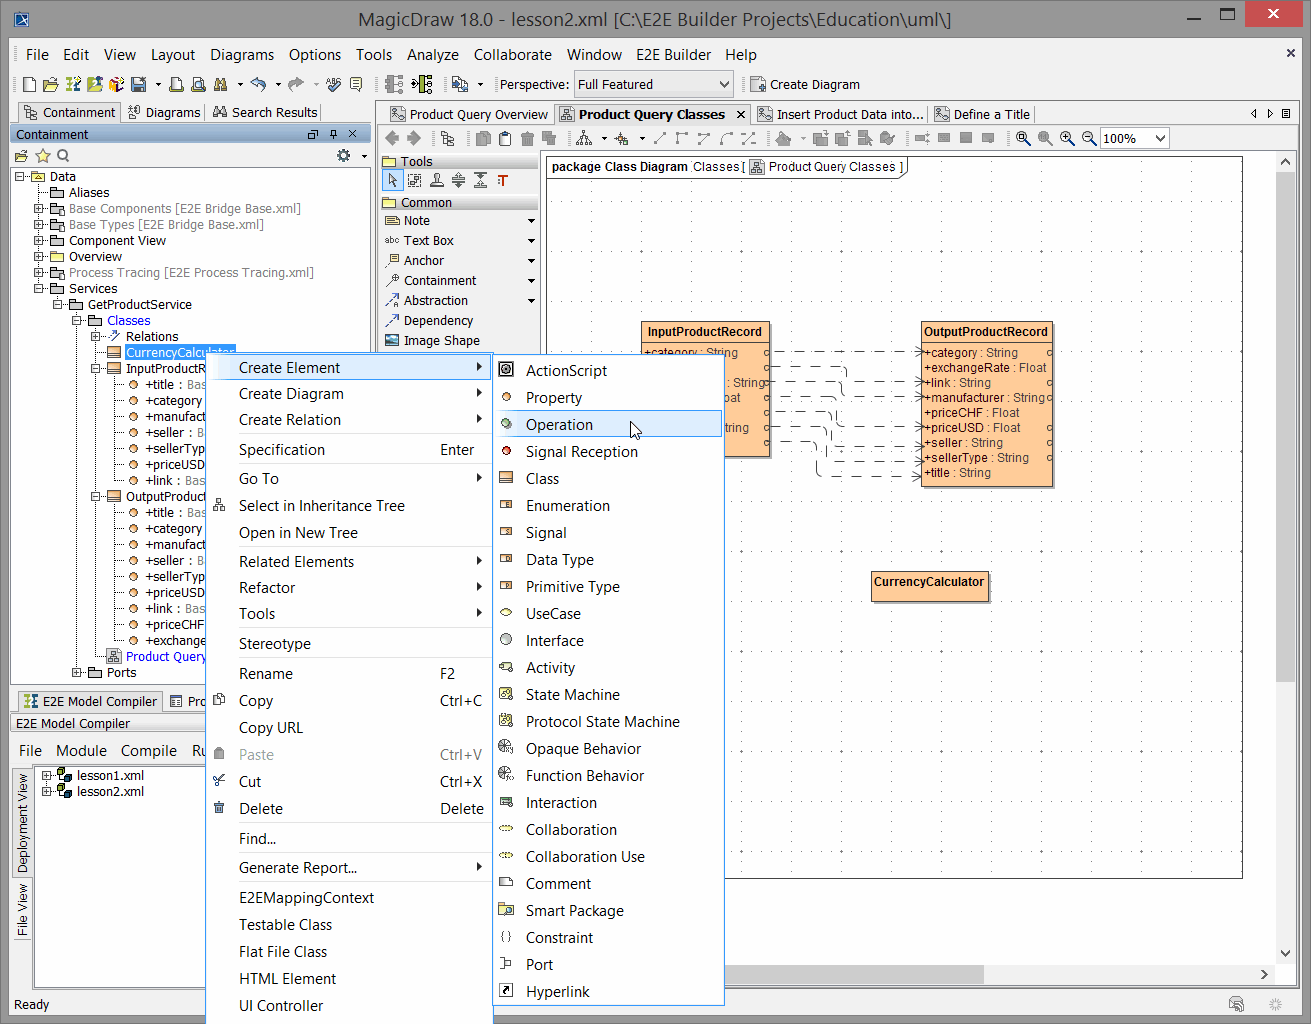
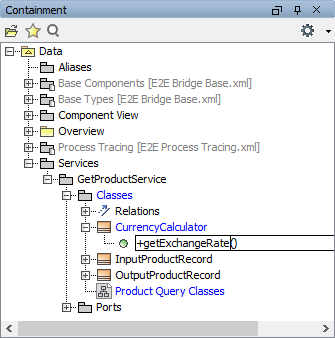
The class CurrencyCalculator will have a class operation that will contain the implementation of the currency calculator. It does not need to have any attributes, yet. Select the class in the containment tree an choose Create Element > Operation from the context menu.
| Enter the name getExchangeRate. |
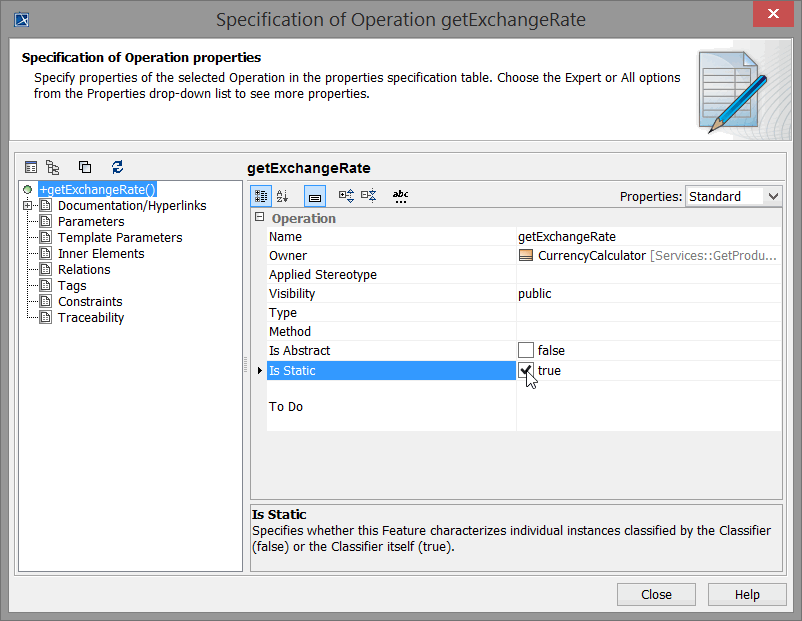
| Double-click the Operation in order to open the Specification dialog. Set the Visibility to public. If you call class operations, you normally have to create an instance of a class. This instance makes the operation call. If a class operation is defined static, it is not necessary to create a class instance. Static operations can be called directly in the action script. |
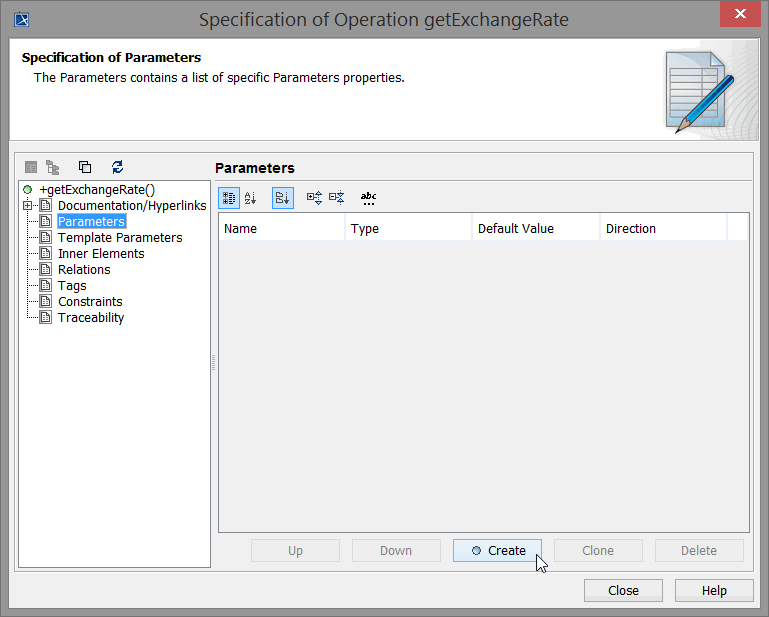
| The operation will return the exchange rate CHF/USD. Switch to the Parameters tab and click Create. |
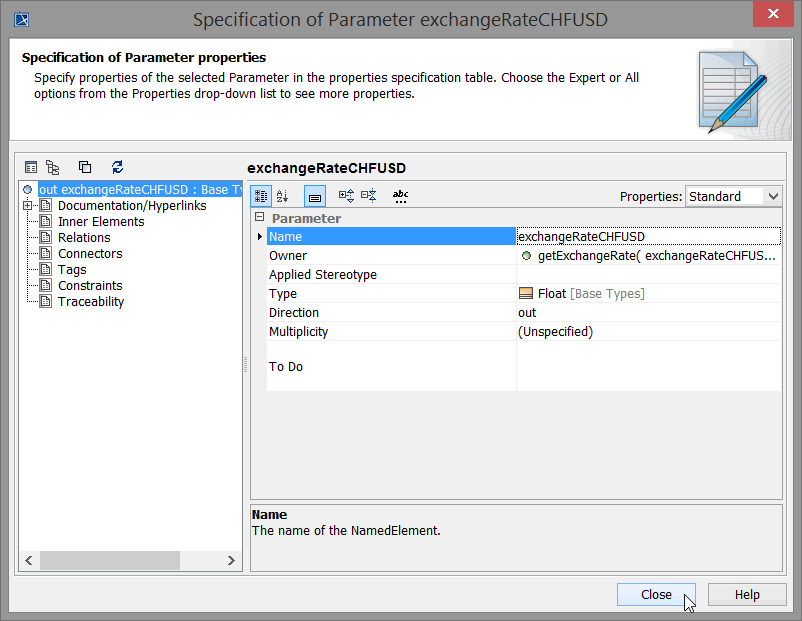
| Assign the name exchangeRateCHFUSD, the type Float [Base Types], and set the direction to out as the operation will return this parameter. Click Close. |
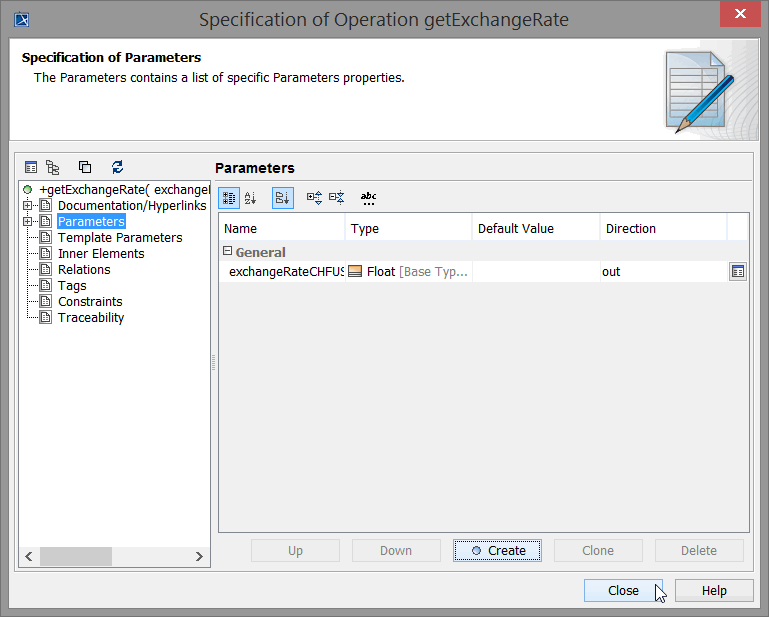 | The parameter exchangeRateCHFUSD is shown in the list Parameters. Click Close. |
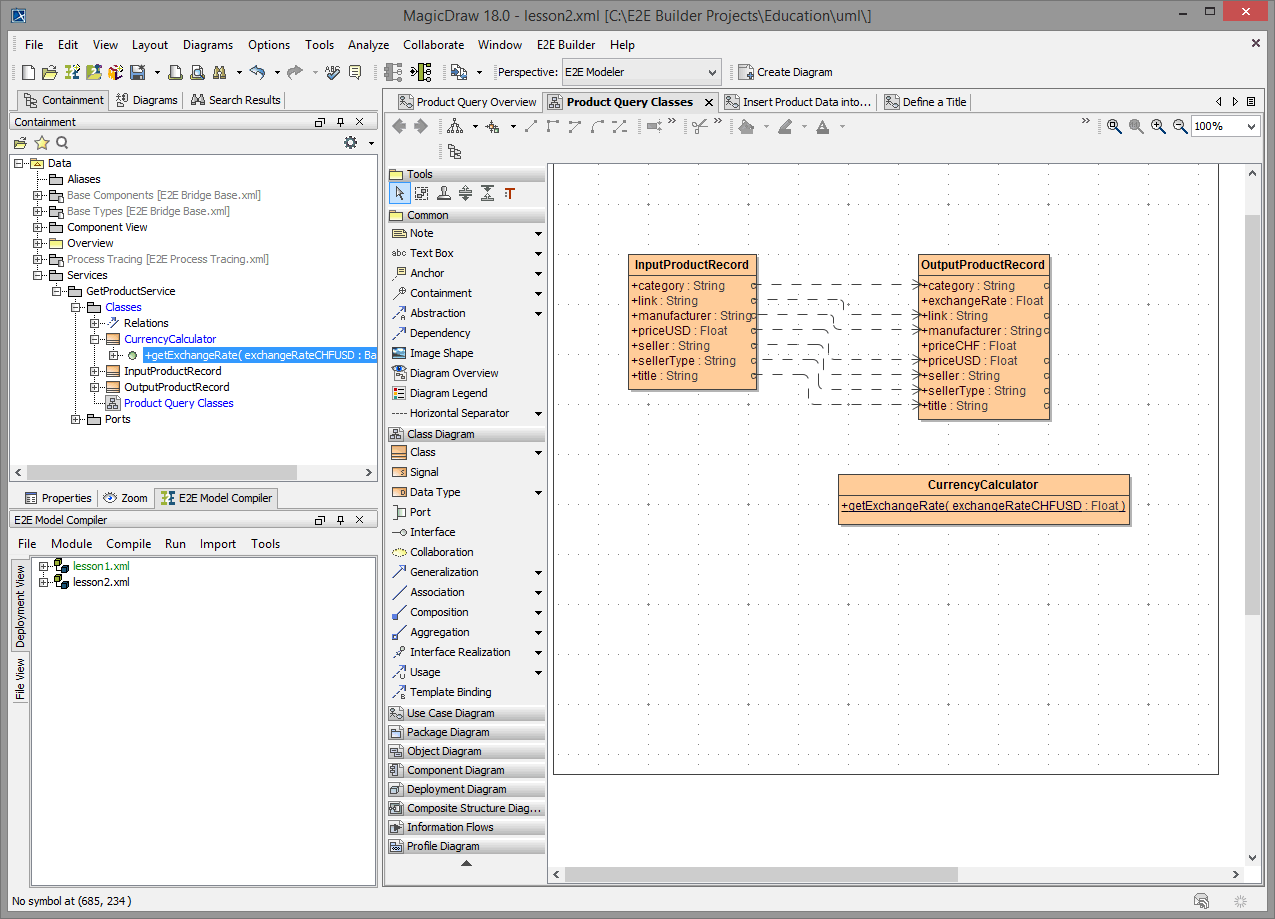
After creating this class, the class diagram should look like shown in the picture below.
Activities implement the behavior of operations. Each class operation has to be assigned to its implementing activity diagram. When the operation is called, the assigned activity diagram will be executed.
The activity diagram implementing the class operation getExchangeRate has not been created yet. In the next step, you will directly assign a new activity diagram to the operation getExchangeRate.
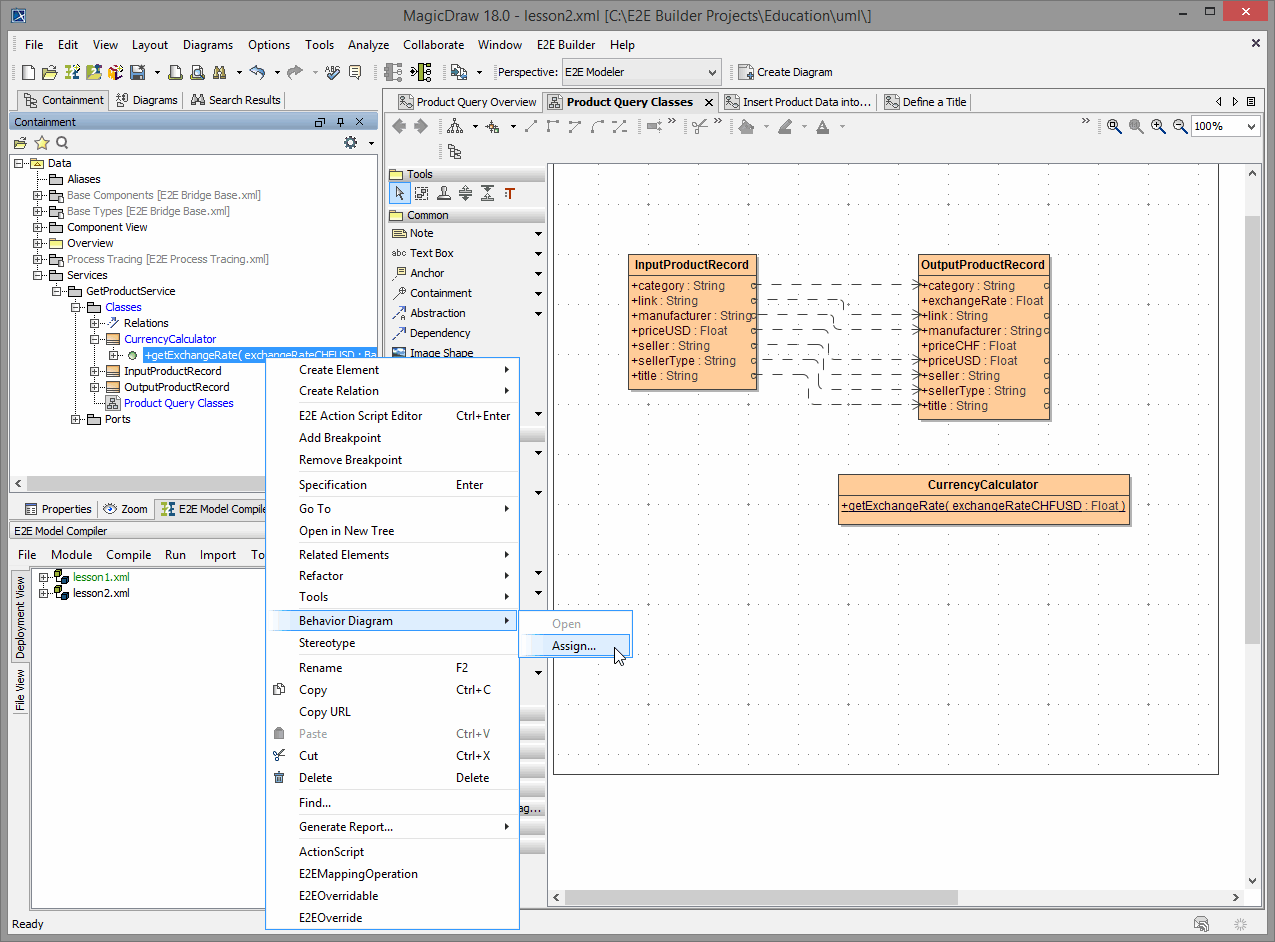
Select the operation getExchangeRate in the containment tree with the right mouse button and choose Behavior Diagram > Assign….
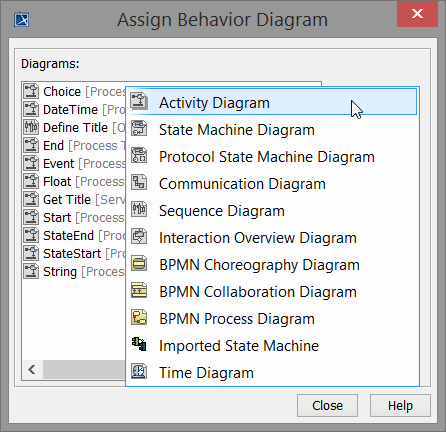
| The Assign Behavior Diagram dialog displays a list of existing activity diagrams that can be assigned to the operation. However, this operation gets assigned a new activity diagram. |
| Choose Activity Diagram from the drop down list. |
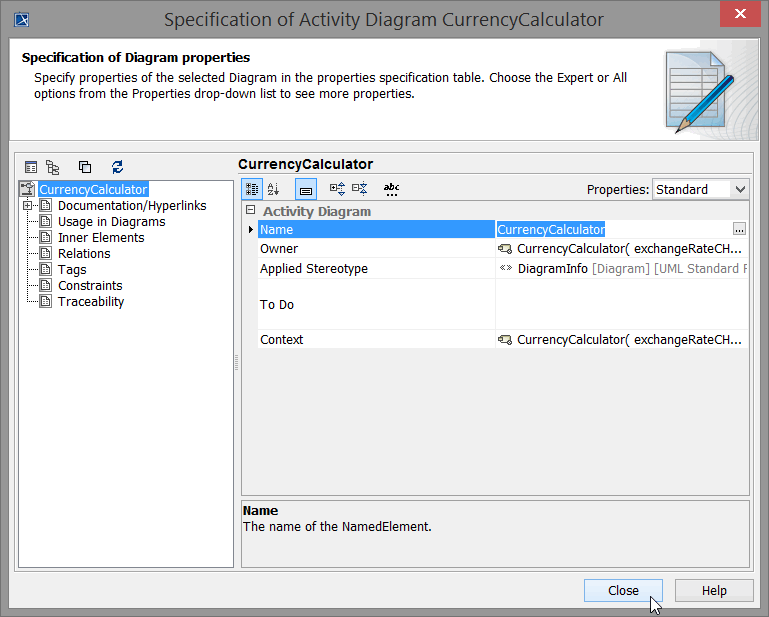 | The Specification dialog of the new activity diagram opens. Click Close. |
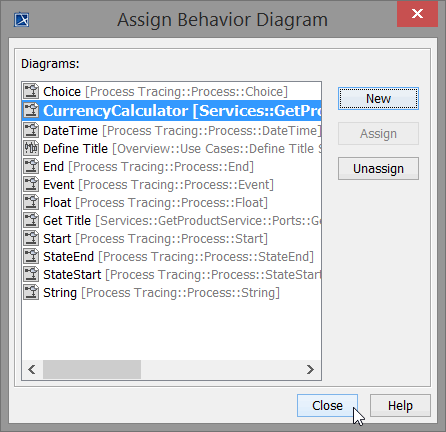
| The new activity diagram CurrencyCalculator is now listed in the Assign Behavior Diagram dialog. It is displayed in bold indicating that this is the activity diagram assigned to the operation. Click Close. |
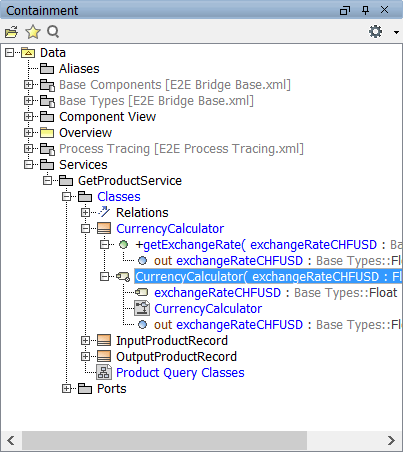
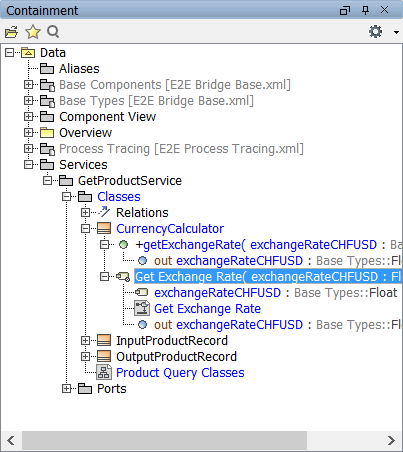
| Expand the activity CurrencyCalculator in the containment tree. The activity has been created automatically and contains the activity diagram having the same name. |
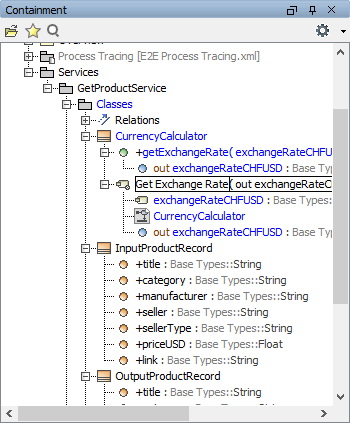
| As the name of an activity should always correspond to the operation it specifies, select the activity CurrencyCalculator in the containment tree and rename it to Get Exchange Rate. |
| Note that MagicDraw renamed the corresponding activity diagram as well. |

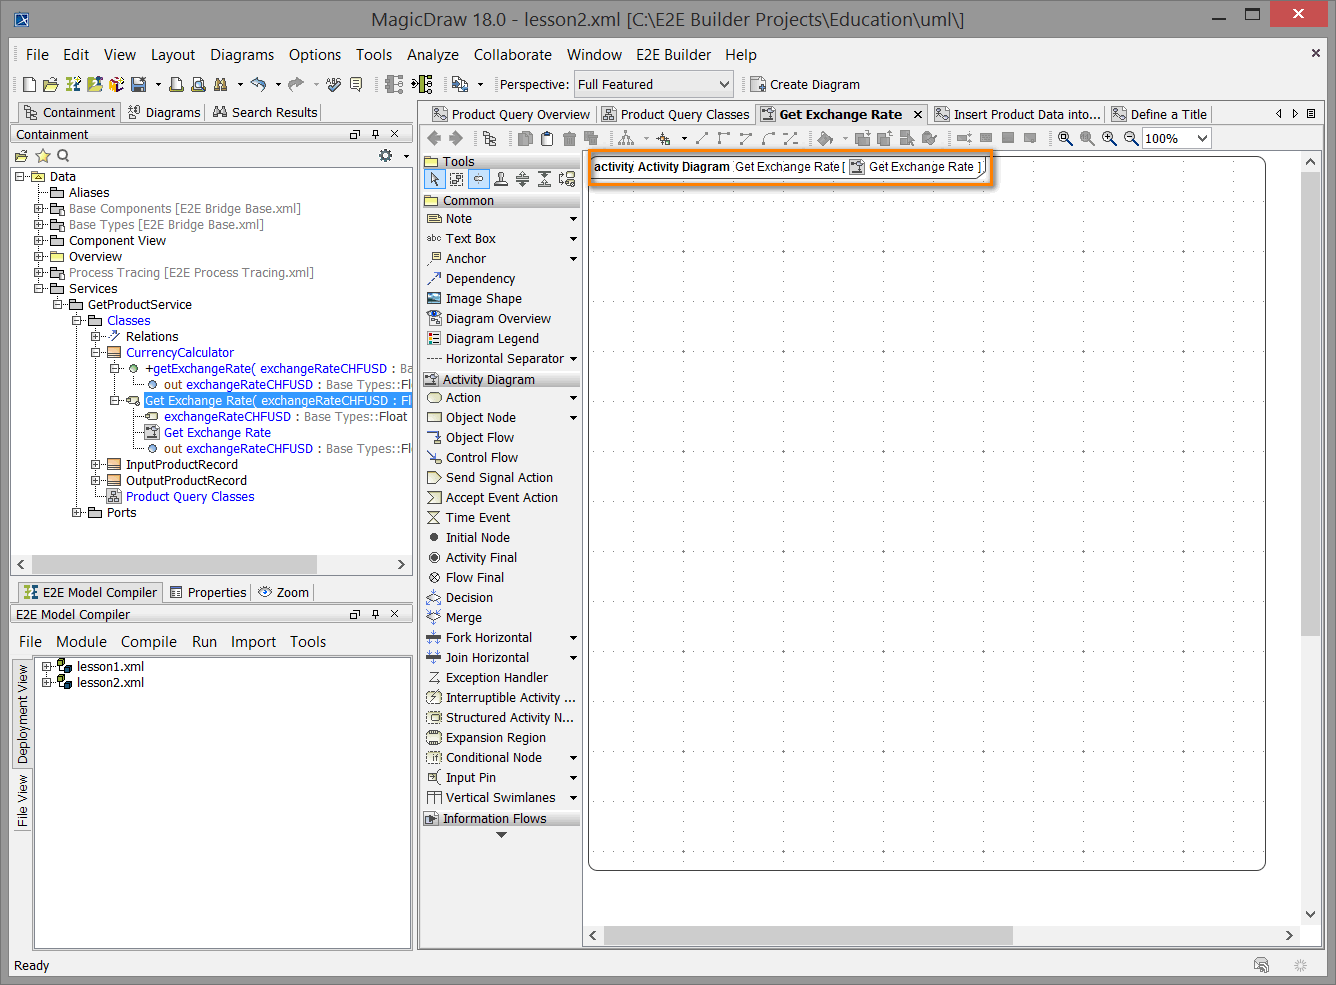
The created activity diagram is displayed in the diagram pane:
The implementation of the operation getExchangeRate will be explained later when you will be specifying the Activities.
Save ![]() the UML model.
the UML model.

On this Page:
Overview
Content Tools