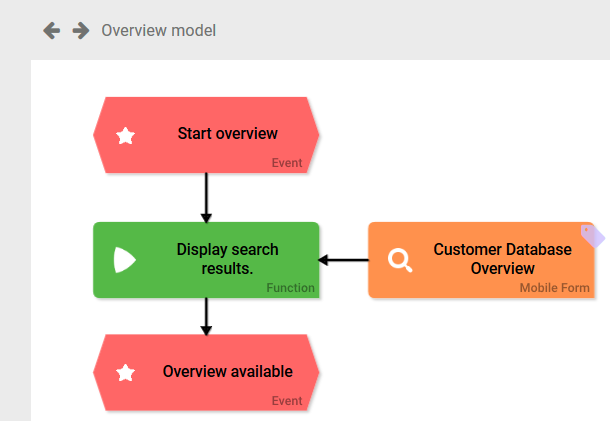
Your app does not only consist of the input forms. The app always contains an overview in which you can search through the stored data. You will now configure the overview of your mobile app.
You can find further explanations on this topic in the BPaaS Guide on page Configuring Overview Tables. |
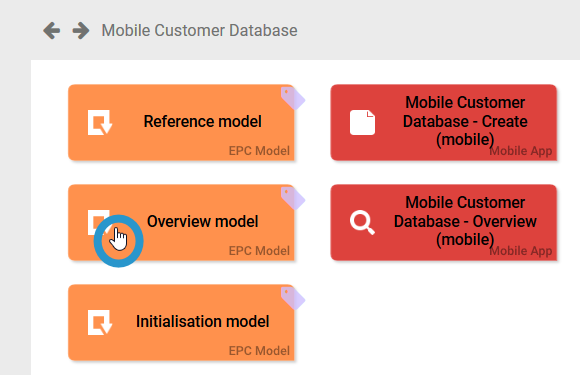 | Your app does not only consist of the input form. The app always contains an overview in which you can search through the stored data. You can configure this search overview according to your requirements. To do this, open the Overview model. |
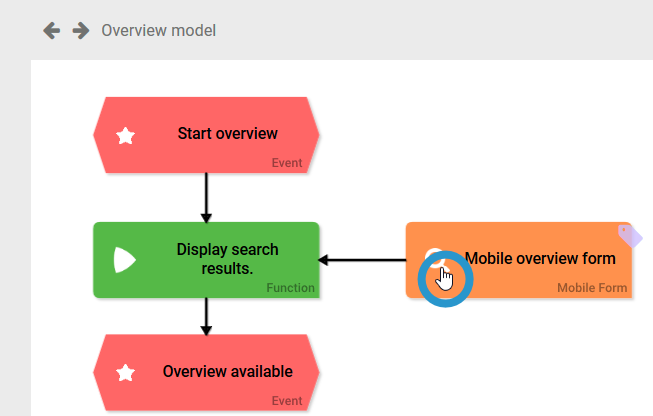 | In the model, open the Mobile overview form. |
| The form contains an instance table including one entry for the default field Text Element. The instances created in the app will later be displayed in the table on your mobile device according to your definitions. You must now define which fields are displayed in the instance table. Select the table and expand the Edit sidebar. |
| Click on the gear wheel of the option Column Configuration. |
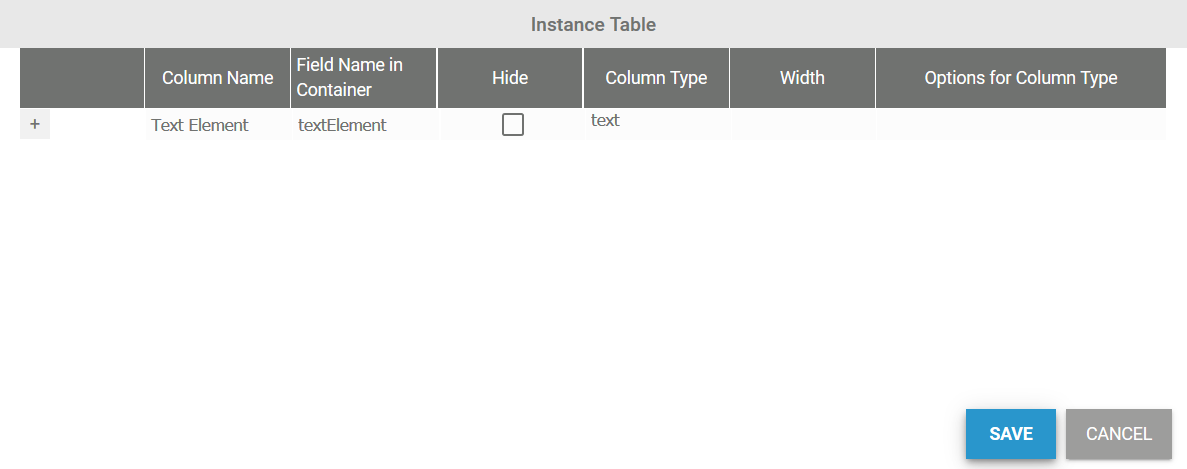
| The column configurator opens in a separate window. In this window, you can configure the instance table of the mobile overview according to your requirements. One default column is already defined:
Jane now has to define, which content she wants to display in the overview of the Mobile Customer Database. She decides to show the company name, the city, the name and email address of the contact and - if available - the photo of the business card. |
| Change the Text Element sample line to display the Company:
|
| Now use the + button to add a new line for the next field. |
| On a mobile device, a table can display a maximum of four columns next to each other. In the Width column, you can specify how much space a field should take up. A new line is always created with a standard width of 1. |
| Jane Marple wants to display the city, which takes part of the address field. The element Address combines the input fields
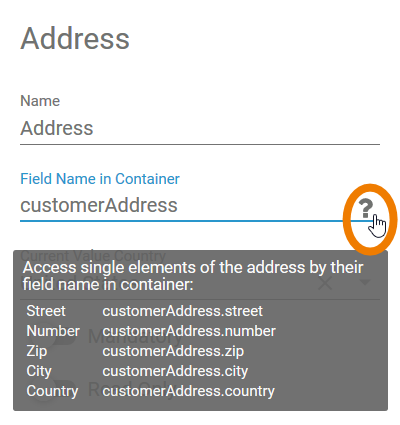
Each field must be addressed individually in the instance table - using their corresponding Field Name in Container. You can display the Field Names in Container of the different fields in the input form. Select the address field and click on the icon |
| The reference for the columns content is the Field Name in Container. If you want the column to display a different name, change the content of Column Name. Jane only wants to display the content of field City, so she enters the following:
|
 | Now add the next columns to the instance table:
|
| Currently, all fields occupy a whole line in the overview (Width = 1). Save space and define a width of 1/2 both for the First and Last Name. Add another line for the Business Card. |
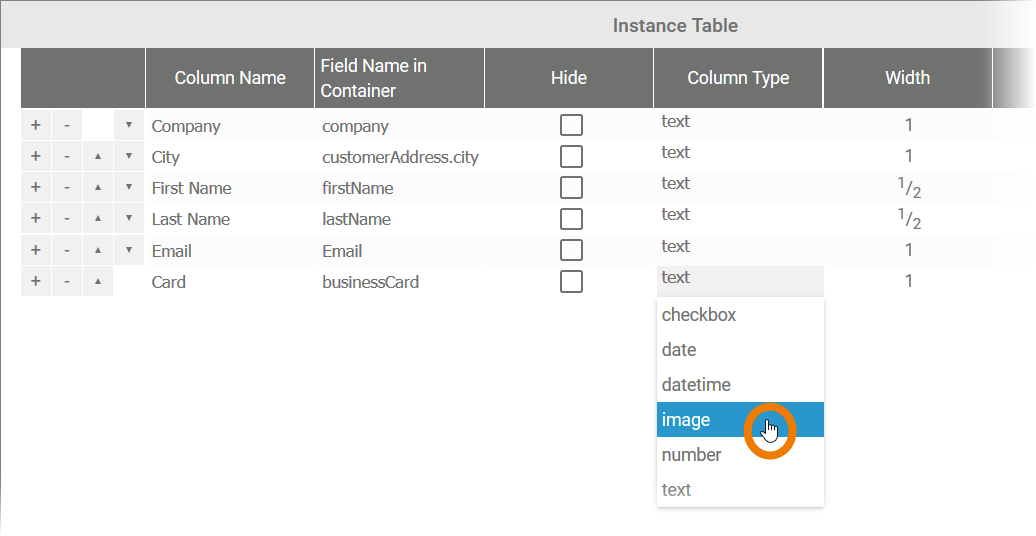
| The contents of the camera field Business Card are pictures. Jane wants to display the content as a picture, so her input in the column configuration is as follows:
Configure the instance table as you like. Save your input. |
| The instance table now displays the fields as they appear later in the Mobile Overview:
Use the Play button to show a preview of the Mobile Overview. |
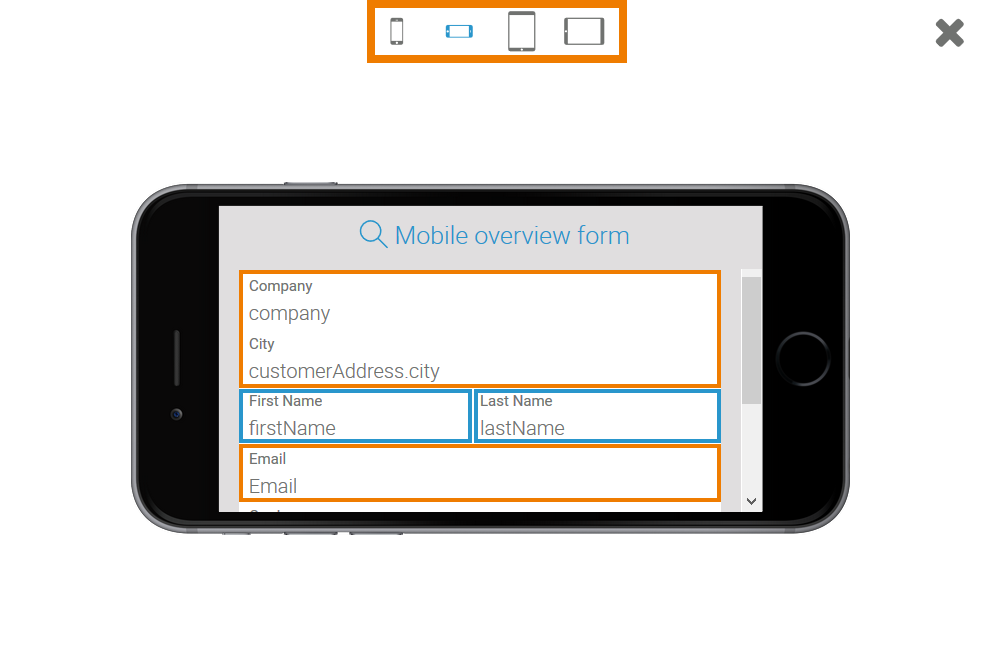
| The selected widths are clearly visible in the preview. The icons at the top of the screen allow you to switch between the different views:
Try different views, then close the window. |
| Switch back to the overview model and change the name of the mobile form, for example Customer Database Overview. |
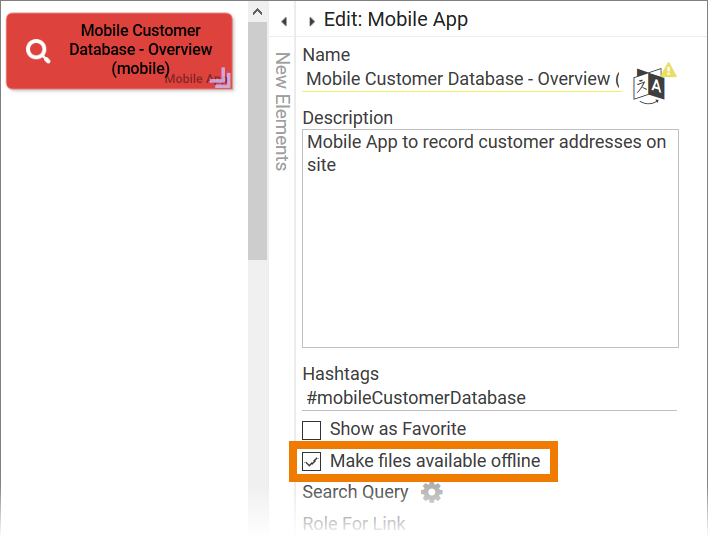
| Since Jane wants to display the pictures of the camera field Business Card in the overview, she has to make the files available for offline use in the Scheer PAS Mobile app. Go to the app project and open the Edit Sidebar of the element Mobile Customer Database - Overview. Activate option Make files available offline. Now your mobile app is ready for execution. |


