Accessing the Identity Management
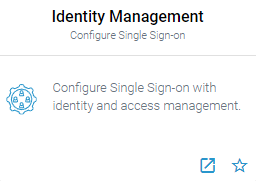
| In our Scheer PAS platform, we use Keycloak as identity management tool. You can access it via the corresponding tile in the Scheer PAS Portal. Only users with profile keycloak_user are able to see the tile in the portal. |
| If you click on the identitiy management tile, the tool will open within the portal. Please note that you need separate credentials to log in to Keycloak as this third party tool is not integrated in Scheer PAS Single Sign-on. |
Keycloak: Managing Authentication
| Scheer PAS uses Keycloak to manage Single Sign-on for the platform. |
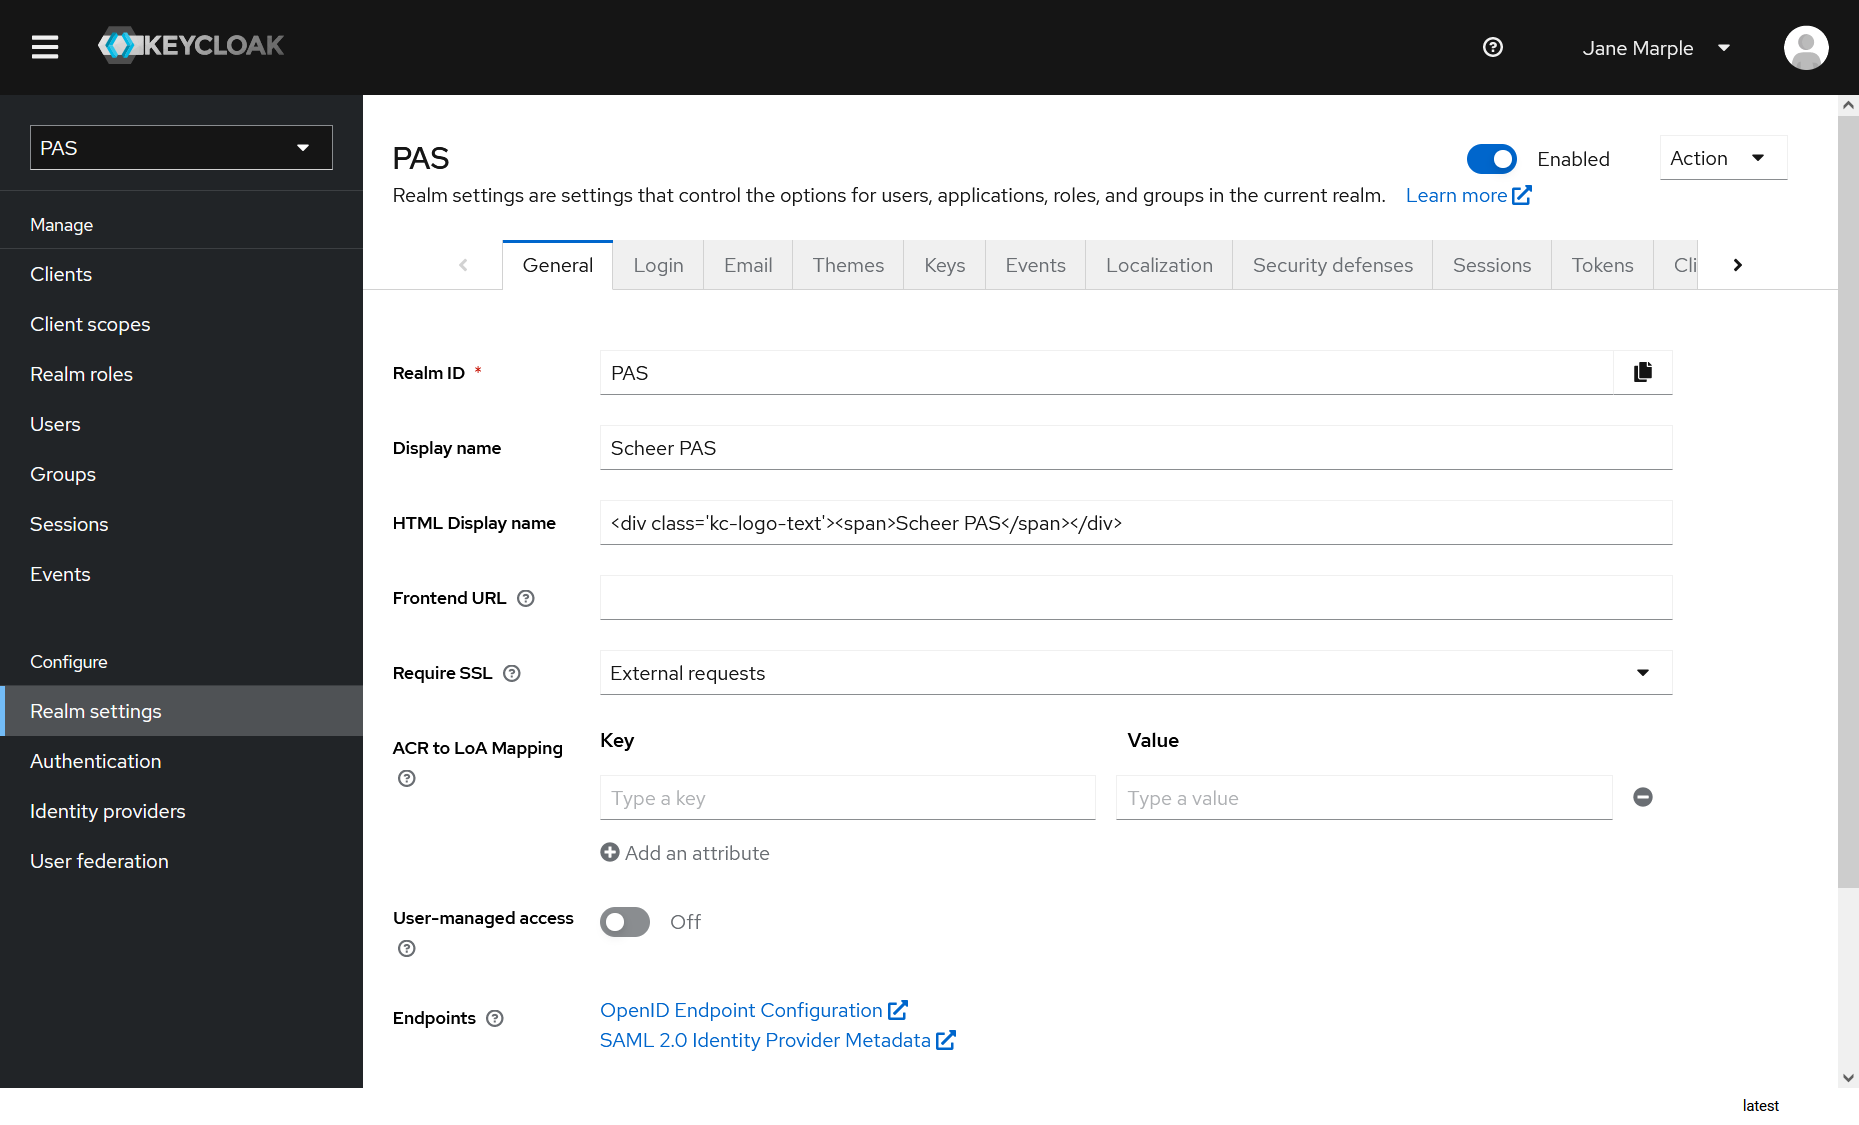
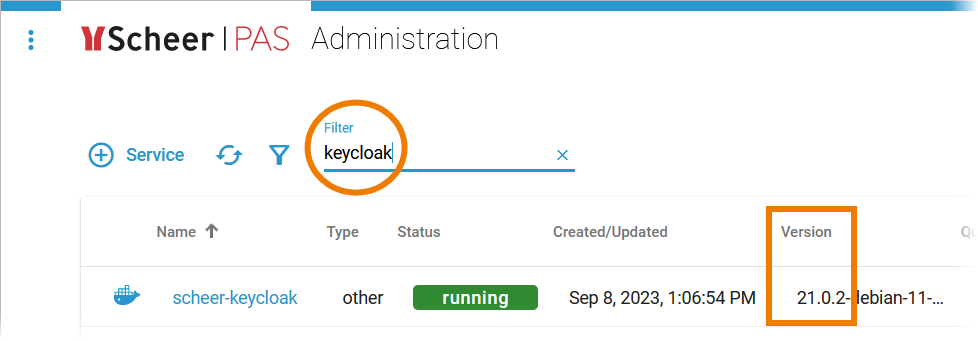
| In the Official Keycloak Documentation you will find detailed descriptions of all Keycloak functionalities. Please note that the official documentation may vary according to different versions of the tool. Before consulting the documentation check your Keycloak version:
|
Creating Additional Keycloak Admins
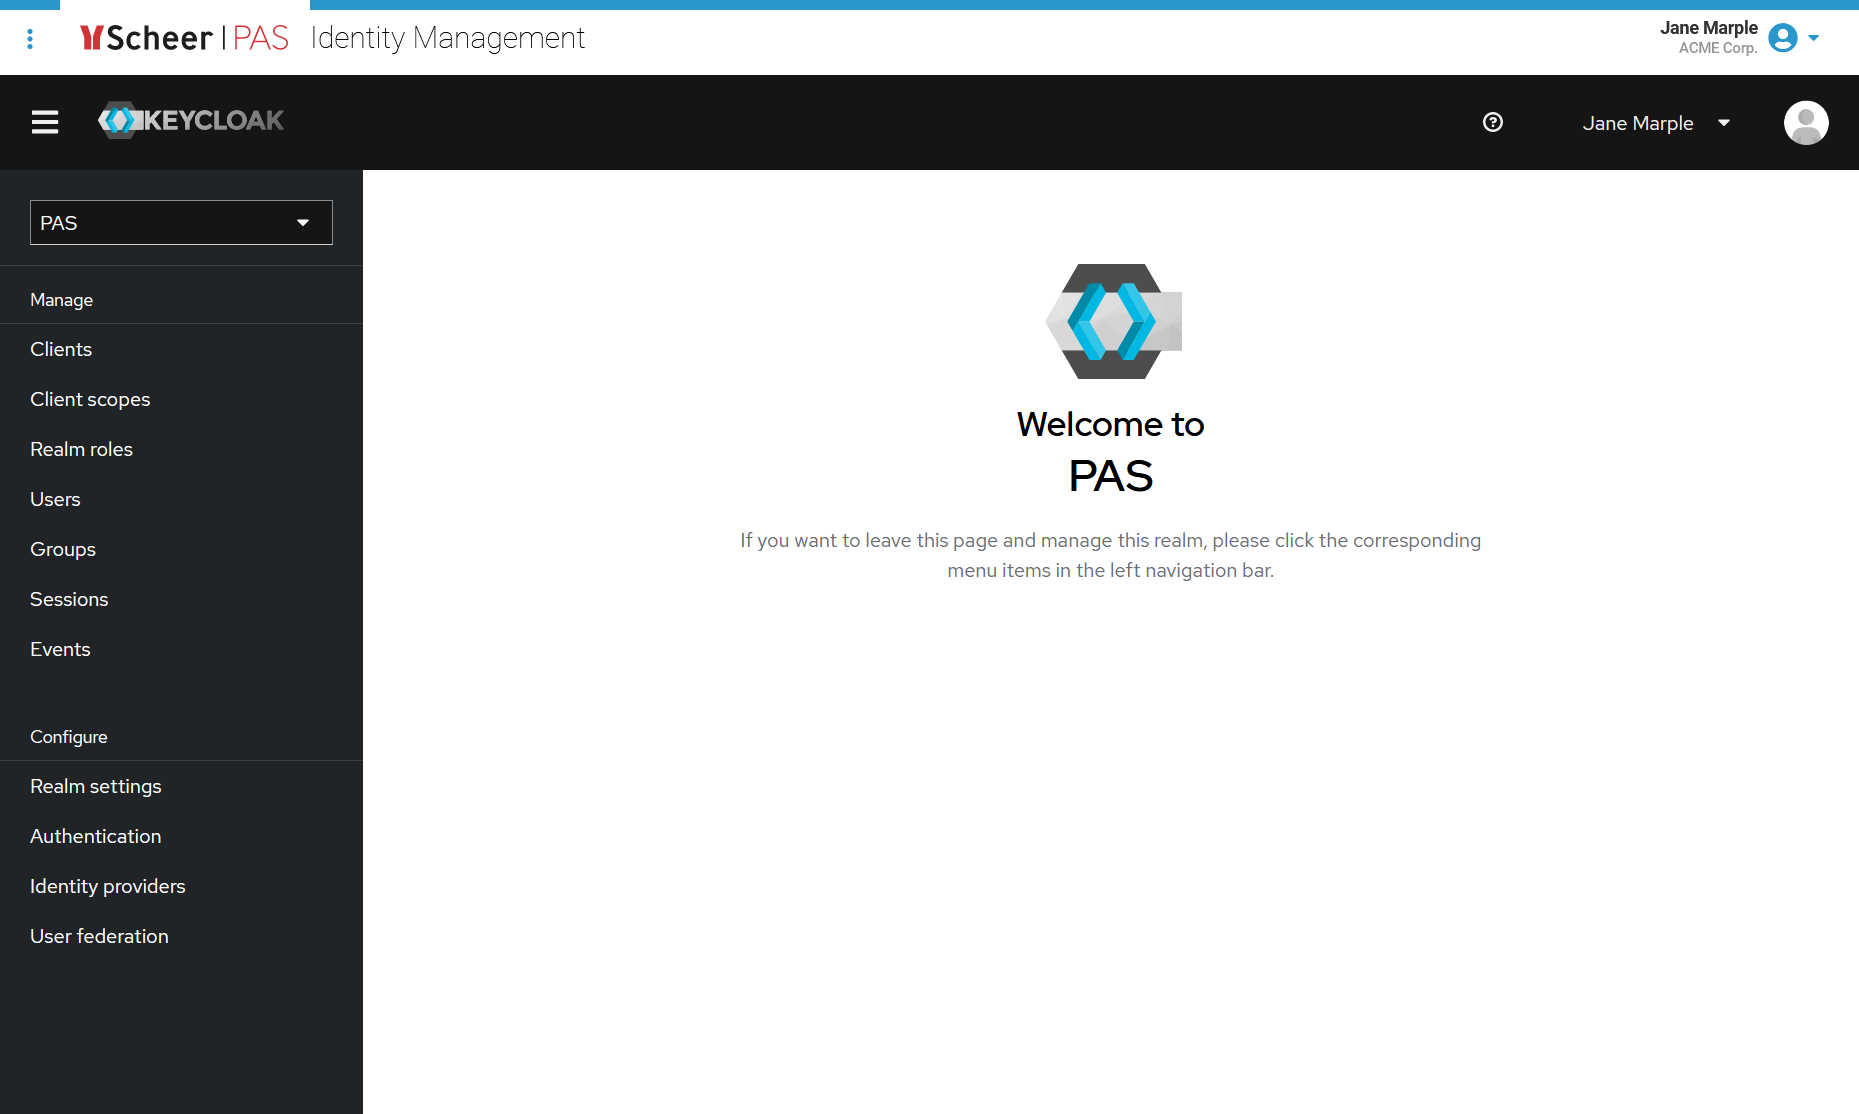
You can create additional admins for Keycloak as follows: Log into the identity management and go to realm Master. | |
Open menu Users and create a new user or edit an existing one. | |
Switch to tab Role Mappings and assign role admin in section Realm Roles. |
Approving Users in Keycloak
PAS 22.1 Scheer PAS offers a user self registration feature which allows customers to request for an account. The feature is disabled by default but can be enabled upon request. Contact the Scheer PAS support team if you want to use the user self registration on your system.
Manual Approval of a User
If the user self registration and the user approval workflow are enabled, every newly created user must be approved. However users are automatically approved when they are created via
- the Scheer PAS User Management.
- a user federation like LDAP.
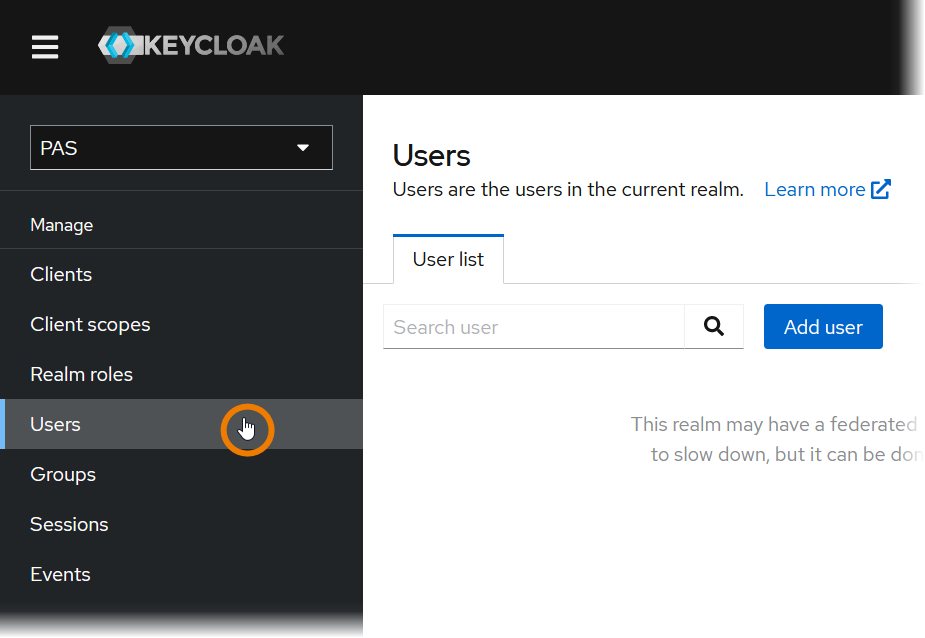
| Log into the identity management and navigate to tab Users. |
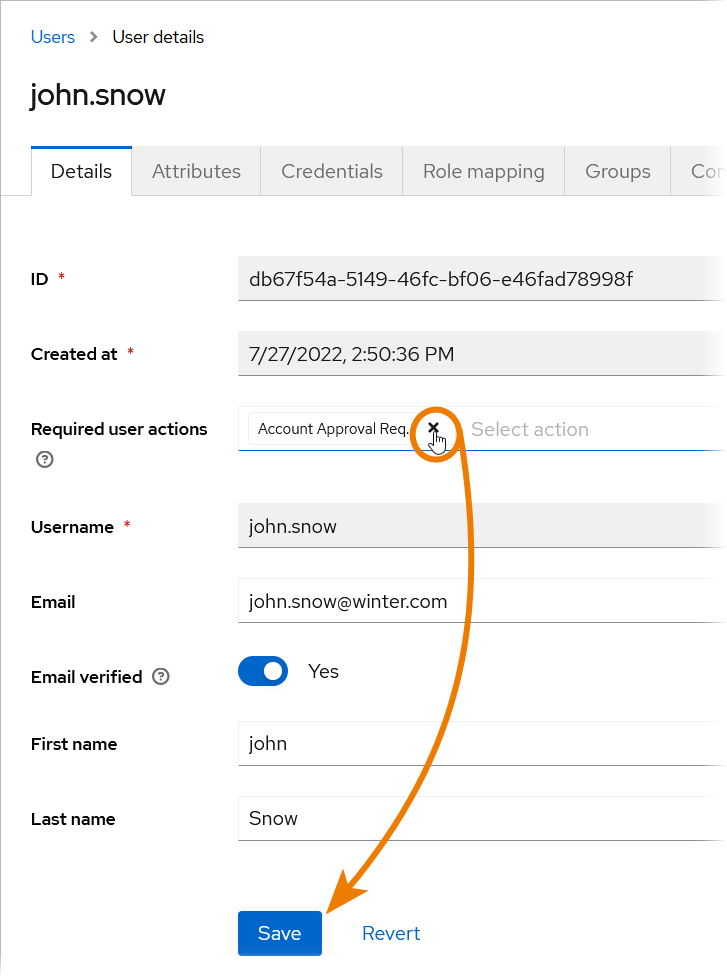
| Search for the user you want to approve and open the user datasheet with the Edit button. Approval users receive an email notification with details when a newly created user is waiting for approval. Refer to Adding Additional Approvers to learn more about this user group. |
| In the user datasheet, remove the required user action Account Approval Required and press Save. |
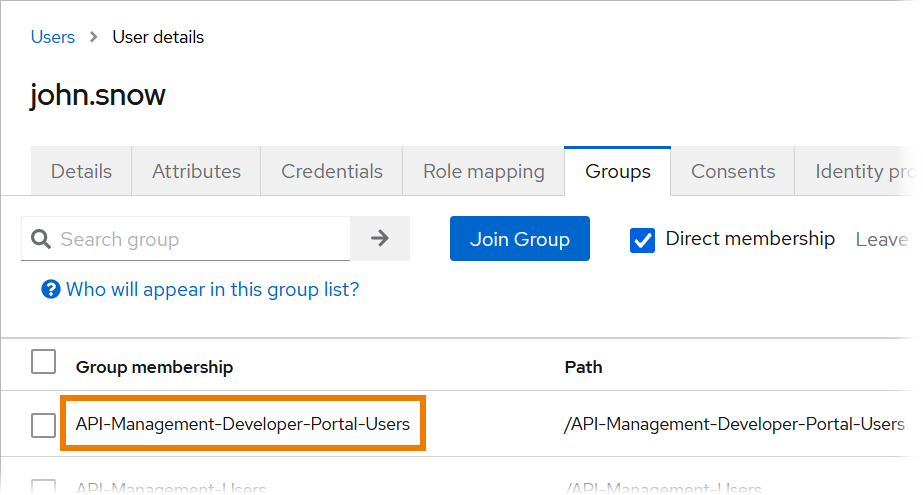
| If you want to give the user permission to use the API Developer Portal, you must add the user to the group API-Management-User. |

Adding Additional Approvers
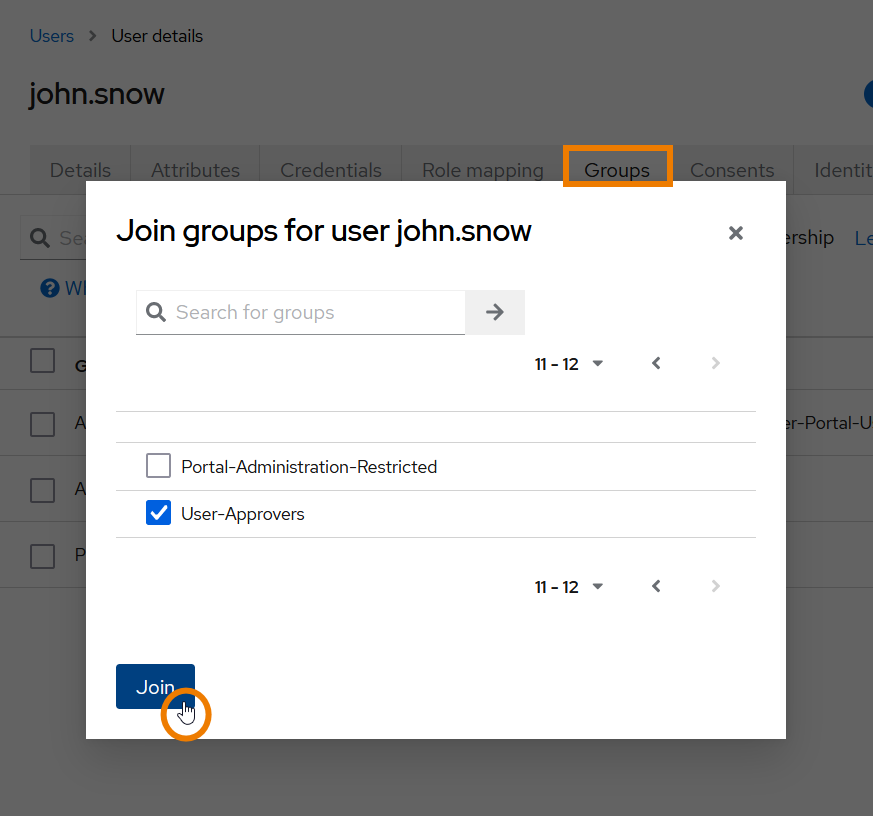
| Members of the User-Approvers group have permission to approve new users who sign up using the self registration form. Approval users also receive an email notification with details when a newly created user is waiting for approval. If you want to add a user to the User-Approvers group, do as follows:
|
On this Page:
Related Pages:
Related Documentation:
Overview
Content Tools