Page History
For the guided installation, X Window is required on your Linux system.
Allow connections to the X server and login as user root. Typically, use the following commands:
| Code Block | ||
|---|---|---|
| ||
xhost + su root |
Login as user root.
Change to the location, to which you copied the installation file. Start the installation by using the command:
| Code Block | ||
|---|---|---|
| ||
<path of your java installation>/java -jar E2EBridgeInstallerBridgeInstaller-linux-x8664-6.x7.x.x.jar |
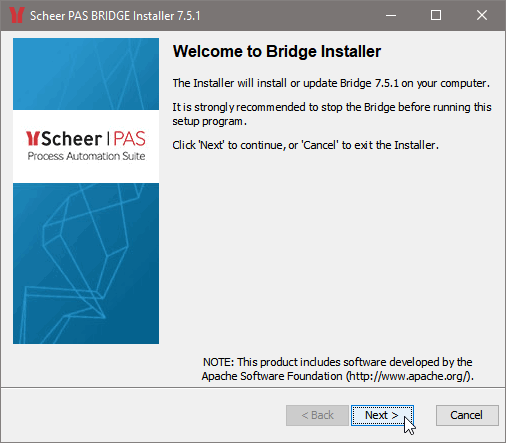 |
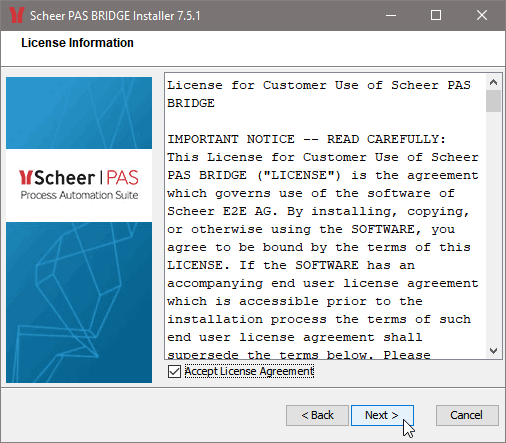
| ||||||||||||||||
|
| ||||||||||||||||
|
| ||||||||||||||||
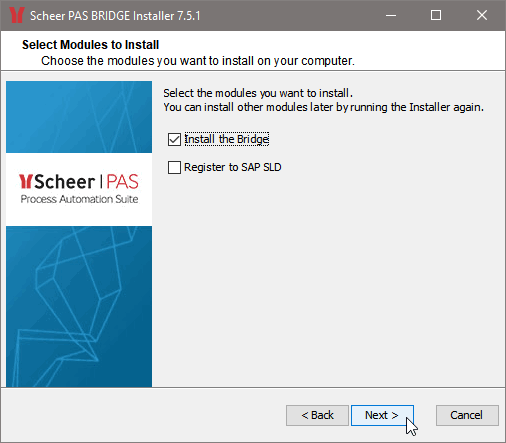
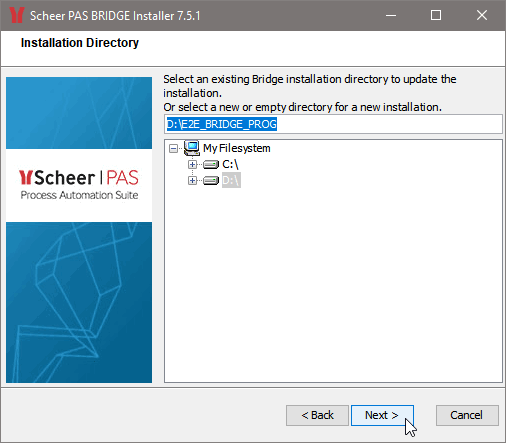
| Select the path where the Bridge BRIDGE will be installed. Note that, if the selected data directory is not empty, the existing installation will be updated. Click Next. | ||||||||||||||||
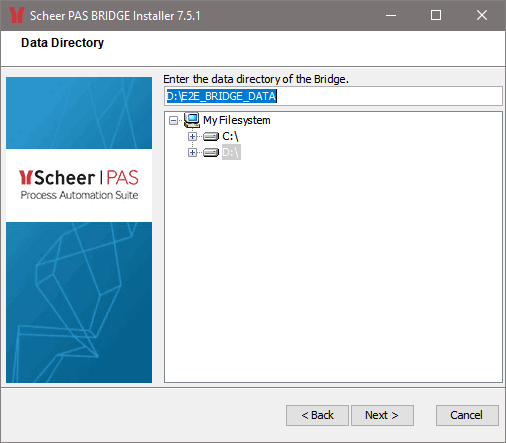
| Select the path where the Bridge BRIDGE data like deployed services will be stored. Note that, if the selected data directory is not empty, the existing installation will be updated. Click Next. | ||||||||||||||||
 |
| ||||||||||||||||
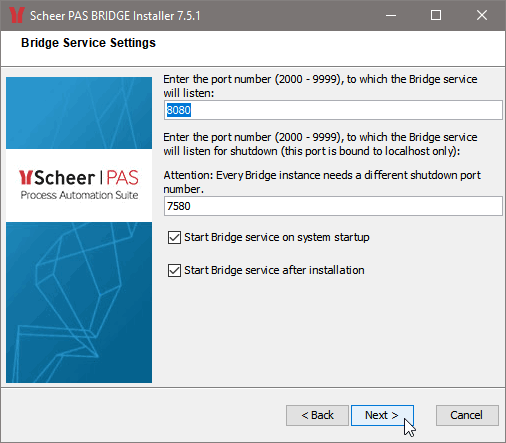 | Check the default settings of both ports. We recommend accepting the default values, but if the default value does not fit to your environment, change it accordingly. Also, check that the ports are not blocked by a firewall.
| ||||||||||||||||
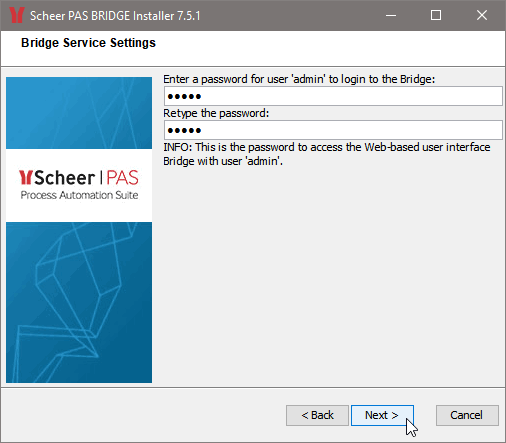 | Enter a password that you will need to access the web-based user interface with user id admin. Retype the password and click Next.
| ||||||||||||||||
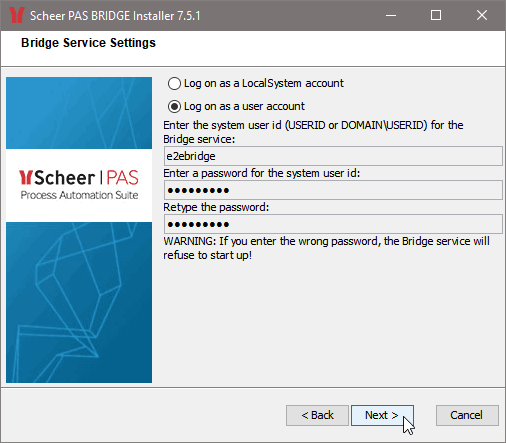
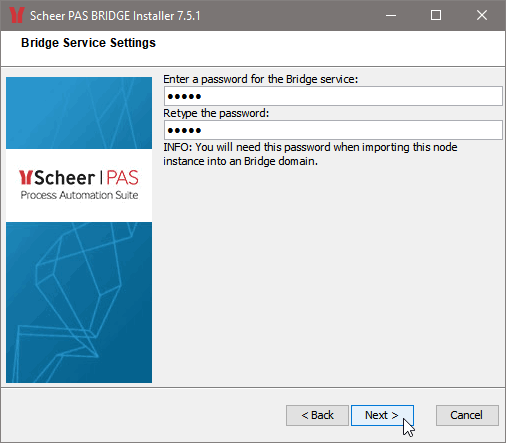 | Enter a password for the E2E Console service. You will need this password when importing this node instance into an E2E Bridge a BRIDGE domain. Retype the password and click Next.
| ||||||||||||||||
 | The Bridge can be either a stand-alone system (Workstation Mode) or a domain member (Server Mode). The workstation mode is recommended, if you want to install the E2E Bridge BRIDGE on a local system like a notebook or a workstation in order to work offline and no IP address is available. In this mode, the Bridge BRIDGE can only manage the local system. For more information on installation modes and Bridge BRIDGE domains see Installation Modes and E2E Server Domain or refer to the Bridge BRIDGE User's Guide (sections Installation Modes and Bridge Domains). | ||||||||||||||||
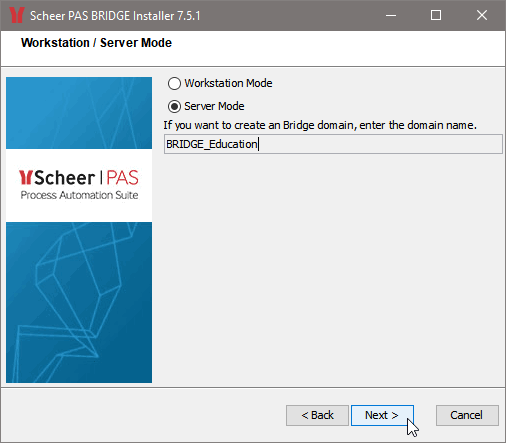 | In Server Mode, the Bridge BRIDGE can manage multiple installations of itself on different systems, if the node instances are member of the same E2E Bridge BRIDGE domain. If this machine is to be the first node instance of a domain, enter the name of the new domain. If this machine is to be imported into an existing domain after the installation, leave the domain name field empty.
Click Next. | ||||||||||||||||
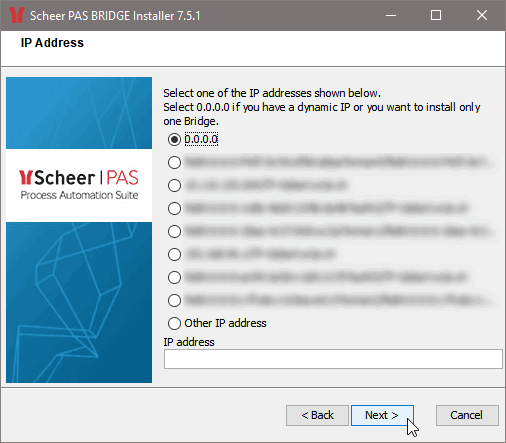 | Select an IP address for the installation listed on the dialog or enter another IP address. On systems that host multiple IP addresses one Bridge BRIDGE installation per IP address is possible. However, if you are using dynamic IP addresses you can install only one Bridge BRIDGE instance.
Click Next. | ||||||||||||||||
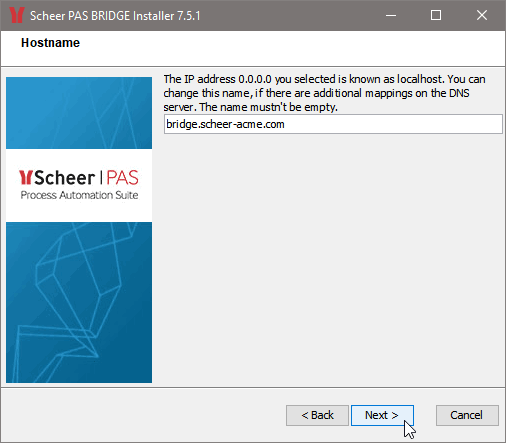 | As default, the hostname for this IP address is displayed. You can also choose an additional mapping defined on a DNS server for this IP address.
Choose a hostname for this IP address and click Next.
| ||||||||||||||||
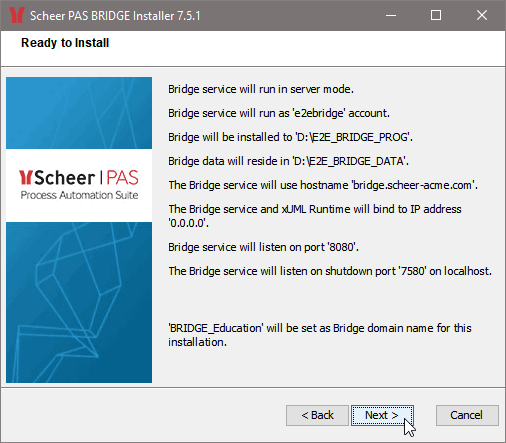 | This window displays a summary of all installation options. If you wish to change them, click Back. | ||||||||||||||||
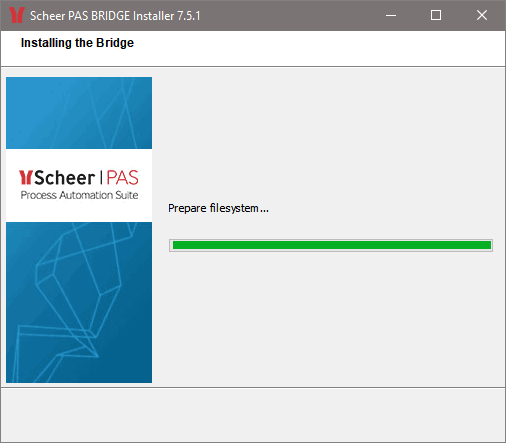 | All necessary components of the Bridge BRIDGE will be installed. | ||||||||||||||||
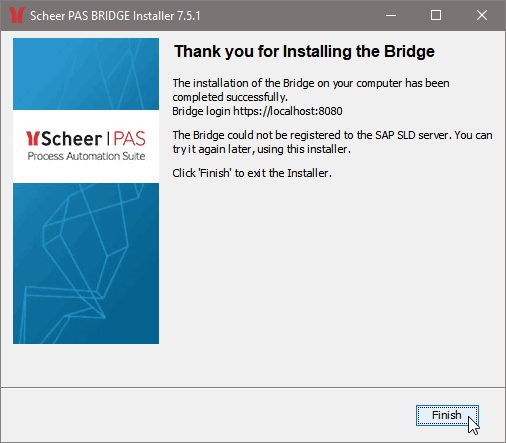 | The Bridge BRIDGE installation has finished. Click Finish. |
If you want to check the installation, continue with Checking the Installation.
| Rp |
|---|
Overview
Content Tools