Page History
With PAS 23.1.1, the new attribute Custom Attributes has been added to all supported form elements in the Designer to enable the usage of Angular directives. Angular attribute directives are used to change the appearance or behavior of DOM elements and Angular components. Refer to the official Angular documentation for details on how to create an Angular attribute directive.
Creating a Directive in Designer
Directives are created in your Designer development kit. The creation is similar to creating a form (refer to Developing Custom Forms in a Library > Creating a Form for details).
To create your own directive, switch to <library-name>/projects/<library-name>/src/lib> in your workspace project. You can now use the @angular/cli to create a new directive using the following command: ng generate directive <directive-name>
| Step | Example The sample directive expands a text area when the user enters more then the allowed lines. | ||||||||||
|---|---|---|---|---|---|---|---|---|---|---|---|
1 | Write your directive in directory lib in your project and set it as input parameter in your code.
|
| |||||||||
2 | Write your directive into the imports and exports into the form.module. |
| |||||||||
3 | Write your directive into the public-api. |
| |||||||||
Now you are ready to use the directive in Designer form elements.
Using a Directive on a Form Element
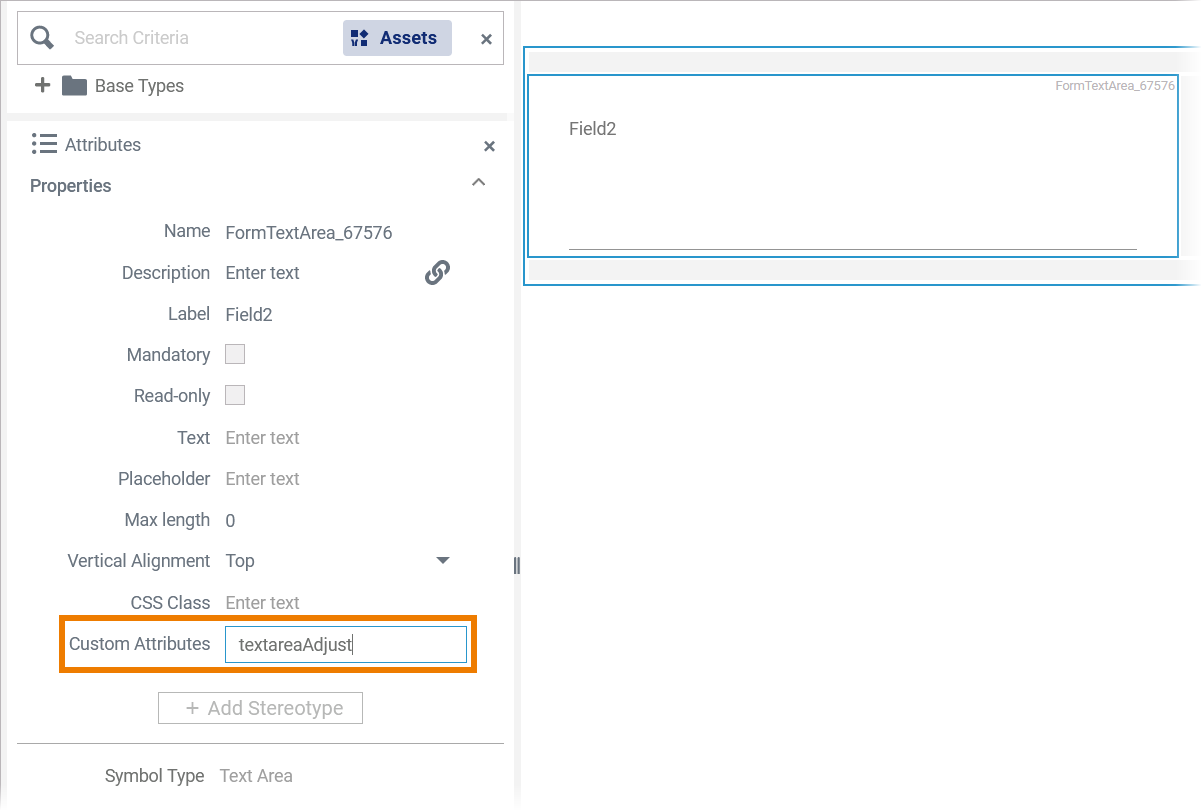
| Open the form editor in the Designer. Click the form element to which you want to apply the directive and open its Attibutes panel. Enter the directive selector in the field Custom Attributes.
| |||||
| During app execution, the directive is now applied to the form element. |

| Otp | ||
|---|---|---|
|
| Multiexcerpt include | ||||||
|---|---|---|---|---|---|---|
|
| Panel | ||
|---|---|---|
| ||
| Panel | ||
|---|---|---|
| ||
Overview
Content Tools