Page History
Before you create your own profiles, it is recommended to start with some preliminary considerations:
- How many users should be administrators for your Scheer PAS Administrationwill you grant administration rights?
- Does a user need administrations rights for all PAS components or is it enough to give him permissions for selected components?
- Consider the use of naming conventions. They may help to maintain a good overview over the list of profiles.
- Where is the best place to manage the naming conventions, so that all administrators have access?
| Tip |
|---|
Use standard prefixes to organize the list of profiles, for example it_ for profiles of the IT department, hr_ for the human resources department etc. |
Creating a Profile
in the Scheer PAS Administration
| Select Add profileProfile in Profiles menu in the sidebar menu Profiles. |
| An empty profile data sheet opens |
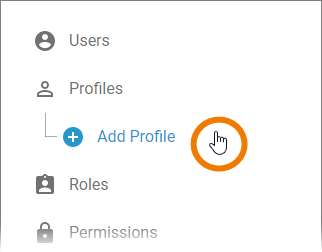
| . |
Entering Master Data
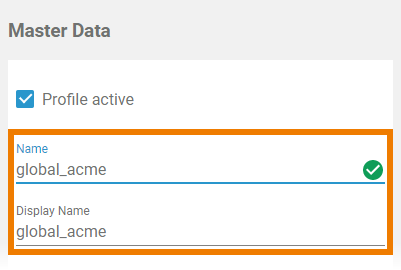
| Insert In the Master Data section, insert a Name for the profile. As the profile's name must be unique, your input is automatically checked. Your entry will also be considered for the field Display Name, if you don't insert a seperate display name. | |||||||||||
| The Name field must not be empty. Allowed characters are:
| |||||||||||
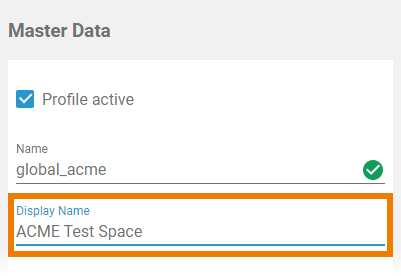
| If you want to display a name different to the technical identifier of the profile, insert here the label you want to use instead in field Display Name. The profile If filled, this name will be displayed with this label shown in the business systemplatform components.
| |||||||||||
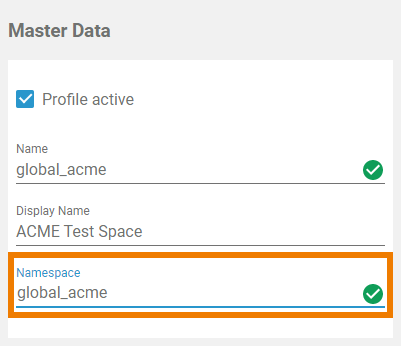
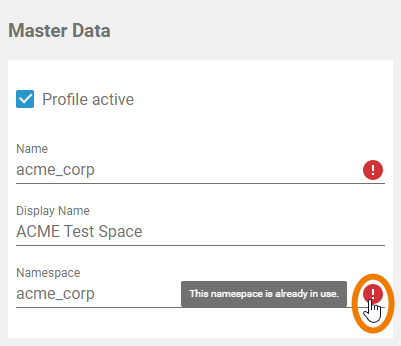
| Insert a namespace for your profile. Tip |
| ||||||||||
| The entries in fields Name and Namespace must be unique. Therefore, your entries areinput is automatically checked. If name or namespace are already in use, you need to change your entry. | |||||||||||
| If you have entered the Master Data, you can already create the profile by clicking the Save button |
| . |
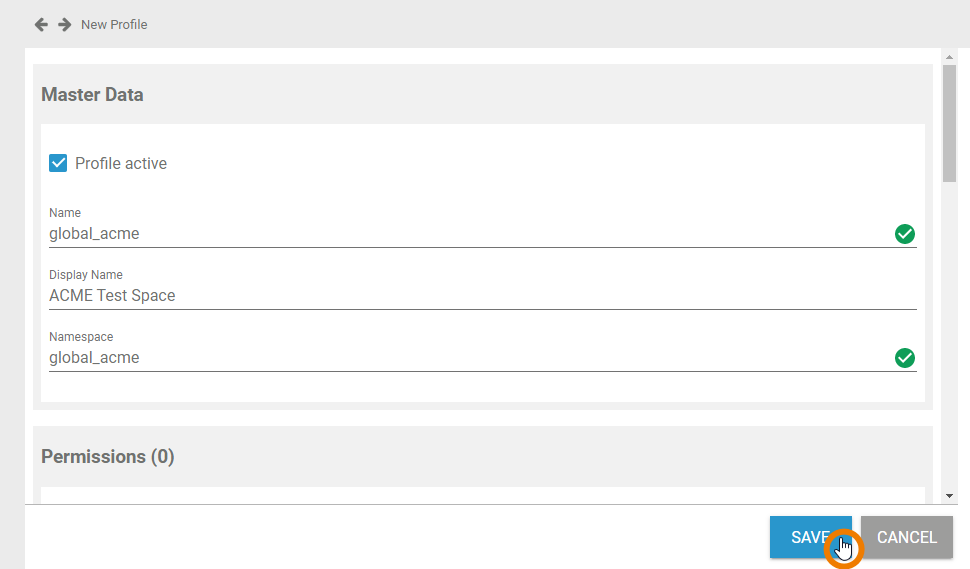
| The profile data sheet is closed, the message Successfully saved! is displayed and the profile is added to the list. You can use the link from the success message to reopen the profile's data sheet |
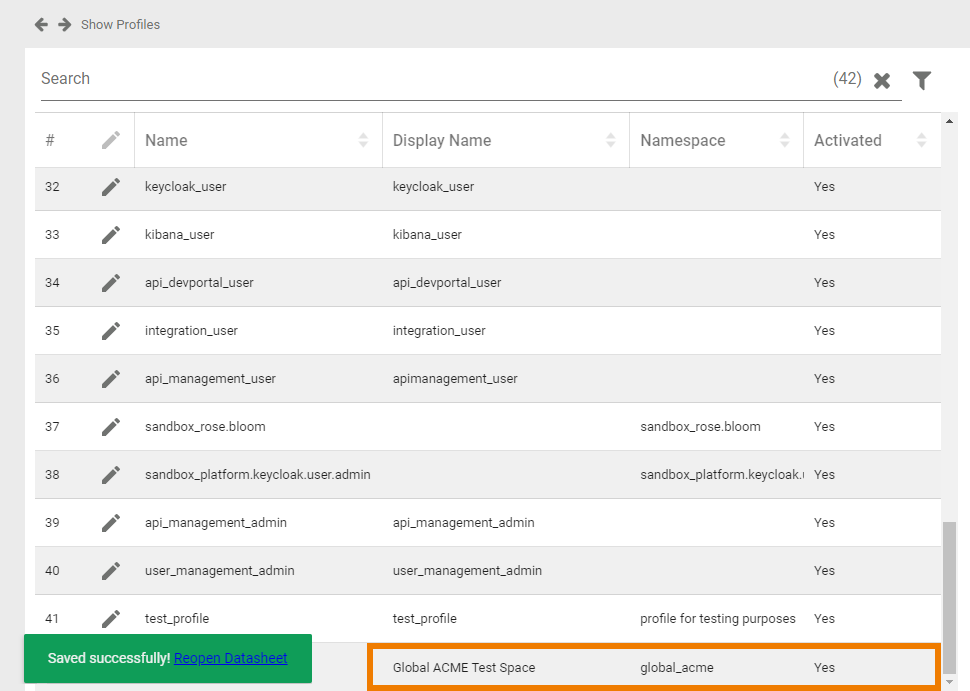
. Before saving the profile, you can also assign permissions, assign users and insert translations. But this is not mandatory to create a profile. |
Assigning Permissions
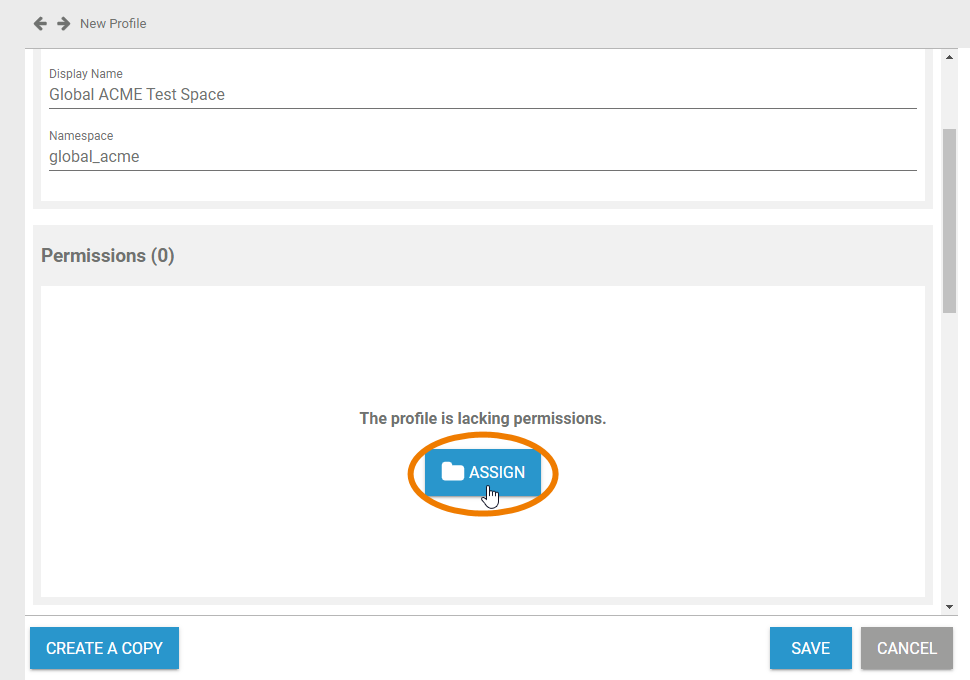
| You need to assign permissions to profiles, if you want to restrict access to the profile's content |
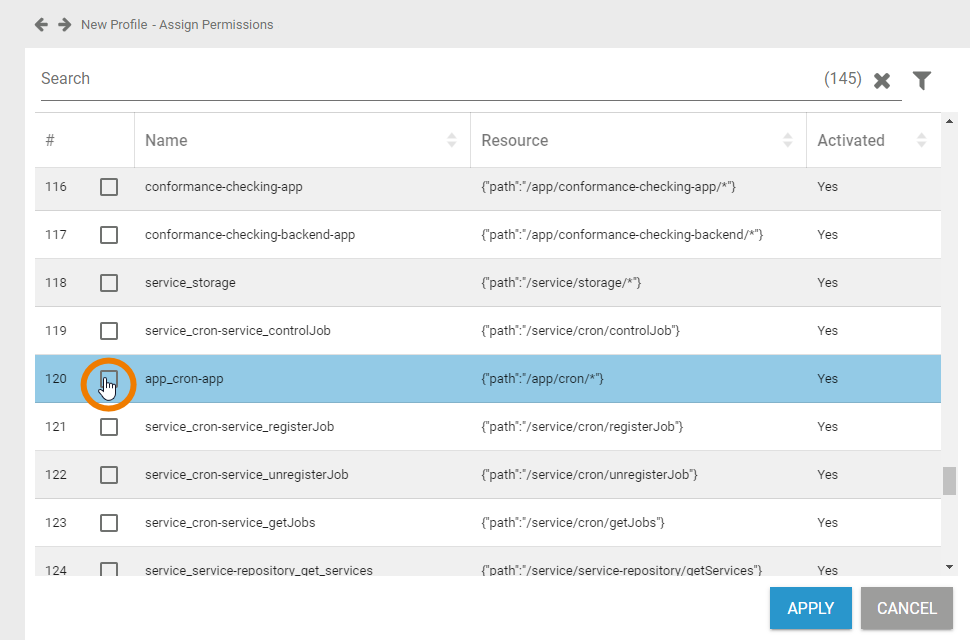
. Click the Assign button in the permissions section to open the list of available permissions.
|
| ||
| Use the corresponding checkboxes in the list to |
| select the permissions you want to assign |
| . |
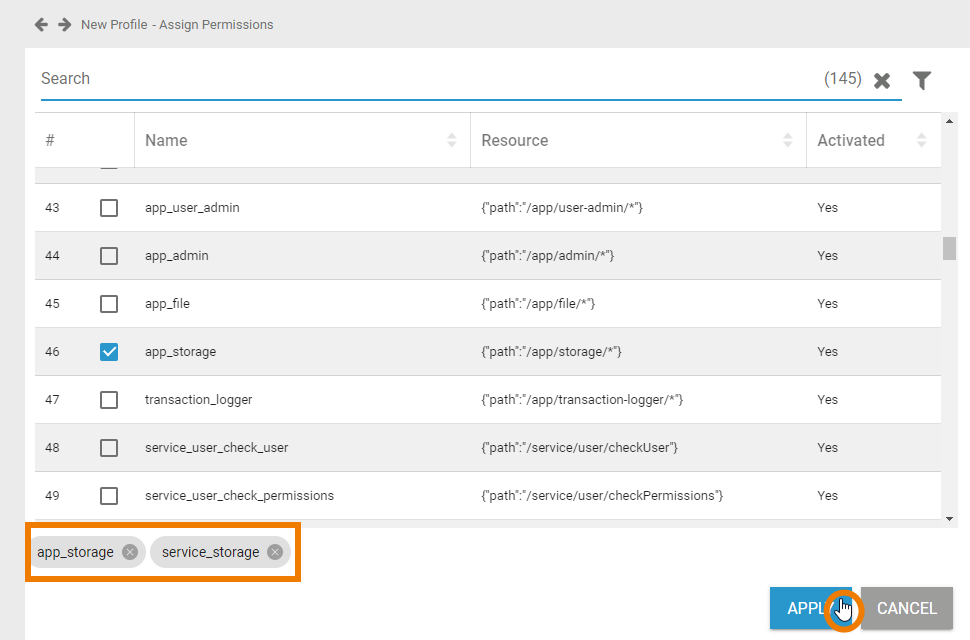
| The chosen permissisons are displayed in the footer of the list. Click Apply to |
assign the permissions to the profile |
. |
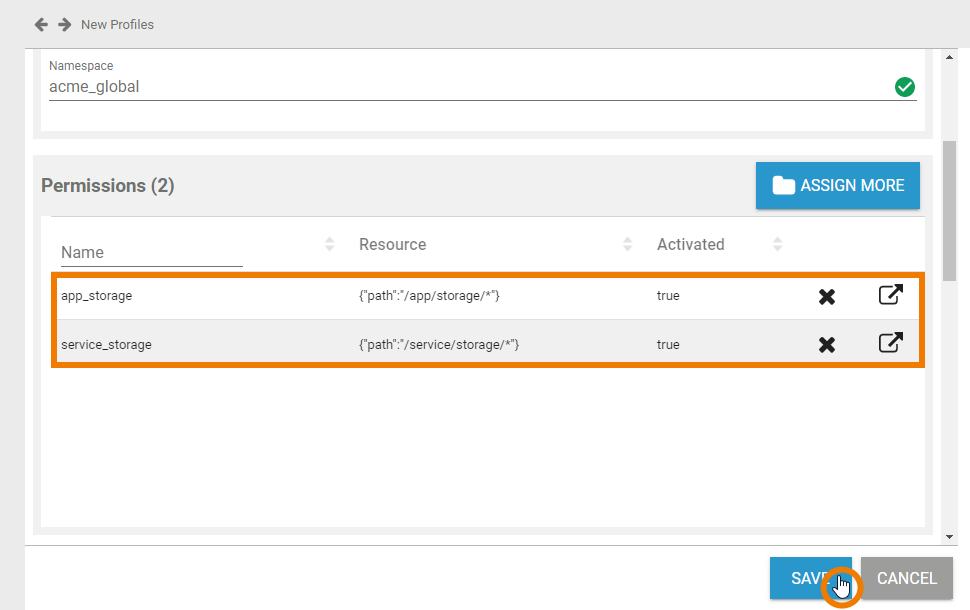
|
Your selection is transferred to the Permission |
section of the profile data sheet. |
|
Assigning Users
|
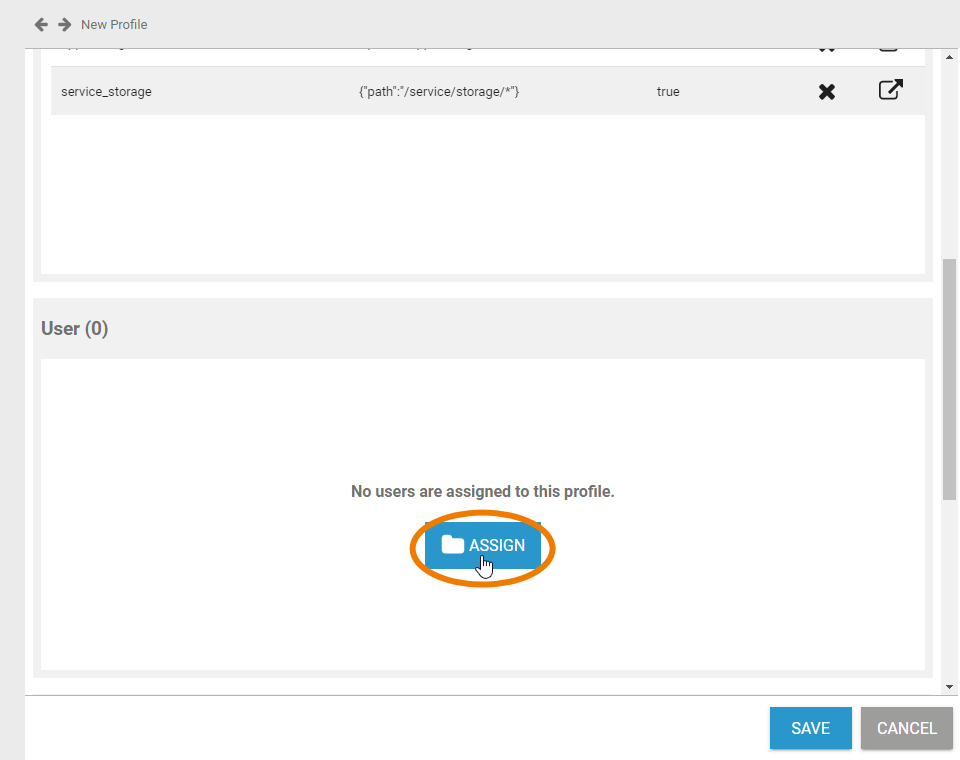
In a profile data sheet, the users assigned to the profile are listed in the User |
section. If you create a new profile, you start with an empty User |
section. If you want to, you can assign the users to a profile within the profile's data sheet. Click button Assign to |
assign users to the profile |
. |
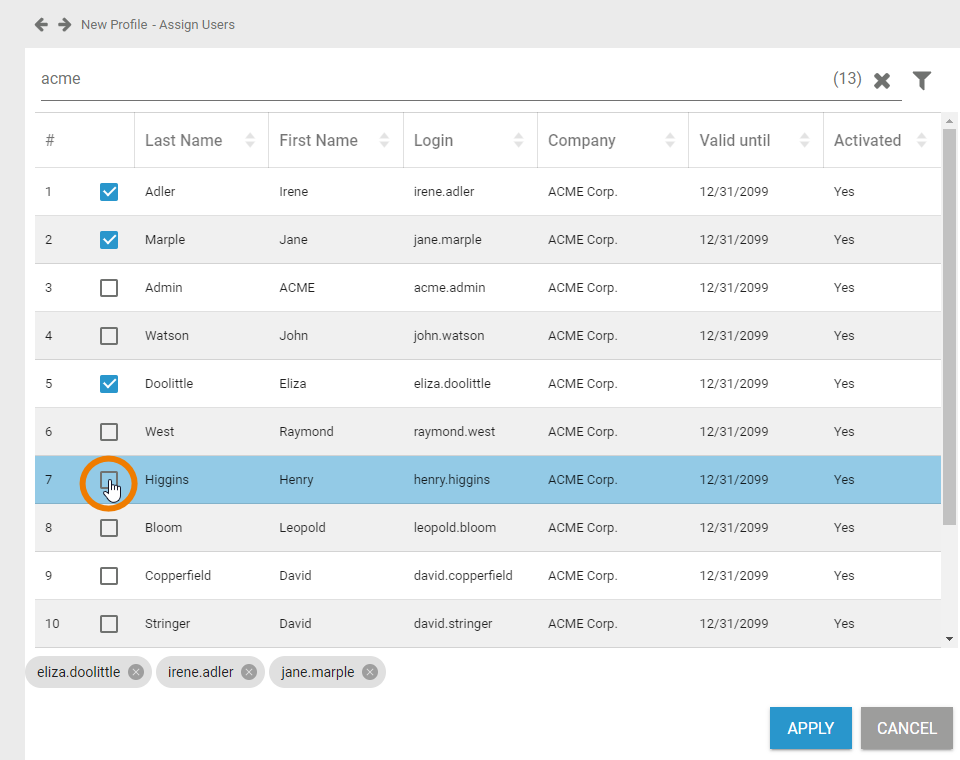
| The list of all available users opens. Use the corresponding checkboxes to choose the users you want to assign |
. |
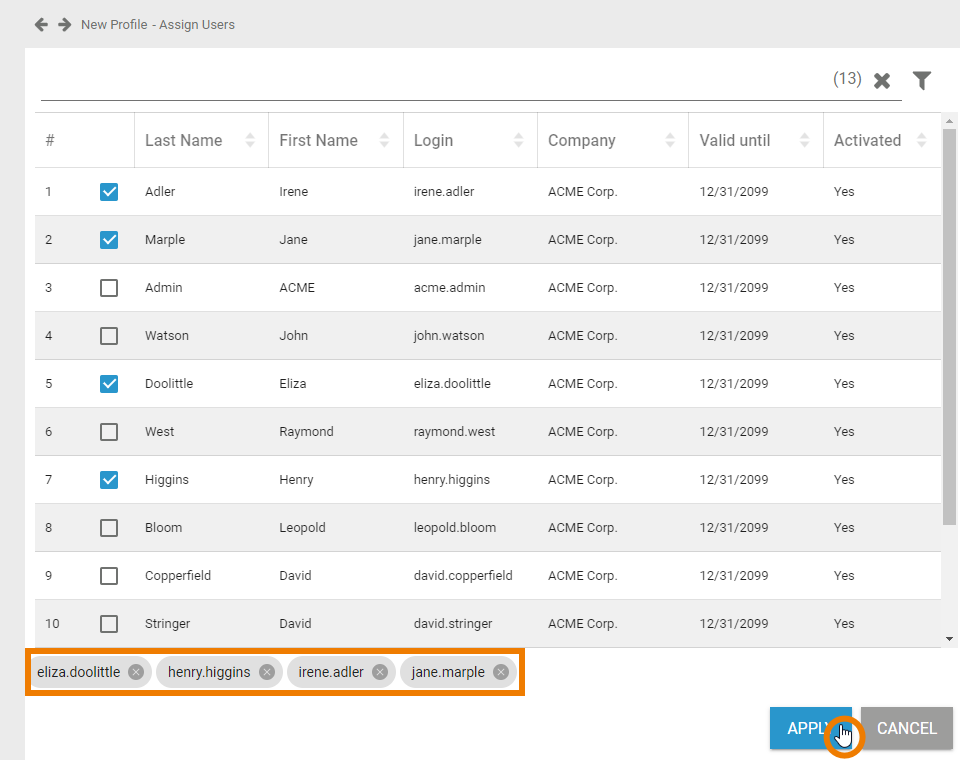
| All |
selected users are displayed in the footer of the list. Click Apply to assign the users to the profile |
. |
| Your selection is transferred to the User |
section of the profile data sheet |
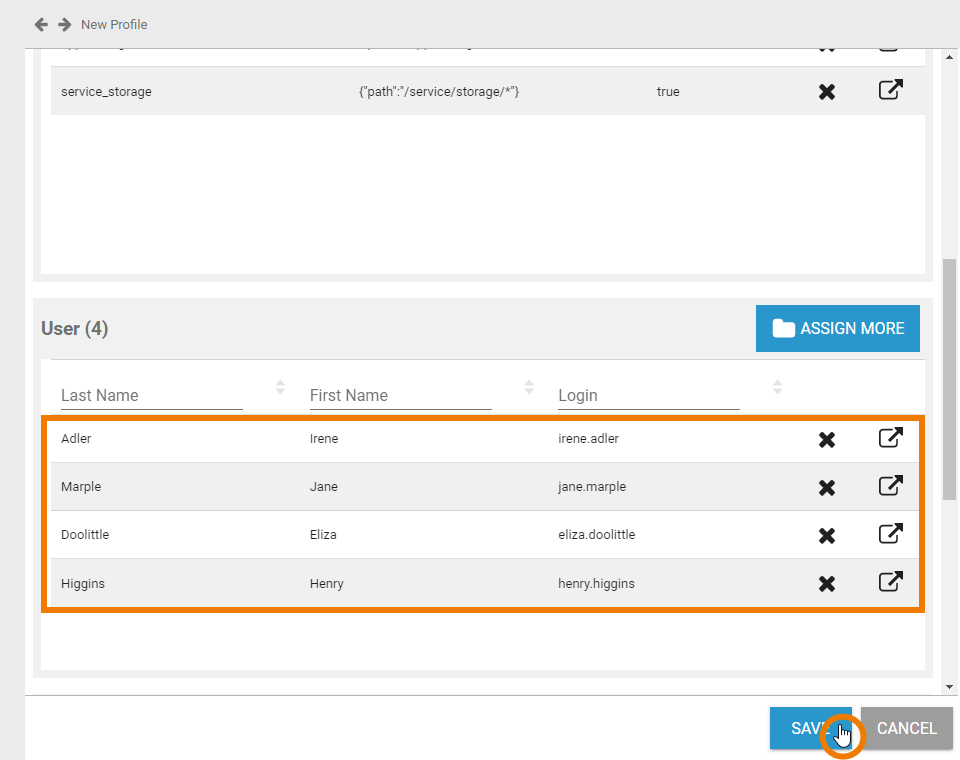
. When all necessary users have been assigned, you can save the profile data sheet or continue to edit the profile by inserting translations.
|
Inserting Translations
The profile name inserted in section Master Data is a technical name for the profile. In section Translations you can insert translations for the profile's display names in German, English and French. To open the window, click button Edit Translations:
Enter the desired display names:
The names saved here will be shown in Scheer PAS BPaaS according to the language selected for the BPaaS user interface:
.
| Multiexcerpt include | ||||||||
|---|---|---|---|---|---|---|---|---|
|
| Panel | ||
|---|---|---|
| ||
|
| Panel | ||
|---|---|---|
| ||
| Otp | ||||
|---|---|---|---|---|
|
| Rp |
|---|
Overview
Content Tools