Query Wizard Overview
| The Query Wizard is a tool that allows users to search for objects in a database based on certain criteria. It provides an easy-to-use interface for creating and running queries and allows users to save and reuse their queries for future searches. |
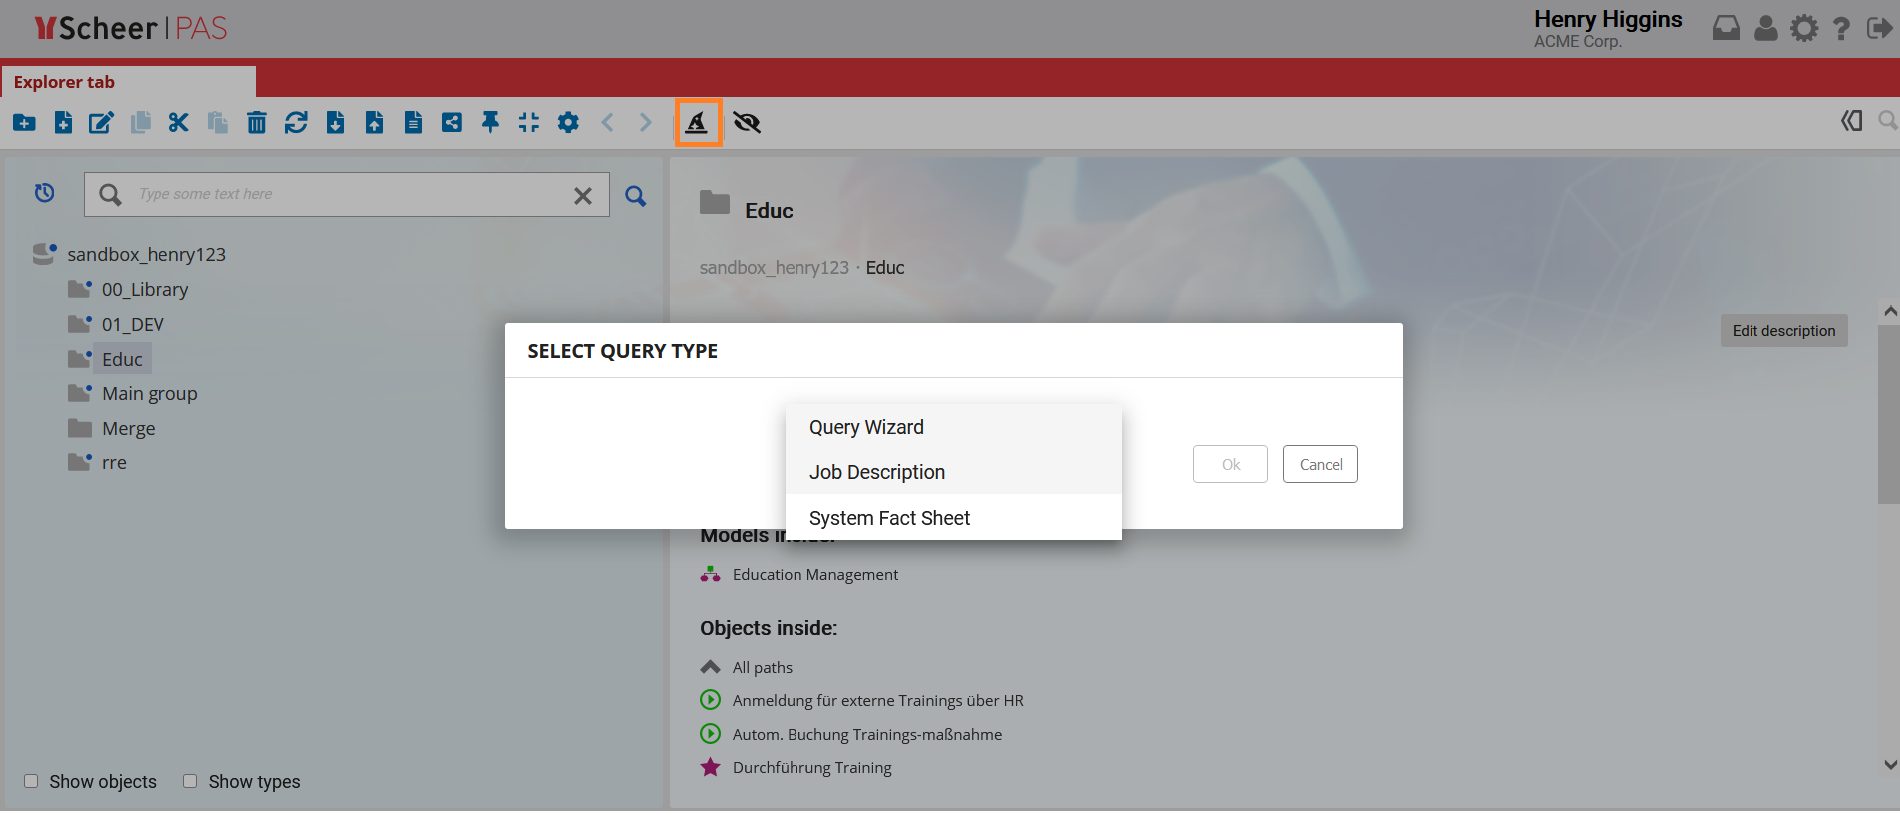
| To use Query Wizard, first open the Query Wizard page by clicking on its icon in the toolbar. A dialog will open with three options: Job Description, System Fact Sheet, and Custom Query. Select the option that best fits your needs. |
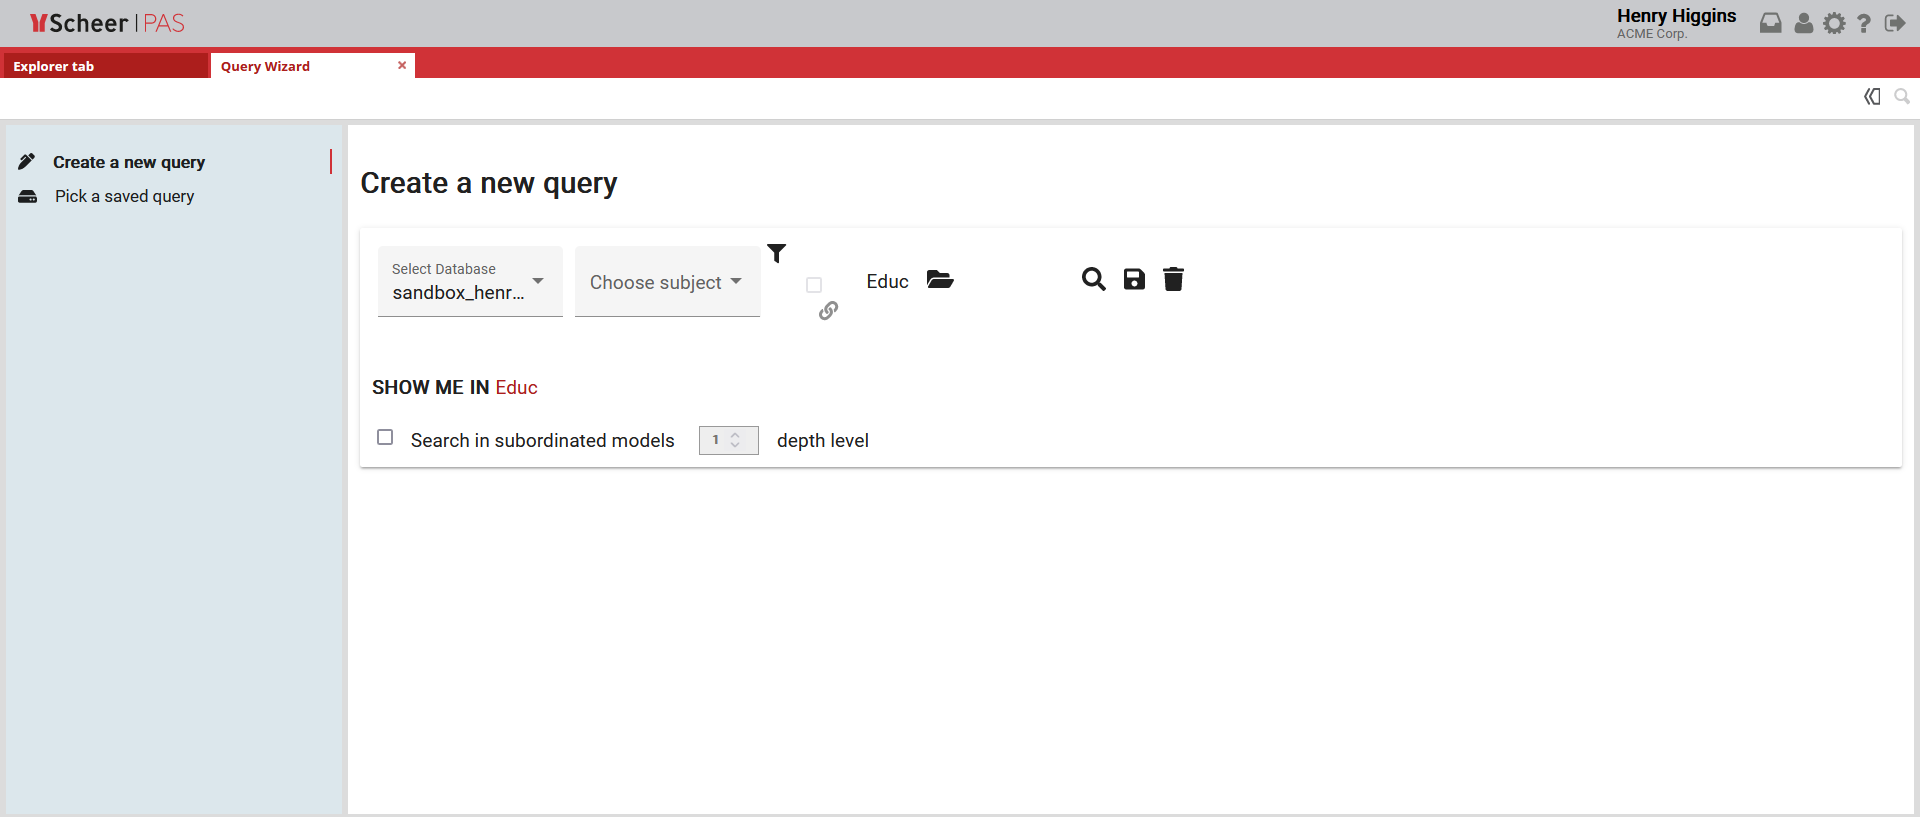
| A new page will open. Here, you can either choose to Create a new query or to Pick a saved query. |

Creating a new query
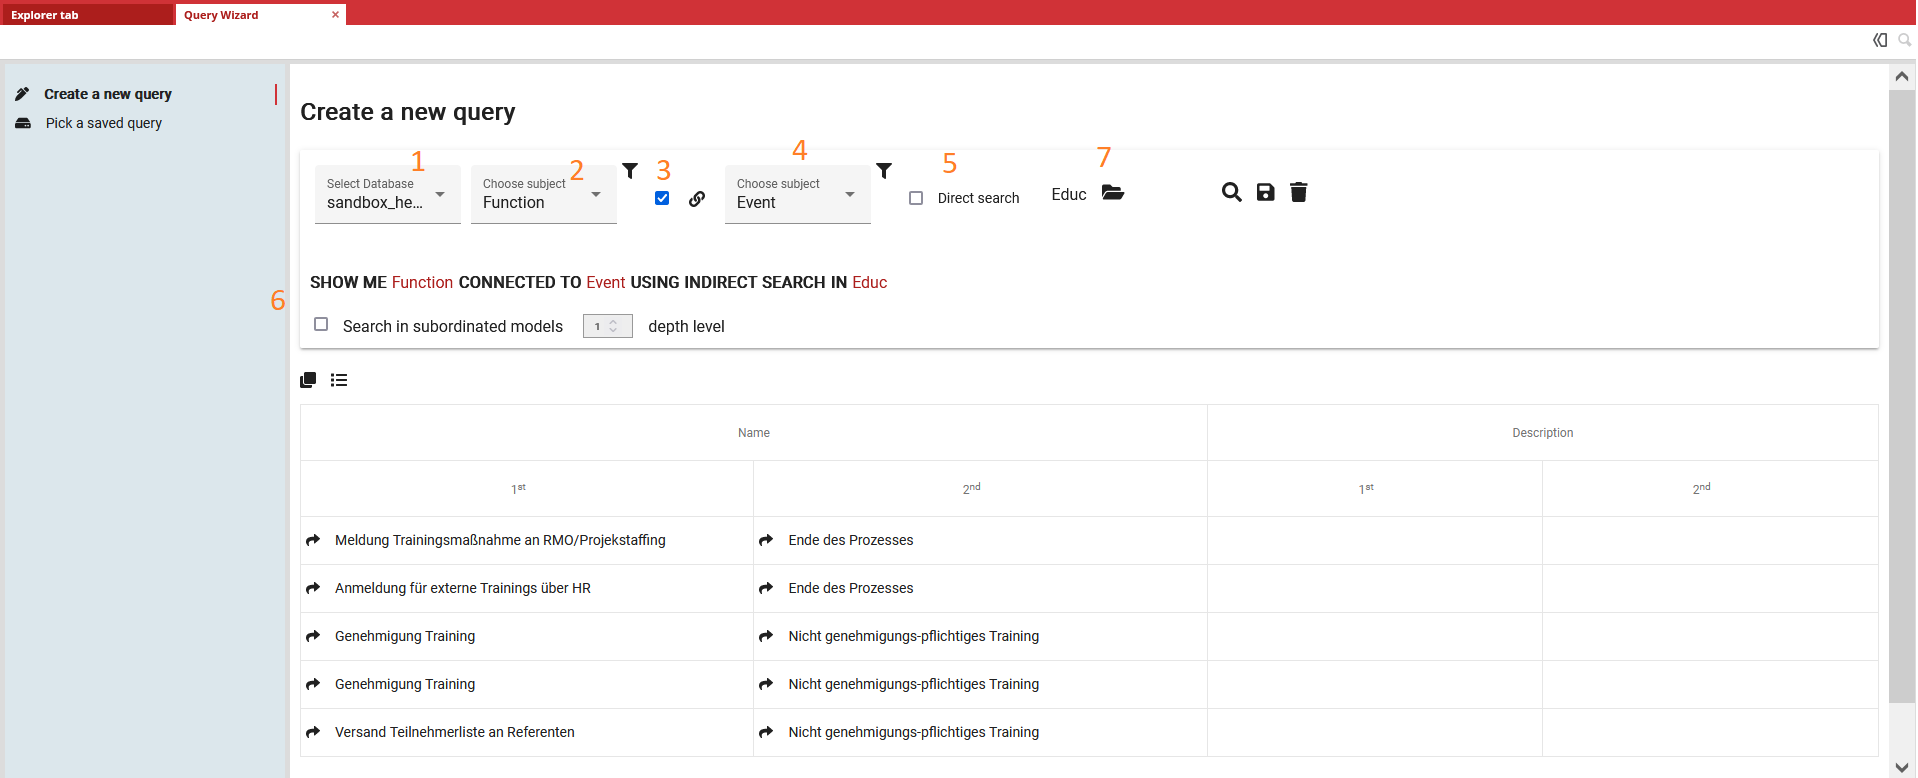
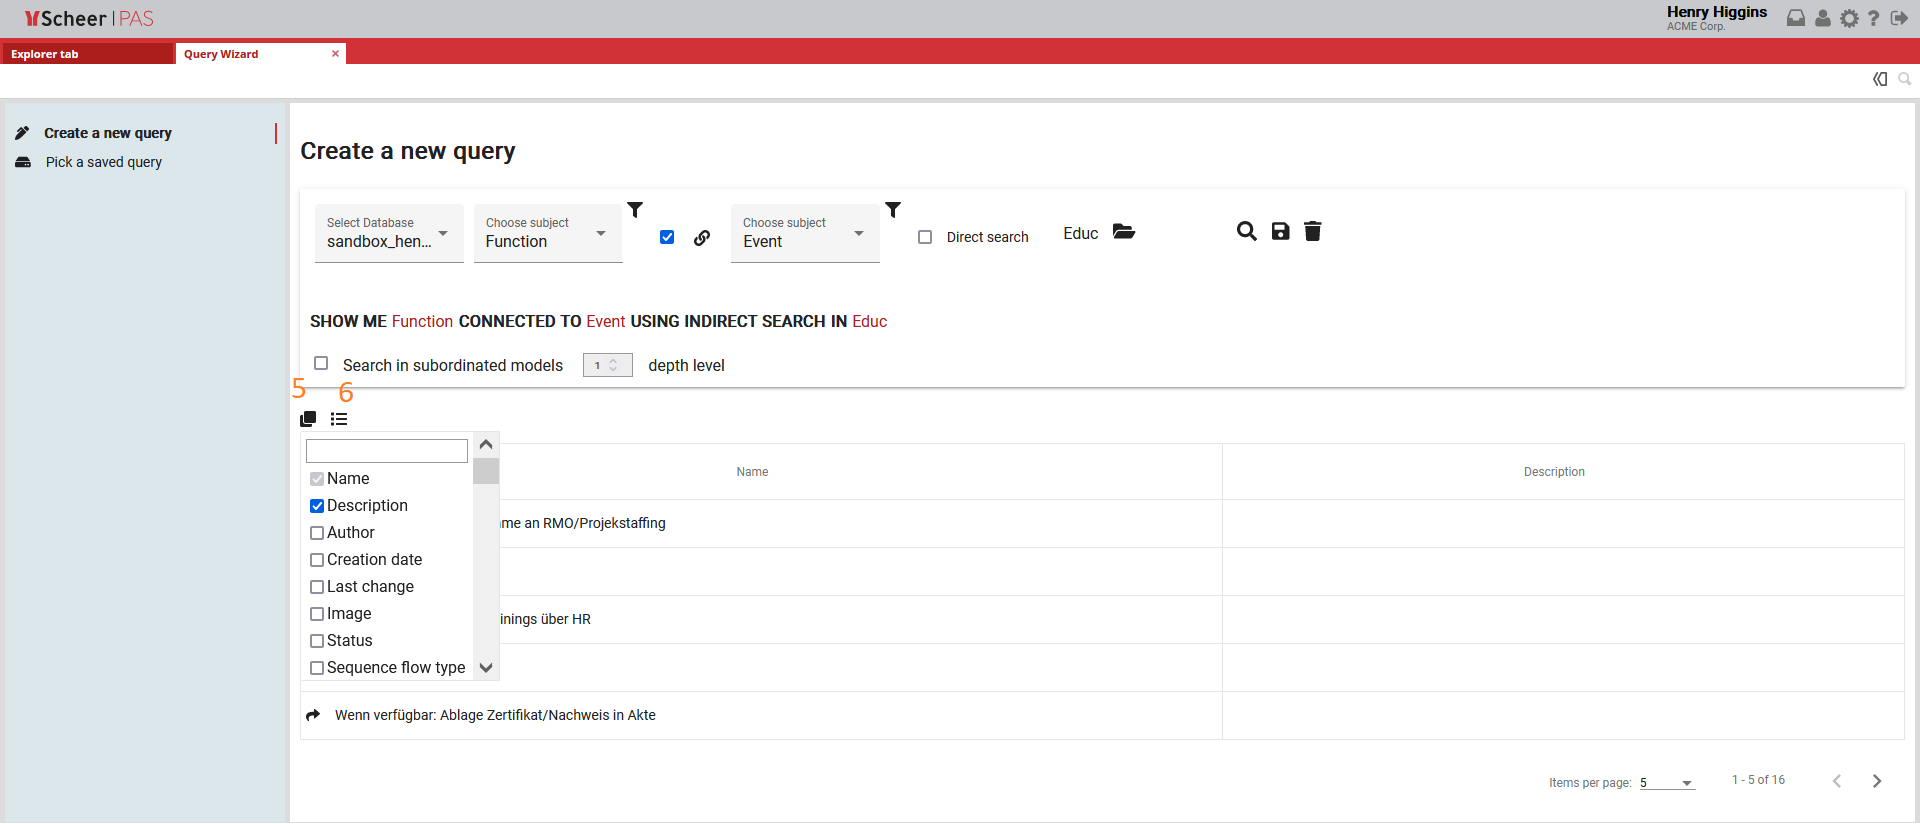
| Click the Create a new query button to open a new page. To create a new Query, select the database you want to search in (1), and the object type you want to search for (2). If you want to search for connected objects, check the connected to box (3) and select the object type you want to search for (4). By default, the algorithm will search for both direct and indirect links between the objects. If you want to search for direct links only, check the direct search box (5). You can choose to search in subordinated models and select a depth level for the search (6). Select the item (database, folder, or model) where you want to perform the search (7), and then click the Run query button. |
Picking a saved query
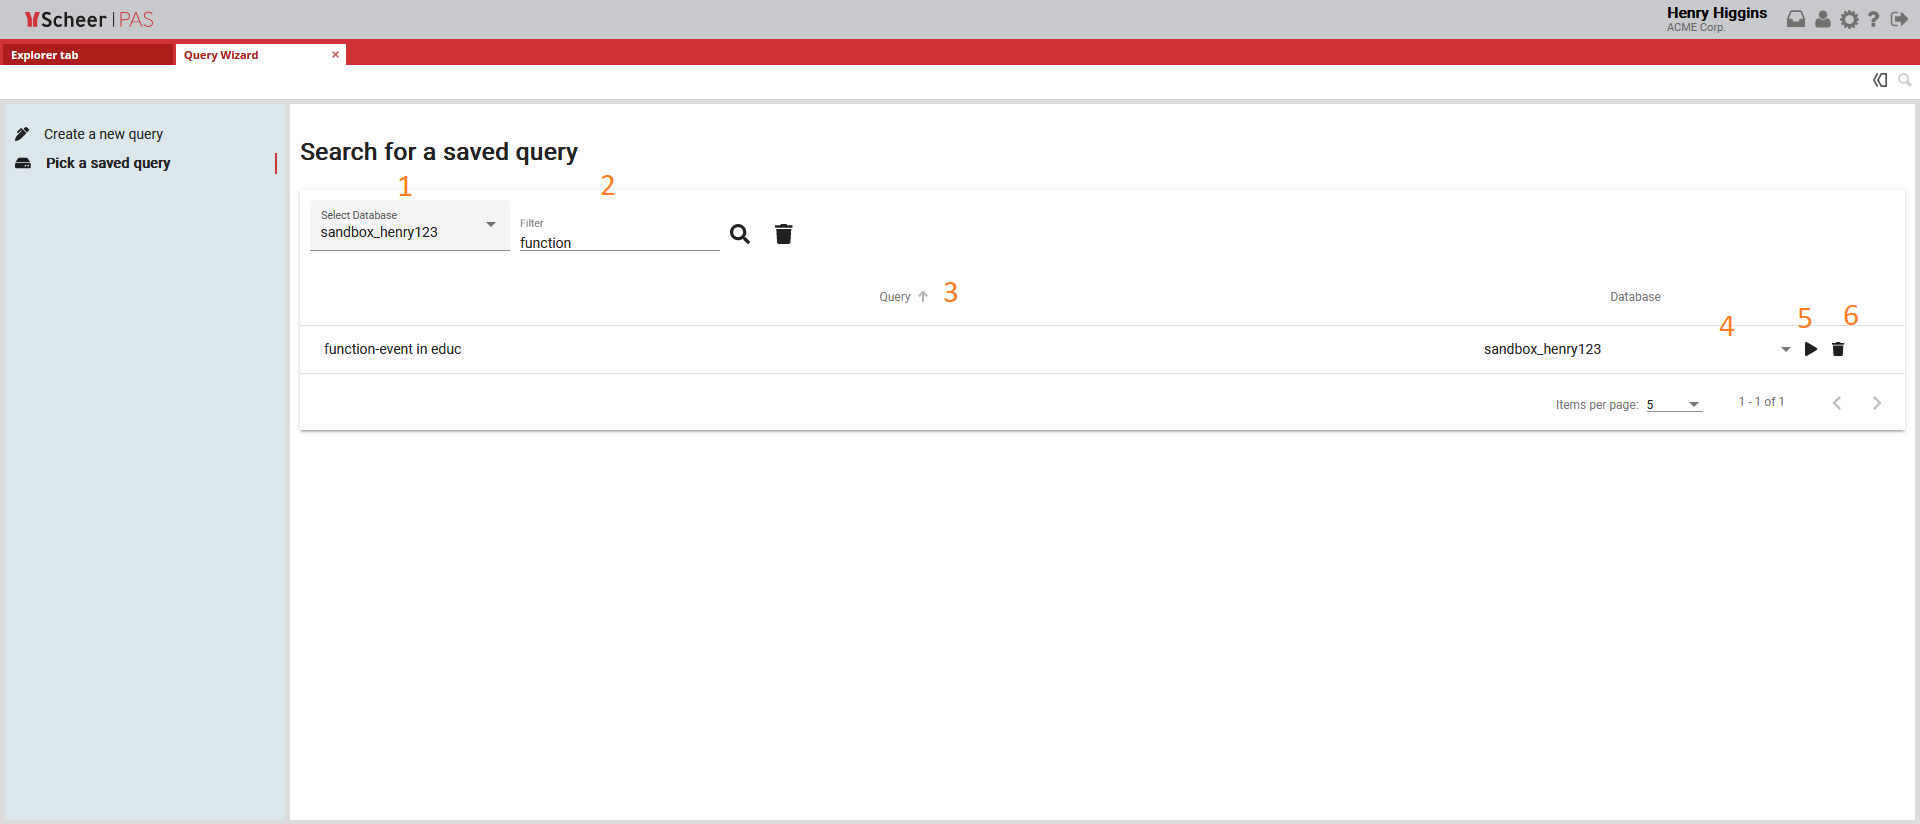
| Click the Pick a saved query button to open a new page. On the new page, you will see a list of all saved queries. Use the drop-down menu at the top of the page to select a database (1) and filter the results by query name (2). You can sort the results alphabetically by Query name or Database by clicking the sort icon(3). You can also change the database where the query will be run by using the Change database button (4). To run a saved query, click the Run query button (5) next to the query in the list. To delete a saved query, click the Delete button (6) next to the query in the list. |
Search results
| The search results will be displayed below the form (1). You can save the query for future use (2) or reset search parameters (3) using the options provided. You can sort the results alphabetically by clicking the sort icon in the Name attribute header (4). |
| To copy the search results to the clipboard, click the Copy to clipboard icon (5) in the top left corner of the results table. You can then paste the results into a .xlsx file or other application. By default, the search results will display the Name and Description attributes of the found objects. You can display additional attributes by clicking the Toggle attributes columns icon (6) and selecting attribute from the list. |

Overview
Content Tools