There are two options to configure the DB2 client:
via the connection string, which corresponds to the setting DBName in the BRIDGE ...
- ... or on each client using the catalog database commands .
Configuring the DB2 Client via the Connection String
Install the DB2 drivers on your client system (IBM Data Server Driver for ODBC and CLI (CLI Driver). In the xUML Services Preferences of the Bridge, select the DB2 adapter preferences and enter the path to the database driver into DB2DIR.
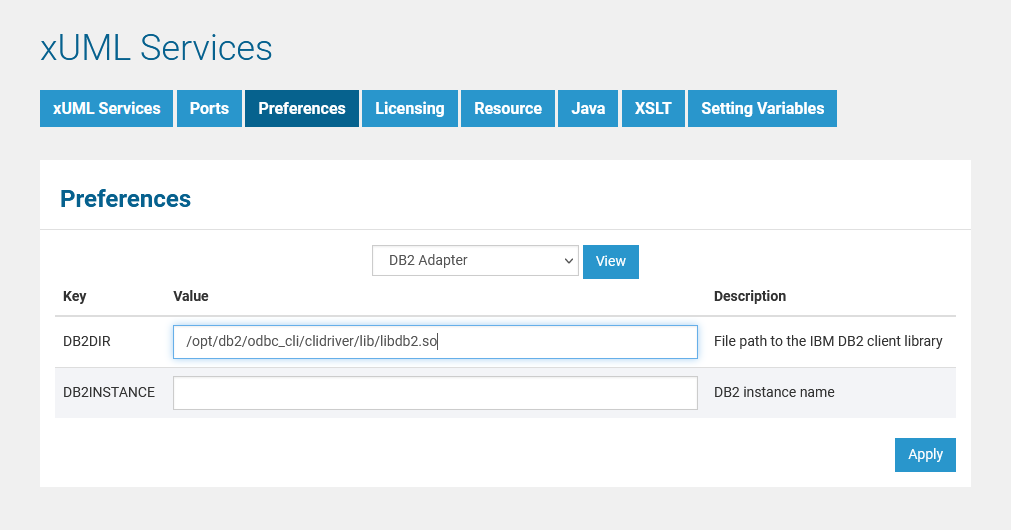
The value of DB2INSTANCE is not used in this case.
Specify the DB2 server in the xUML Service Settings of the SQL adapter connection of the xUML service. All possible parameters are documented on the IBM documentation pages.
For more information on xUML service settings refer to xUML Service Settings.
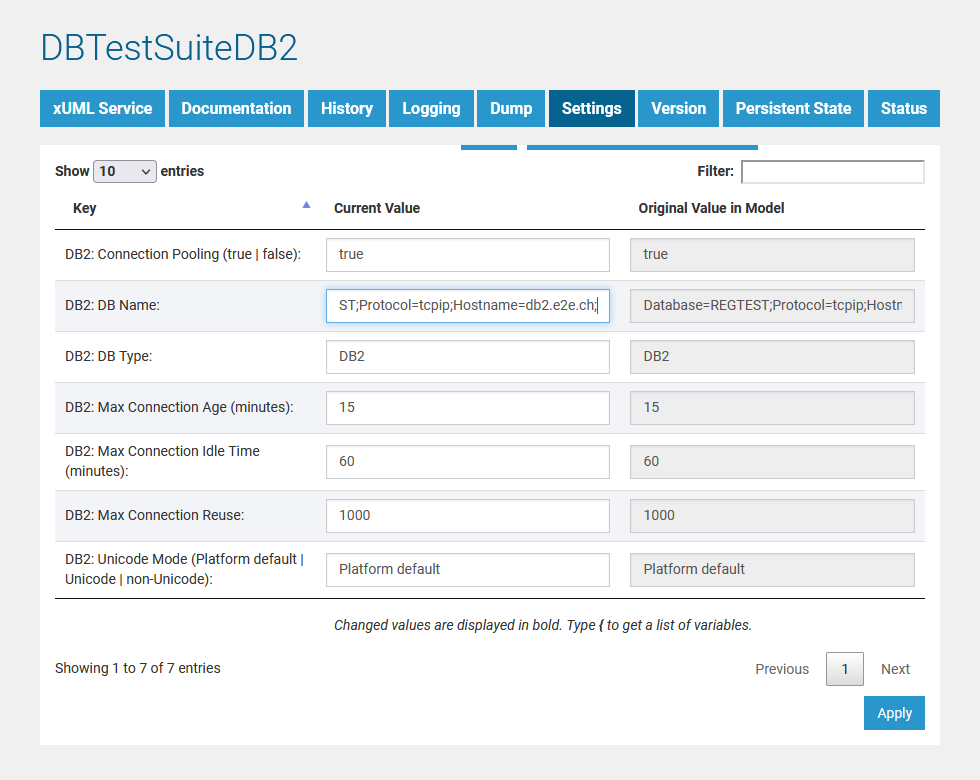
Alternatively, you can also specify the DB2 server in the <<SQLAlias>> in the component diagram of the xUML service.
For more information on the SQL database deployment refer to section Using ODBC for Database Access in the BRIDGE Reference Guide.
Configuring DB2 Access via the SQL Client
For DB2, install the required DB2 client tools and define all necessary configuration parameter as described in the DB2 installation guide.
The DB2® Information Center provides access to all information that is needed to use the DB2 Information Management family of products and features for Linux, UNIX, and Windows operating systems (see IBM documentation pages).
1. Download the Actual Run-Time Client
Download the actual Run-Time Client Installer from the DB2 web site and install it. This documentation is based on version 8.
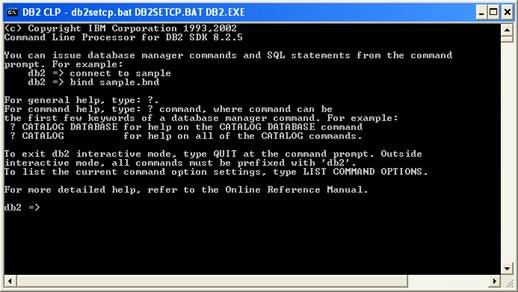
2. Open the Administration Shell
Open the DB2 administration shell, for example on Windows:C:\Program Files\IBM\SQLLIB\BIN\DB2CMD.exe DB2SETCP.BATDB2.EXE
3. Add a TCP/IP Node Entry to the Node Directory
Add a Transmission Control Protocol/Internet Protocol (TCP/IP) node entry to the node directory. The TCP/IP communications protocol is used to access the remote node. The CATALOG TCPIP NODE command is run on a client.
Example: db2 => catalog tcpip node DBSERVER remote dbserver1.e2e.ch server 50000
The DB2 node name DBSERVER holds the TCPIP entries for the system database directory.
DB2 Commands
| Command | Description | Example |
|---|---|---|
catalog tcpip node | Adds a Transmission Control Protocol/Internet Protocol (TCP/IP) node entry to the node directory. | db2 => catalog tcpip node DBSERVER remote dbserver1.e2e.ch server 50000 |
list node directory | Lists the contents of the system database directory. If a path is specified, the contents of the local database directory are listed. | db2 => list node directory Number of entries in the directory = 1 Node 1 entry: Node name = DBSERVER Comment = Directory entry type = LOCAL Protocol = TCPIP Hostname = dbserver1.e2e.ch Service name = 50000 |
uncatalog node | Deletes an entry from the node directory. | db2 => uncatalog node DBSERVER |
4. Store the Database Location Information in the System Database Directory
Stores database location information in the system database directory using the CATALOG DATABASE command. The database can be located either on the local workstation or on a remote node.
Example: db2 => catalog database SAMPLE as SAMPLE at node DBSERVER
DB2 Commands
| Command | Description | Example |
|---|---|---|
list database directory | Lists the contents of the system database directory. | db2 => list database directory Database 1 entry: Database alias = SAMPLE Database name = SAMPLE Node name = DBSERVER Database release level = a.00 Comment = Directory entry type = Remote Catalog database partition number = -1 Alternate server hostname = Alternate server port number = Database 2 entry: Database alias = E2E Database name = E2E Node name = DBSERVER Database release level = a.00 Comment = Directory entry type = Remote Catalog database partition number = -1 Alternate server hostname = Alternate server port number = |
uncatalog database | Deletes a database entry from the system database directory. | db2 => uncatalog database tsp The UNCATALOG DATABASE command completed successfully. DB21056W Directory changes may not be effective until the directory cache is refreshed. |
Defining the DB2 Database Preferences on the BRIDGE
In a browser, open the Web-based user interface of the system, on which the Bridge is installed (see Checking the Installation). Enter a user id and password of a user with administration rights (the pre-defined user admin, for instance).
The welcome page is displayed.
In the Navigation, select the xUML Services item of the node instance you want to define the database preferences for and switch to tab Preferences.
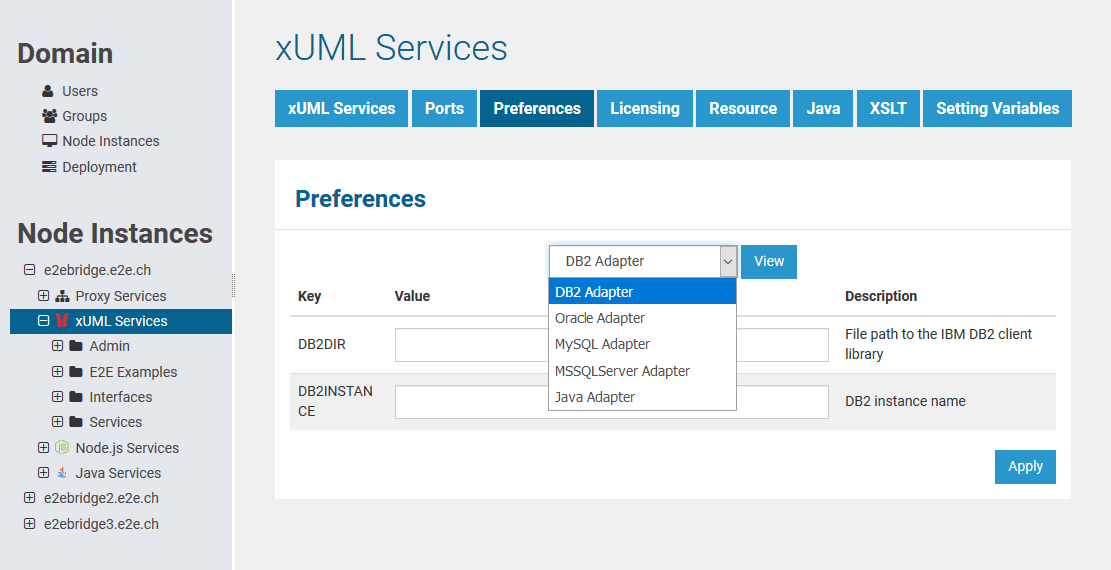
Now, you can define the SQL adapter preferences for each database type. Select the DB2, Oracle, MySQL, or MSSQLServer Adapter in the drop down box and the parameters of the selected adapter are displayed.
Select the DB2 adapter, enter the following parameters and click Apply.
| Key | Value | Example |
|---|---|---|
| DB2DIR | Full path to the DB2 SQL Library (installed with the DB2 client tool). | /opt/db2/odbc_cli/clidriver/lib/libdb2.so |
DB2INSTANCE | Name of the SQL service component that has to be used in the deployment diagram when defining a DB2 database backend, e.g. DB2. The DB2INSTANCE environment variable can be retrieved with the DB2 administration command shell (see sections before). Use the get instance command, which returns the value of environment variable. | db2 => get instance The current database manager instance is: DB2 |
On this Page:
Related Pages:
Related Documentation:
Overview
Content Tools