To automatize testing of Bridge services you need at least two more test actions: one to start the service and one to stop the service.
| Select Create Test from the context menu of the test suite you want to add the additional test action to (PurchaseOrderExample). |
 | Select Start Bridge Service and click OK. |
 | Specify the preferences of the start service test action. Select a service name from the list (PurchaseOrderExample), provide host and port and Bridge credentials. Keep Create also a Stop Test for the selected service checked to automatically create a corresponding stop test. |

The wizard displays the test properties of the new start test. Click OK.

If you kept Create also a Stop Test for the selected service checked, the wizard also displays the properties of the corresponding stop test.
The newly created test action will be added at the top of the test suite.

You can now drag the test actions to the correct place in the test suite (e.g. stopping a service should be placed at the end of the test suite).
As this test has never been run before, there is no reference data to compare the test result to - e.g. the start or stop log in the screenshot below (the same applies to all other kinds of tests). So running this test will always give an error. In the Compare Tool at the bottom of the Content pane you can see the reference data (blank) and the test output data (e.g. start log from the Bridge). Look at the test output data and on the Bridge. If the service started alright and the start log reads Stop the service on the Bridge an re-run the test. It is green now.Prepare the Reference Data
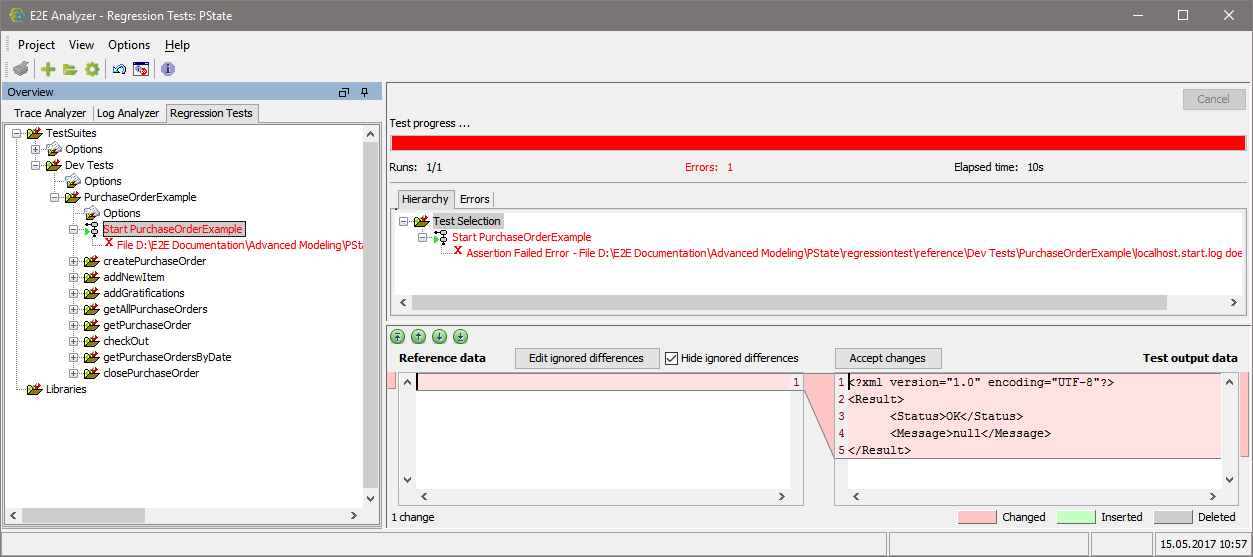
<Status>OK</Status>, click Accept changes.
This will result in the actual test output data being taken as reference data.

On this Page:
Overview
Content Tools