| In the Controls panel you should see the message: Test environment ready. Click icon Open test application |
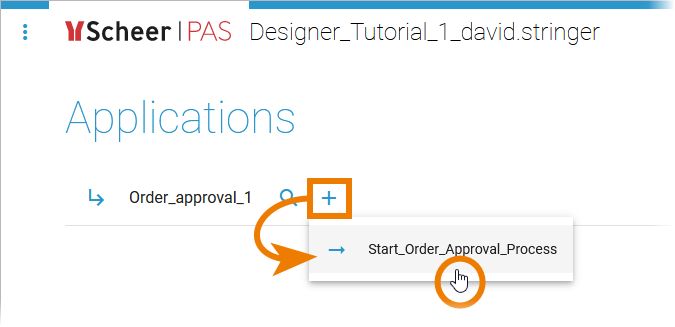
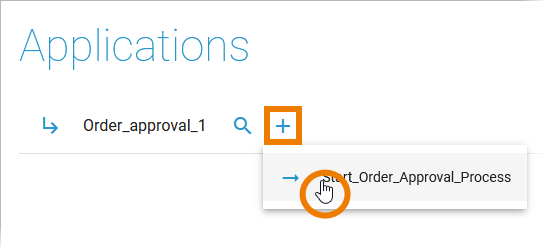
| The Applications start page is displayed. It lists all available processes in this service. Hover over the name of your service to display the quick start icons. Click icon |

Role Test 1: Write and List Permission
| Now create some test instances but do not finish them (see below). | |||||||||
| If your order value is within the limit, do not click OK in the third form. Open the menu on top left and click the name of your process to go back to the instance overview. | |||||||||
| If your order value exceeds the limit, you are currently not allowed to execute process step Check order. Click Back to Overview to display the instance overview. Reminder If you have finished tutorial 4, the new order limit is 500. | |||||||||
| Create at least two different instances:
Reminder If you have finished tutorial 4, the new order limit is 500. | |||||||||
| Now open both instances and check their behavior:
|


Role Test 2: Write and Read Permission
| Switch back to your process and change the role right of lane Supervisor to Read. Save the change and open the application again. | |||||||||
| Until now, your user did not have permission to perform the approval step. Therefore the instance that exceeds the order limit (created in test 1) is still available. | |||||||||
| Create one new test instance that fits the order value limit. | |||||||||
| Now open both instances and check their behavior:
|


Roles Test 3: Write Permissions for all Steps
| Switch back to your process and change the role right of lane Supervisor to Write. Save the change and open the application again. |
| Use icon |
| Since your user did not have permission to perform the approval step so far, your test instance is still displayed in the instance list. |
| Open the remaining instance and check its behavior:
|
| If you have confirmed or rejected, the form of the next process step is displayed. |


Checking the Deployed Service
If you have followed all tutorials step by step, you can review the differences between a test service and a deployed service. So far, you have deployed the service only once in tutorial 4. The roles were implemented in tutorial 5. The deployed service should not yet reflect the implementation of the roles.
| Open the deployed service. |
| Start the service to create a new instance. |
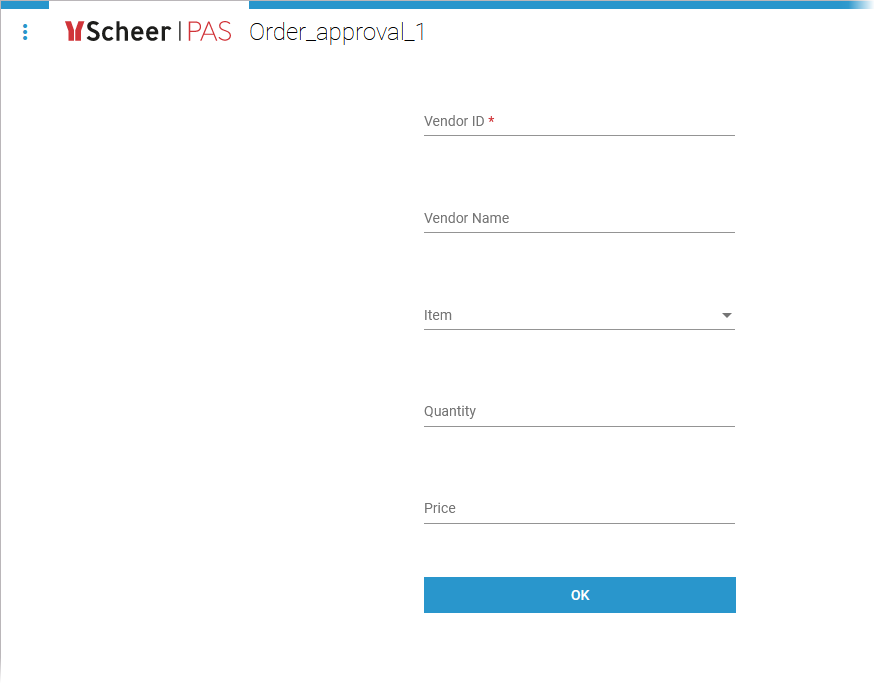
| You still see the order form created in tutorial 1 - without the label element created in tutorial 4. |
| And no matter what role permissions you store in the test service, you will always able to execute the Form_CheckOrder. |


| Congratulations - you have done it! You have modeled your first role-based process and tested it. |

On this Page:
Related Documentation:
Overview
Content Tools