You are now able to retest your application. As you have done in tutorial 1, you will use the preview of your application again. Refer to Working with the Test Environment in the Designer guide for detailed information about the application preview.
| In the Controls panel you should see the message: Test environment ready. Click icon Open test application |
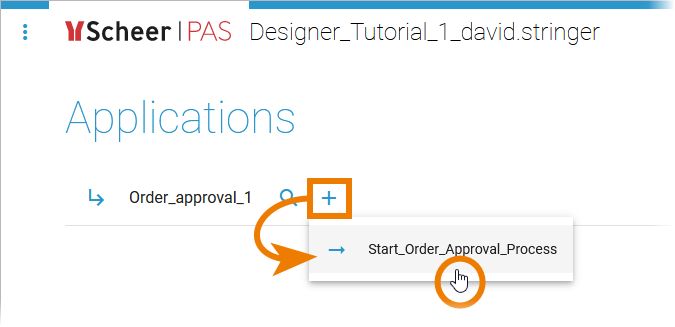
| The Applications start page is displayed. It lists all available processes in this service. Hover over the name of your service to display the quick start icons. Click icon |

Try all possible process flows and check if the correct forms are displayed.
| Then enter some test data in Form_EnterWebOrder and click OK. |
| If your order value is in the order limit of 1.000, the approval message is displayed. |
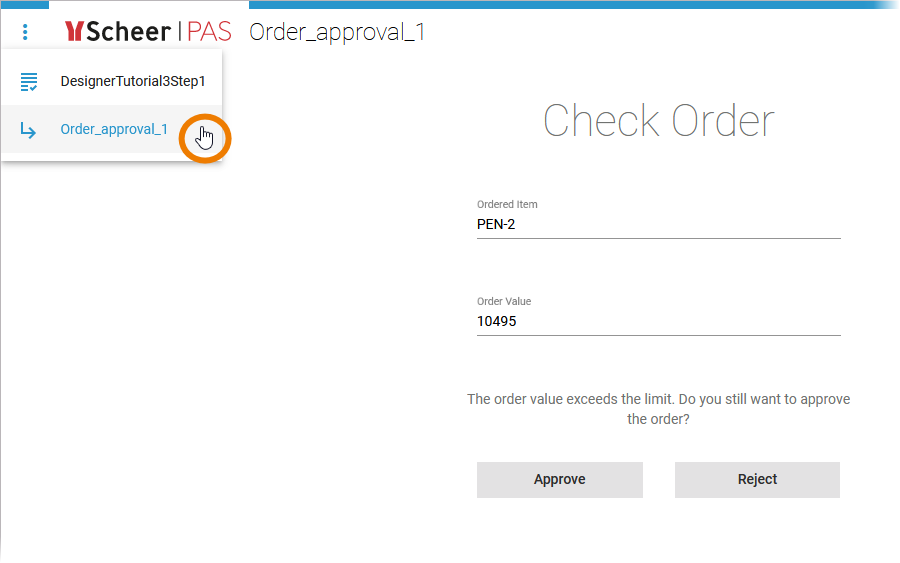
| If your order value exceeds the order limit, the Form_CheckOrder is displayed. In contrast to your test in step 2, this form is now filled with the data you entered in the first process step. Try out what happens, if you reject the order. If your Check Order form does not show content in the text boxes, go to the Controls panel in the Designer and initiate a deletion of the Compiler cache:
Deleting the Compiler cache also initiates a new validation. Please wait until the test environment is ready again, then re-open the application. |
| The rejection message is displayed. Create a new instance where the limit exceeds 1.000 and approve it. Check if the approval message is displayed. |
| Now create some test instances but do not finish them. Before you click Approve or Reject in the second form or OK in the third form, open the menu on top left and click the name of your process to go back to the instance overview. |


In doing so, you create running instances, i.e. these instances have not yet been processed to the last process step. The instance list shows all running instances. By default, for each running instance the name of the Current Task and the Instance Id are displayed in the instance table:

| Congratulations - you have done it! You have modeled your first business process, and tested it. Next Level You want to discover more? If you want to know how to display process data within the instance table, try Tutorial 3: Showing Process Data in the Instance List. |


Overview
Content Tools