| Open the Scheer PAS Mobile app on your mobile device. For information on installing Scheer PAS Mobile visit the Mobile App Installation Guide. |
| The project ACME Directories is displayed on the start screen. Touch the project to open it. |
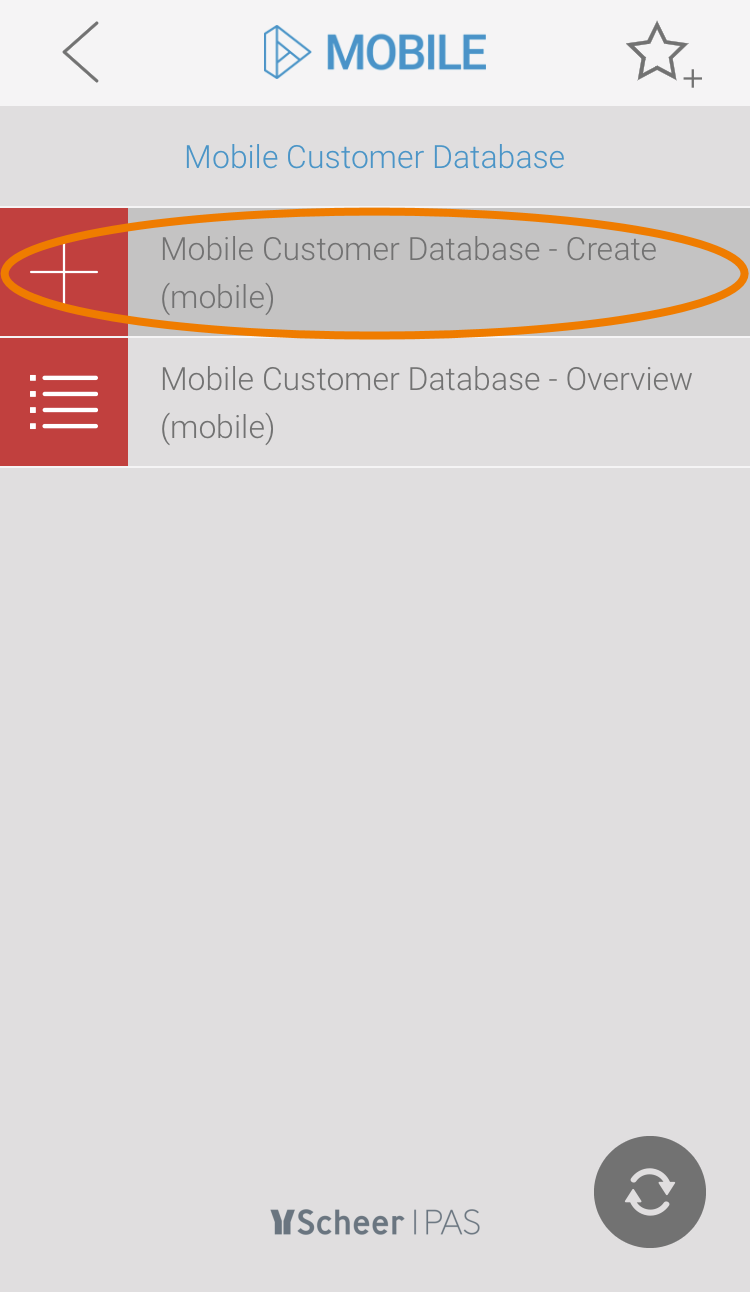
| Within a project, all app projects containing mobile forms are displayed. Tap on your app project Mobile Customer Database to open it. |
| Within the app project you will find the start links for the creation of new instances and for the overview. Open the Create start link first. |
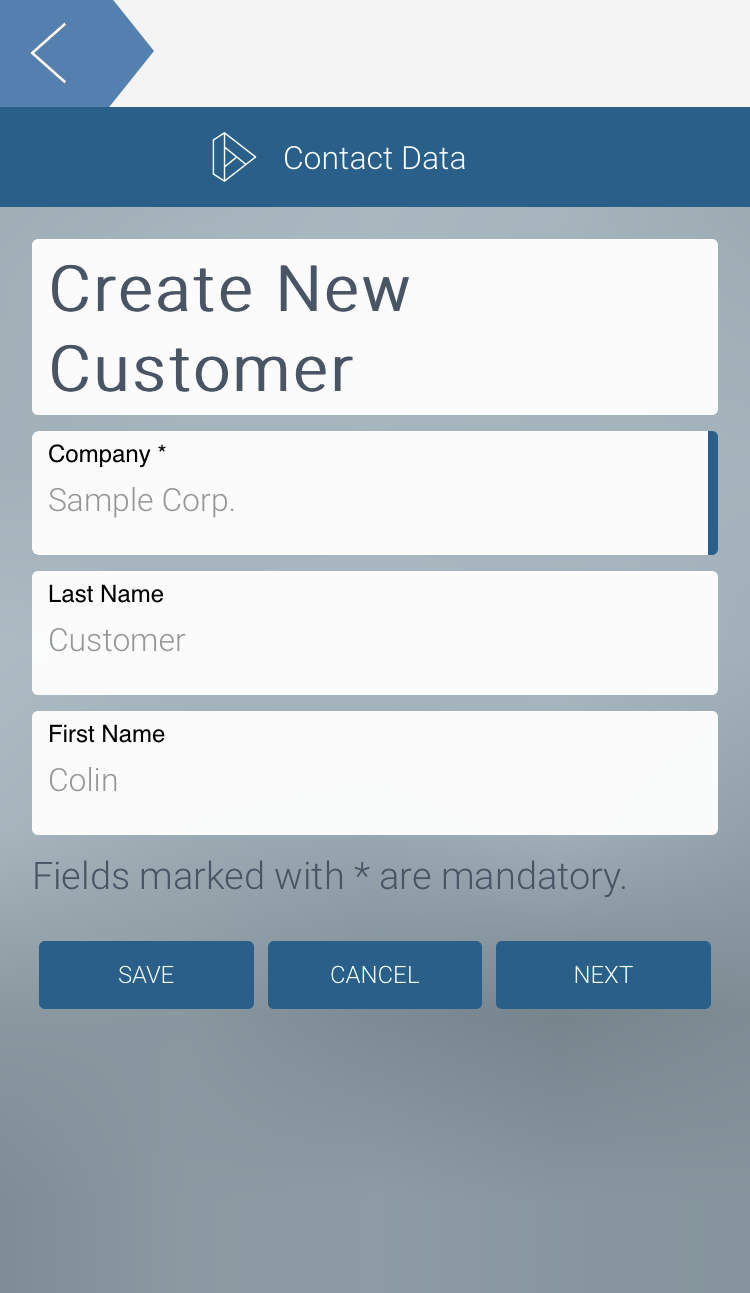
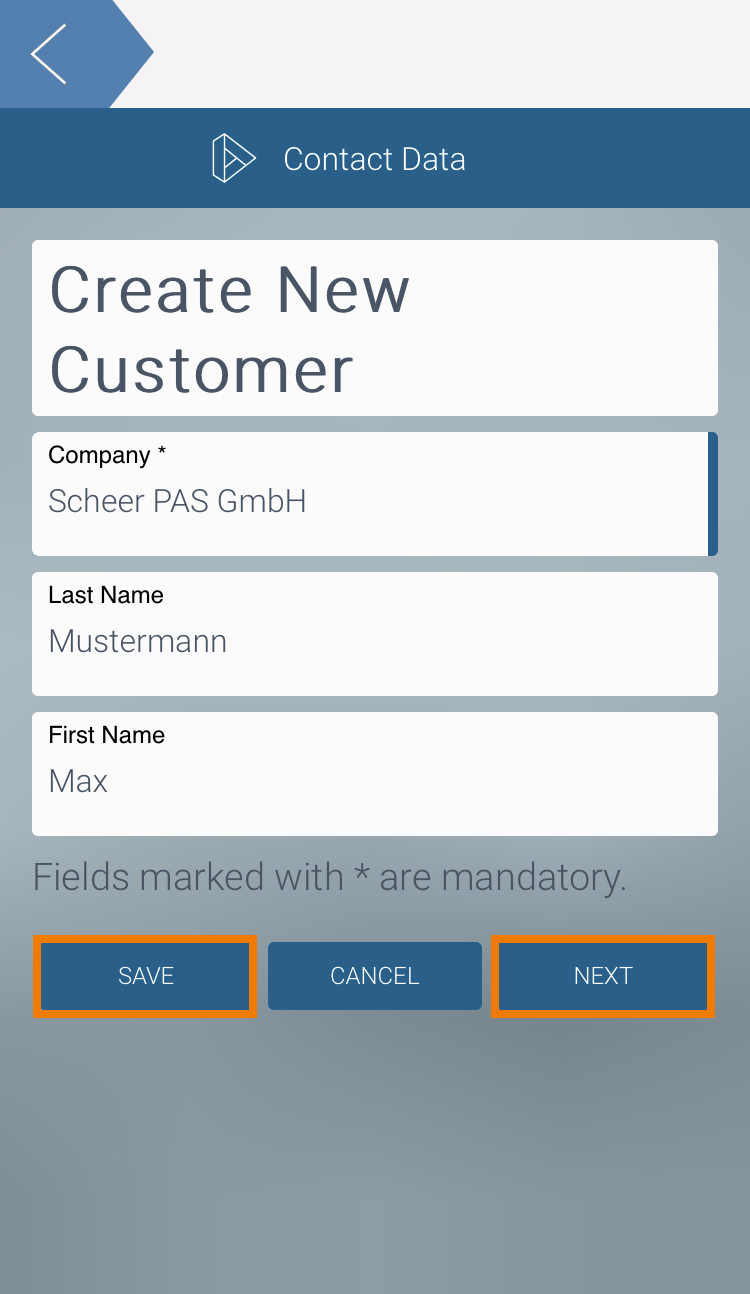
| Your form is executed and you can start filling it in. |
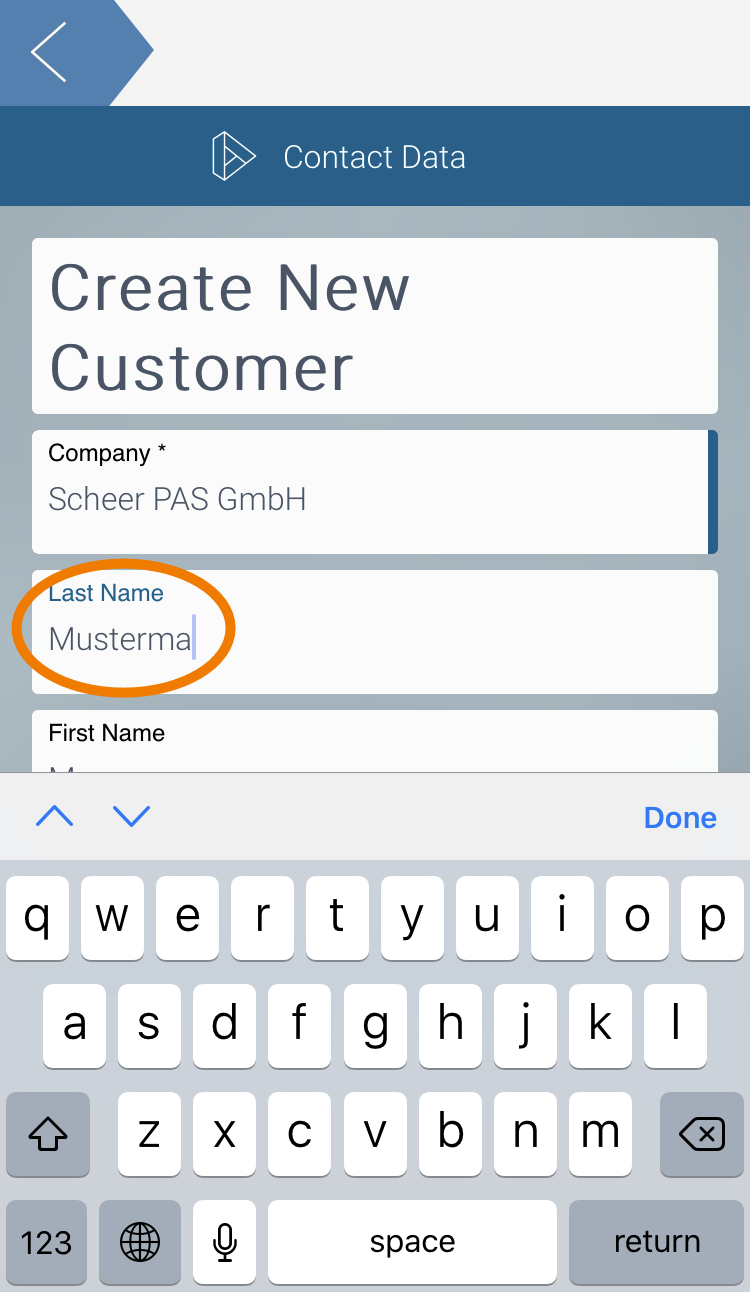
| As soon as you touch an input field, the keyboard appears. Enter test data. Placeholders will be overwritten by your input. |
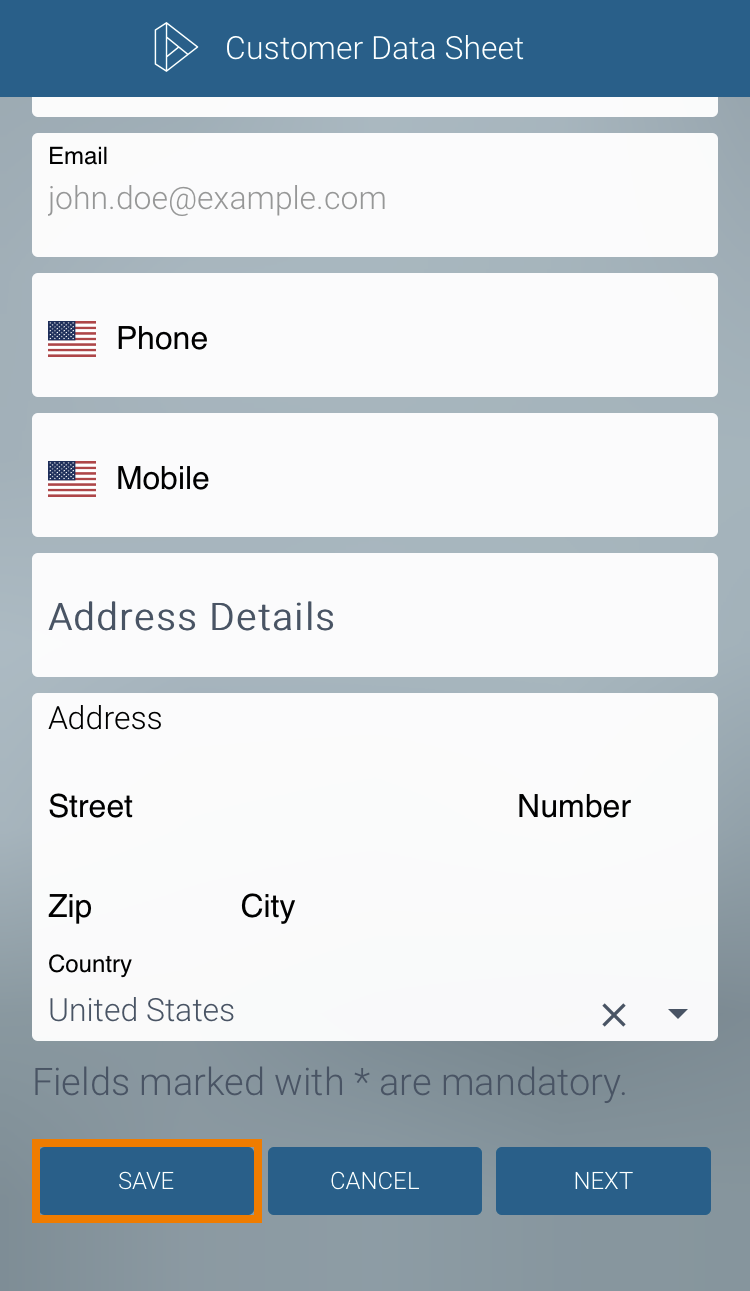
| There are two ways to save your input:
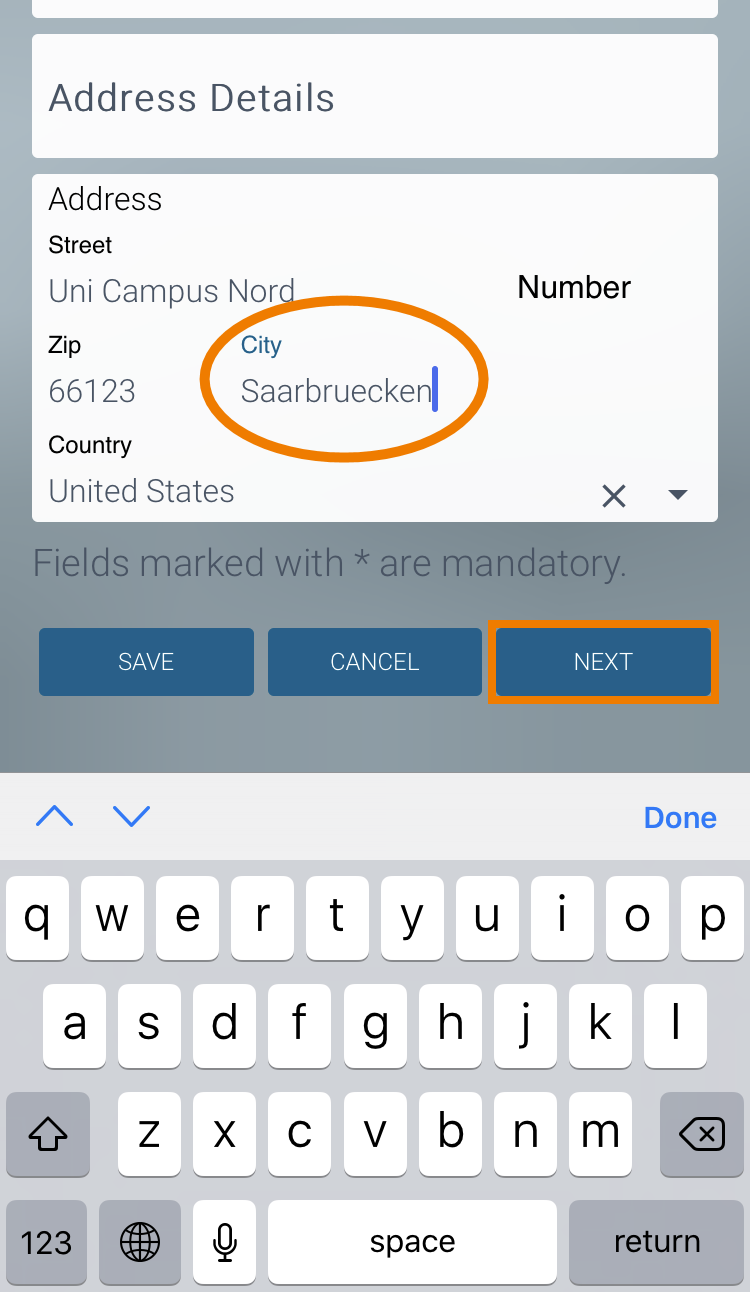
Fill in the form and use button Next. |
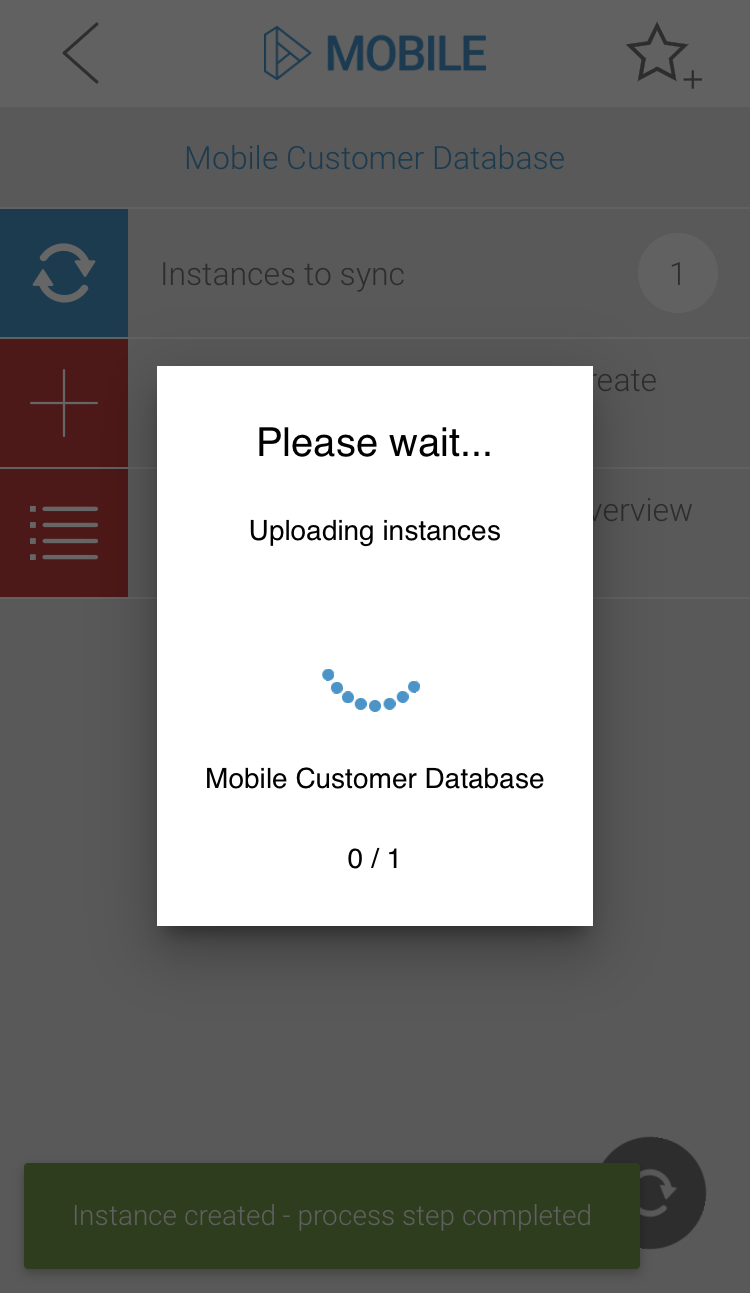
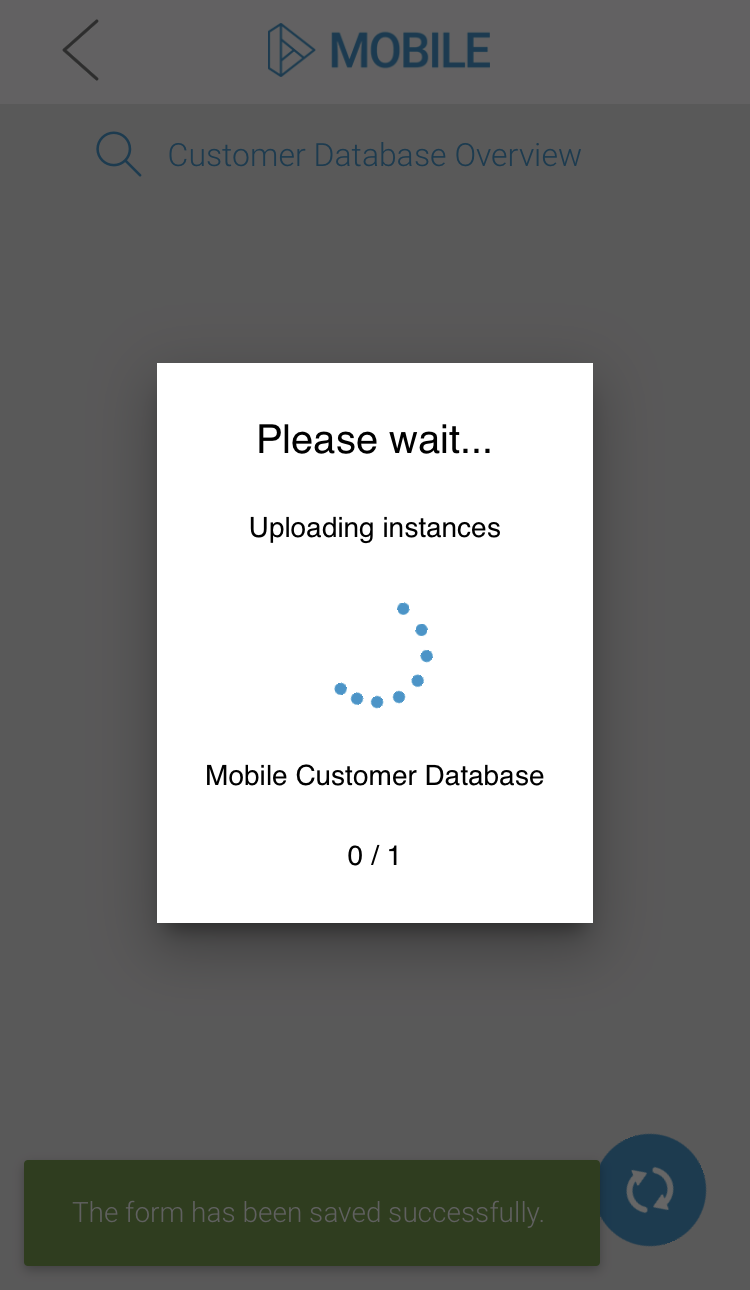
| Your input is saved and sent to the next process step, which is indicated by the green toast message:
The data is synchronized. During synchronization with your Scheer PAS BPaaS system a corresponding message is displayed:
Synchronization is only possible with an existing internet connection. Without internet connection, the instance is saved in the app and will be sent to your BPaaS system as soon as your mobile device is online again. |
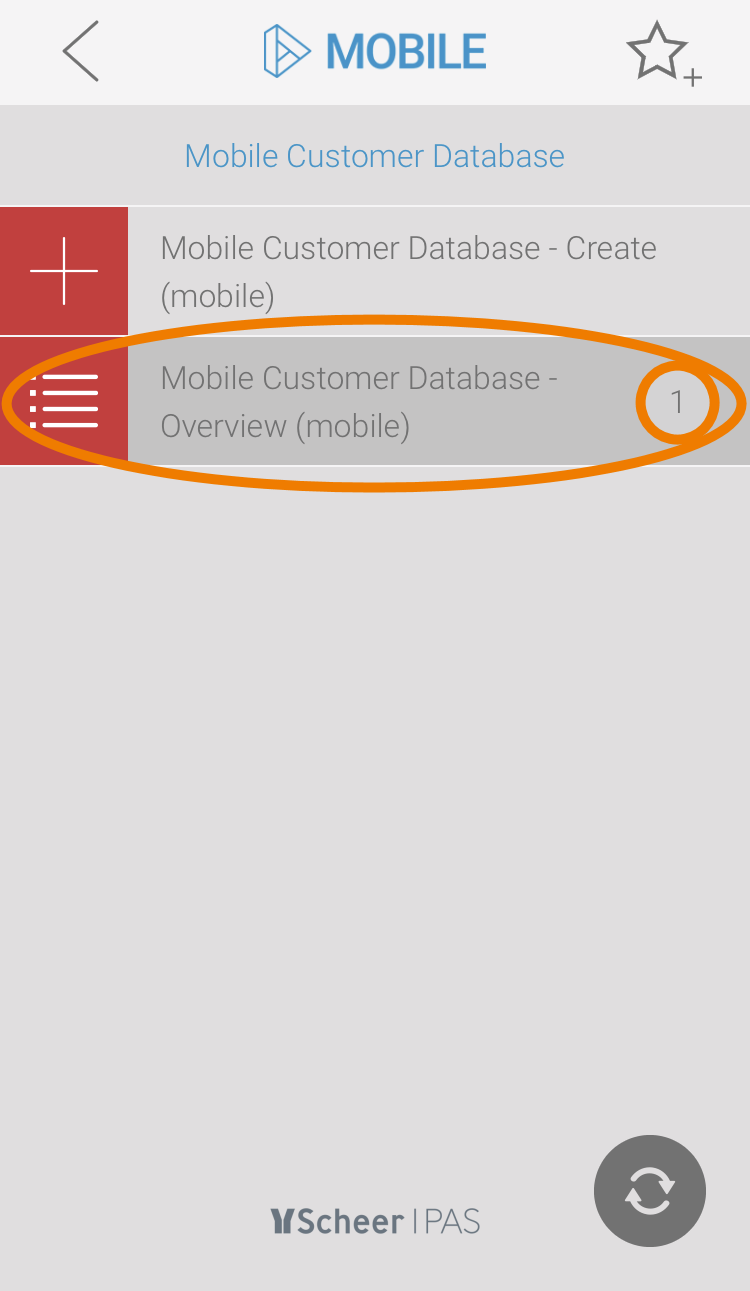
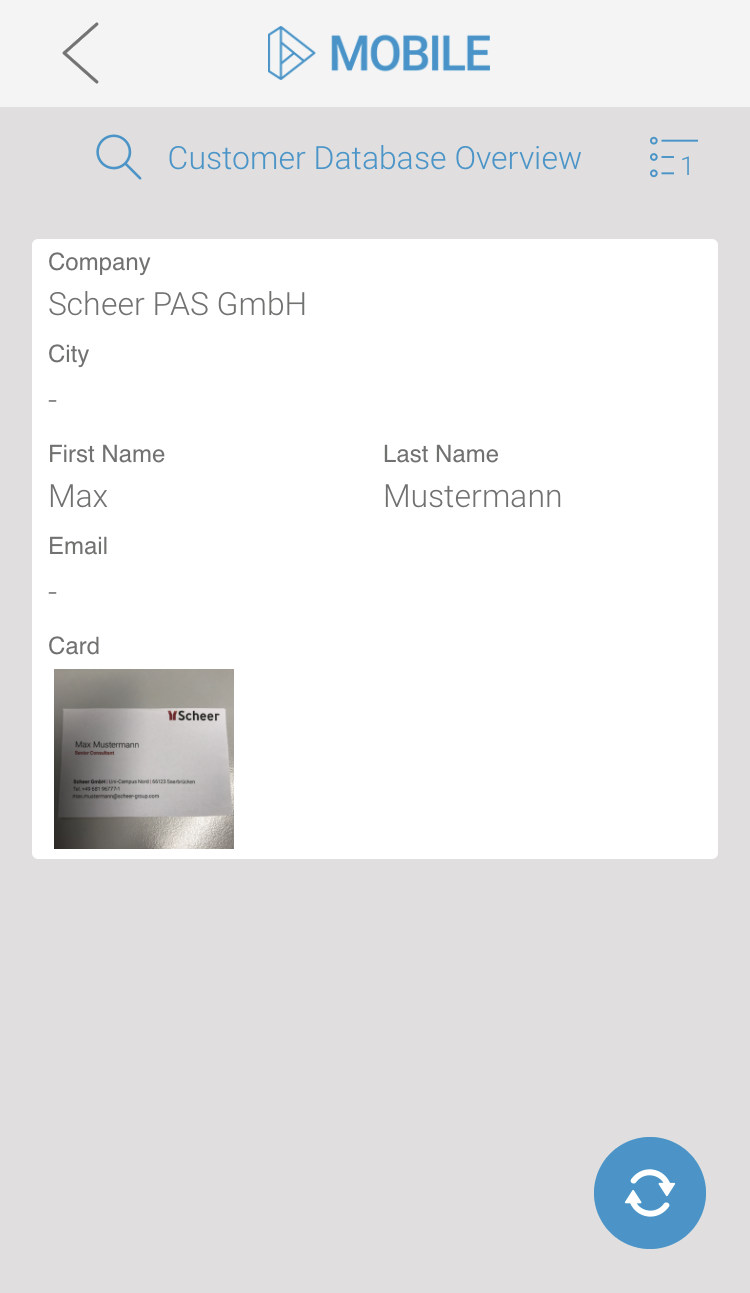
| After successful synchronization, the new data record is displayed in the overview. Open the overview. |
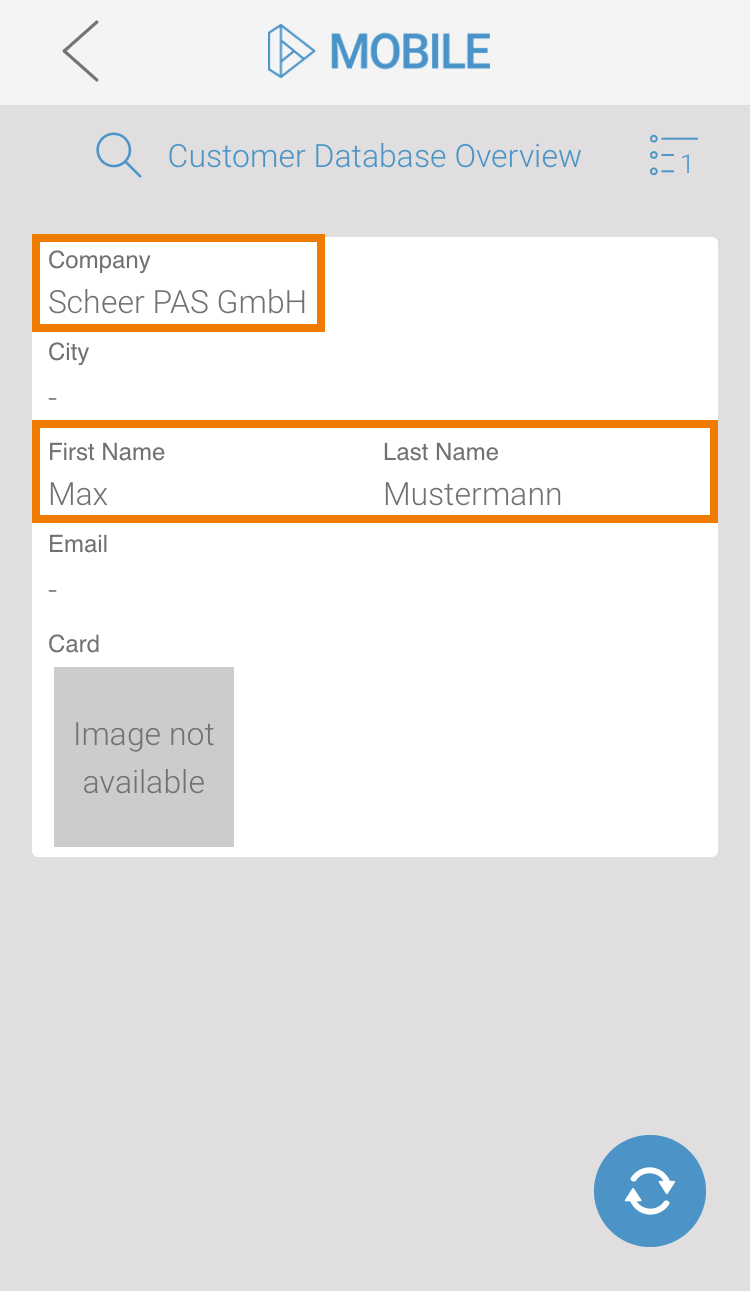
| Your instance is displayed in the overview. In the first form only Company, First Name and Last Name have been filled with data. So the other fields remain empty in the overview. Tap on the instance. |
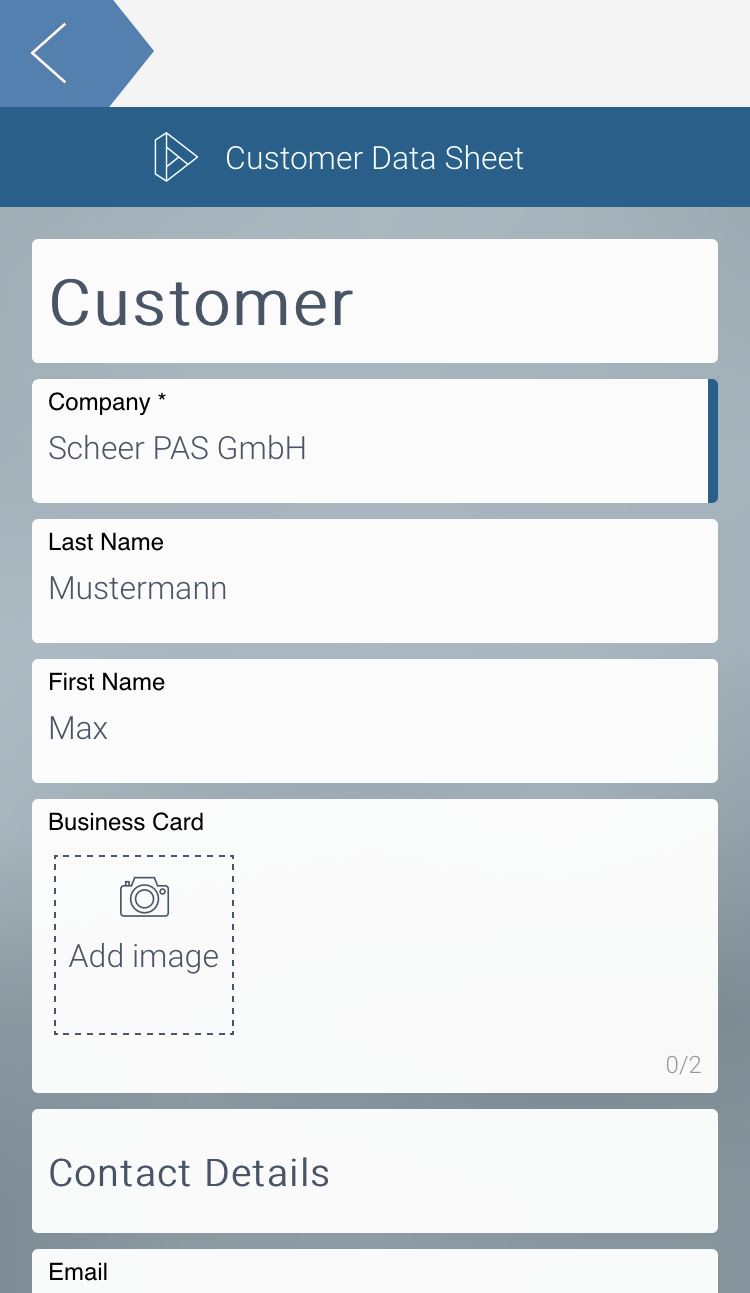
| Since you sent the instance to the next process step, the second input form opens. |
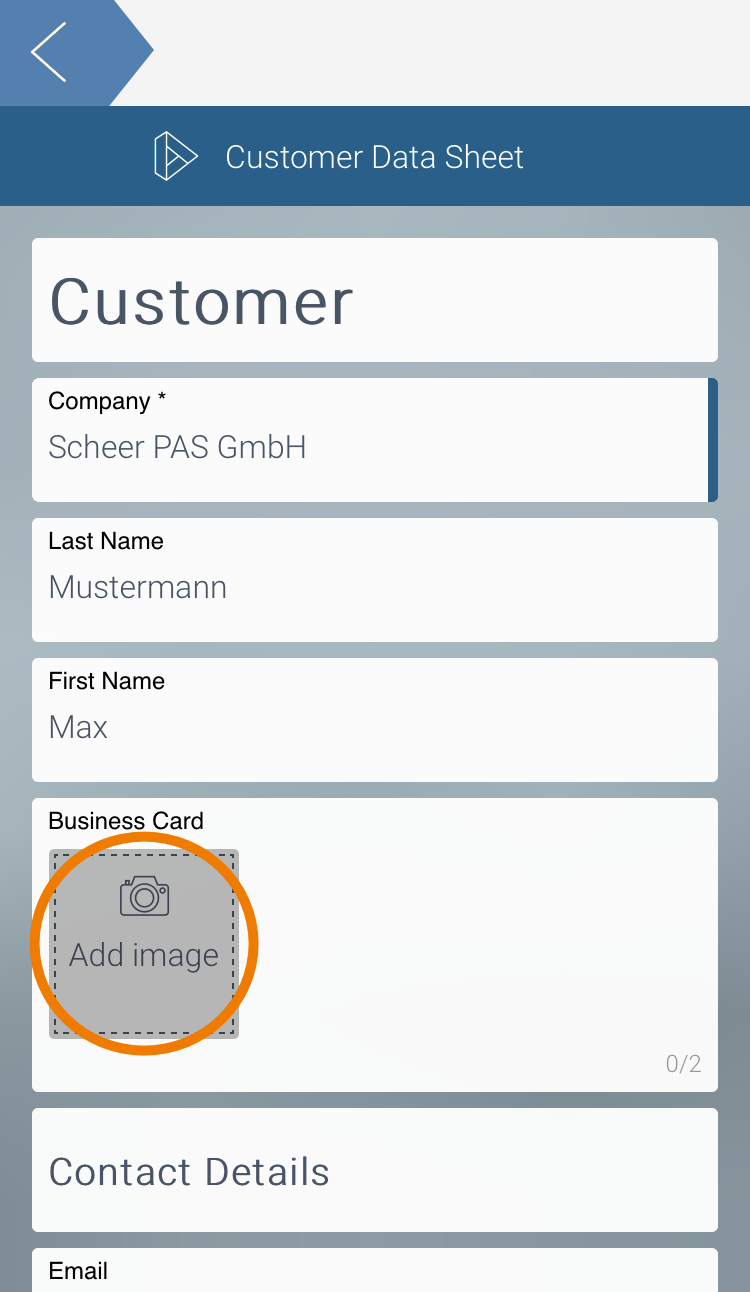
| To take a picture of a business card, tap on the field Add image. |
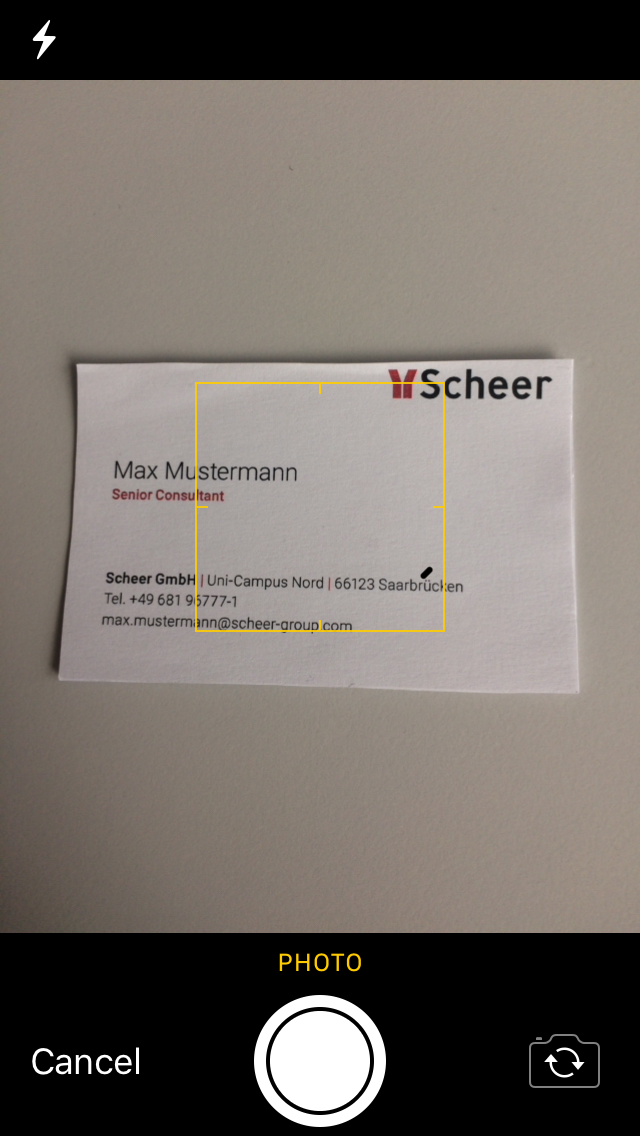
| Then select the camera of your mobile device. Use the camera as usual to take the picture. |
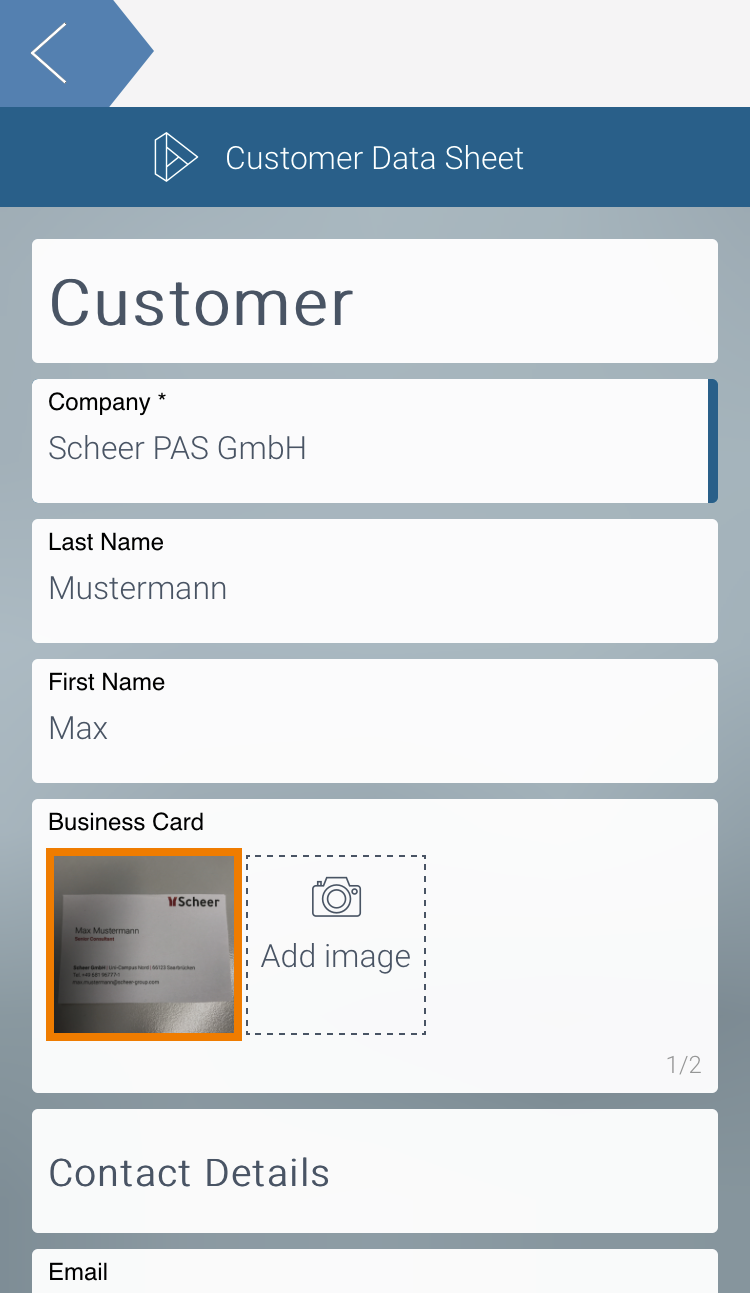
| The picture is displayed in the camera form field. |
| You want to fill the other fields later - so leave the rest of the fields empty and tap on button Save. |
| Your input is saved, which is indicated by the green toast message:
The data is uploaded. During the upload a corresponding message is displayed:
Open the overview again. |
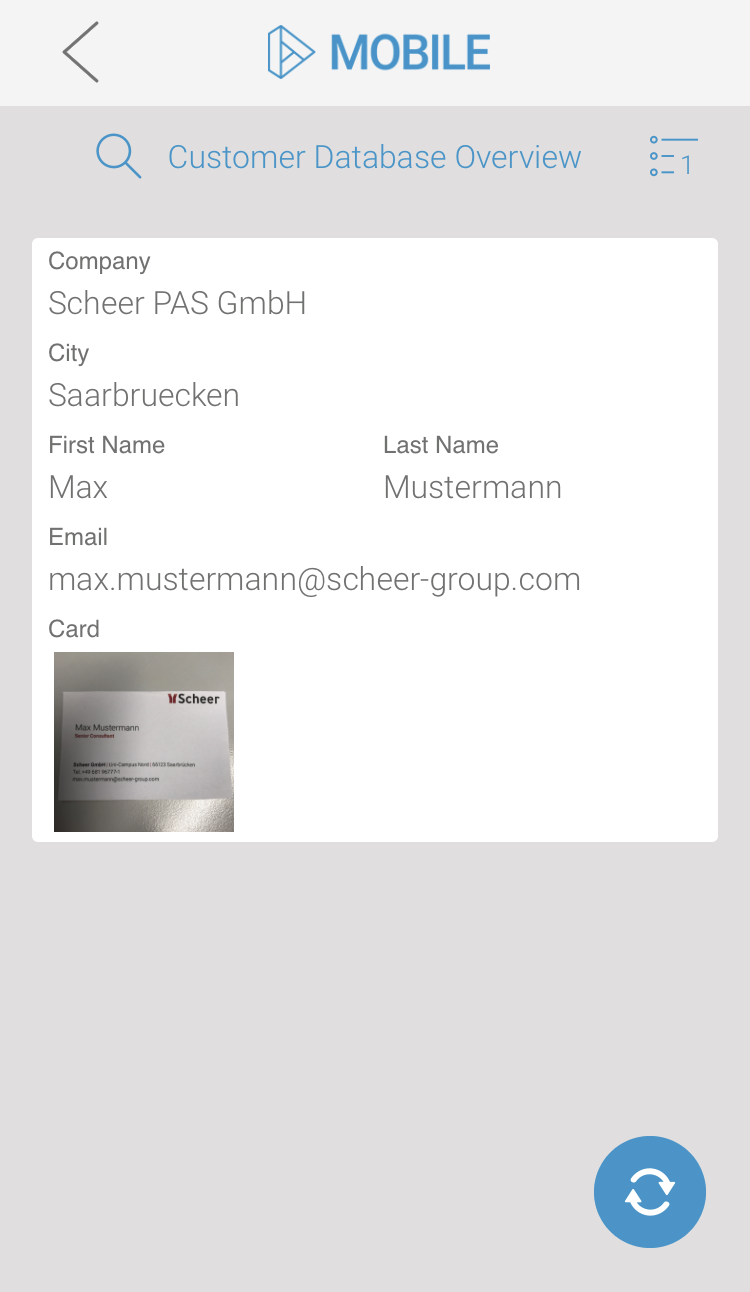
| Now, the picture of the business card is displayed in the overview along with the data from the first form. Since you have not sent the instance to the next process step, you are still able to rework it. Tap on the instance to open it. |
| Now fill in the remaining fields and confirm your input with Next. After successful synchronization open the overview again. |
| If you have filled all necessary fields, the displayed data in the overview is now complete. Since you have sent the instance to the next process step by using the Next button, you will not be able to change the instance data. Open the instance again. |
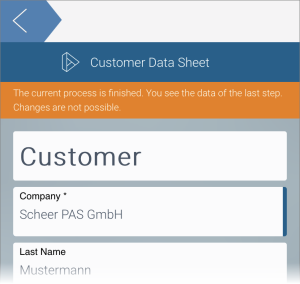
| The instance has reached the last process step. It is displayed in read-only mode and a corresponding message is shown in the instance header. |
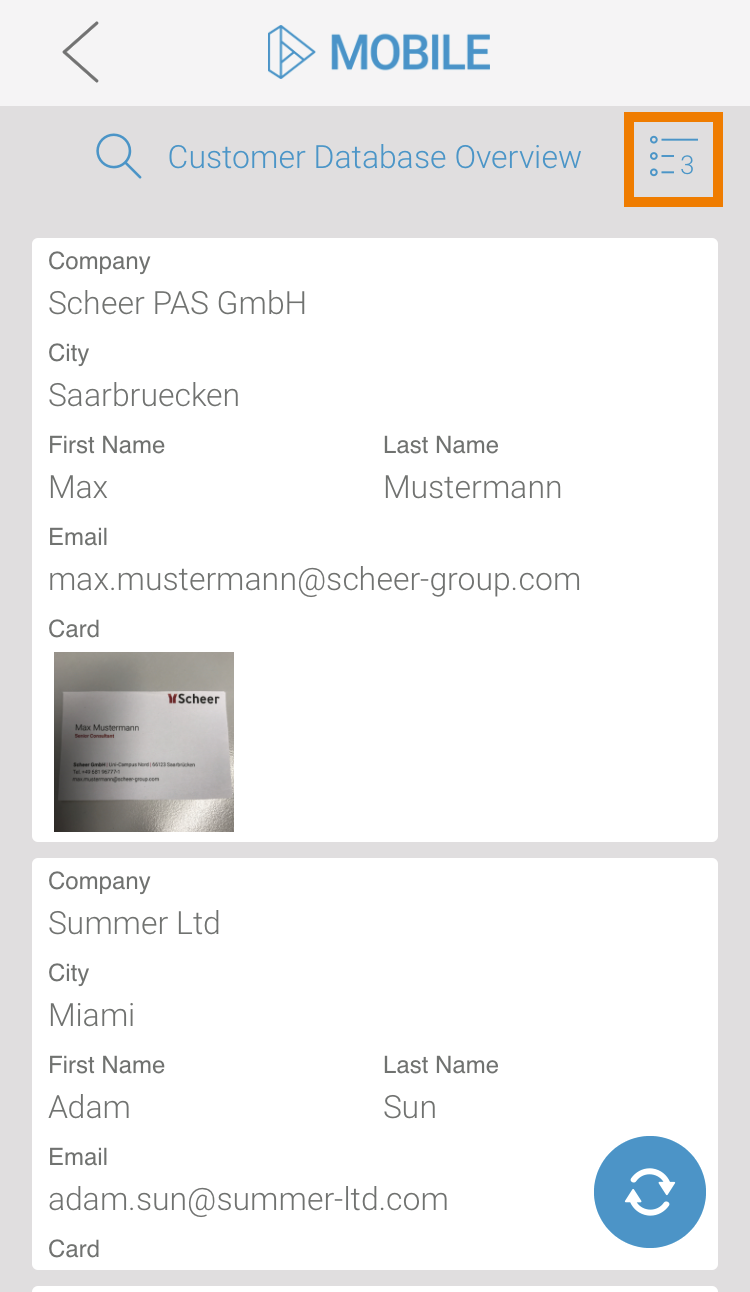
| Create some new instances. Open the overview again - all existing data records are displayed one below the other. The total number of instances is displayed on top. |
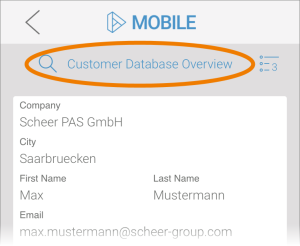
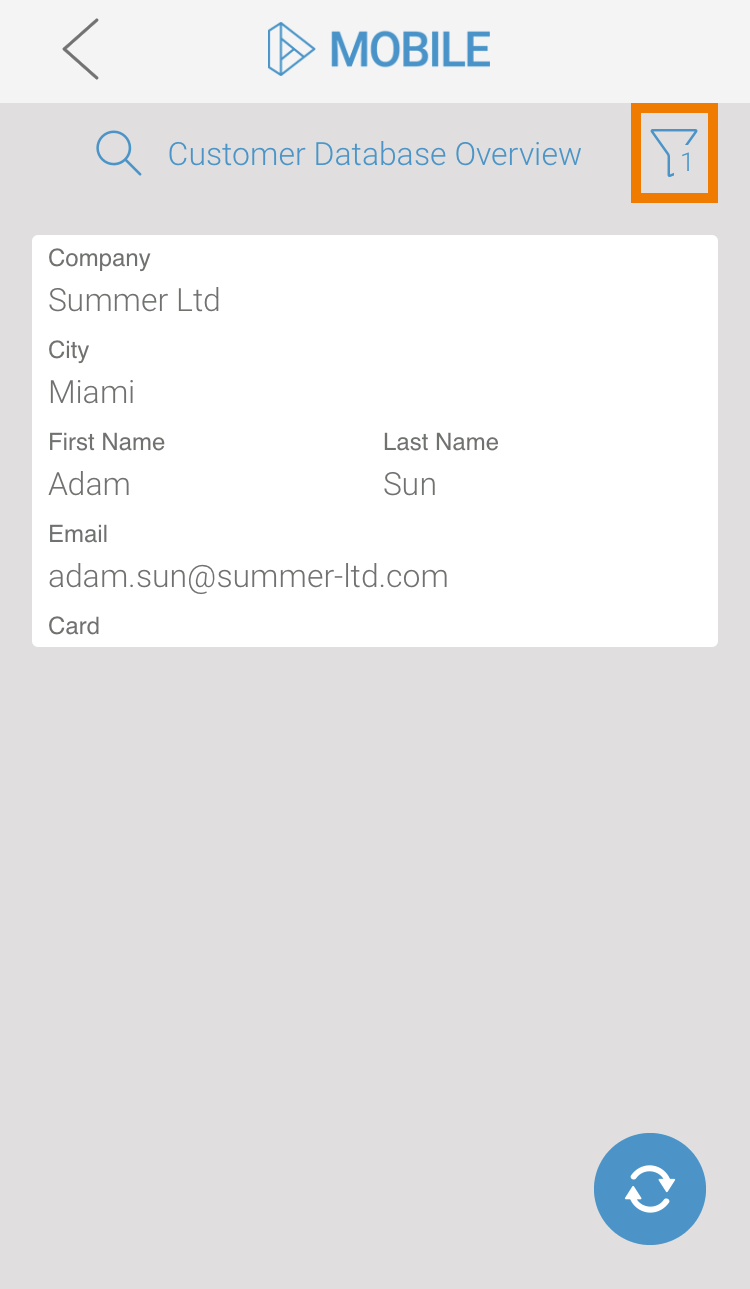
| Use the filter to search your instances. The filter opens when you tap on the overview name. |
| Enter your Search Criteria. You can also define how the hits are to be sorted. Confirm your input by touching the button |
| The filter is applied to the instance list. Only instances containing the search criteria are displayed in the overview. The total number of hits is displayed on top. |


Related Pages:
| Congratulations - you have done it! You have created your own executable Mobile App. |

Overview
Content Tools