Designing a Mobile Form
| The mobile form contains a predefined area including the following elements:
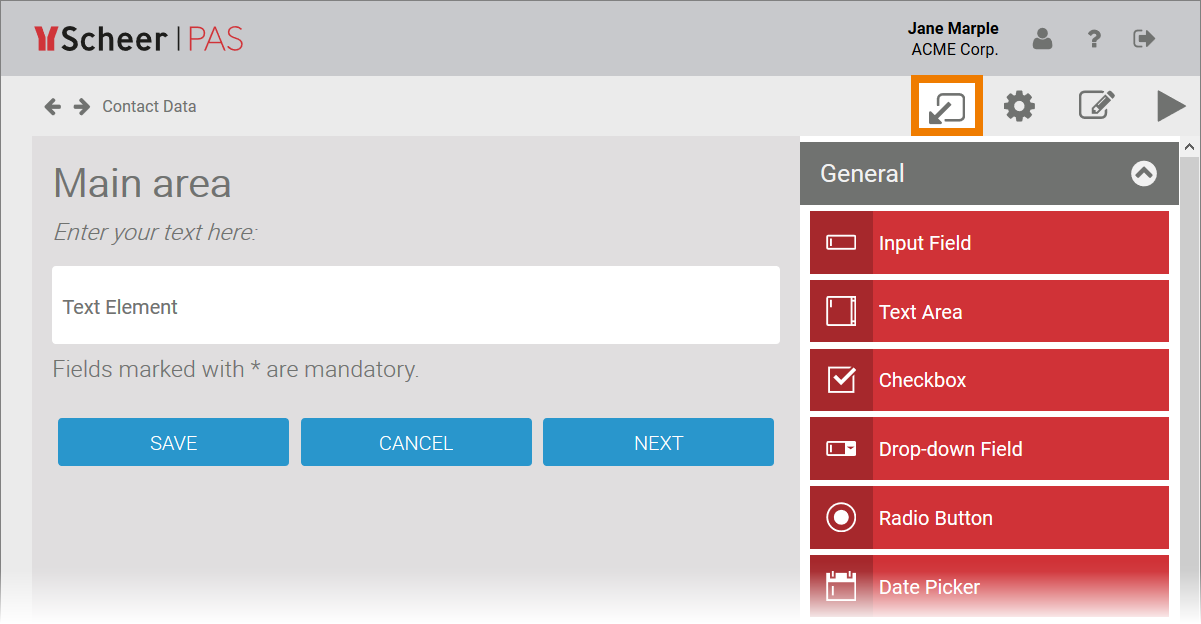
At the right side of the workspace you find the New Elements sidebar. Use it to drag and drop additional form elements onto the workspace. |
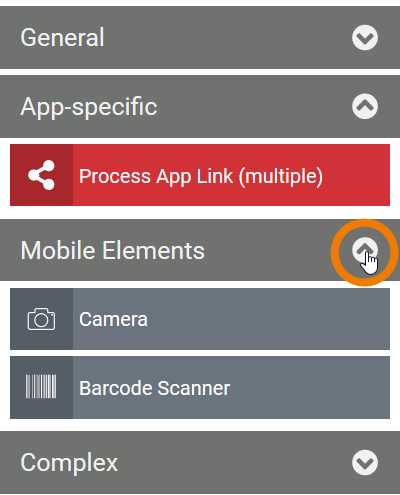
| The elements are classified in four categories:
Click on the category name to display the associated elements. |
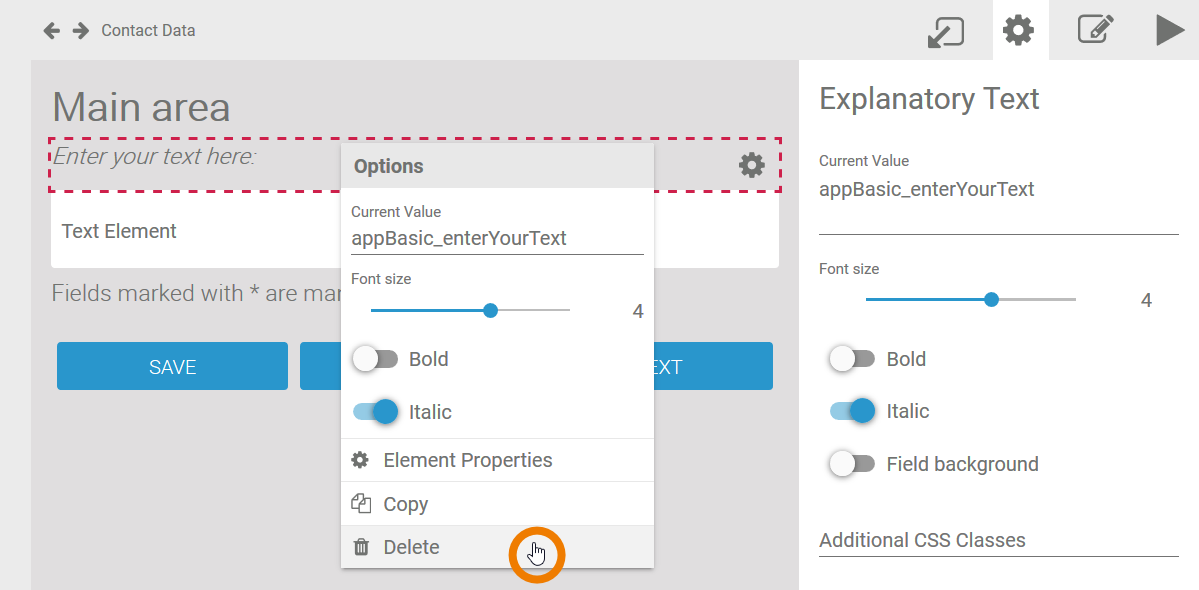
| If you want to delete a form element, right-click on it. Select option Delete in the context menu. |
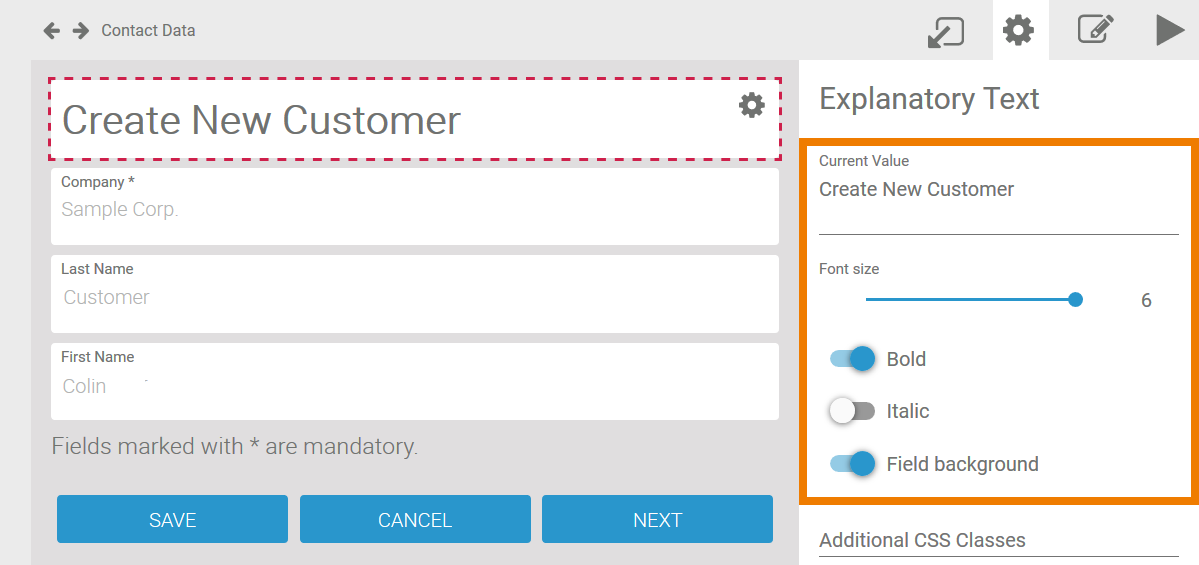
| Click on an element to activate it. The active element is marked by a red frame. In the Edit Sidebar
|
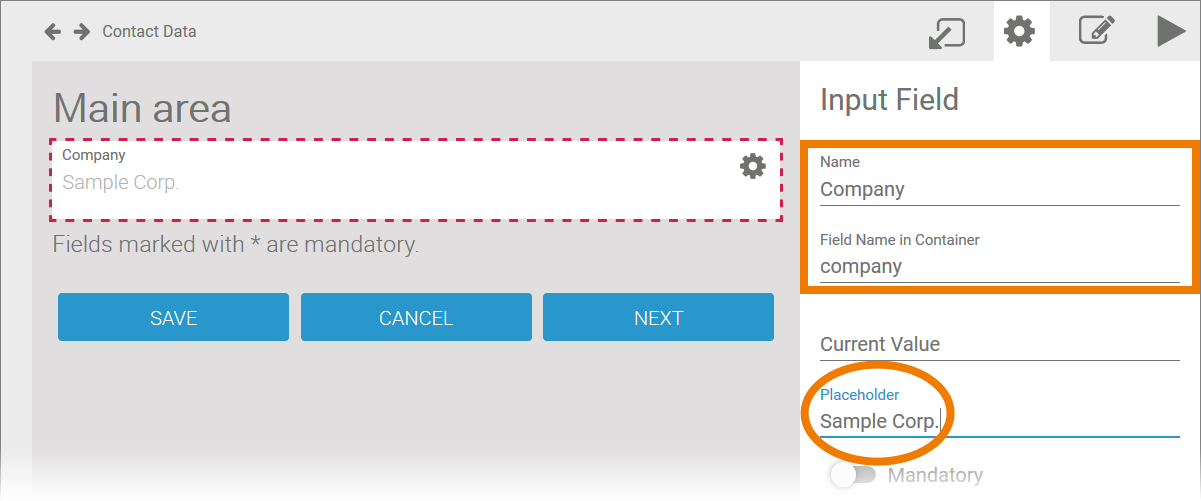
| Create two new input fields for first name and last name of the contact. |
| Use the existing Explanatory Text element for your own heading and design it in the Edit Sidebar. |
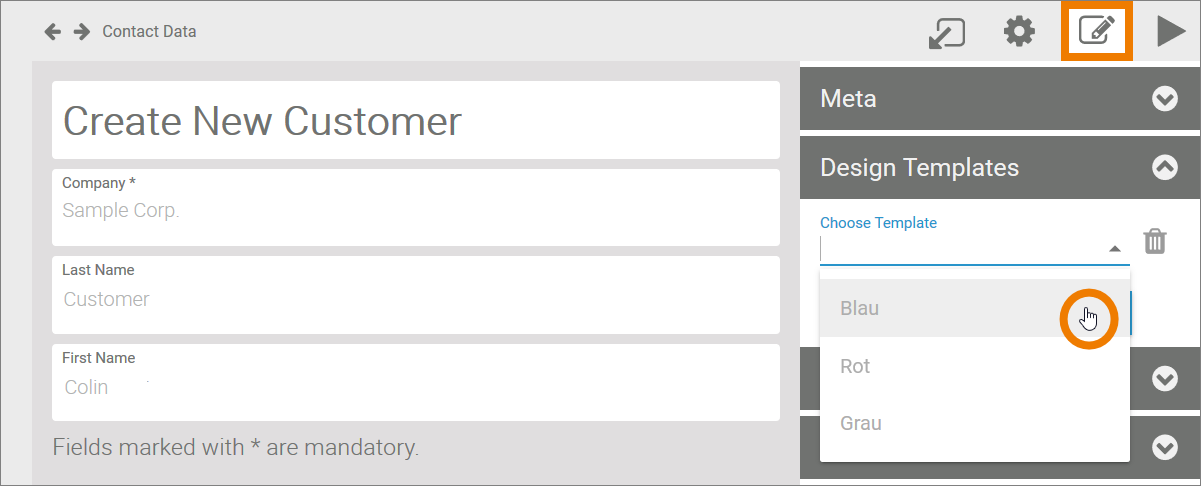
| Switch to the sidebar Form Properties Choose one of the templates. |
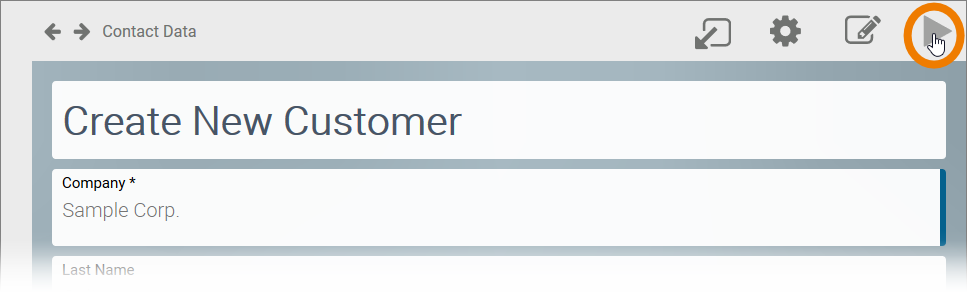
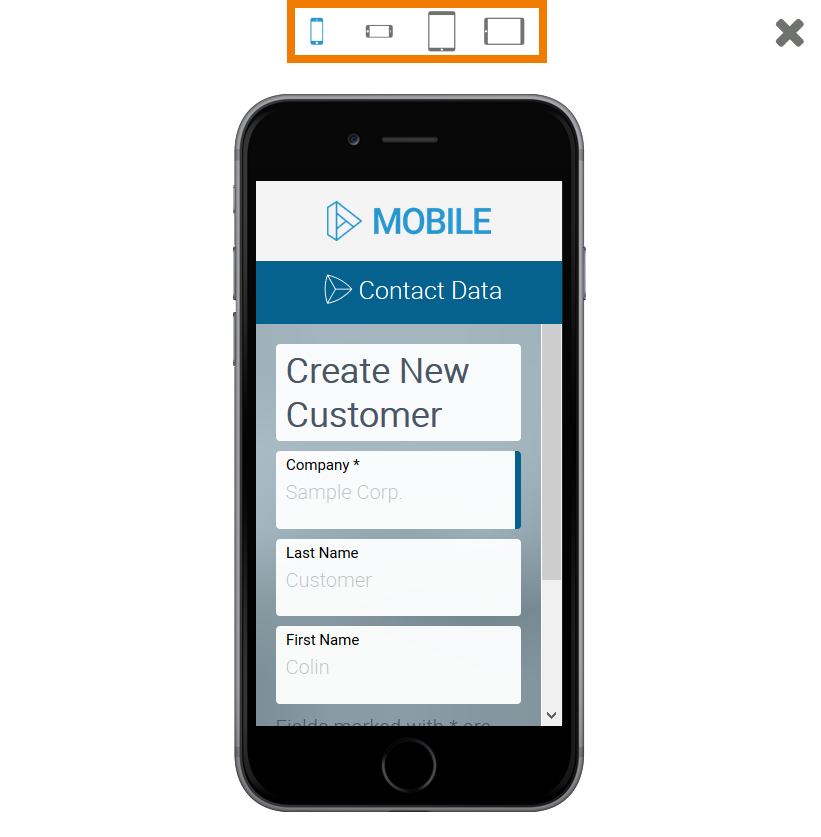
| Use the Play button to execute your model. If you use the preview function in the Forms Editor, only the current form is displayed. |
| The form view is displayed in a pop-up window. The icons at the top of the screen allow you to switch between the different views:
Try different views, then close the window. |
| If you want to add more fields or rework the layout, you can now make further adjustments in the Forms Editor. When your form is finished, navigate back to the EPC. |


Reusing Mobile Forms
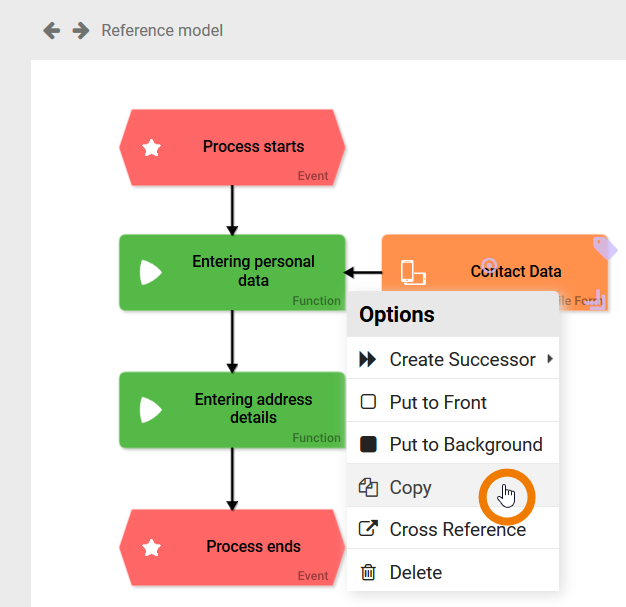
| In the next process step, the user shall insert the address details of the customer, but the contact person's details should also be displayed again. Therefore you can reuse the first form Contact Data. Right-click on the form element Contact Data to open the context menu. Select option Copy. |
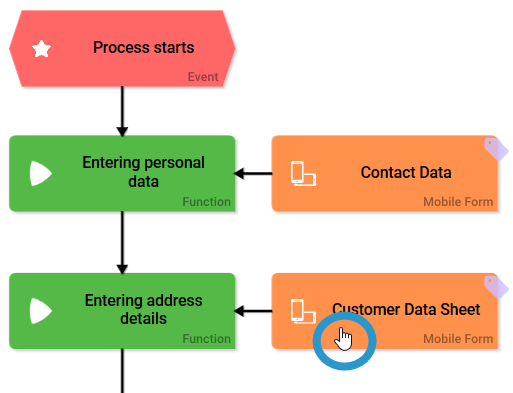
| Then right-click on the empty workspace and choose the context menu option Paste > As Copy. A copy of the first form is created on the workspace. |
| Rename the form element, for example to Customer Data Sheet and connect it to the function Entering address details. Open the new form. |
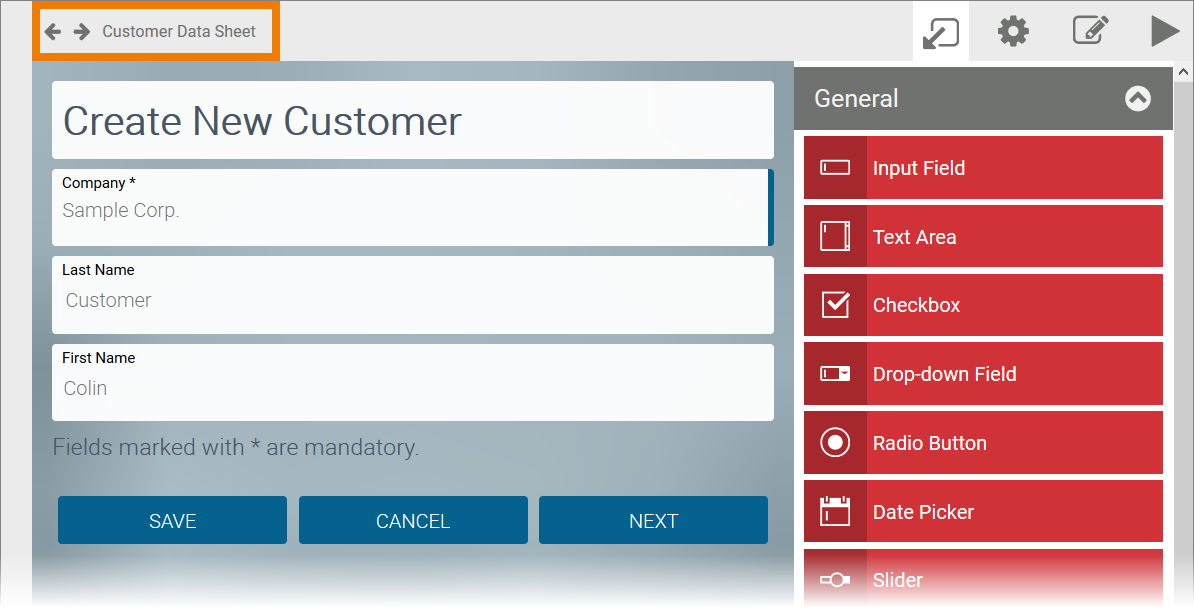
| The copy contains the content of the first form. You can now extend the content by creating further form fields for the address and contact details. |
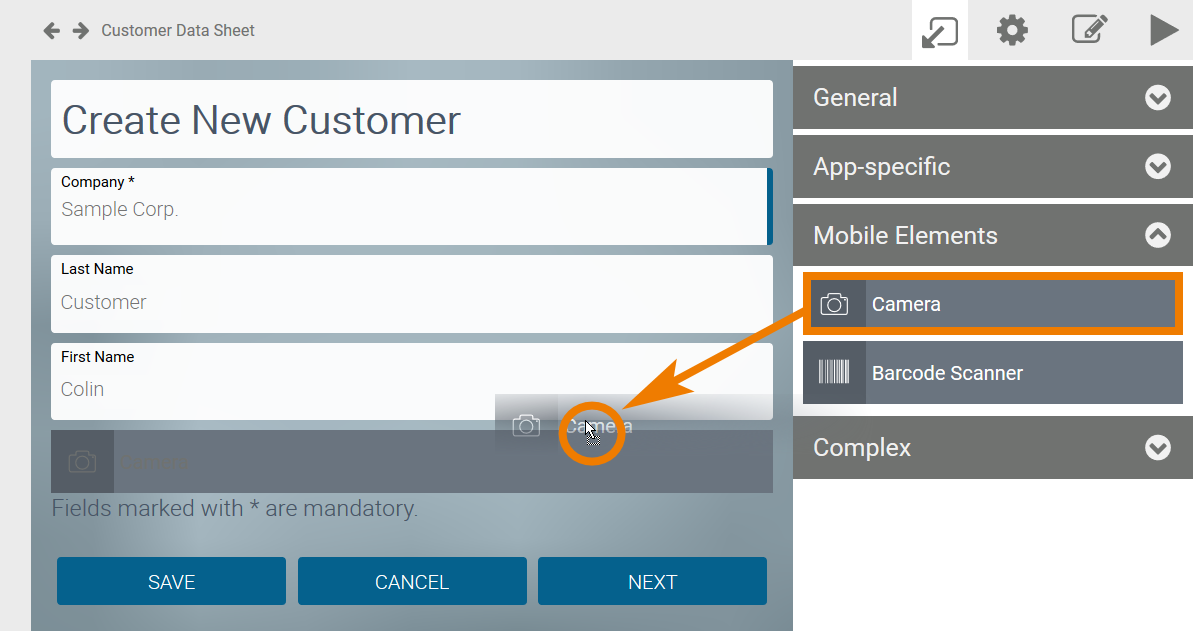
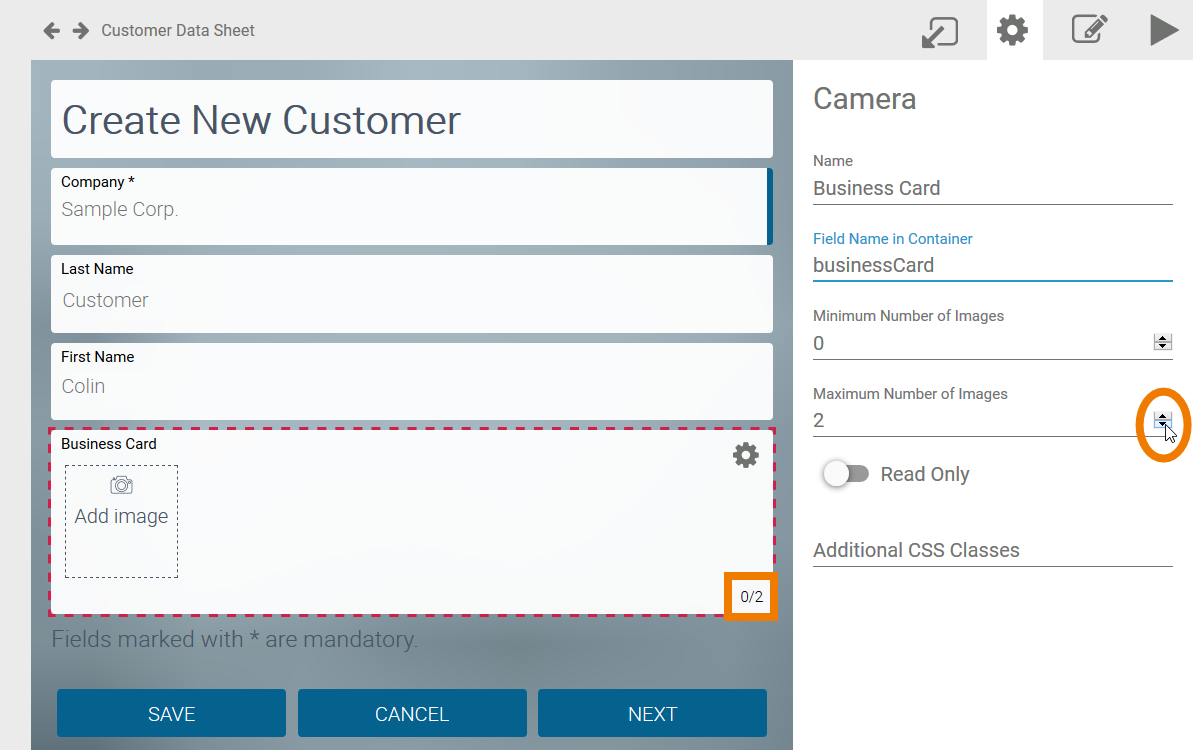
| Entering an address may take too long for the user on site. Therefore Jane Marple wants to provide the possibility to upload a picture of the customer's business card. This allows the employee to save the data on site and to complete the customer data sheet in the database later. Open the category Mobile Elements and create a camera field. |
| Define a Maximum Number of Images for the element. |
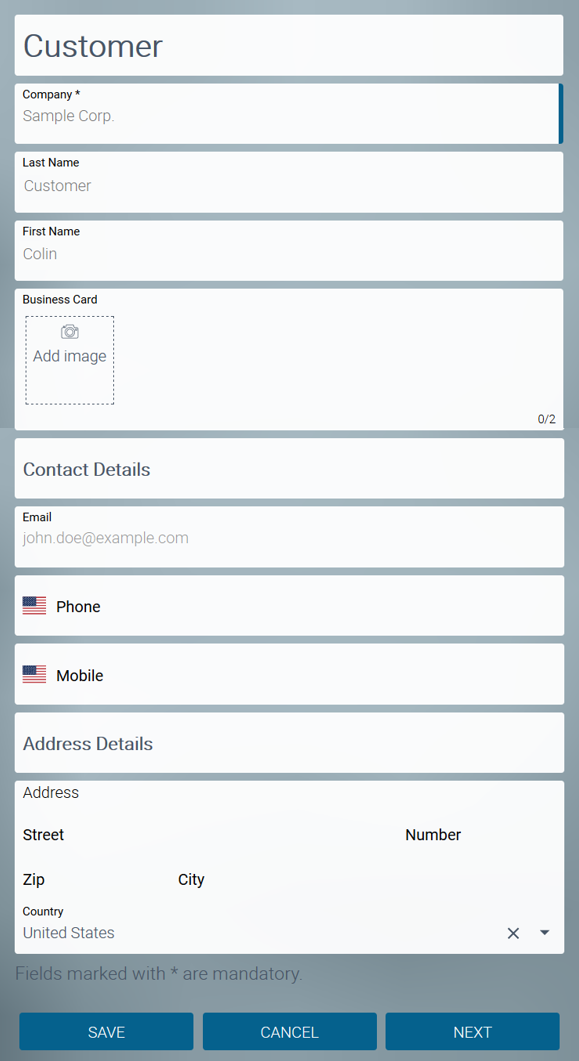
| Jane then reworks her Customer Data Sheet as follows:
|
| When your form is finished, navigate back to the app project. |


Overview
Content Tools