Next, you are going to define your API as to be public and you will add restrictions, the so-called policies to your API.
Follow Our Example User Story
David Stringer wants the API to be available to everyone. Therefore, he needs to make his API public and set a matching visibility.
Choosing the API Type
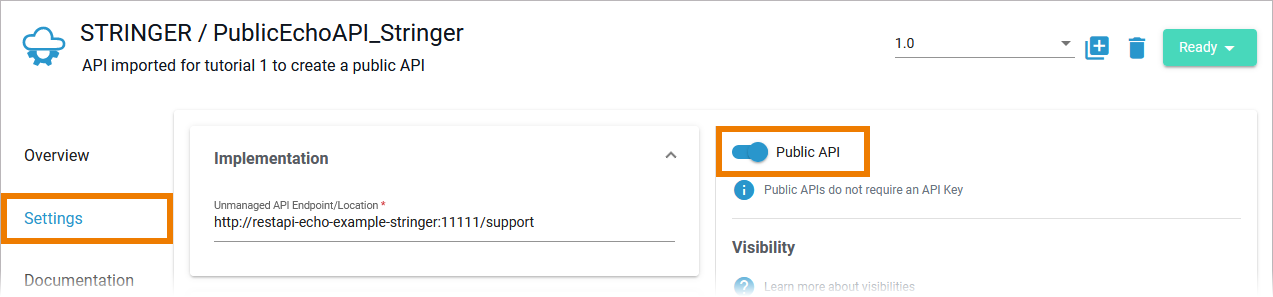
Setting the Visibility
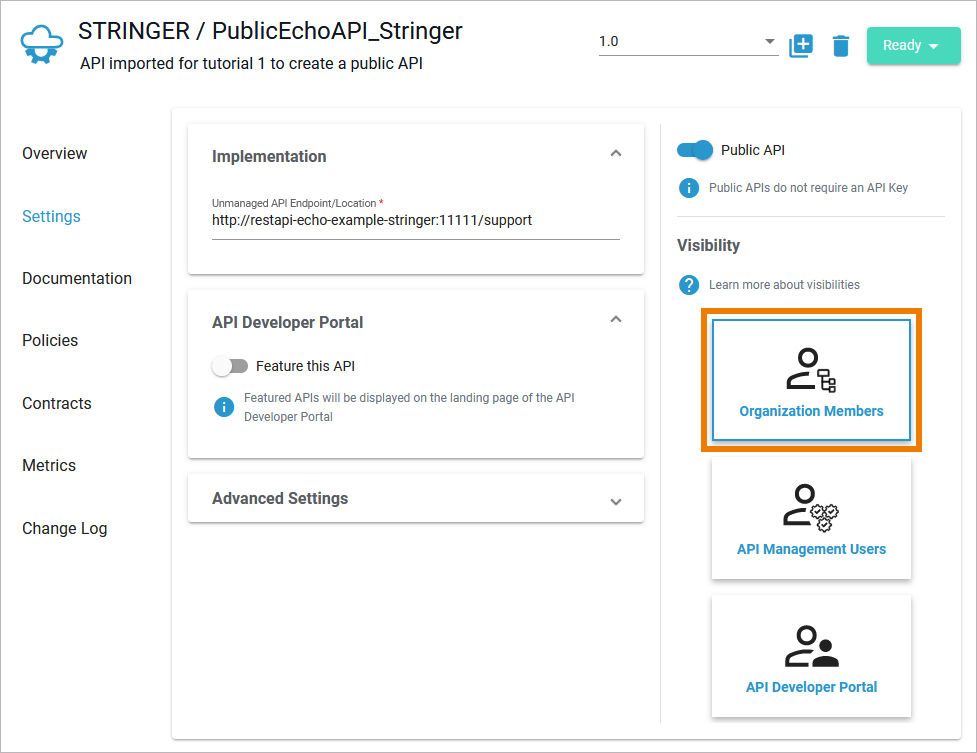
| For a newly imported API, the most strict visibility is set by default: Only members of the same organization are allowed to see and use the API. But you want to enable everyone to find the API. |
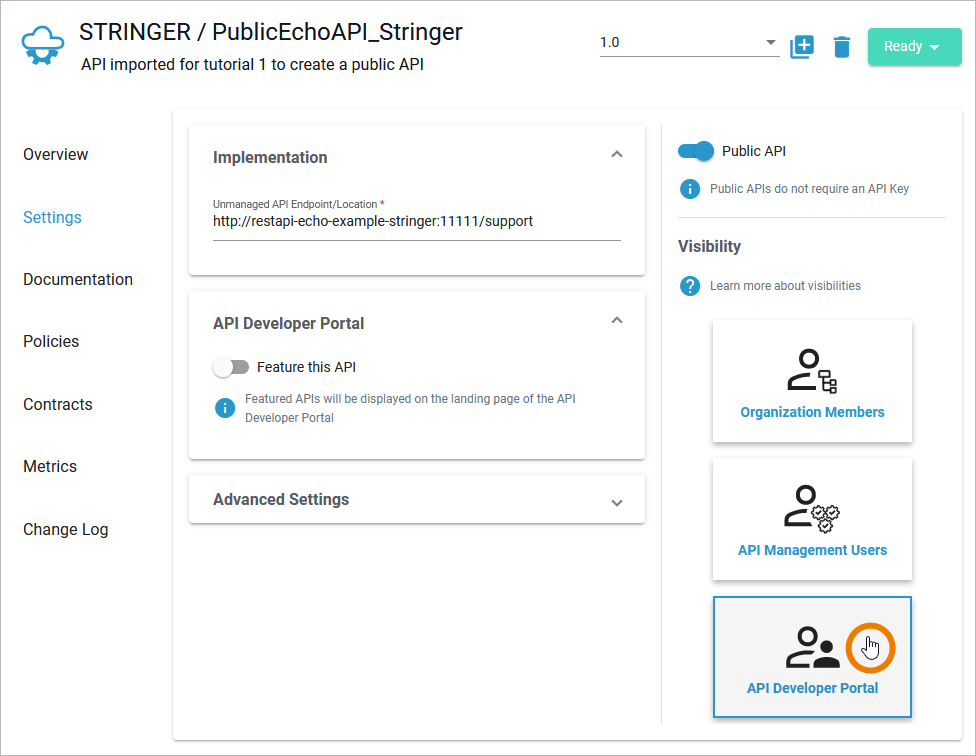
| Click API Developer Portal to make the API visible to all visitors of the API Developer Portal. |
Adding Policies to the API
Follow Our Example User Story
The RESTAPI_Echo_Example implements a basic REST service that returns a simple string and a timestamp on a GET request and returns the sent string on a POST request.
David Stringer wants you to implement the following restrictions to the public API:
- Consumers of the API should only be able to perform the GET request.
- David has observed requests from obscure IP addresses lately. He wants you to block API access for those addresses.
1. Ignoring Certain Service Resources
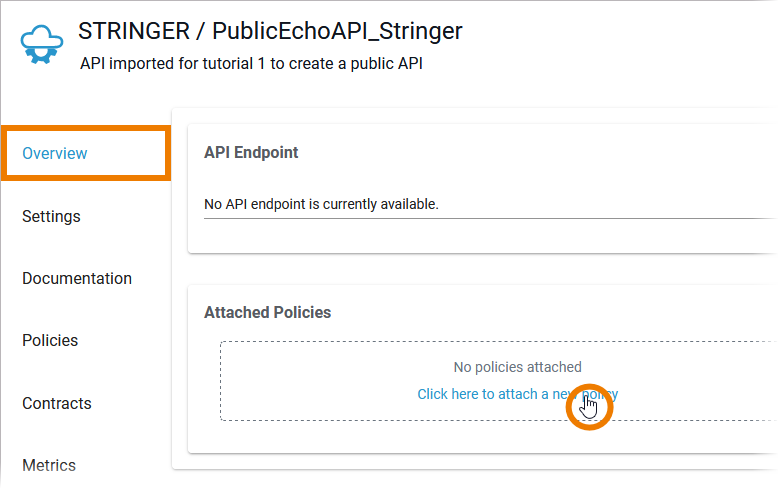
| API restrictions are implemented via policies. In tab Overview > Attached Policies use the link Click here to attach a new policy. This will open the policy wizard. For an overview on all policies provided in API Management refer to API Management Guide > Policies. Each policy and its configuration options are explained on dedicated pages. |
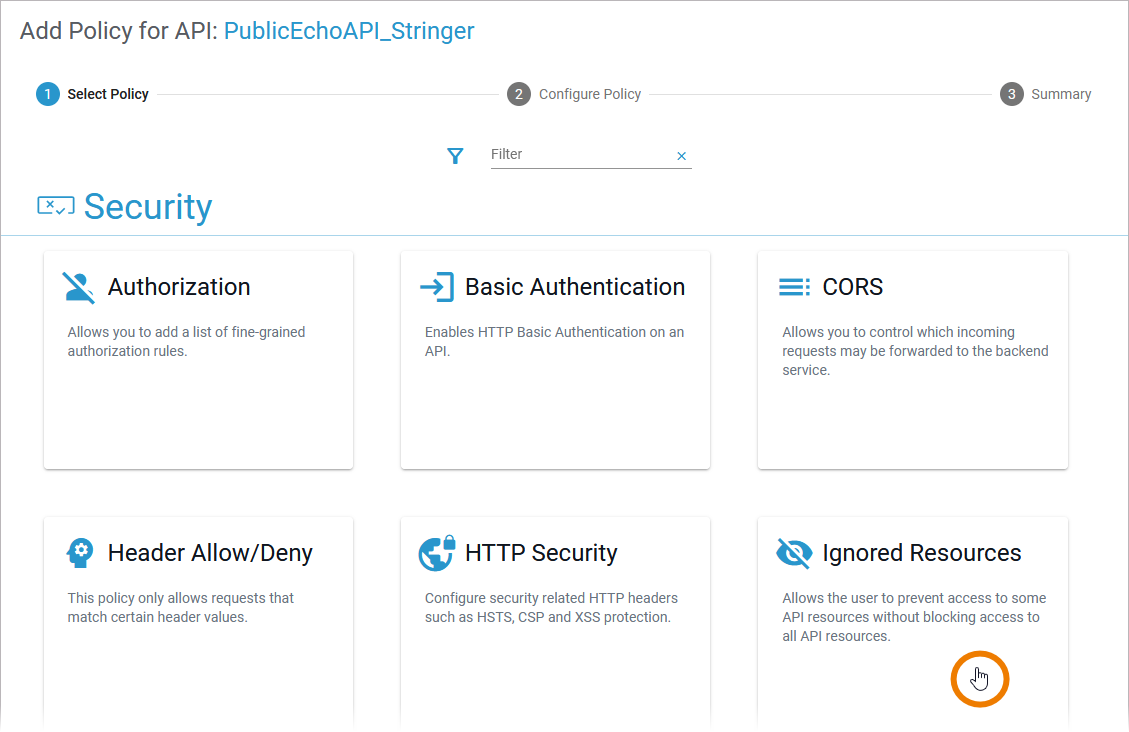
| To restrict access to certain service resources you can use the Ignored Resources Policy. Select the Ignored Resources Policy from the list of policies.
|
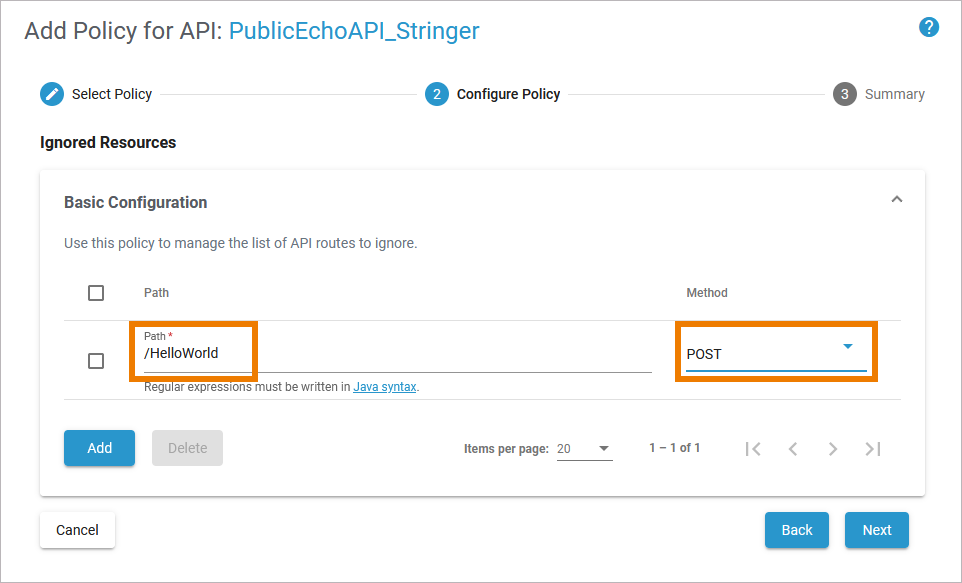
| As soon as one of the policies has been selected, the configuration of this policy is displayed. Using the Ignored Resources Policy, you can specify defined resources to be ignored by API Management. Use the link Click here to add a new entry and insert the following:
This configuration will prohibit POST requests to the HelloWorld resource. Click Next to display the summary and Save to finally attach the policy. |
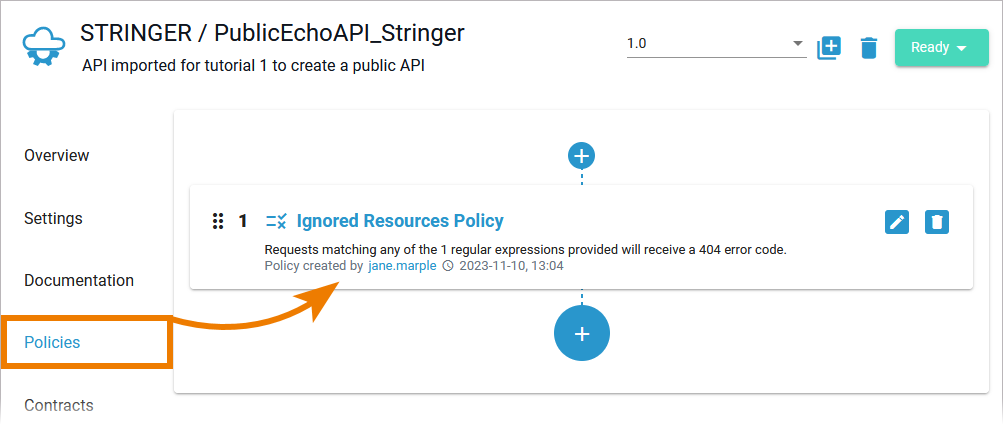
| The Ignored Resources Policy now is displayed on the API's detail page > tab Policies. |
2. Blocking Certain IP Addresses
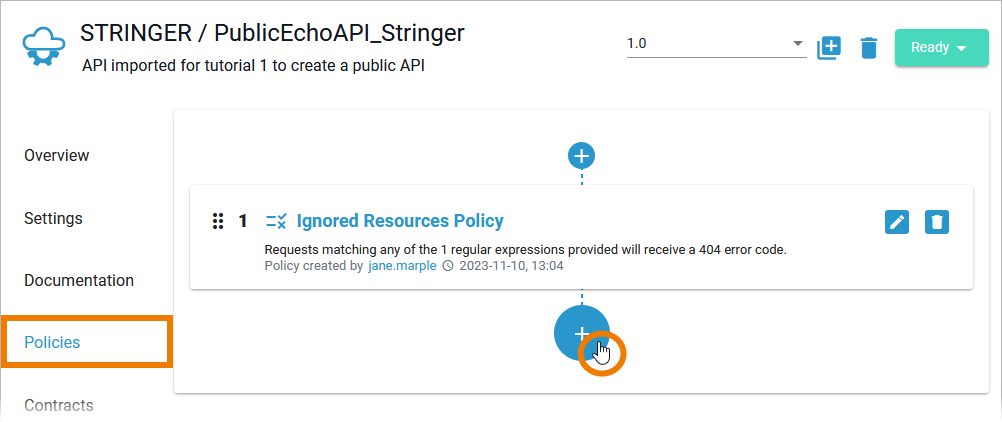
To block certain IP addresses, you will now add the IP Blocklist Policy.
| Click Plus to open the policy wizard again. |
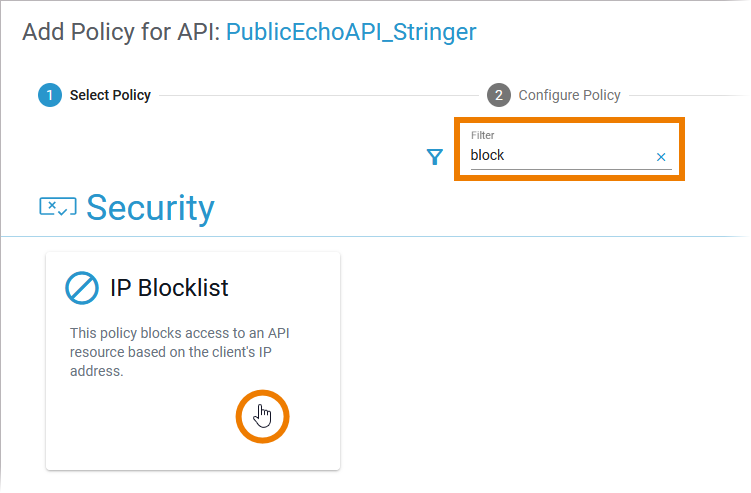
| Select the IP Blocklist Policy. You can use the filter to make it easier to find the policy in the overview. |
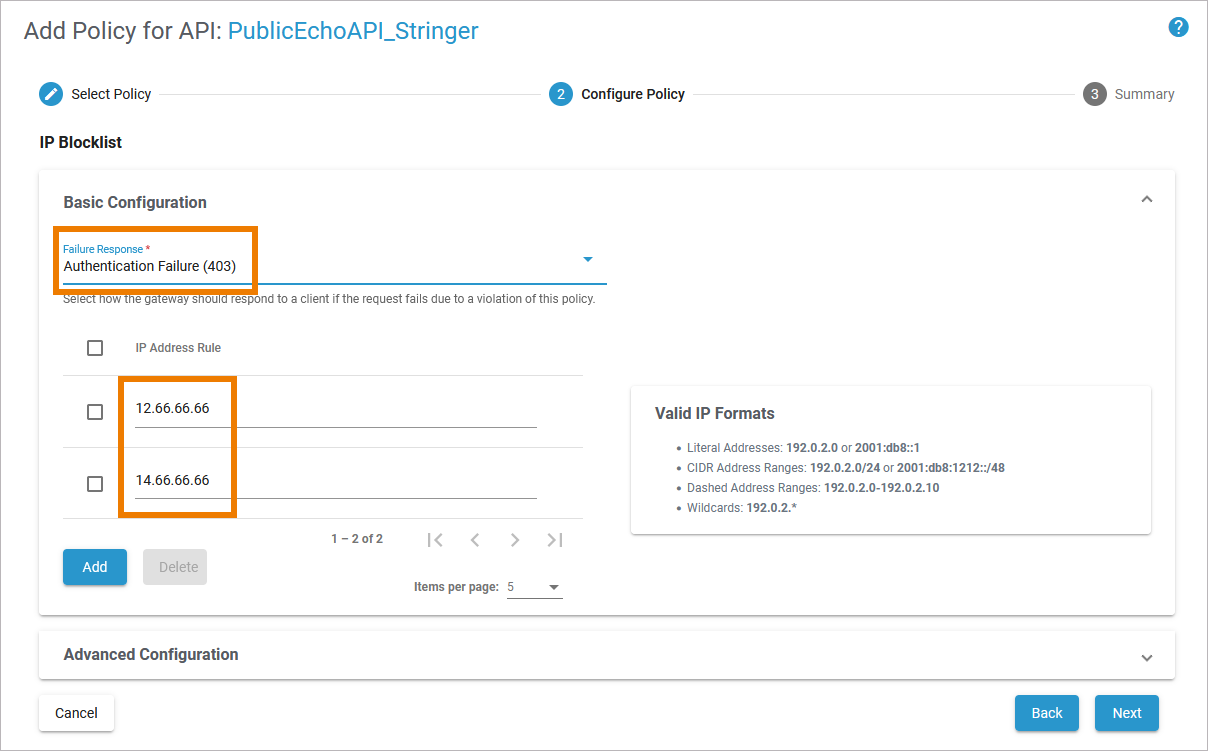
| The IP Blocklist Policy allows to specify a list of IP addresses to be blocked and to define an error response. Configure the policy as follows:
Use the link Click here to add a new entry and insert the following:
Click Next to display the summary and Save to finally attach the policy. |
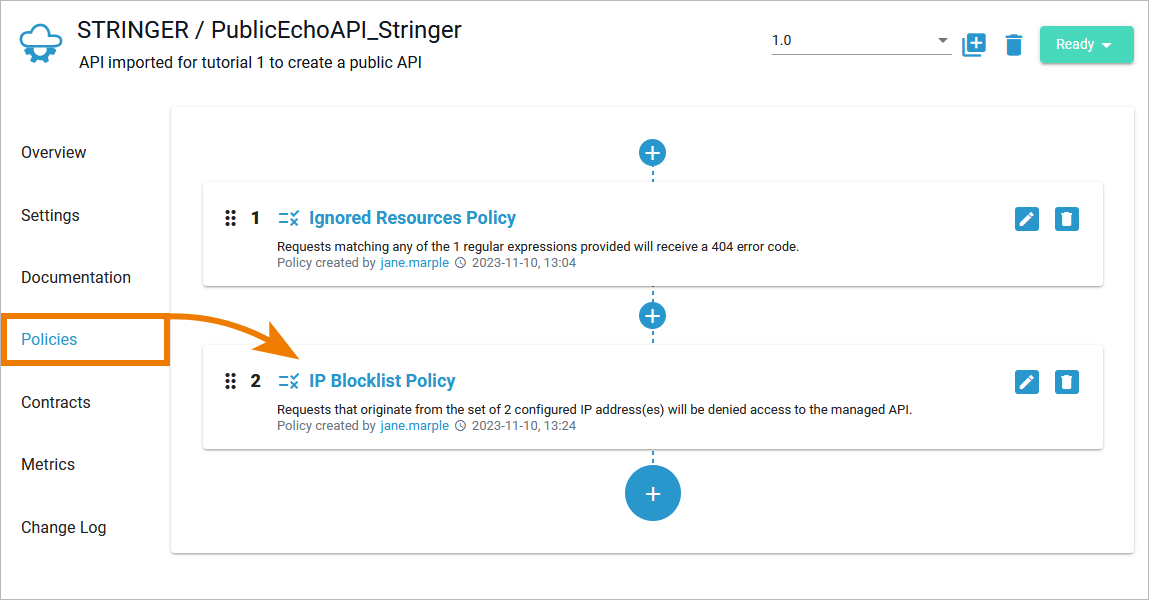
| Both policies are now displayed on the details page of the PublicEchoAPI. The order in which the policies appear in the user interface determines the order in which they will be applied at runtime. |
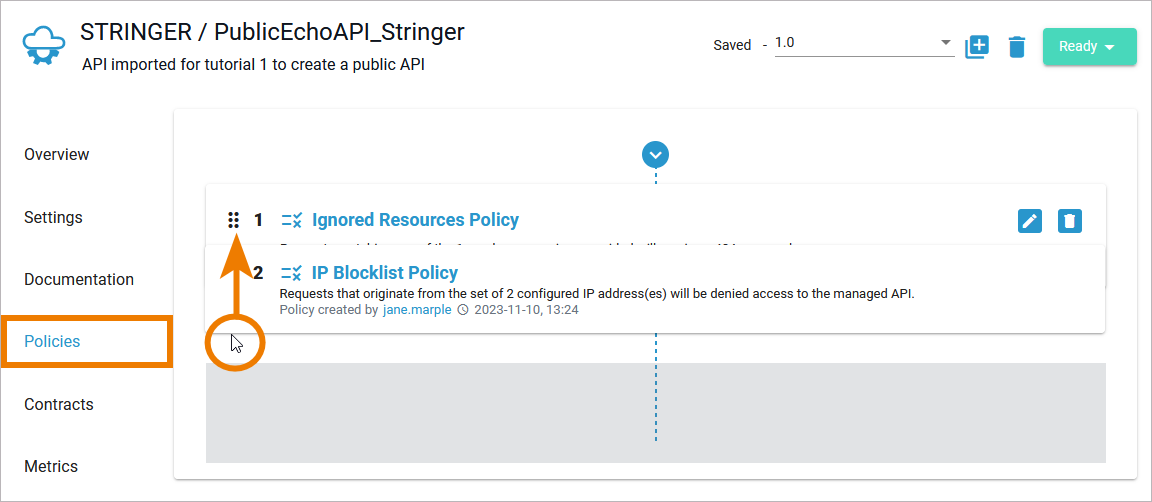
| Drag the IP Blocklist Policy to the top of the list to ensure that this policy is applied first. |
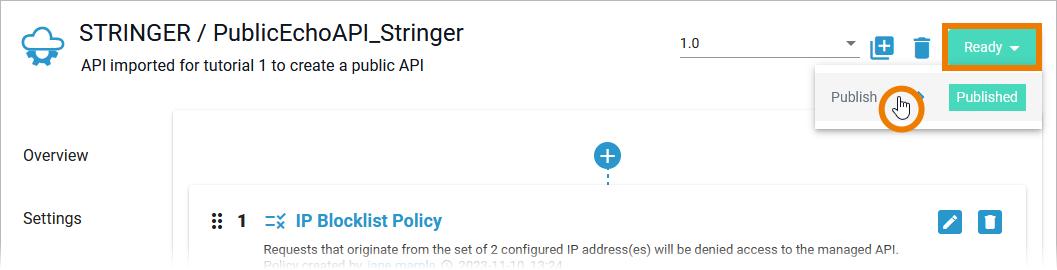
Publishing the API
| Once you have completed the configuration of your API, you must publish it. Only published APIs can be consumed by customers. Since all mandatory configuration of your API has been finished, your API is Ready to be publishd. Click the status label and publish your API. |
| The new status of the API is displayed. Your API is ready for testing. |


Overview
Content Tools