Managing Users
Every user needs an activated user account to access the platform. Only user management administrators are able to create new user accounts.
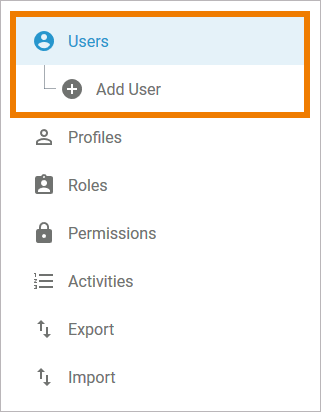
The administrator can create and manage user accounts via the Users menu. It contains the following menu options:
Users
Add User
You are starting with Scheer PAS and you want to define some user standards? Page Defining a Profile Set for Standard Users may be helpful to you.
Menu "Users"
In the Users menu, a list of all users is displayed in the content area. This list contains the following information:
Last Name
First name
Login
Company
Valid until
Activated (Yes/No)

Use the Filter to limit the content of the list.
Select Add User to create a new user account. An empty data sheet will open:
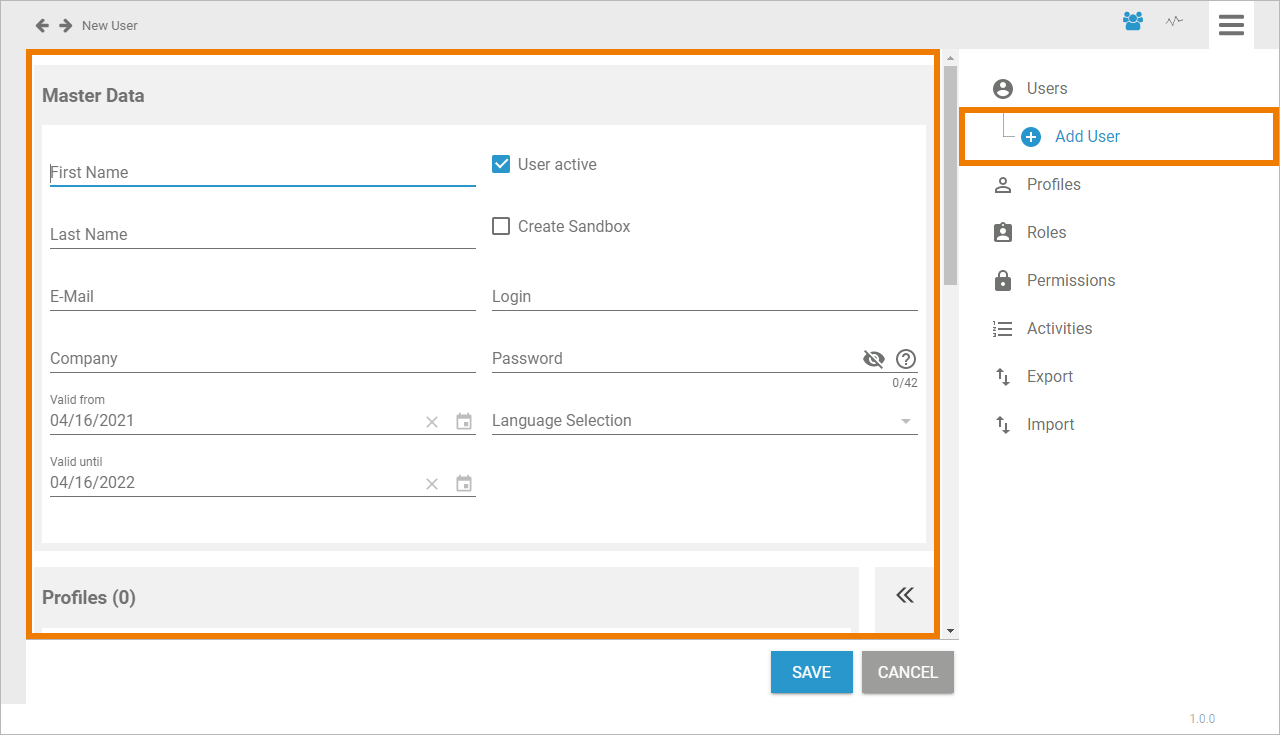
The User Data Sheet
To add a new user, you need to fill in a user data sheet. It contains three sections:
Additional Data
Technical Information
User Object
Meta
Master Data
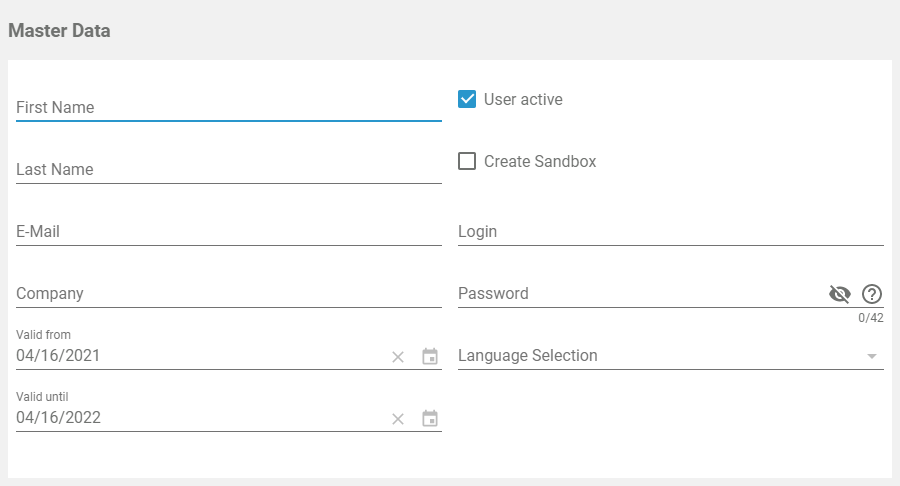
The Master Data section contains the basic data of a user account:
Personal Details
Account Details
Inserting data in fields First Name, Last Name, E-Mail, Login and Password is mandatory for any new user account. When you open a new user data sheet, the Valid from field is filled with the current date. The standard validity is one year:
Personal Details | Account Details |
|---|---|
On the left side of the master data section, the personal details of the user are displayed:
| On the right side of the master data section, you can manage the account data of this user:
|
Profiles and Roles
In the second section, either the profiles or roles of the user are displayed. Use arrow in the sidebar to change between the profiles and the roles window.
Profiles
This window shows the profiles that are assigned to the user. Use the Assign button to allocate further profiles:
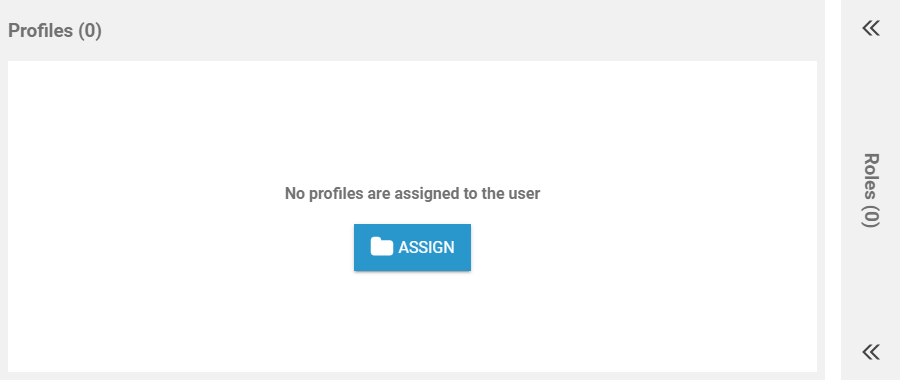
Any new user needs at least one profile. Otherwise it is not possible to save the user data sheet.
Refer to Adding a User to learn how to assign profiles to a user and how to set write permissions on profiles. Profiles can also be assigned via the profile data sheet (refer to Editing a Profile).
Roles
Roles are used in BPaaS to model role-based business processes, such as release processes. Roles can be created in the BPaaS editor during modelling as well as in the role section of the user management. The management and assignment of roles to users has to be performed exclusively in the user management though.
The roles window shows a list of all roles that are assigned to the user. You can assign further roles by clicking the Assign button:
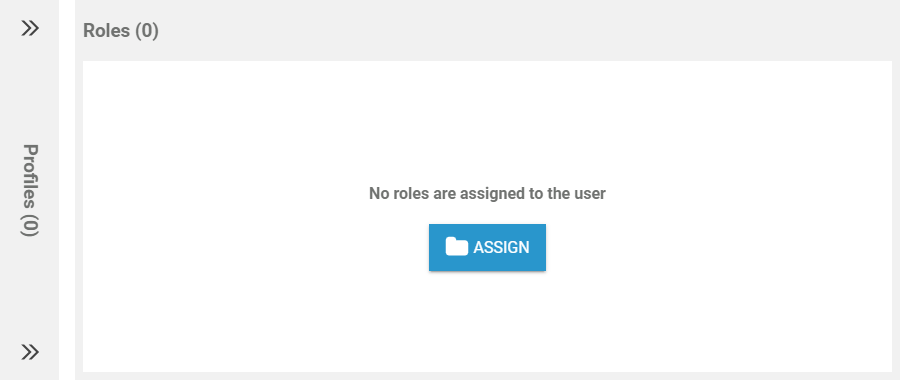
Refer to Adding a User to learn how to assign roles to a user. Roles can also be assigned via the role data sheet (refer to Editing a Role).
For further information about the modelling of role-based apps visit the BPaaS Guide.
Additional Data
The Additional data section consist of four tabs:
Additional Data
Technical Information
User Object
Meta
Additional Data
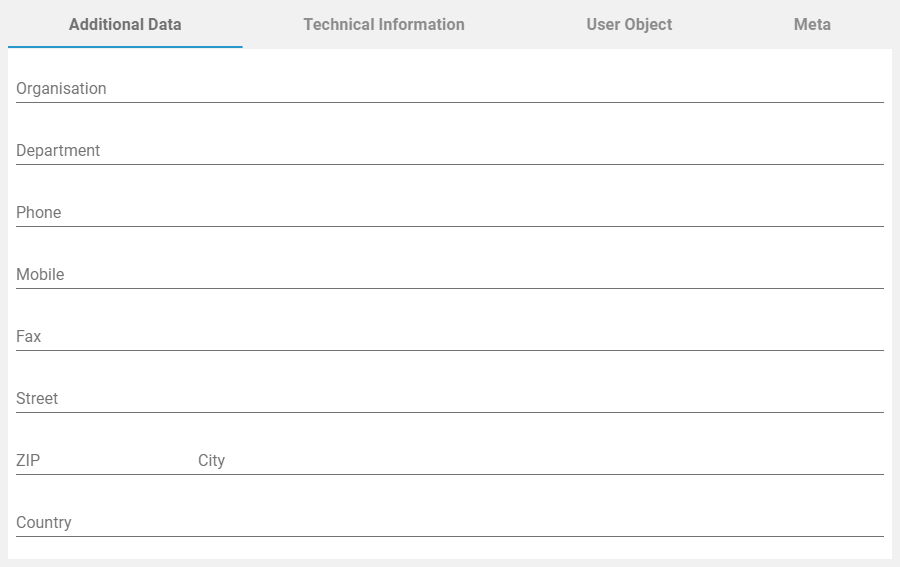
Tab Additional Data contains a form for complementary information of the user such as:
Organisation (e.g. factory, facility...)
Department (e.g. HR, Controlling...)
Phone
Mobile
Fax
Street
ZIP
City
Country
The additional data is inherited by the user object:
Technical Information
In the Technical Information tab, you can find a JSON object containing information about user specific applications, for example about the personalized content of the users' cockpit:
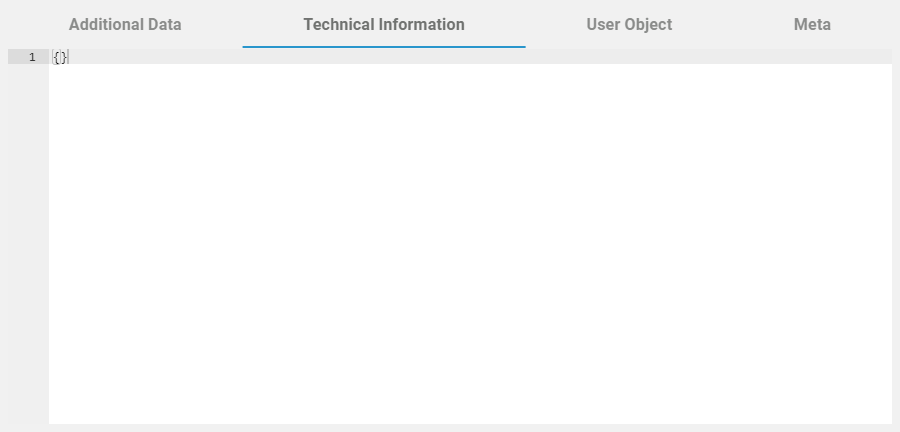
Do not change the content in tab Technical Information without any knowledge of JSON.
User Object
The User Object tab contains the available user information in JSON format:
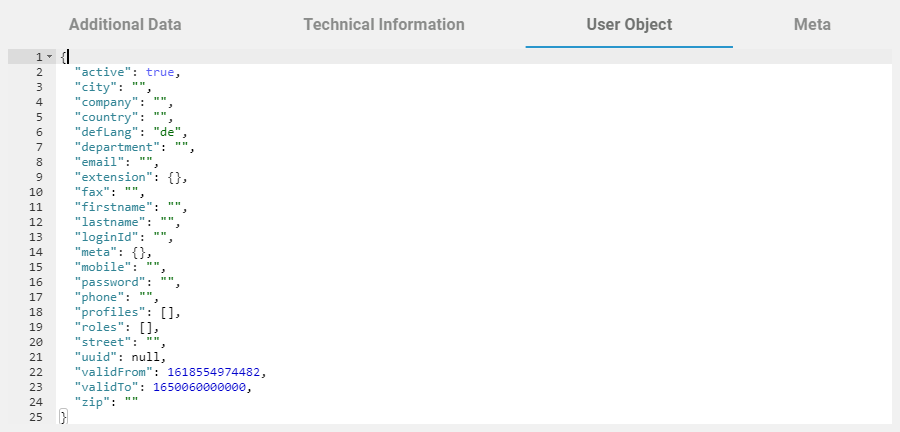
You cannot change the data in tab User Object, but it is possible to copy the data.
Meta
Use tab Meta to overview the meta data of the user data sheet:
UUID: The UUID allows to identify the user explicitly.
Keycloak User ID: The UUID that identifies the user within Keycloak.
Created at: This field contains the creation date of the user data sheet.
Modified at: In this field you find the date of the last modification of the data sheet.
Modified by: Contains a UUID which allows to identify the last editor of the data sheet.
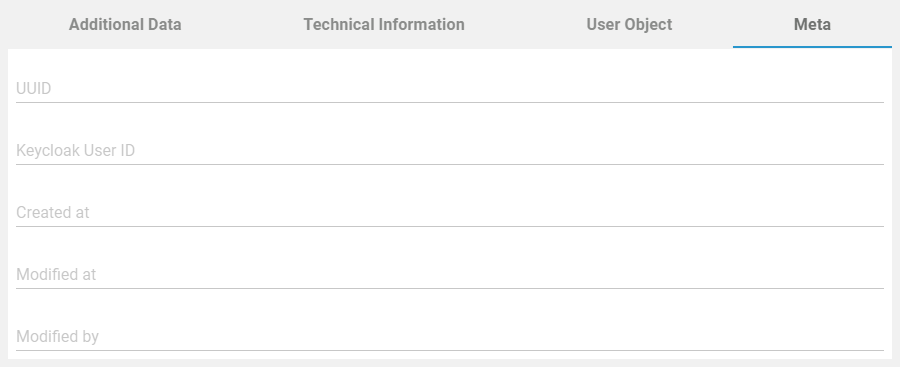
The content of section Meta is for documentation purposes only: meta data cannot be changed.
Related Pages:
Related Documentation:
