First, check in the Windows Task Manager whether the BRIDGE Windows service (E2E Console) is up and running.
Then, open a Web browser and enter the URL of the Bridge in the address bar. If you use a proxy, make sure that the proxy is bypassed for localhost, or alternatively for the external name or IP address of the node instance, where the BRIDGE has been installed.
If the BRIDGE runs on your local system, you can enter the URL for a local connection (https://localhost:8080). Note that the port 8080 was suggested as default value during the BRIDGE installation. If you changed that value, you have to enter the new port number in the URL. Note, that the URL is case sensitive.
During the installation, a self-signed certificate was created and will be used to encrypt the communication between members of a BRIDGE domain and when deploying xUML services from MagicDraw (Scheer PAS BUILDER).
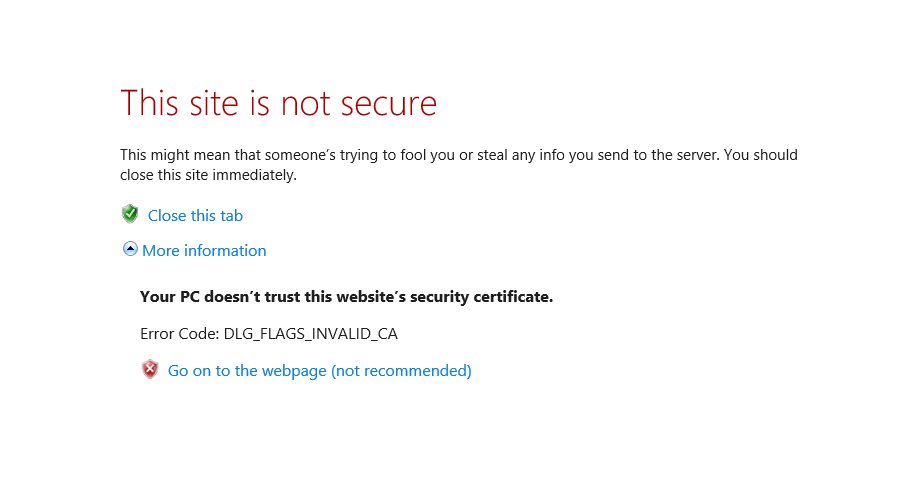
When entering the URL of the BRIDGE, the Web browser will display a security alert, as the BRIDGE runs with this self-signed security certificate, whose name may not match to the name of the site, or the certifying authority is not known by the browser. As this is a default certificate, always accept this certificate to run the BRIDGE.
If you have any problems accessing the page, try the following:
- Make sure that you bypass the proxy server for localhost with your browser.
- Disable all caches, proxies, etc. (e.g. by selecting direct connection to the internet in the browser settings).
- Instead of localhost, use the external name or IP address of the server (e.g. https://education.e2e.ch:8080).
- Port 8080 is the default port. If you changed it during the installation, make sure to use the correct port number in the URL.
- Check if the Windows service/Unix daemon of the BRIDGE is running.
| After accepting the self-signed certificate provided by Scheer E2E, … |
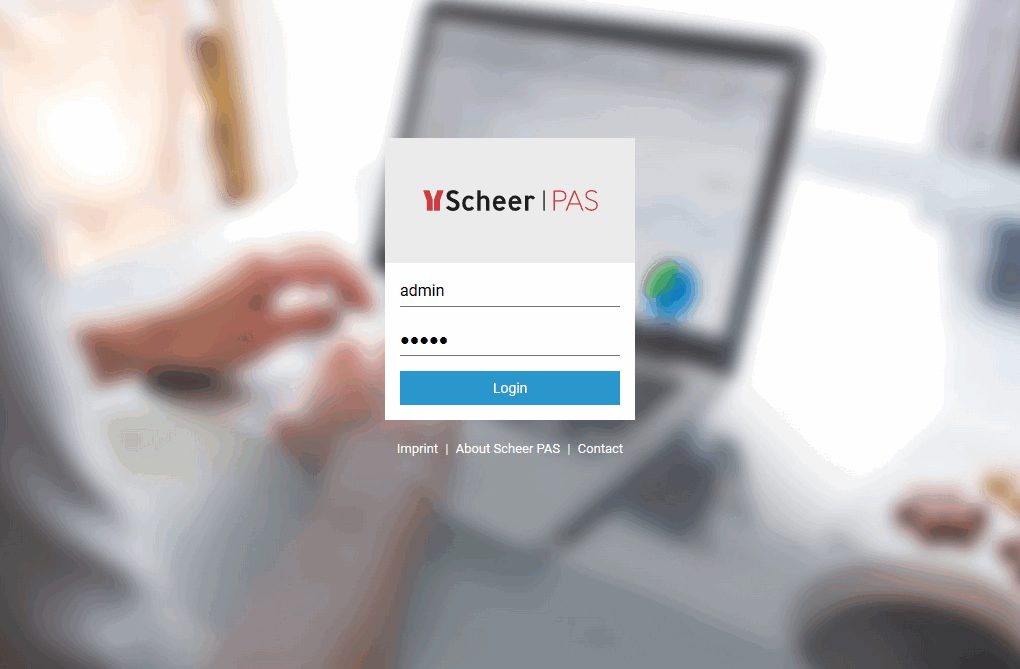
| …the login page is displayed. Login with user admin and enter the password you have chosen during the installation. |
Overview
Content Tools