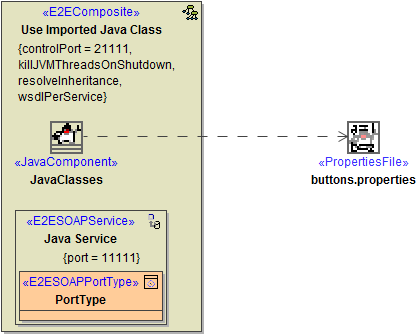
The E2E Builder supports the integration of existing Java applications. Java classes and required properties resource files can be imported into an existing or new UML model. Methods of imported Java classes can be called in the UML model with the Java adapter. The Reference Guide provides a complete overview on the concept of the Java adapter.
The Java Importer guides you through the following steps:
|
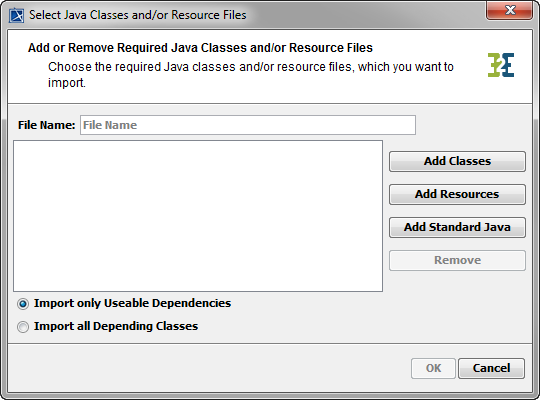
To import Java classes or resource files, select Import > Java Classes / Resource Files from the E2E Model Compiler menu.
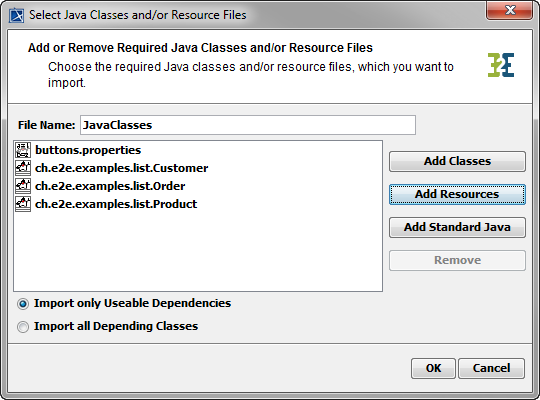
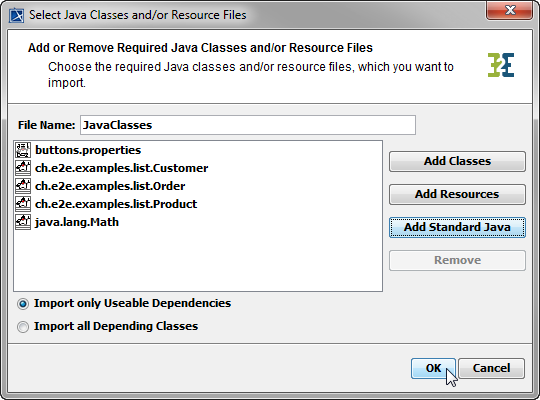
| In the following dialog, you can
The radio buttons at the bottom of the dialog refer to the list of selected classes. They allow you to decide whether the importer should import
Click OK to proceed. The importer will check the chosen classes and eventually pop up a dialog to map Java data types to Bridge base types. |
If you do not enter a File Name, the package name of the imported package will be derived from the first of the imported classes (in alphabetical order). So, this name may change with a re-import, if the imported classes change. Be careful to not get a second import in this case. |
Adding Java Classes
In order to add Java classes, click Add Classes. Java classes need to follow the JavaBeans™ specification to be imported. For more details, refer to Requirements for Importing Java Classes.
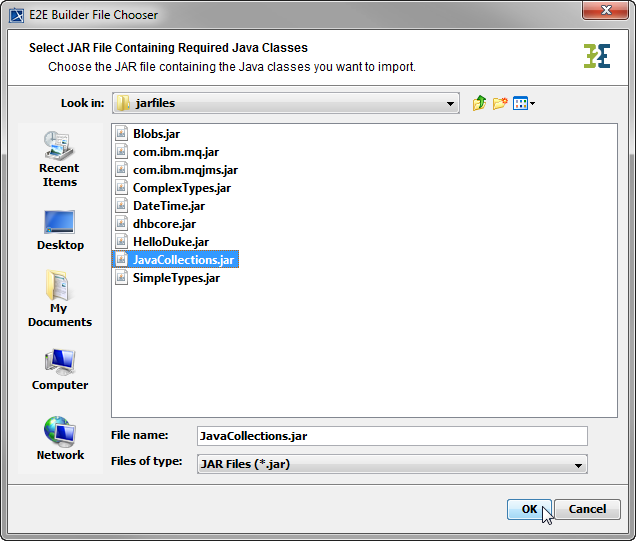
| Select the Java archive file that contains the Java classes you want to import and click OK. | |
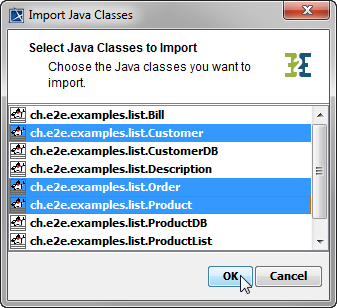
| The next dialog displays all classes contained in the Java archive. Select the classes you want to import and click OK. The Java Importer examines the classes you want to import. For dependent classes that cannot be found in the current Java archive, you will be prompted to select another one.
| |
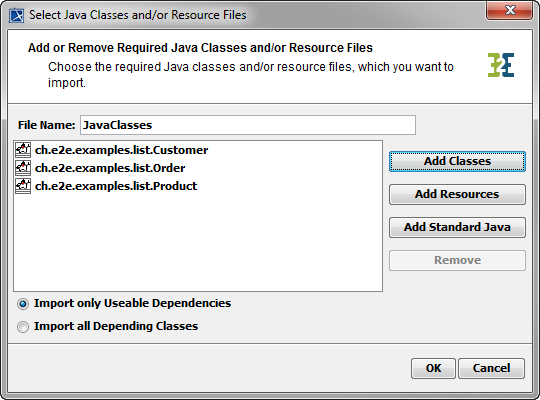
| The selected classes are displayed in the list. Select one or multiple classes or resources and click Remove to remove them from the list of elements to import. You may proceed by adding resource files or standard Java classes to be imported (see Adding Java Properties Resource Files or Adding Standard Java Classes) or by clicking OK to proceed with the import process. |
Adding Java Properties Resource Files
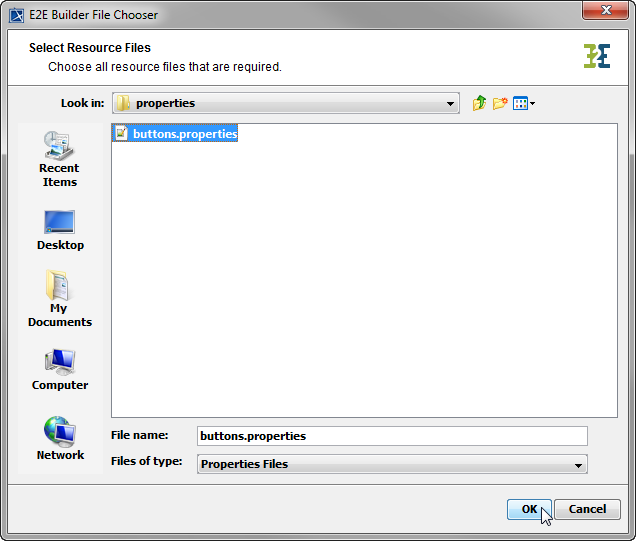
In order to add Java properties resource files, click Add Resources.
| Select the resource files that are required by the Java application. |
| The selected resources are displayed in the list. Select one or multiple classes or resources and click Remove to remove them from the list of elements to import. You may proceed by adding further classes or resources to be imported (see Adding Java Classes and Adding Standard Java Classes) or by clicking OK to proceed with the import process. |
Adding Standard Java Classes
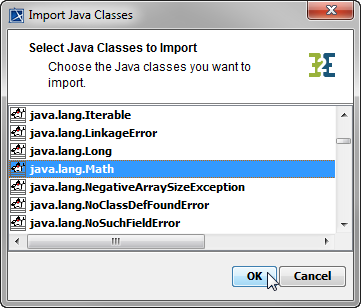
In order to add standard Java classes, click Add Standard Java.
| Select one or more Java classes to import from the list and click OK. |
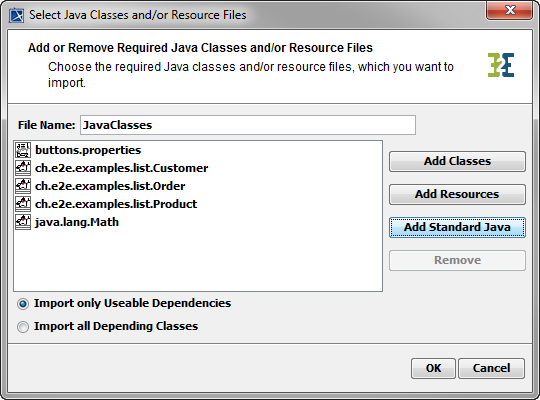
| The selected classes are displayed in the list. Select a class and click Remove to remove it from the list of classes to import. You may proceed by adding further classes or resources to be imported (see Adding Java Classes and Adding Java Properties Resource Files) or by clicking OK to proceed with the import process. |
Finalize Java Import
| All classes and resources to import are displayed in the list. Click OK to proceed with the import process. |
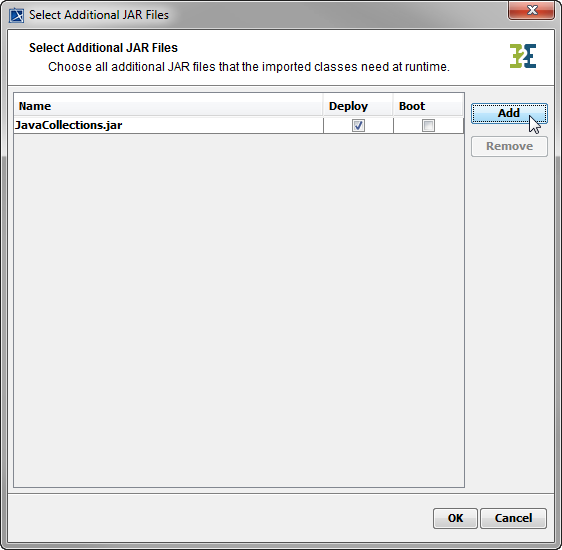
| In the next dialog, you may add additional java archives containing classes that the Java application needs at runtime by clicking Add. |
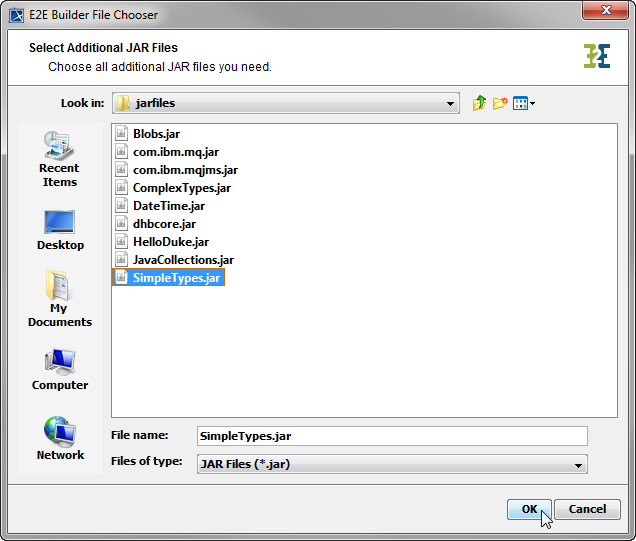
| Select the Java archives that are required by the Java application. |
|
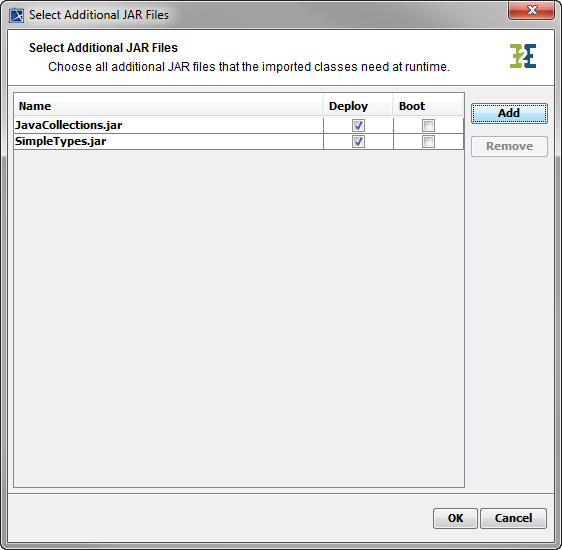
Select the Boot checkbox of each archive you want include into the Java boot class path. |
If the Deploy checkbox is selected, it will be deployed together with the xUML service repository via the E2E Builder. This may be of interest, if you want to encapsulate the xUML service.
If you choose to not deploy a Java archive, the Java archive needs to be deployed via the E2E Bridge. Deploying archives via the Bridge has two advantages:
- It prevents transferring big amounts of data during deployment. At development time it may be annoying when each deployment takes some time if big Java archives have to be deployed.
Deploying Java archives via the Builder means that they are used only by the deployed xUML service. Deploying them via the Bridge means that they are not stored locally (with the service) but globally, so that they can be used by all deployed xUML services of the current node instance.For more details on deploying Java archives via the Bridge, refer to Deploying and Managing Java Archives in the Bridge User's Guide.
|
|
Click OK to start the import process.
Java data types will be mapped to Bridge base types automatically if possible. If the mapping rules cannot be identified automatically, the Importer will prompt you to define the mappings yourself. For more information on type mapping refer to Mapping Java Data Types to Bridge Base Types.
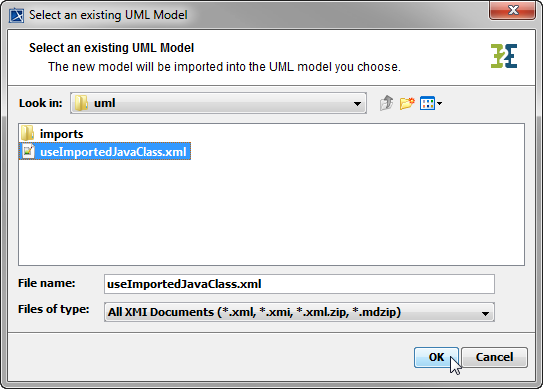
| Select the XMI file the selected files will be imported to. The import process may also be canceled by clicking Cancel. |
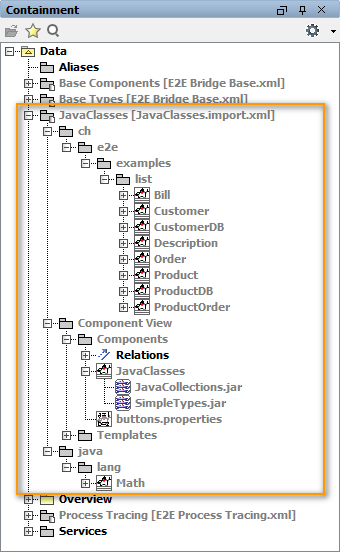
| After having imported Java classes into a new or an existing UML model, you will find the classes in packages that correspond to the classes' fully qualified package name. The JAR files of the imported Java classes have been copied to the following location: <Builder project name>\jarfiles - no matter if they are deployed with the xUML service, or not. |
The Model Compiler Messages window reports any issues and warnings that occurred during the import.

Mapping Java Data Types to Bridge Base Types
Java data types will be mapped to Bridge base types automatically if possible. If the mapping rules cannot be identified automatically, the Importer will prompt you to define the mappings yourself. This will be the case when types of Java Array elements or key-value pairs of a Java Map need to be mapped for class attributes, method parameters, or return values.
It is important to define the correct data type mappings, otherwise, the xUML service will not run properly. Refer to the Java documentation provided by the developer of the Java application you want to import. |
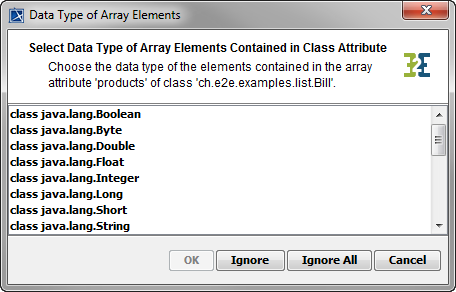
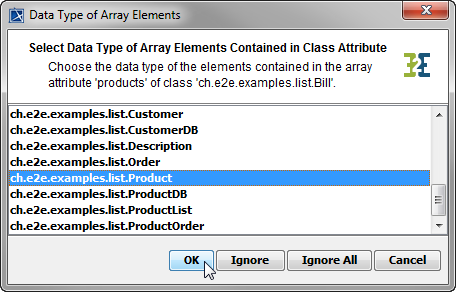
| For instance, suppose a class Bill having an attribute products, which is of type ArrayList. You are prompted to choose the data type of the ArrayList elements, because it is not known. | |
| You need to consult the Java documentation to choose the correct data type. In the above case. the documentation of attribute products says: Select the appropriate type from the list of available types.
| |
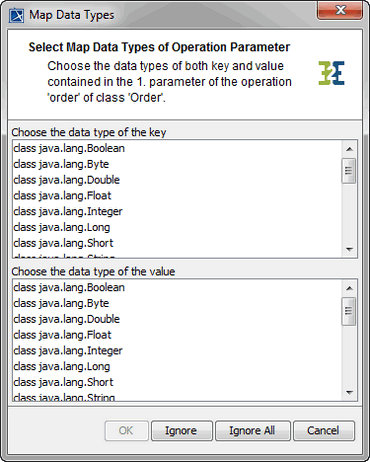
| If attributes or parameters are of Java Map type, you are prompted to choose the data type for both key and value. |
By clicking Cancel the import process is aborted.
Clicking Ignore results in the unknown type being assigned to the Any type. This may work if the class is not used in the model, but may cause runtime errors if the class is used. So it is advisable to be careful using the Ignore button.
Ignore All leads to all further requests for type mapping being ignored. All types that you have assigned yet stay assigned.
