Scheer PAS RPA offers two different types of software robots:
- Software robots embedded in a business app: This kind of robot is part of the EPC model of an app. The underlying robot process is started during the app execution.
- Stand-alone software robots: Stand-alone robots are modeled for usage outside business apps, for example to catch data from third systems. They have to be started manually.
To enable users to start their stand-alone software robots, the Scheer PAS Cockpit offers the possibility to create a robot tile.
Creating a Software Robot Tile
The prerequisite for the creation of a robot tile is that a robot process already exists. The tile is only a start link for the robot process which has to be created in UIPath Studio and has to be deployed to UIPath Orchestrator (see page Integrating a Robot into Your Process > Creation of Software Robots for further information).
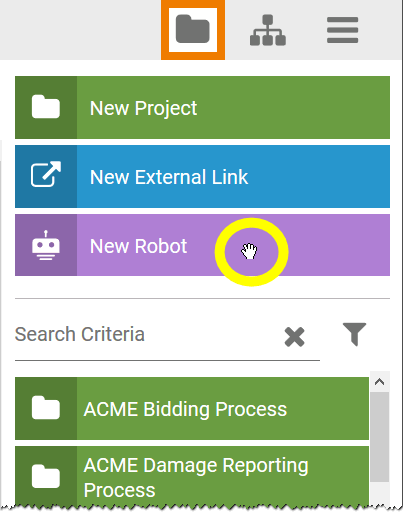
| Open your Scheer PAS Cockpit. In the sidebar New Elements you will find the link New Robot. | ||||||
| Drag & drop the element to the cockpit to create a robot tile. | ||||||
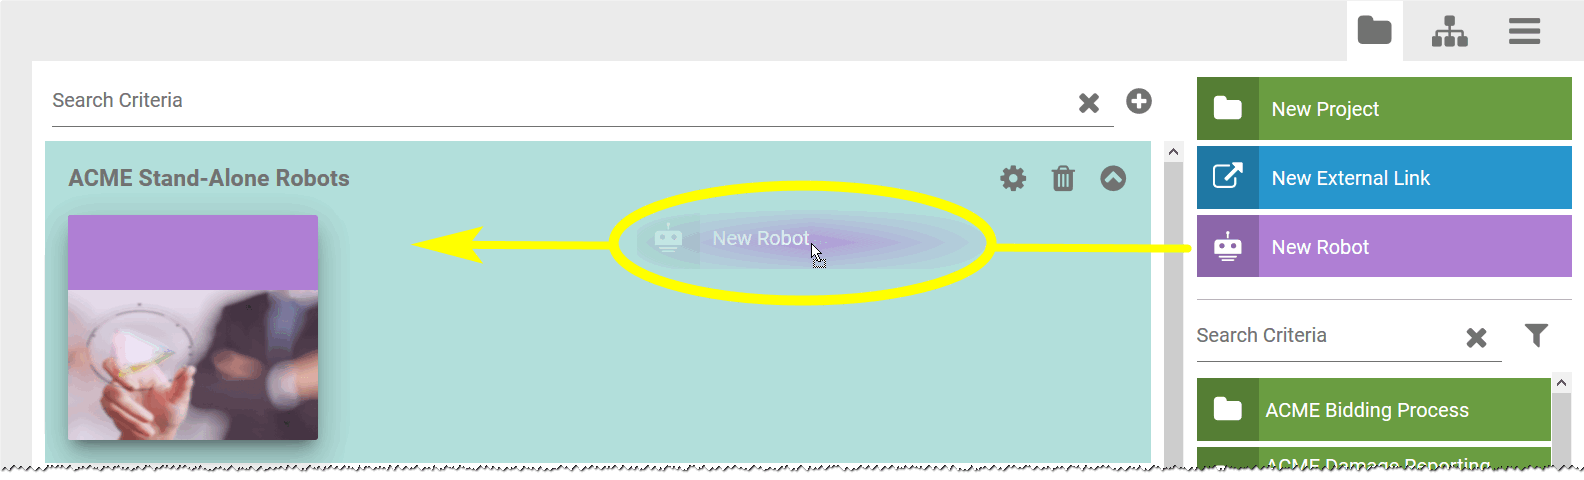
| Cockpit tiles cannot exist outside of cockpit groups. You have two options: 1. Creating the robot tile in an existing cockpit group, which opens a window to configure the robot link only. | ||||||
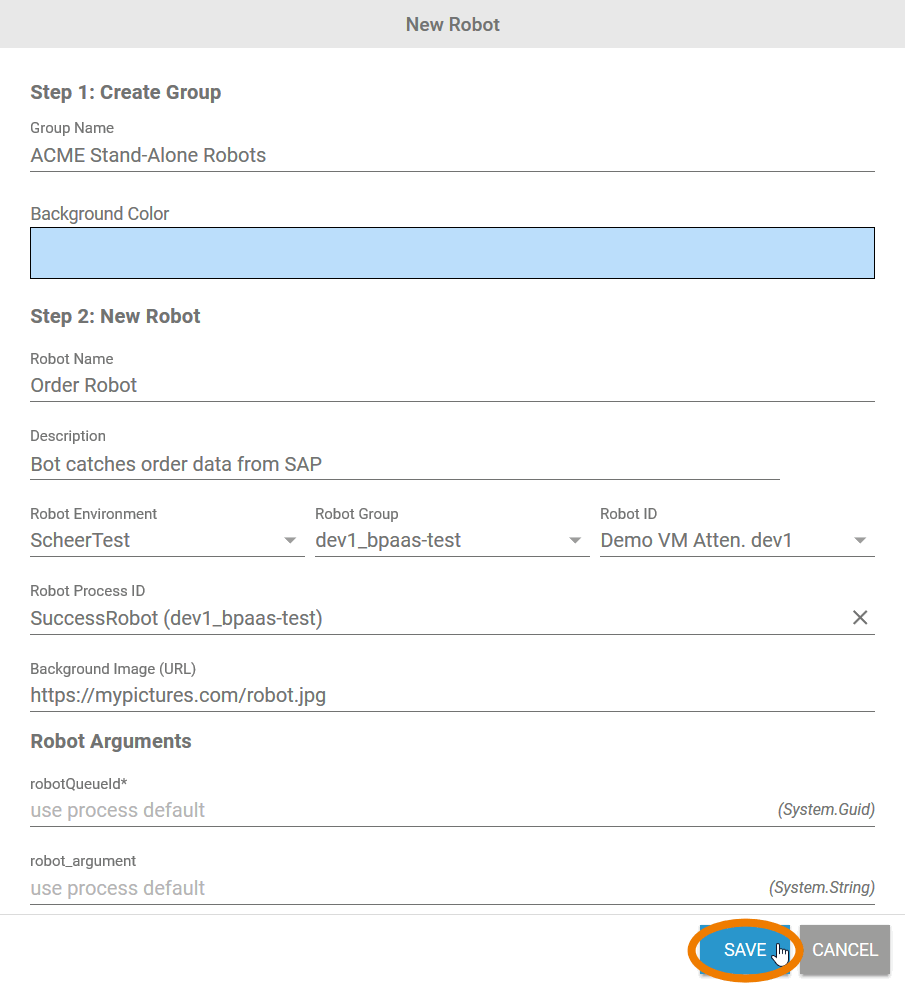
| 2. Creating the tile and a new cockpit group together, which opens a pop-up where you have to configure the groups' settings as well as the robot tile settings. | ||||||
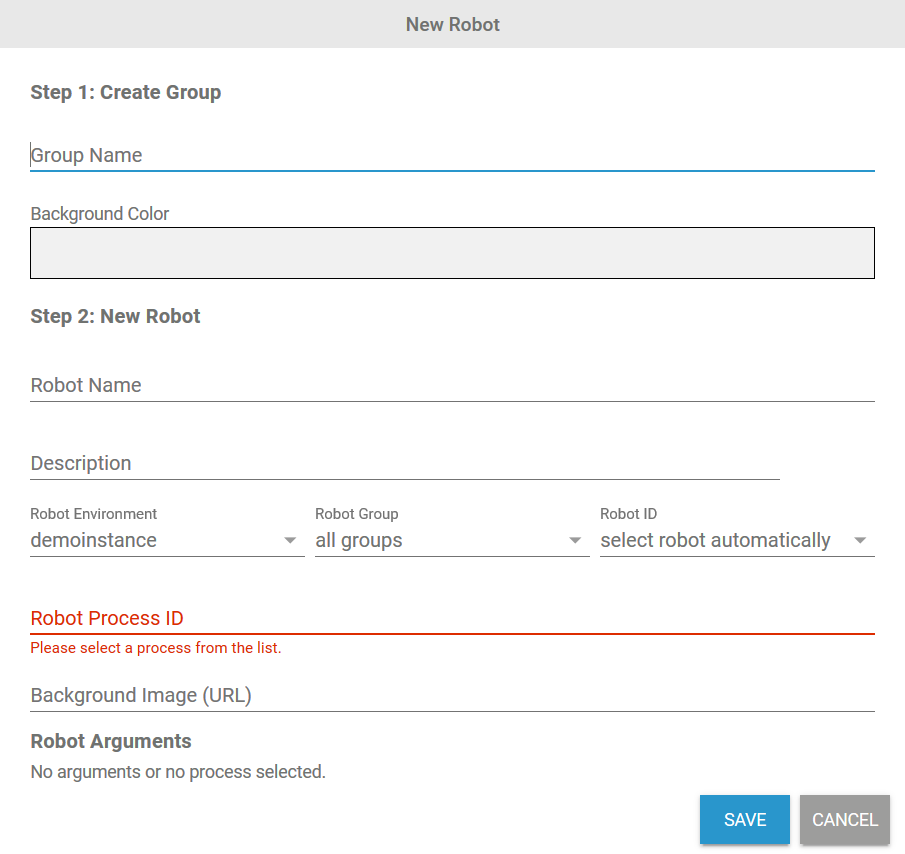
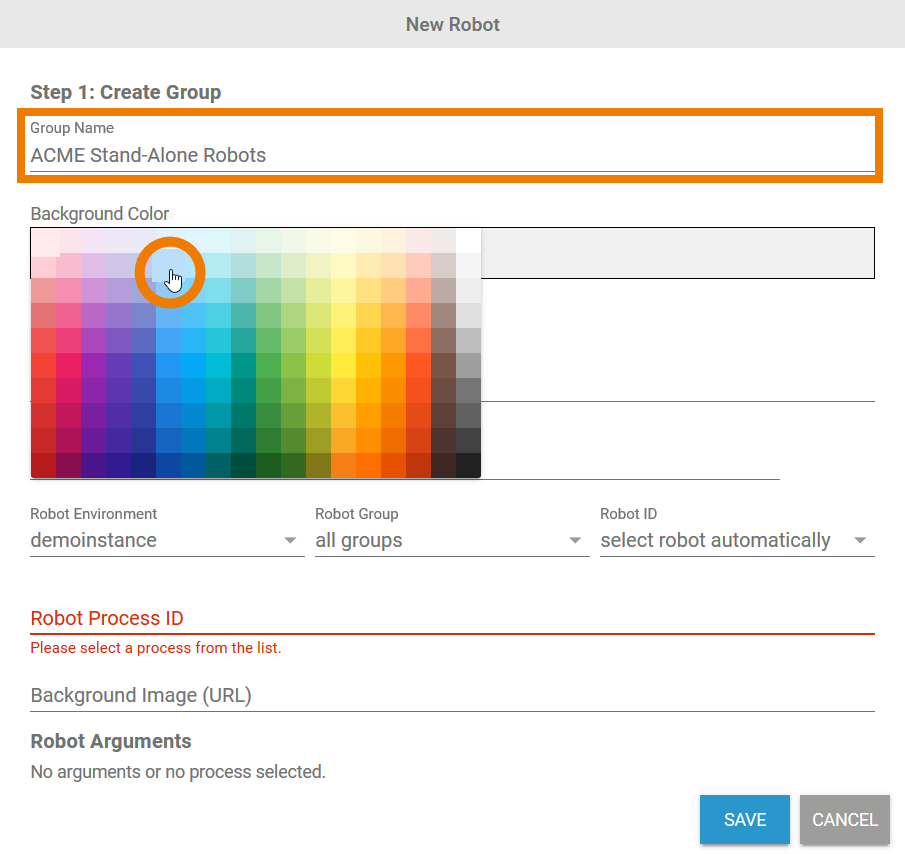
| If you create tile and group together, insert a name for the group first. Use field Background Color to determine a color for the group. | ||||||
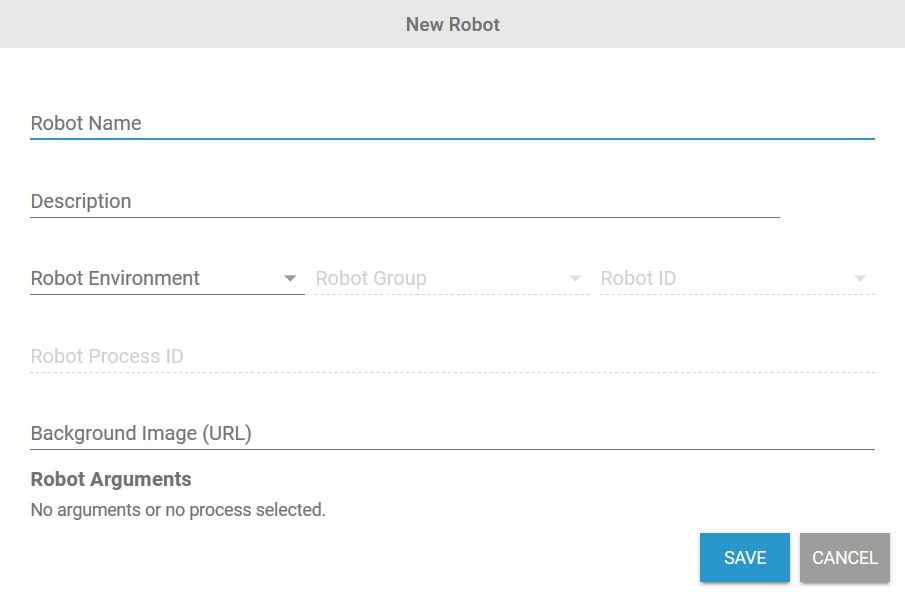
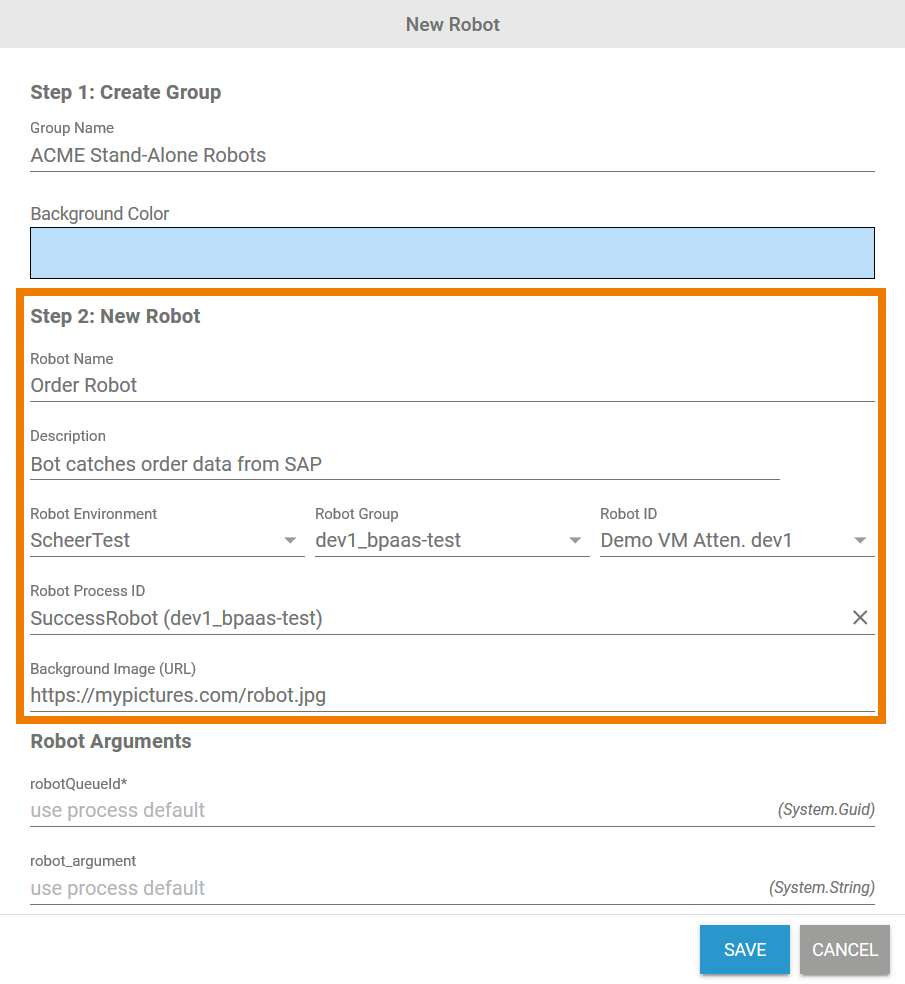
| In the next step, the robot details have to be configured:
| ||||||
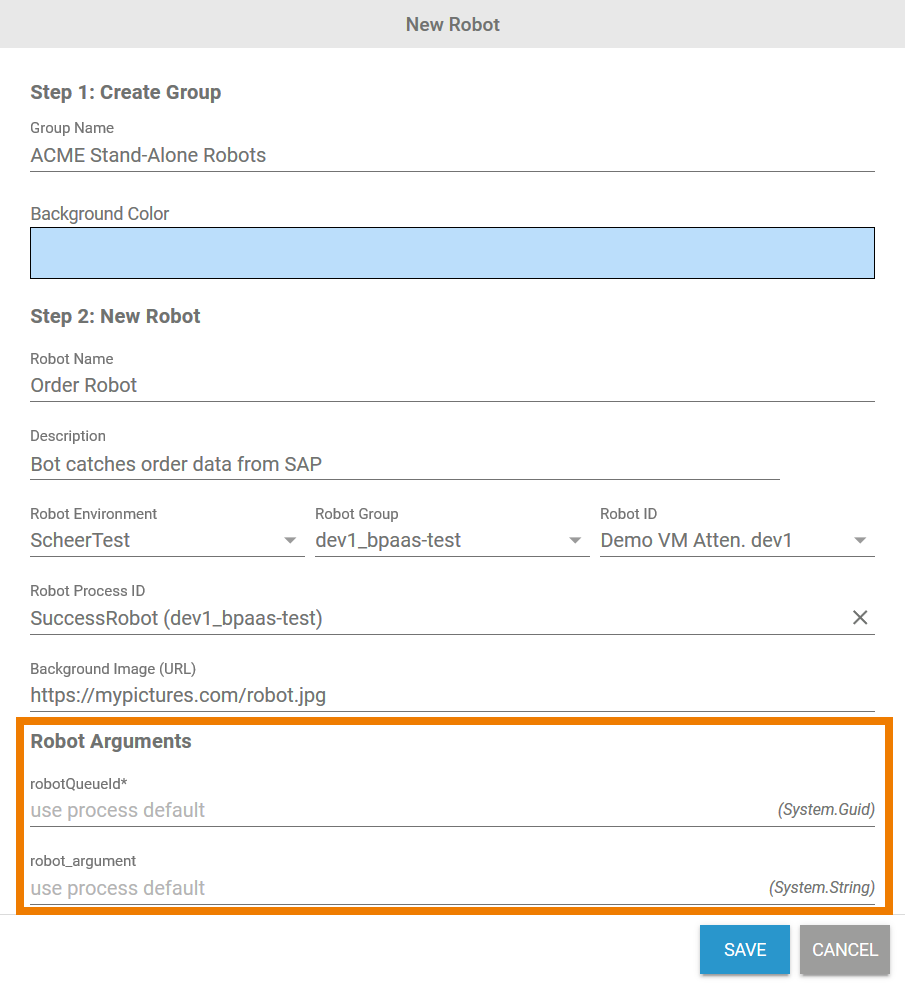
| Robot Arguments The robot arguments are prepared during the creation of the robot in UIPath Studio. Section Robot Arguments allows you to change their configuration. All arguments of the chosen robot will be listed in this section. In our example, two arguments have been configured in UIPath:
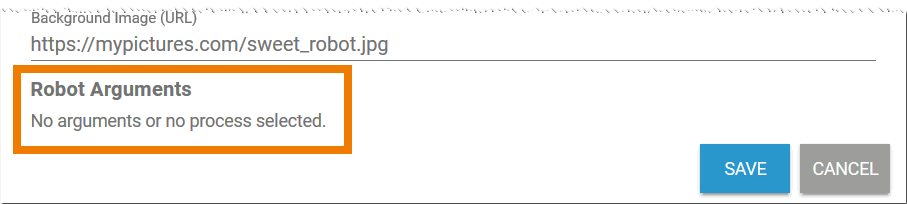
If no argument has been created for the robot, the section Robot Arguments will remain empty:
| ||||||
| An arguments' input field shows you important information:
| ||||||
| Name The arguments name is displayed on top of the input field, helping you to identify the different arguments of a robot. | ||||||
| Type The type of the argument is indicated on the right of the input field. If you insert a value in the input field, make sure that the value meets the expected type.
| ||||||
| Mandatory During the creation of a robot in UIPath Studio, the modeller defines if a robot argument is required. If this is case, an asterisk is added to the arguments name. If the input field is marked as required, you need to fill it, if no default value has been defined.
| ||||||
| Default Value During the creation of a robot in UIPath Studio, the modeller may define a default value for the robot argument, but this is not mandatory. That is the reason why you can find two possible contents in the input field of a robot argument:
| ||||||
| If you have configured all necessary fields of the robot tile, click Save. | ||||||
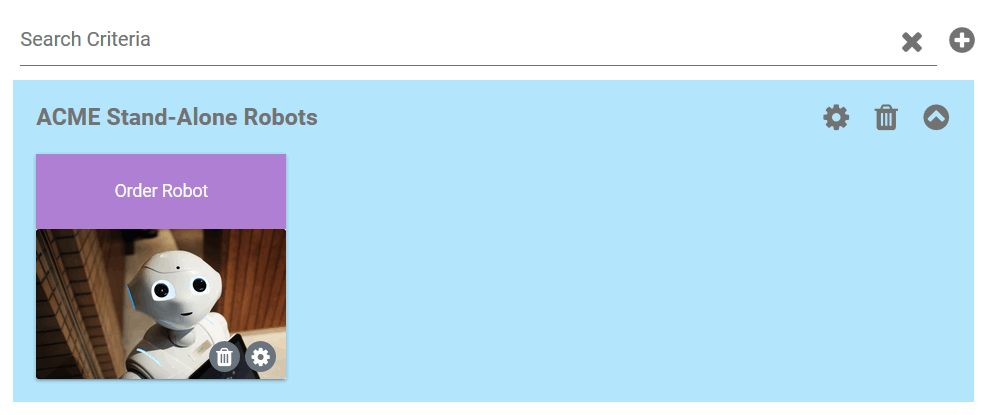
| The robot tile is created in the new group in your cockpit. |


Editing a Software Robot Tile
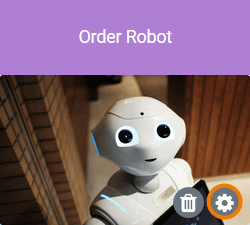
| You can edit the settings of a software robot tile at any time. Just click the icon |
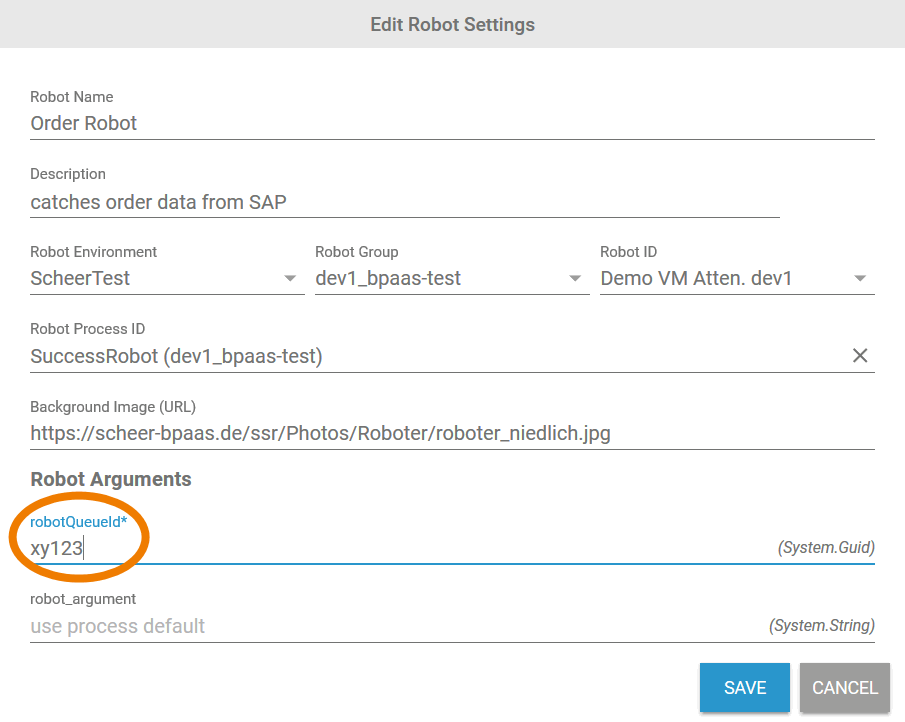
| The dialog Edit Robot Settings opens. You can edit the tile settings. Click the Save button to keep the changes or Cancel to abort the operation. |
Deleting a Software Robot Tile
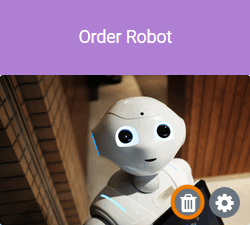
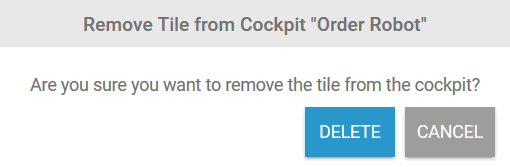
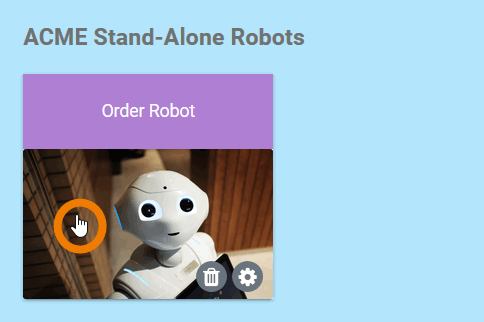
| If you want to remove a software robot tile from your cockpit, just click the icon |
| A dialog window opens. Confirm the deletion by clicking the Delete button or click Cancel to abort the operation. |
Starting a Stand-Alone Robot
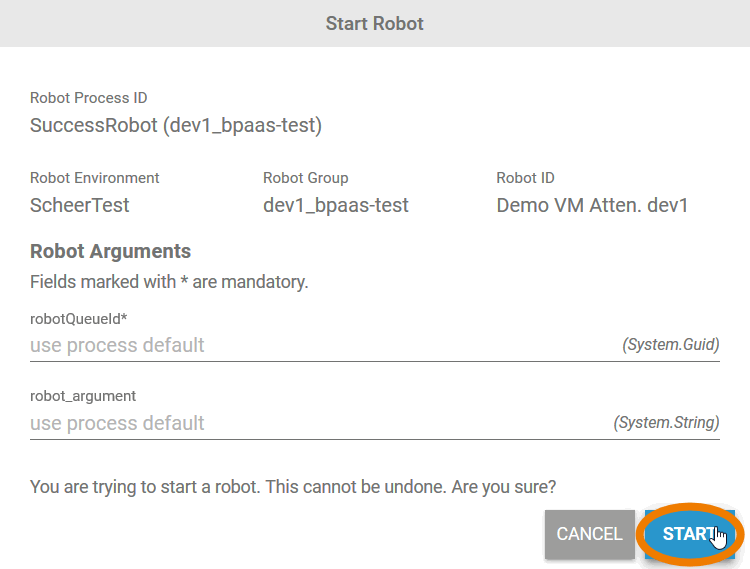
| If you want to start a stand-alone software robot, click on its tile in the cockpit. | ||
| The pop-up window Start Robot opens. The tile starts the robot process as defined, so most of the fields shown in this pop-up are read-only. You can only change the robot arguments before starting the robot, which enables you to overwrite pre-defined values. Click the Start button to start the execution of the software robot.
|
| Otp | ||||
|---|---|---|---|---|
|
| Rp |
|---|