Page History
After logging in, you are in the Explorer of the Scheer PAS Designer. The explorer tab is the place where you manage your content. Its main purpose is to structure your work.
The Explorer Tab
The explorer tab consists of two areas:
The Explorer Tree
| In the tree on the left side of the explorer tab you create new folders, services, models and forms which are displayed in a hierarchially structured page tree. | ||||||||||
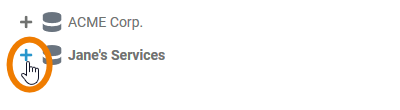
| To expand an element in the tree, click on | ||||||||||
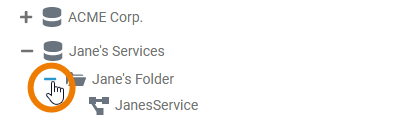
| If you want to show less content in the tree, use the icon | ||||||||||
To open a BPMN model or a form from the explorer tree, use the | |||||||||||
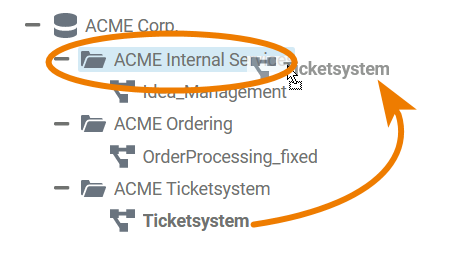
| You can also rearrange the content of the explorer tab by dragging and dropping elements. Start dragging an element to a new place in the tree. Allowed destinations are highlighted.
| ||||||||||
| |||||||||||
At the bottom of the explorer tree you can find the checkbox Show types. If the checkbox is activated, additional information is displayed in the tree... | |||||||||||
... as well as inside the search results and settings area. |

Main Elements in the Explorer Tree
In the Explorer tree you can use the following elements to structure your work:
Name | Element Icon | Element Icon when expanded | Description | Further Information | ||||||||||
|---|---|---|---|---|---|---|---|---|---|---|---|---|---|---|
| Namespace | - | All Designer content is stored within a Namespace. Namespaces have to be created and assigned to the user accounts in the Scheer PAS Administration.
| ||||||||||||
| Folder | In Folders you can manage your contents, therefore it is possible to create folders on different levels of the tree. You can create folders...
| |||||||||||||
| Service | A Service contains one executable service. Within a service you manage the necessary settings for your service such as the used libraries, the BPMN model, the service properties and forms. | |||||||||||||
| Libraries | - | The Libraries folder is automatically created in every service folder. It contains all necessary libraries to model the execution part of the service. Libraries are uploaded to the whole namespace, see page Administrating Libraries for details.
| ||||||||||||
| Models | The Models folder is automatically created in every service folder. Use the folder to create and manage the BPMN models for your service.
| |||||||||||||
| Single BPMN Model | - | The BPMN Model contains your executable BPMN process. If you open a BPMN model, you will find yourself on the diagram pane. | ||||||||||||
| Forms | - | The Forms folder is automatically created in every service folder. Use the folder to create and manage the forms for your service.
| ||||||||||||
| Single Form | - | The Form contains one executable form. If you open a form, you will find yourself in the form editor. |
Creating New Elements
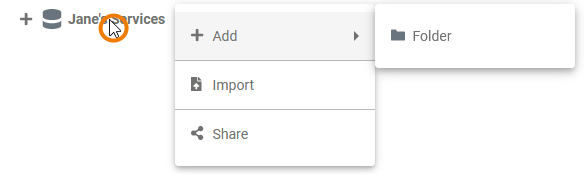
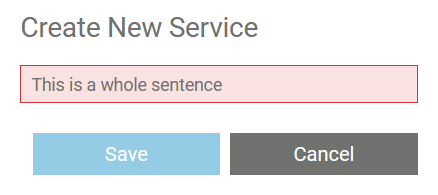
| If you want to create a new element, right click on the higher situated element to open the context menu. Choose the option Add ... . | ||||||||
| Enter a name in the pop-up window and confirm with Save. | ||||||||
| The new element is added to the tree. | ||||||||
| When creating new elements, respect the restrictions for element names. Only folder names have no restrictions.
|


The Settings Area
If you click on an element in the tree its settings are displayed in the settings area where you can edit them.
| |||
If you select a service in the Explorer tree, you can manage the service settings in the settings area. You can deploy, start and stop the service. You have also direct access to the Integration (Bridge) component. If the service already has been deployed and it contains forms, you have access to your executed forms via the Open Application button. | |||
For BPMN models and forms, the settings area also lists all elements that have been created within the model or form. Click on an element in the list Elements Inside Model to switch to the element in the BPMN or Form Editor. | |||
A breadcrump navigation is displayed in the settings area, showing the levels of your namespace. Use it to switch to a higher level at any time. | |||
| You can also resize the areas in the explorer window by drawing the frame in the middle. |
| Otp | ||||
|---|---|---|---|---|
|
| Rp | |
|---|---|
|
Overview
Content Tools