Page History
How to open a Support Ticket
If you want to open a ticket in the Scheer PAS Support Center you can
- send an email to support@scheer-pas.com.
- log in to the Support Center and create a new ticket.
Sending an Email
| Send an email to support@scheer-pas.com. This will create a new support ticket. In return, you will receive a confirmation email that your ticket has been created. |
Creating a Ticket in the Support Center
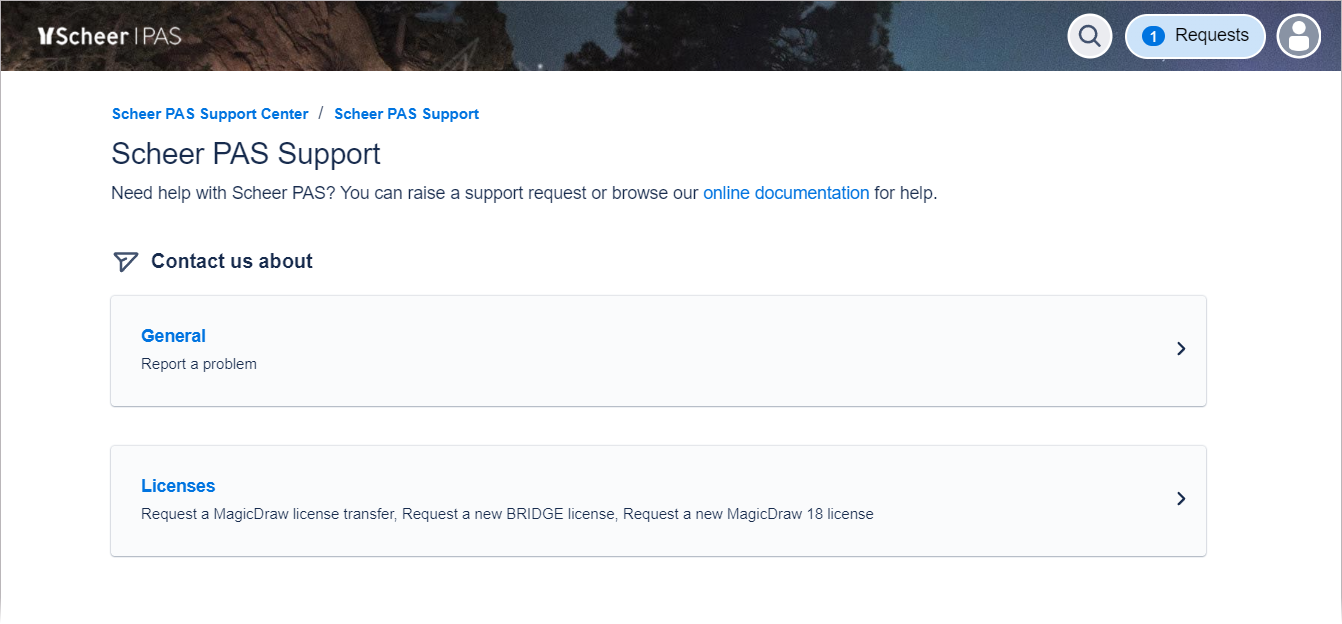
| If you are logged in to the support center, you have several options to open a ticket - depending on the topic. The start page contains two tabs:
| ||||||||||
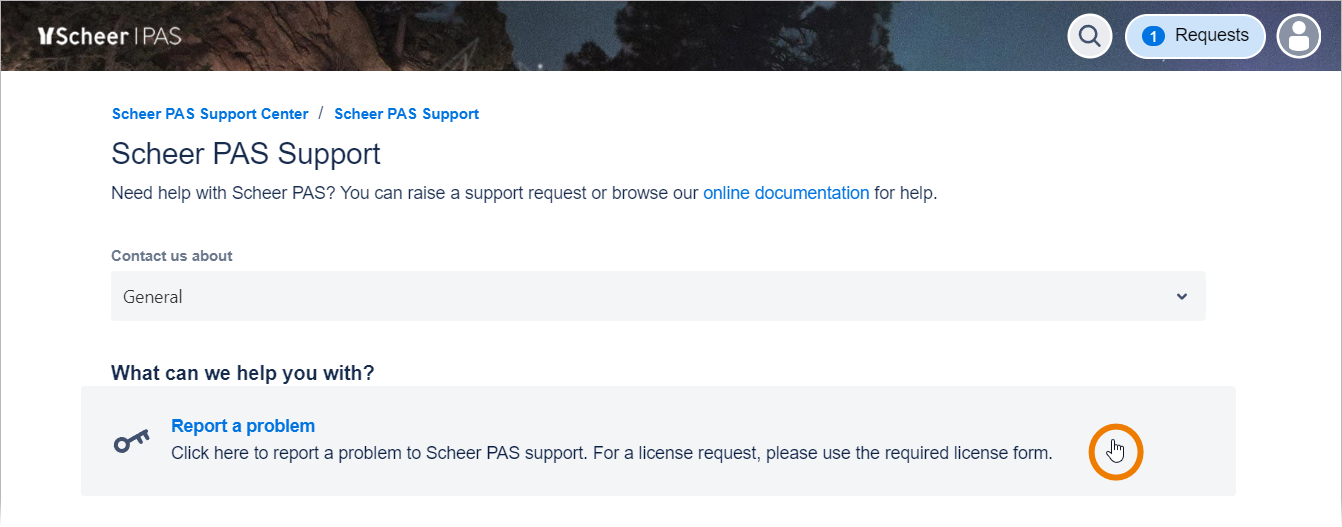
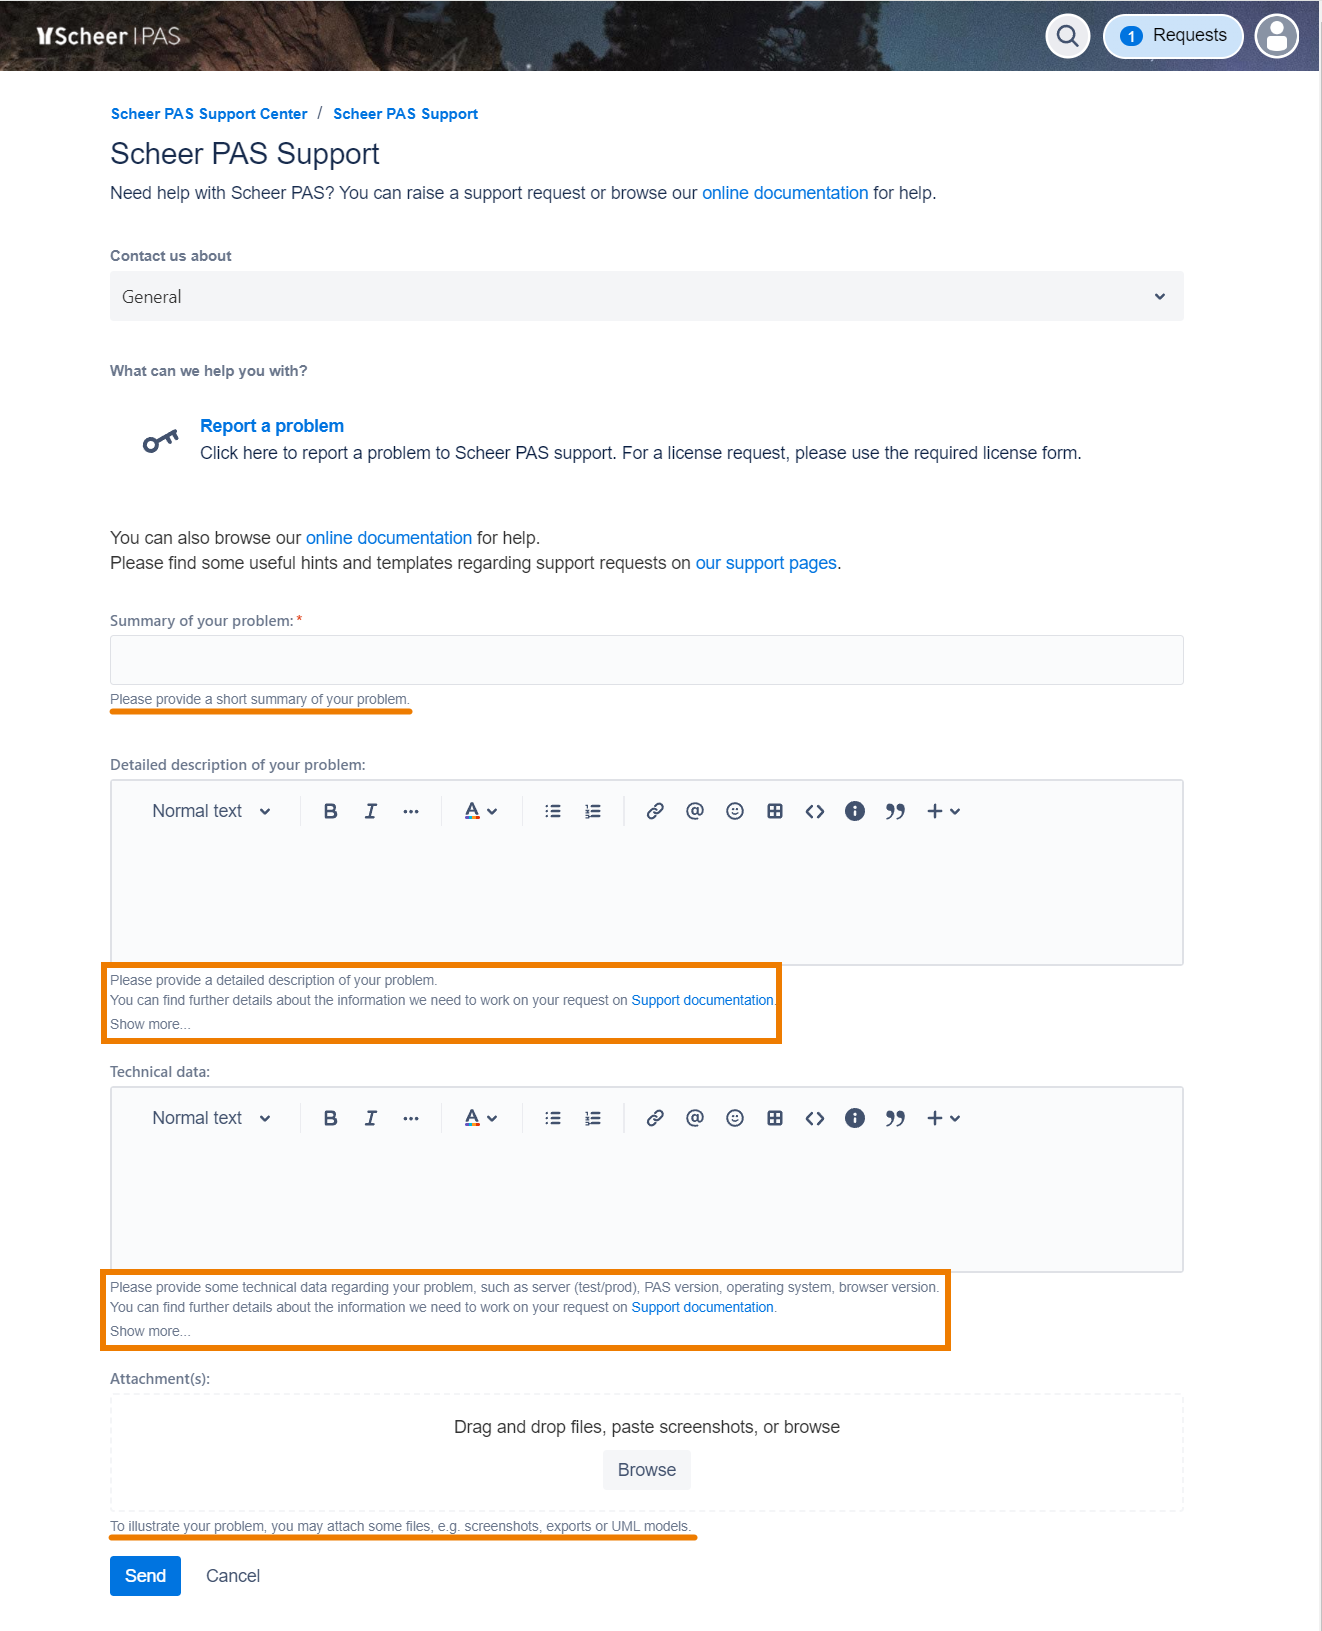
| If you want to send a support request, click General > Report a problem. Use the | In the General tab you will find two forms: Report a problem: Select the firstform to report a problem towith your Scheer PAS support.installation or one of its components. | |||||||||
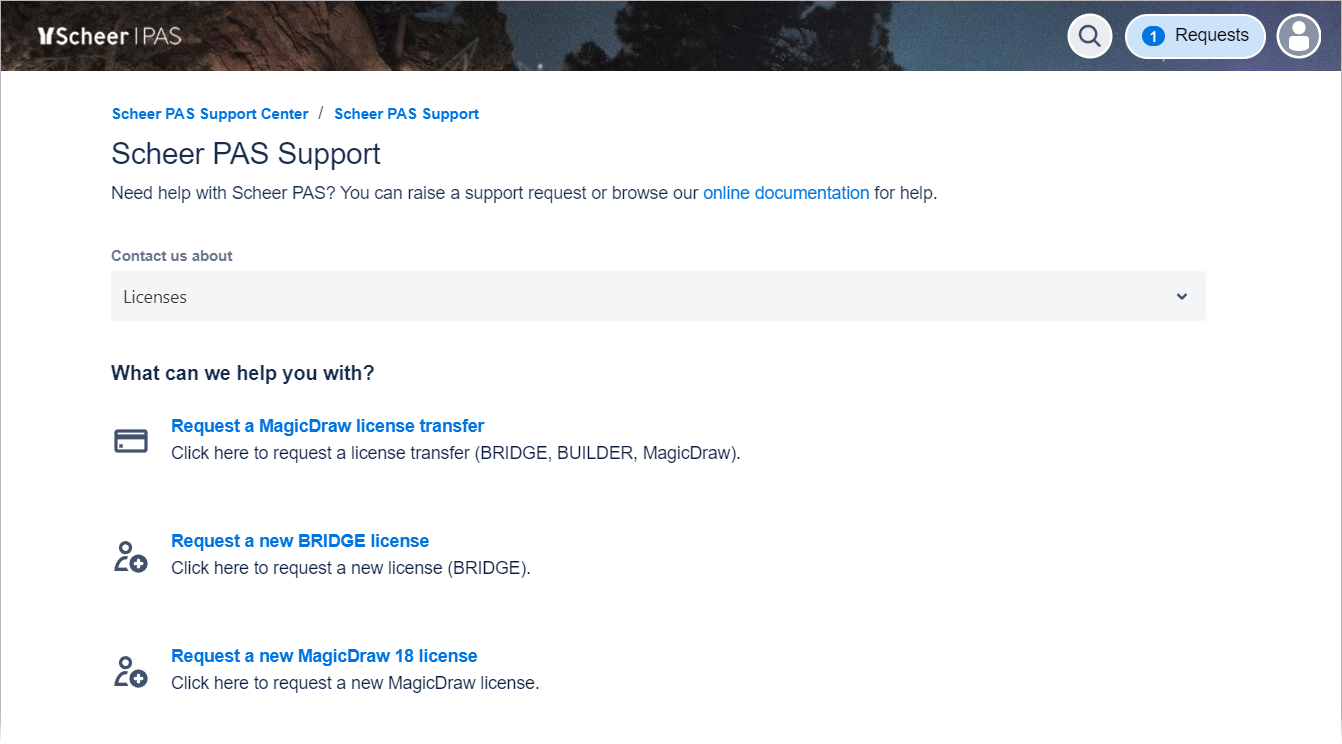
| Click section | Switch to tab Licenses if you have a license request:
| |||||||||
| Each form contains input fields that refer to the respective topic. Please follow the instructions under each input field and make sure you enter the required information. The - the quality of your report plays an important role in reducing the time we need to resolve the problem.
| ||||||||||
| If all required content has been entered, click Create Send. You will receive a confirmation email about the successful ticket creation. |
Managing your Request
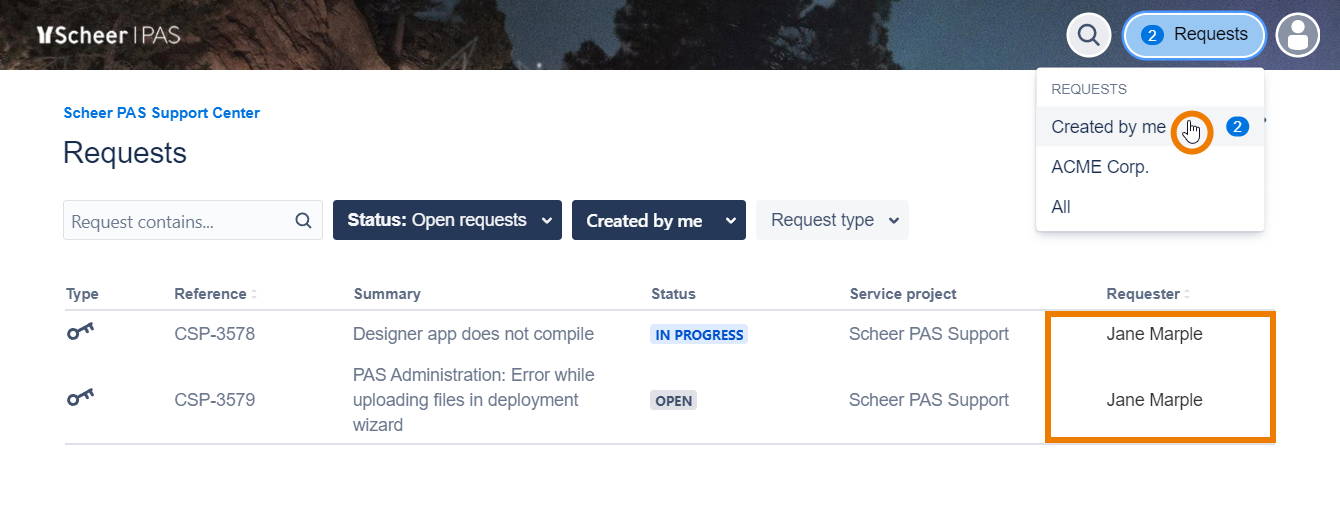
The support center gives you access to tickets you have created yourself but also to all tickets of your organization as well as to tickets you have been added to as request participant.
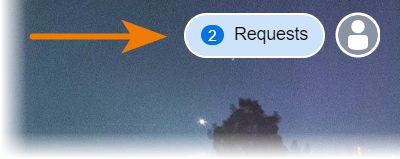
| In the upper right corner of the support center page you will find the menu Requests. | ||||||||||||||||
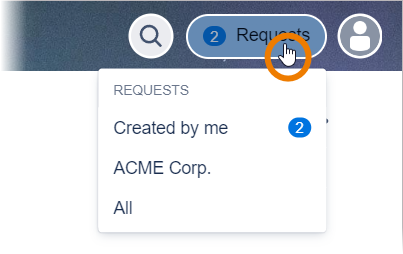
| Clicking on the menu opens a window with several options:
| ||||||||||||||||
|
| The following menu options are available:
|
| :
|
| All requests:
| |||||||||||
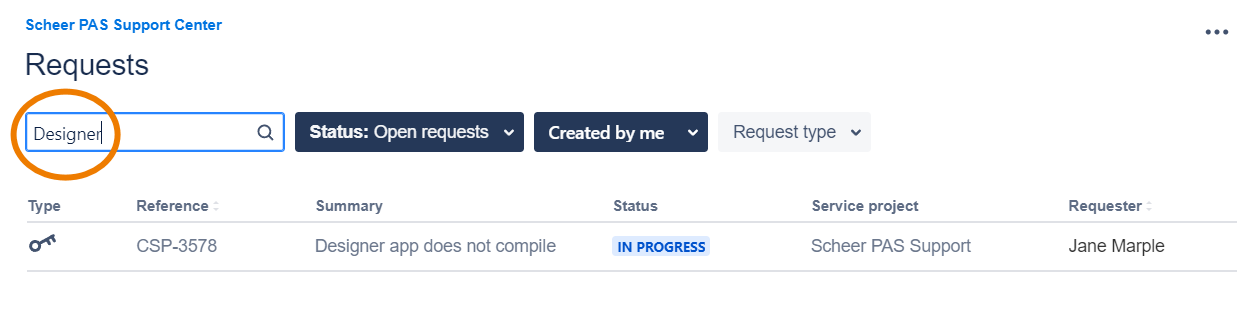
| Various filter fields are available for searching and narrowing down the ticket list. Use the fulltext filter to search for a specific search term. | ||||||||||||||||
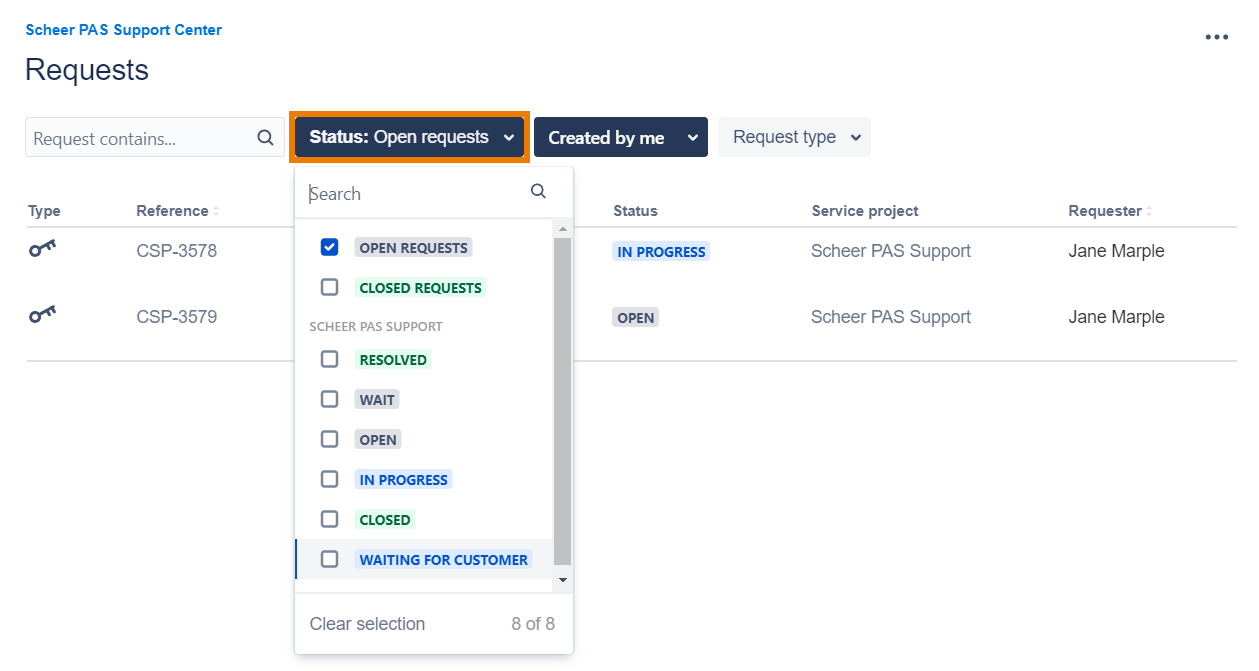
| Use the status filter to display all tickets with a specific status. | ||||||||||||||||
| Use the request filter to filter by request assignment. | ||||||||||||||||
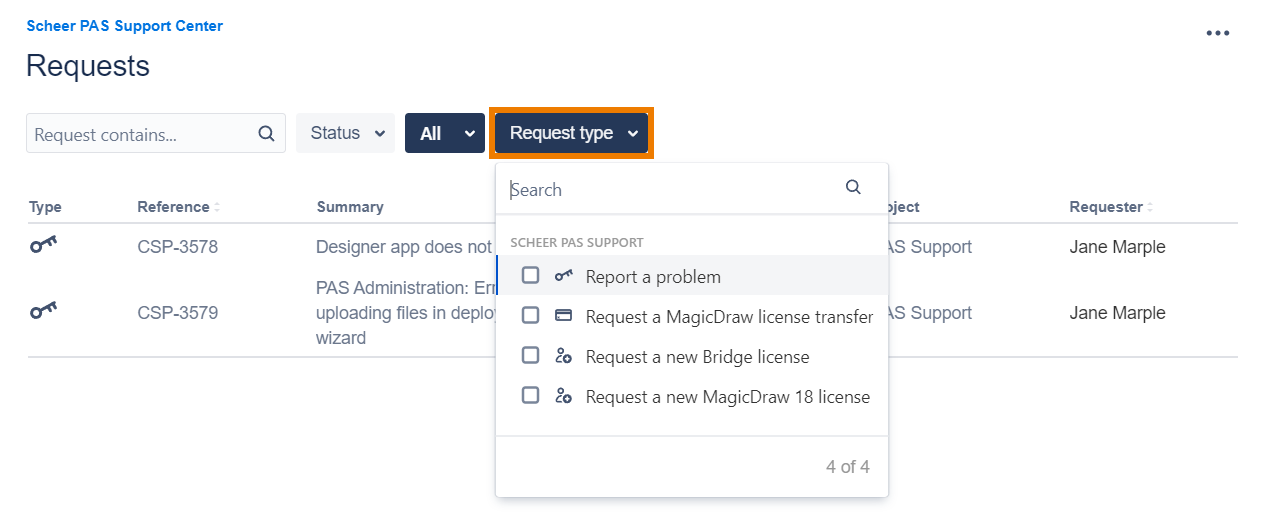
| Use the request type filter to display all tickets with a specific type. |

Ticket Status
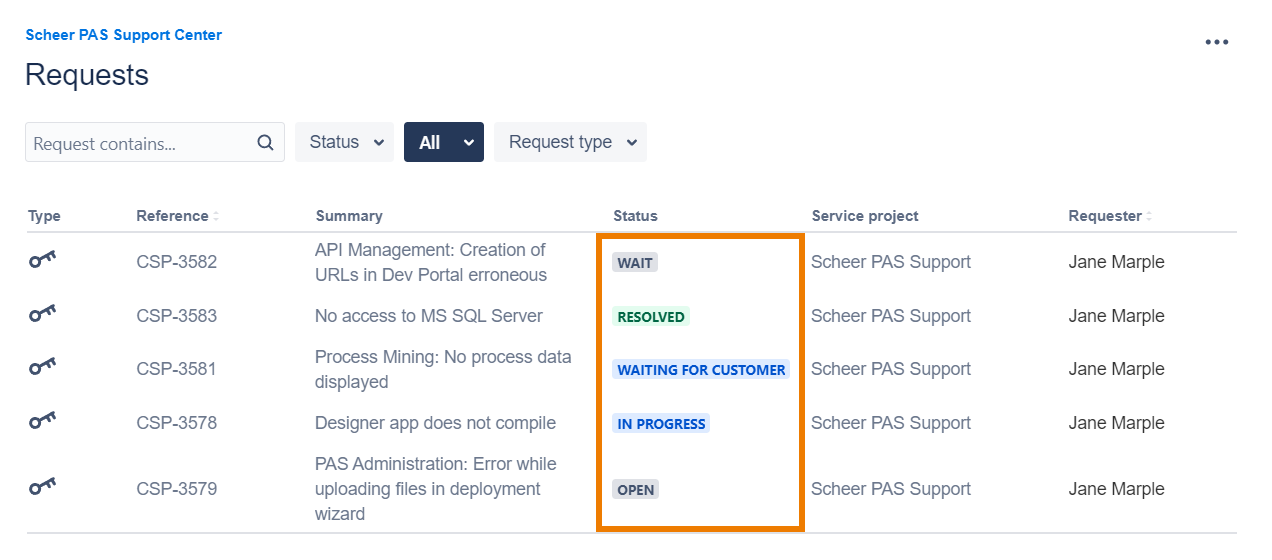
| The status of a ticket shows the current processing step:
|
Ticket Content
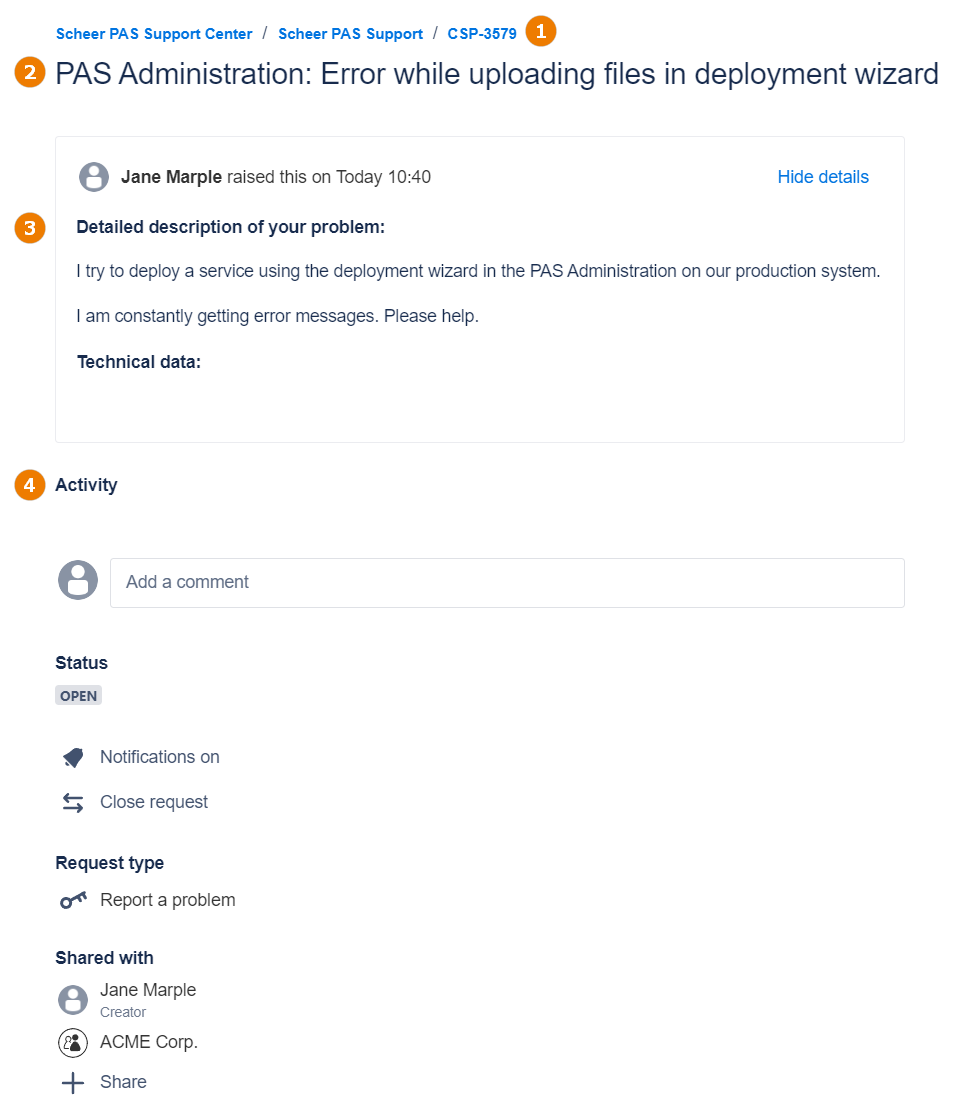
| Click on a ticket in the list to open it. The ticket shows the following content:
| ||
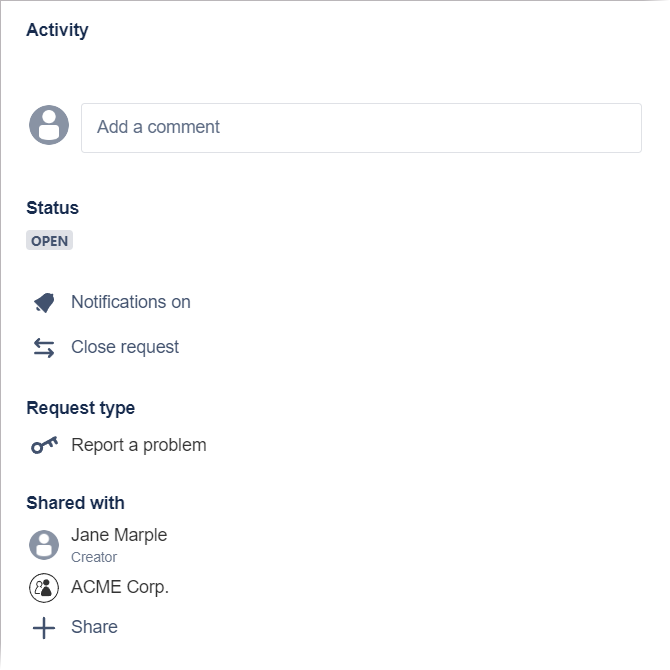
| Section Activity contains various functionality: | The ticket sidebar contains further functionalities and information:
|
Adding Ticket Content
You have two options to add content to a ticket:
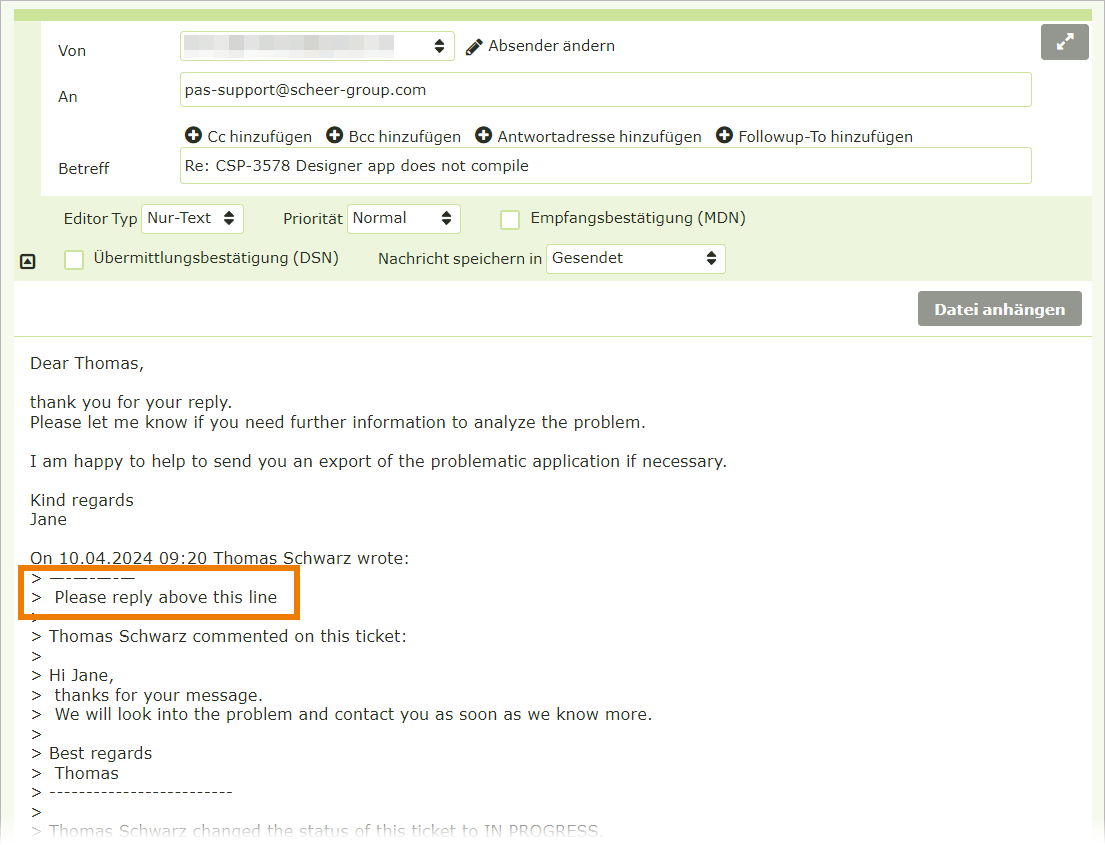
Answering to Email Notifications
| If you enabled the notification functionality for a ticket, you will receive emails when content is added to your ticket or when the ticket status changes. To add a comment to a ticket, you can just reply to one of those notification emails. Please make sure that your reply is placed above the line marked in the email. |
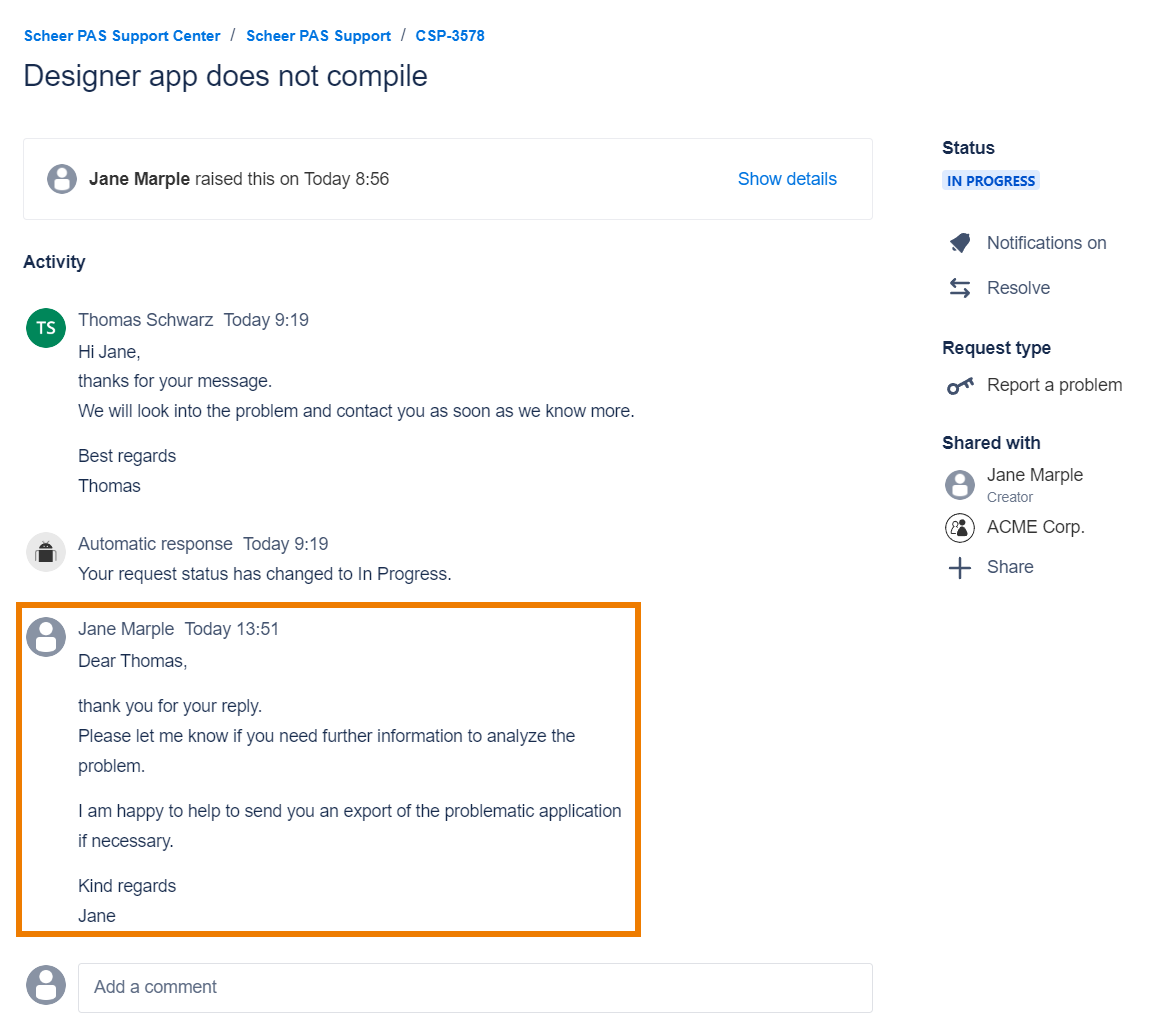
| The content of your email is then added automatically to the associated ticket. |
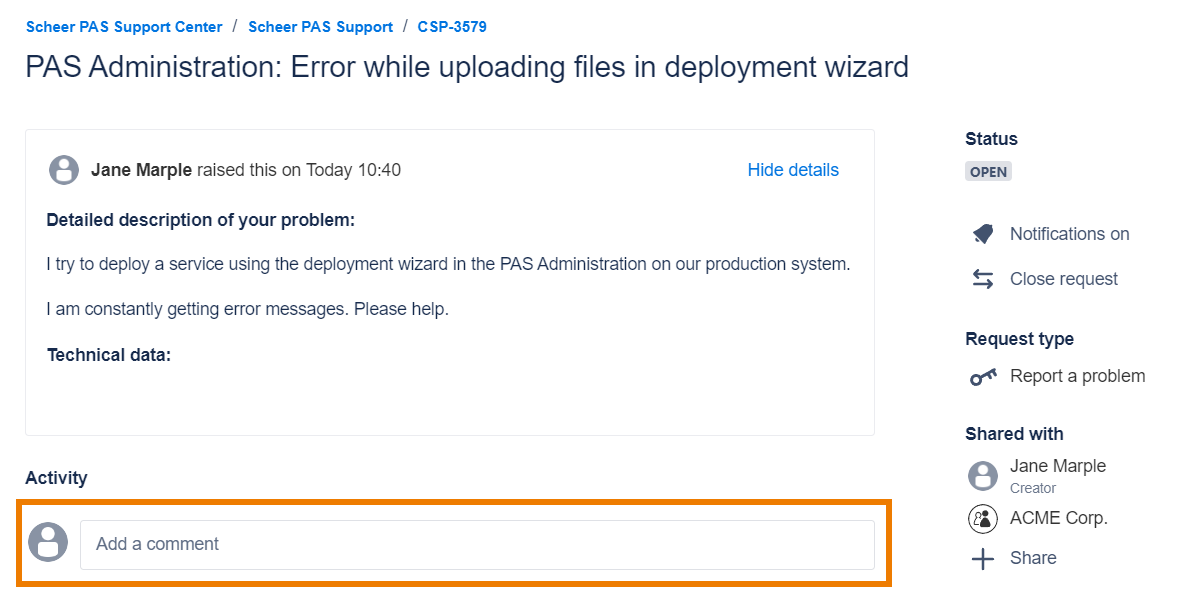
Adding Content in the Support Center
| Once a ticket has been created, you can also add further content in the support center. Use the input field Comment on this request... Add a comment to add further information to your ticket. | |
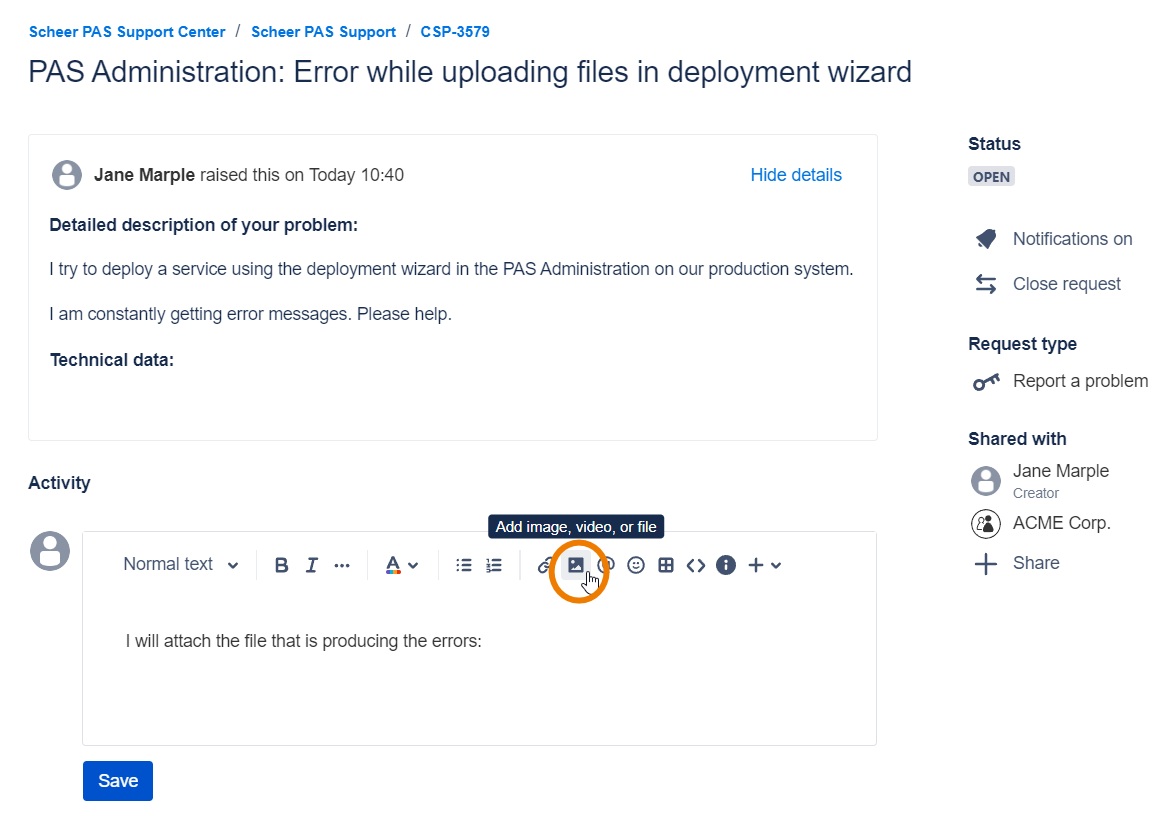
| To add attachments, use option | |
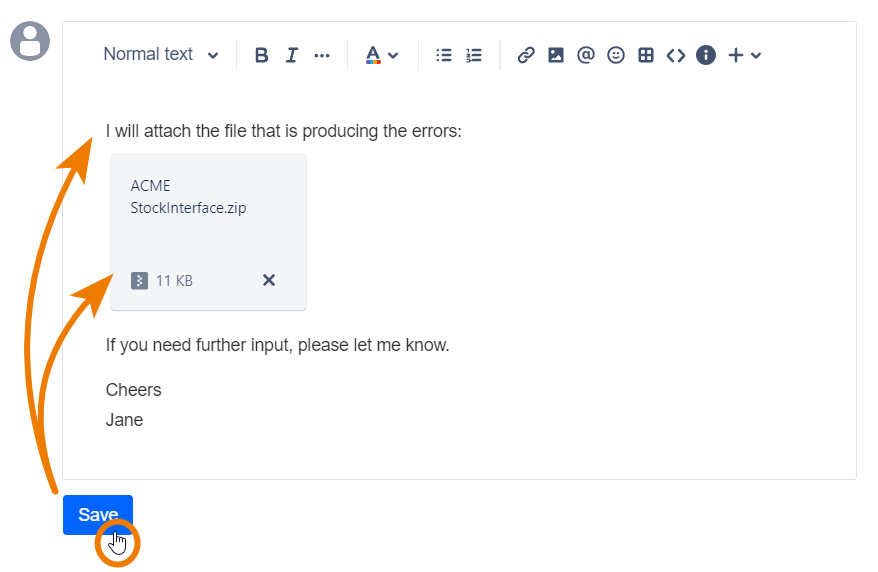
| When you have finished, click Add to save the changes in the ticket. | |
| The latest entry is always shown on top of the content list. |
| Every change of the ticket status is also displayed in the ticket content. |


| Panel | ||
|---|---|---|
| ||
|
| Panel | ||
|---|---|---|
| ||
Overview
Content Tools