Page History
With the deployment wizard, Scheer PAS provides a tool to deploy xUML services into a as Docker container and Kubernetes workload. All you need is the repository (.rep file) of the service.
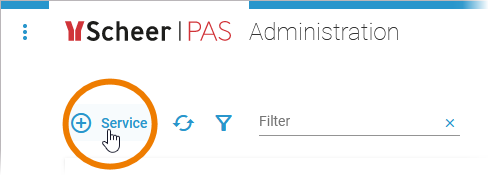
To access the deployment wizard, open the Administration.
| |||||||||
| Use icon | ||||||||
| The wizard opens in a pop-up window. As soon as you have selected the .rep file of the service, the wizard guides you through the necessary steps to create a containerized an xUML service.
|
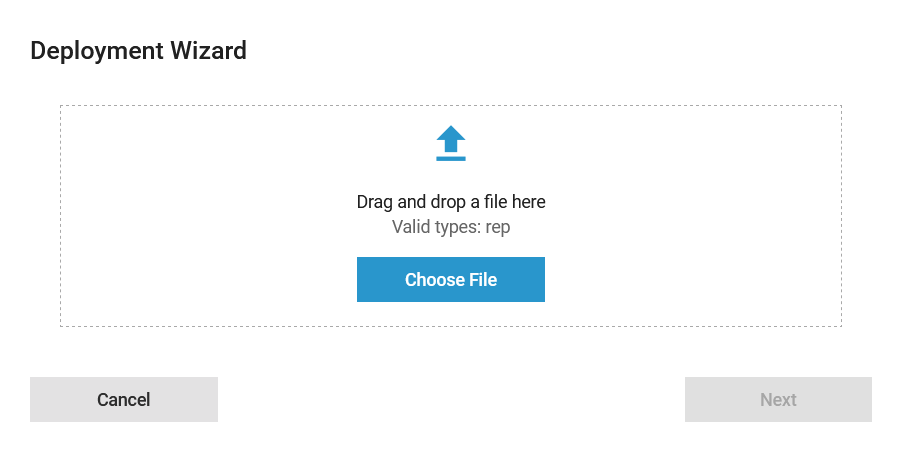
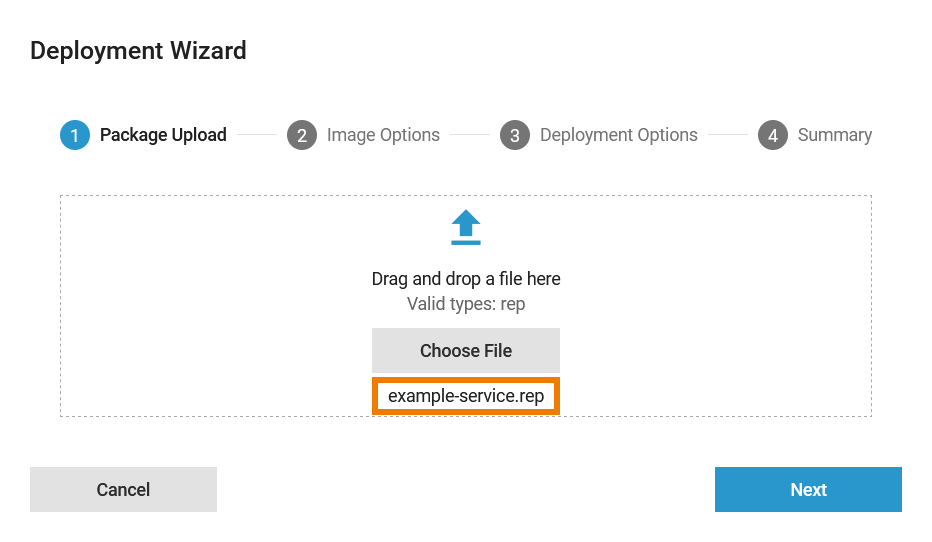
Step 1: Package Upload
| First, select the .rep file of the service you want to deploy. You can use the button Coose File to search your computer or drag and drop the file within the framed box. The name of your service is then displayed below the button. Click Next to continue. |
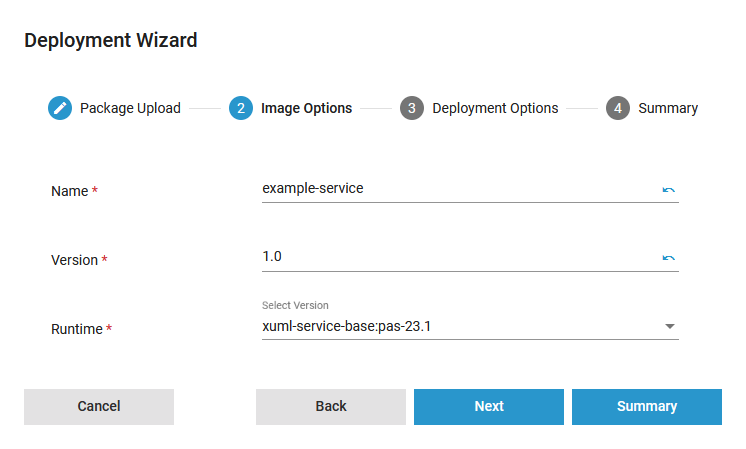
Step 2: Image Options
| Anchor | ||||
|---|---|---|---|---|
|
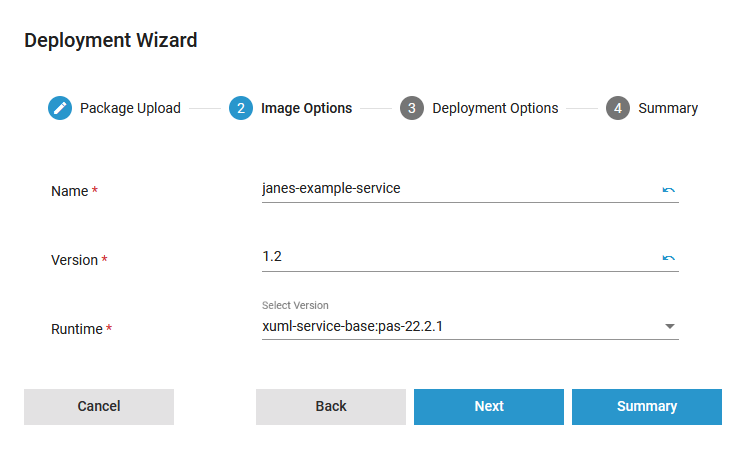
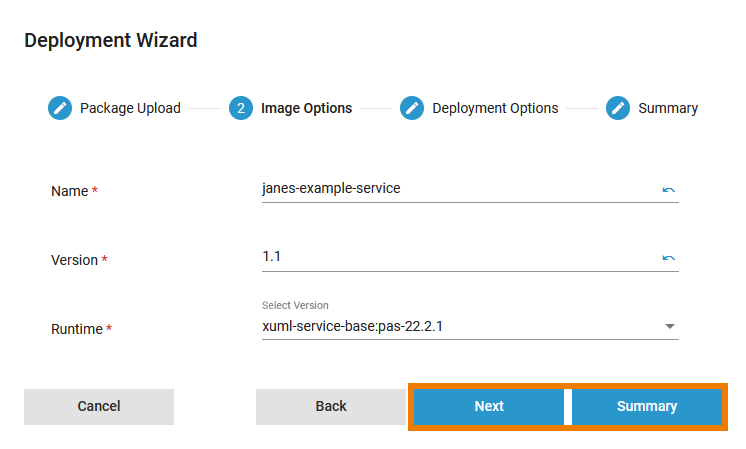
| In step 2, you can adapt the image options. All displayed fields are mandatory.
| |||||||
| The image options are:
Info |
| ||||||
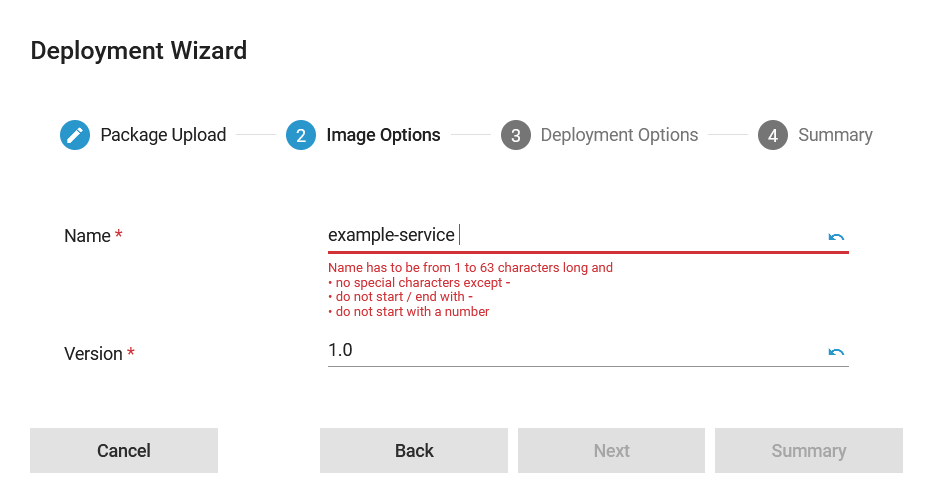
| Various input restrictions apply to field Name. If you enter invalid characters, corresponding validation notes are displayed.
| |||||||
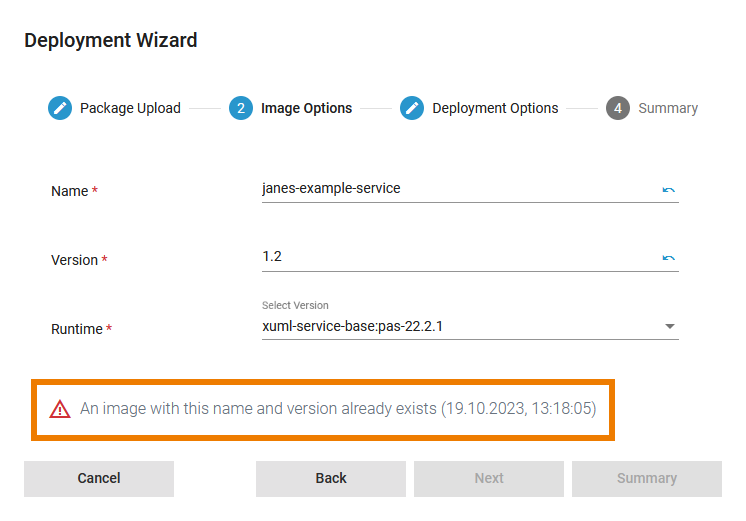
| An image must have a unique designation. You will get a warning message if an image with the same name and version already exists. In that case, you must at least change name or version of the image. | |||||||
|
|
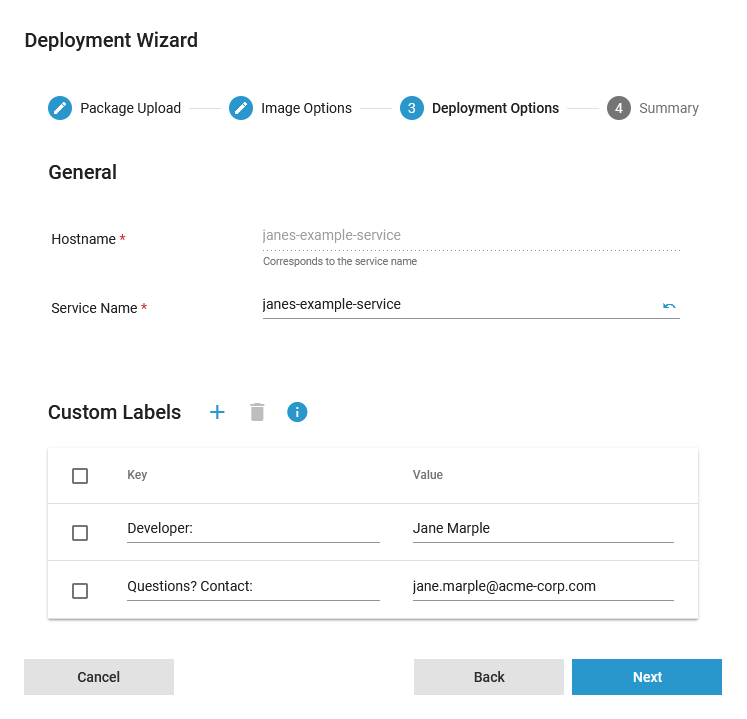
Step 3: Deployment Options
| Anchor | ||||
|---|---|---|---|---|
|
| Step 3 is optional and allows you to adapt the deployment options. It is divided into different sections: | ||||||||
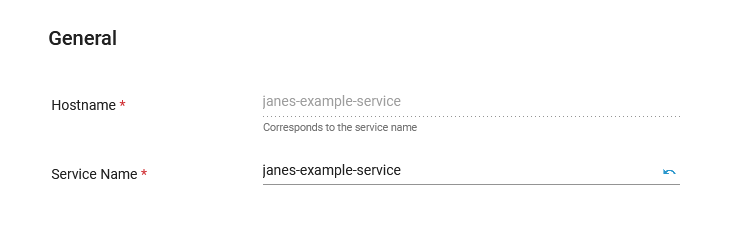
| GeneralIn thissection, you can find the following options:
| ||||||||
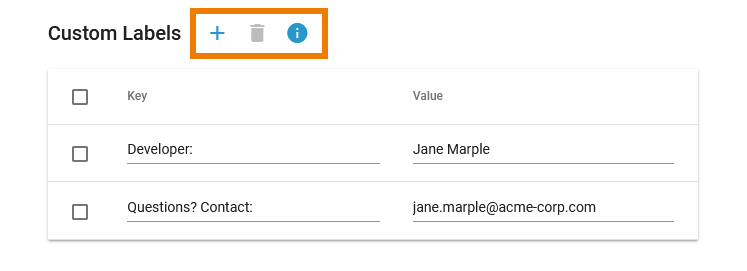
| Custom (Container) LabelsIn thissection, you can mark the service with additional short information. After deployment, the labels will be visible Use this option to add technical labels for the container. The labels are added to the container and are also displayed later in the service details.
| ||||||||
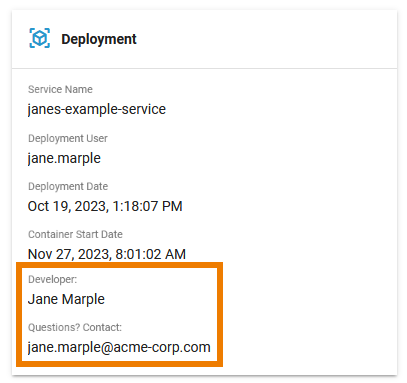
| After deployment, the labels are also visible in section Deployment in the service details. |
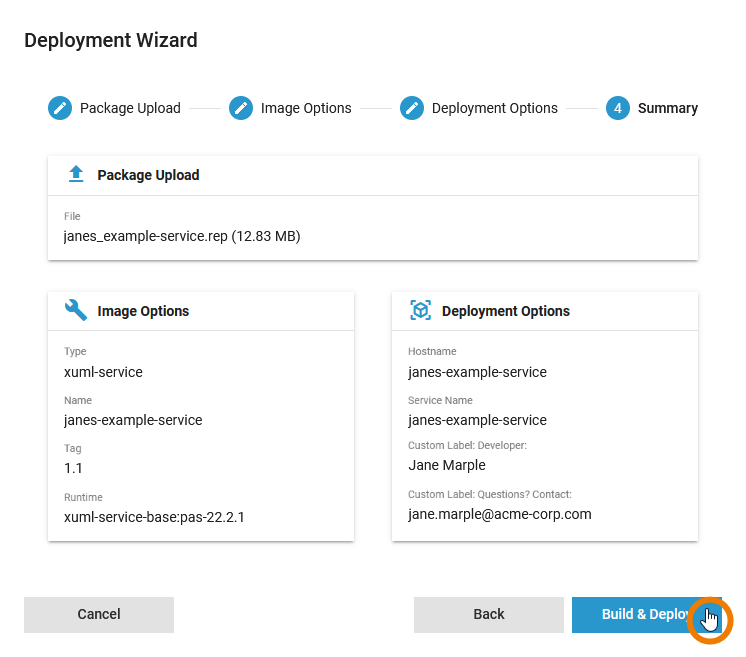
Step 4: Summary
| Anchor | ||||
|---|---|---|---|---|
|
| In the last step, you can check all deployment-related information again. Three sections are summarizing the information provided:
If you want to adapt some of your inputs, use the Back button or click on one of the steps in the navigation to access it directly. Click Build & Deploy to start the deployment process. | ||||||||
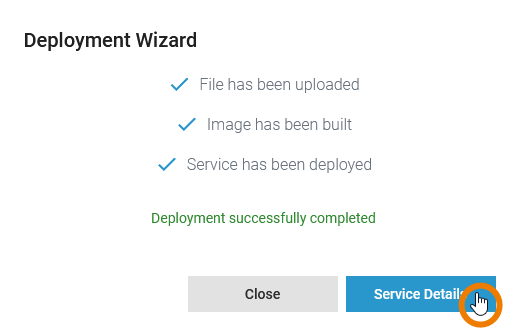
| The wizard starts the deployment and keeps you updated about the running deployment steps. This information is read-only, you cannot intervene in the process now. | ||||||||
| You can take action again when the deployment has been completed.
|

| Panel | ||
|---|---|---|
| ||
|
| Panel | ||
|---|---|---|
|
| Otp | ||||
|---|---|---|---|---|
|
Overview
Content Tools