Page History
Objects
panel locationPanel Location

| The Objects panel is by default located |
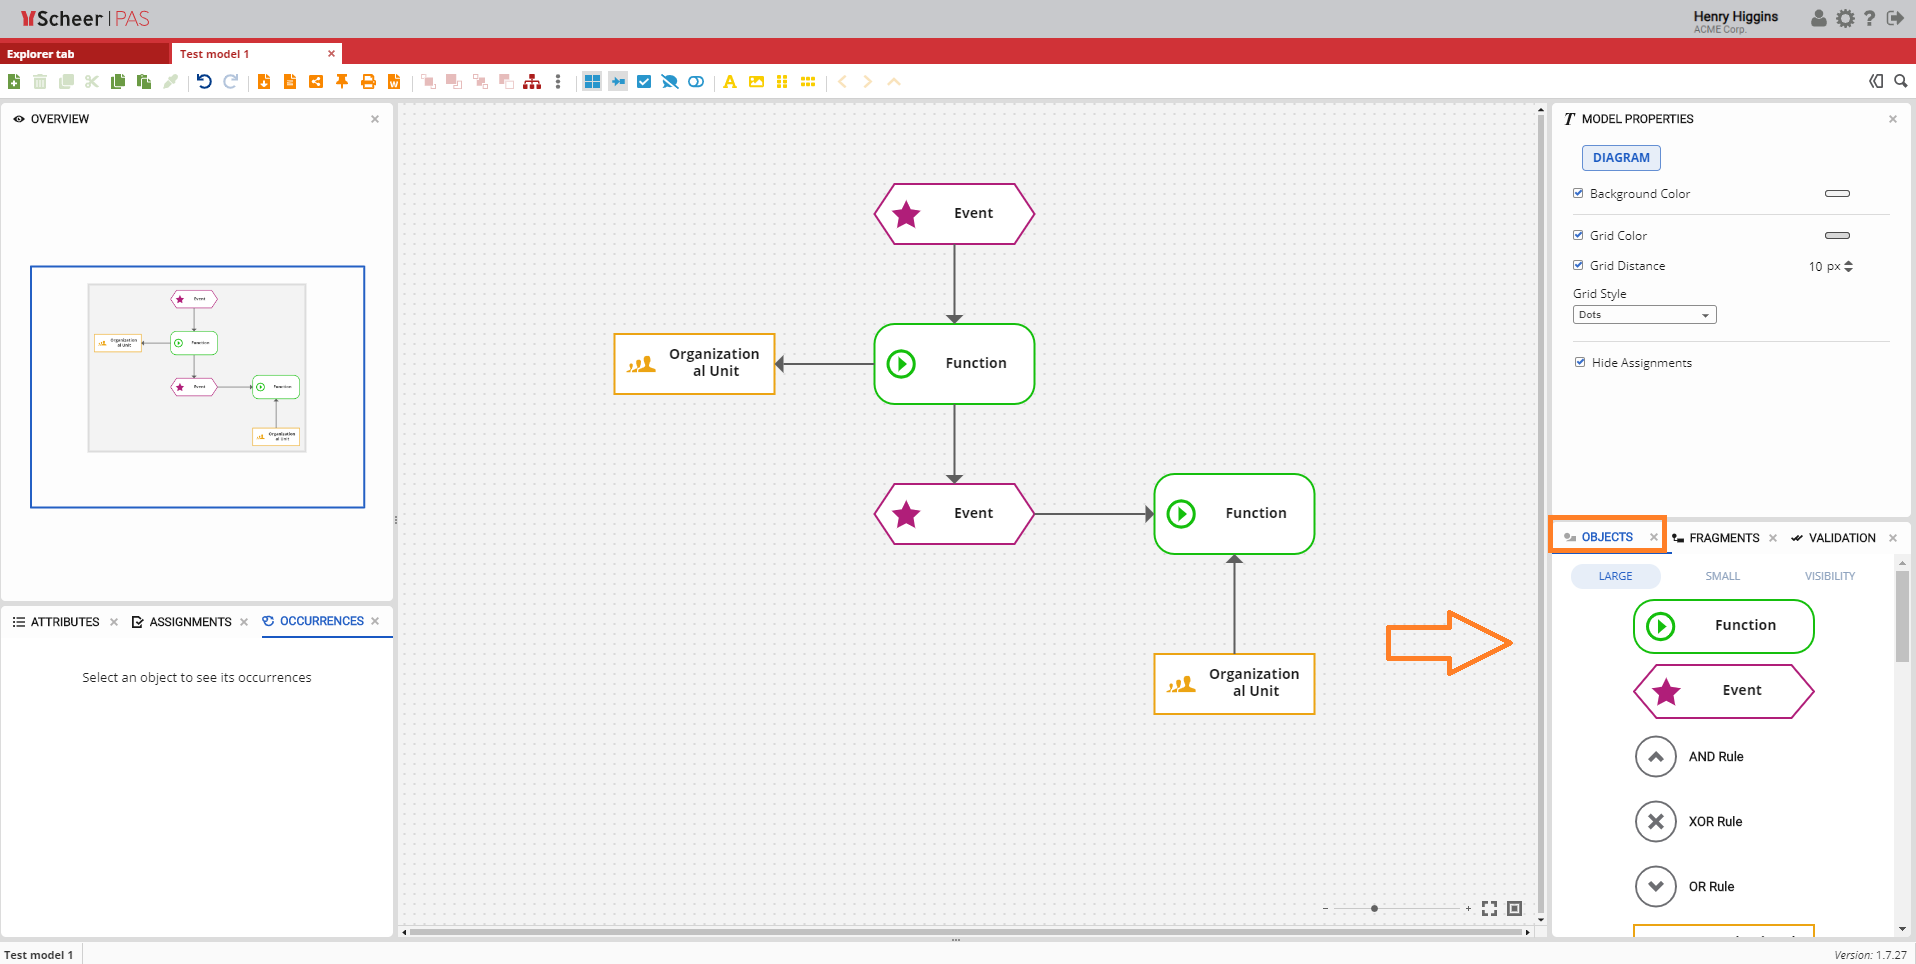
in the |
lower-right |
corner of the screen |
, along with the Fragments, Validation and Compare Model panels. This is where the objects are that you can drag & drop |
on the |
Canvas to expand the model. |
Object panel overview
Objects Panel Overview
| The Objects panel is the
The Object panel is on the same panel as Fragments and Validation, but on a different tab. It is the most often used and the most important panel. By default Within this panel there are several sections:
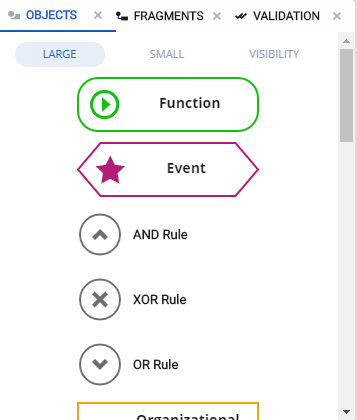
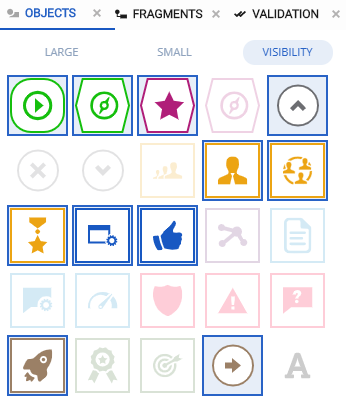
Within the Large section, you see all objects as a full size objects. This can be changed by selecting SMALL in the top menu of the panel.The Small objects option is right when , the way they look on the Canvas. | ||||||||
| If you want to see more objects | at a time. By hovering over an object you can read the type of the object, and after you drag it to the canvas it will be dropped and appear as full object.inside the Objects panel, without the need to scroll down, select the Small section. Small objects have the same symbol as the corresponding large objects. They are reduced in shape only on the panel, when pulled out on the canvas they become full size objects. | |||||||
| Within the Visibility section is a display of all objects for the current model type. You can turn on / off the visibility of certain types of objects on the Canvas by clicking on the objects inside this panel. When the object is grayed out, it is turned off and not visible on the Canvas. Any object that has the visibility turned off is invisible when you click on the Toggle surrounding objects icon located in the toolbar. | ||||||||
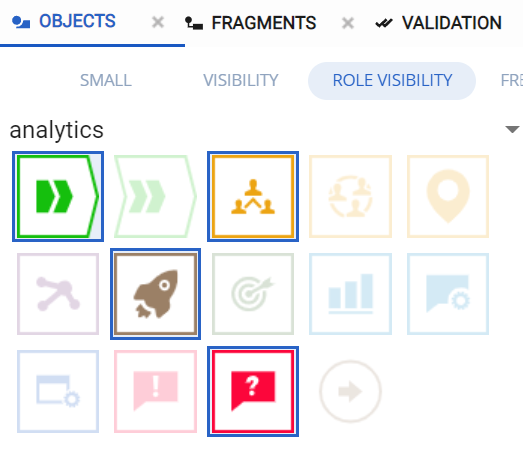
| Within the Role Visibility section is a display of all objects for the current model type. By selecting a role and clicking on the object inside this panel | You can also change the visibility of the object by selecting VISIBILITY in the top menu of the Object panel. By clicking on the object, you can turn on/off the visibility of | that object. the selected object type for the selected role. When the object is grayed out, it is turned off for the selected role and not visible on the | canvasCanvas. | Every Any object that has the role visibility for your role turned off is invisible when you click on the | button Toggle surrounding objects located Toggle role level visibility button in the toolbar | . .
| ||
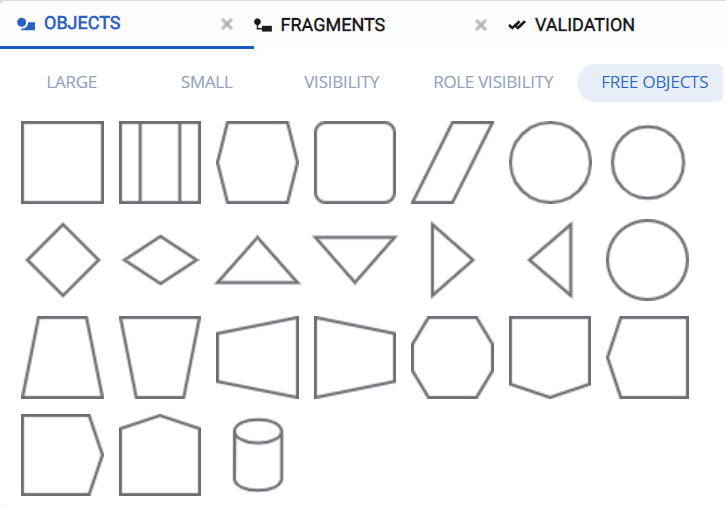
| Within the Free Objects section, there are basic object shapes from Free Model that you can customize to your needs. |


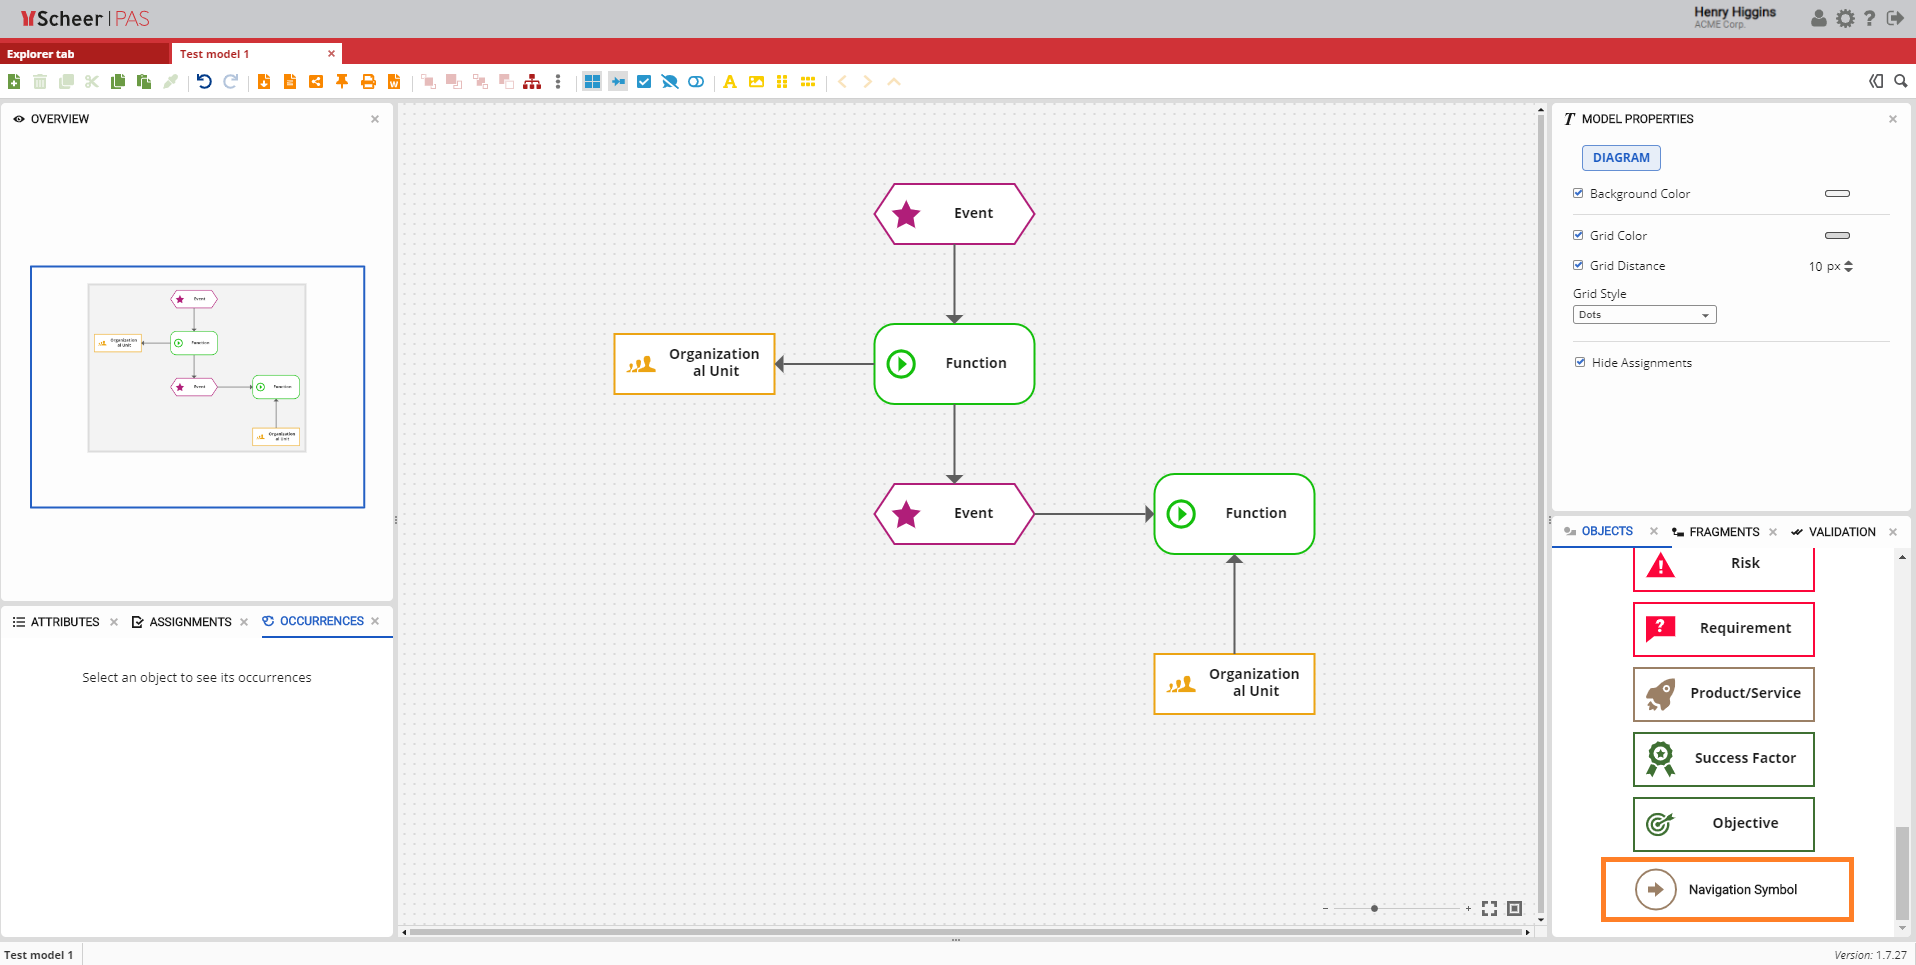

Navigation Symbol
| There is a unique object called Navigation Symbol, that is present in all of the models. With Navigation Symbol you can create an assignment/link of the current model with another model |
so that that other model will become the parent of the current model. . | |
| Drag and drop |
Navigation symbol object to |
Canvas. Click on Navigation symbol object on the Canvas and then in the Assignments panel select the option Link New Model |
or Link Existing Model |
.
Once the link of the current model to another model is created, the Up icon within the Model Toolbar will be enabled and by clicking on this icon you can navigate to the linked model |
. |
| Otp | ||
|---|---|---|
|
| Rp | ||||||
|---|---|---|---|---|---|---|
|
Overview
Content Tools