Page History
A common use case in the Designer is that multiple users want to work in a shared namespace. Namespaces are created and assigned in the Scheer PAS User Management. If you want to create a (shared) namespace, you must have permission for the user management: Only users with profile user_management_admin are able to work in the user management.
Creating a Namespace
In Scheer PAS User Management, we are using profiles to grant the users the necessary permissions for the platform components. A Designer namespace is a special profile. | |||||||||
| Namespace is the term for the memory location where the data of this profile is saved. In a profile without namespace, no data can be saved. You can not add or delete a namespace to/from an existing profile after creation. If you want to create a (shared) namespace for the Designer, open the user management menu Profiles and click Add Profile. | ||||||||
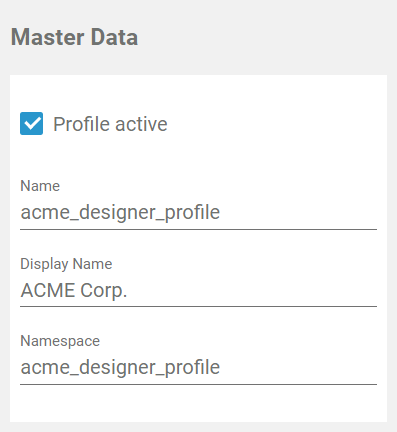
| An empty profile data sheet will open. You can now enter a Name, a Display Name and a name for the Namespace of the new profile.
Click Save to create the profile/namespace. For a detailed description see page Adding a Profile. |

Assigning Users to a Namespace
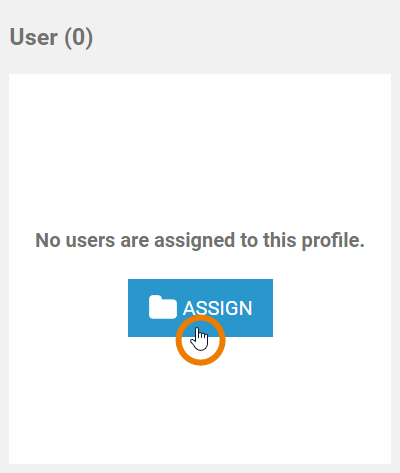
| Once a namespace has been created, you can assign it to different users. Open the profile's data sheet and scroll down to section User. No users are yet assigned to a newly created profile. Click the Assign button to open the list of available users. Select the users you want to give access to the profile. For a detailed description see Assigning Users on page Adding a Profile. | ||||||||
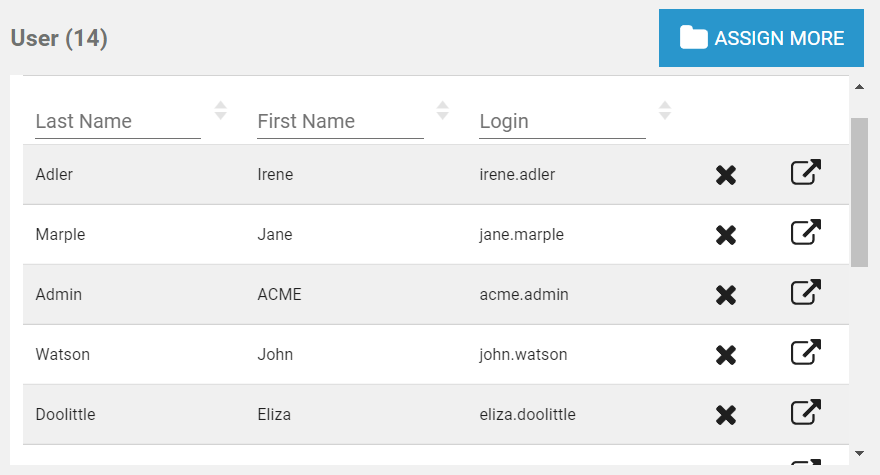
| Your selection is transferred to the User section of the profile data sheet. | ||||||||
|
| ||||||||
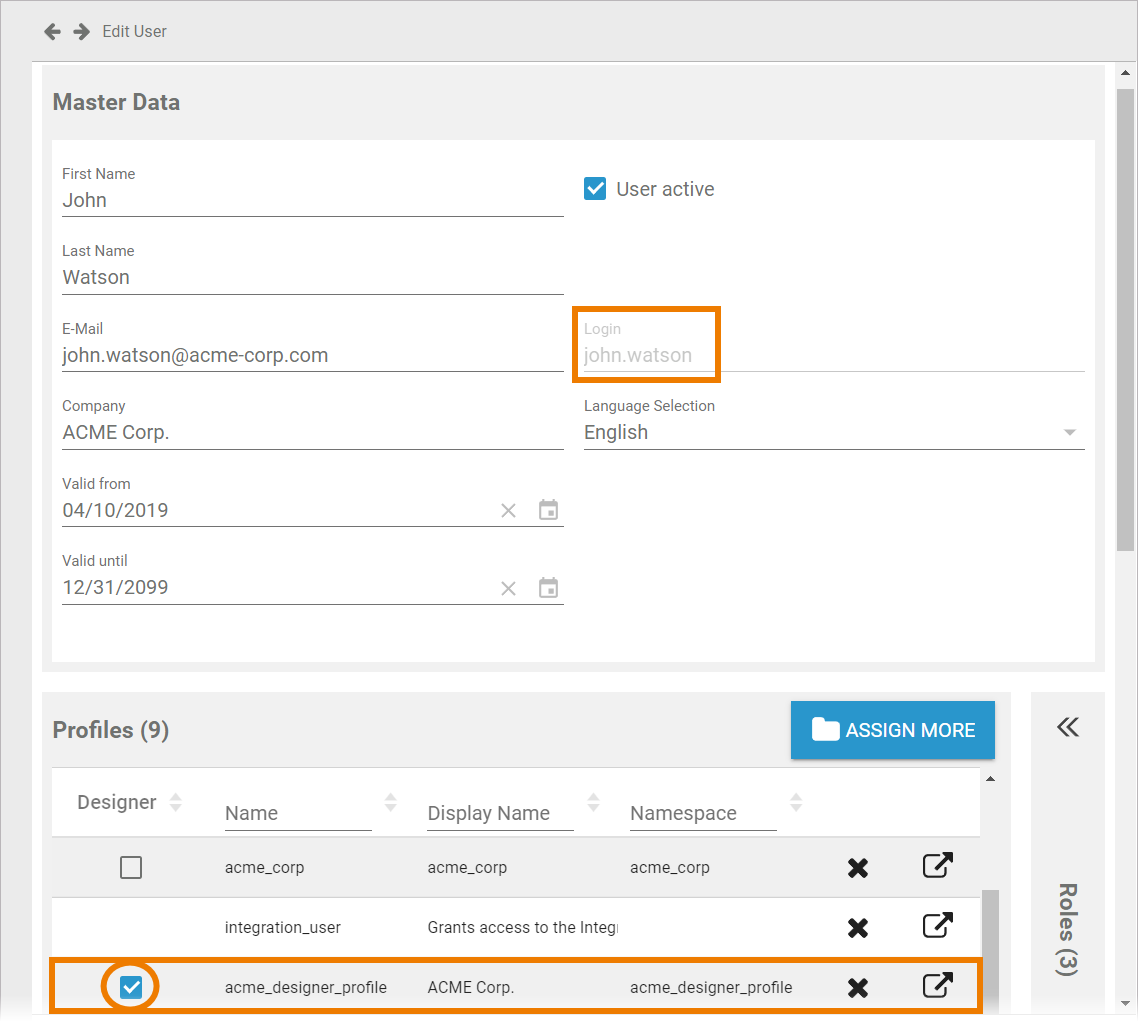
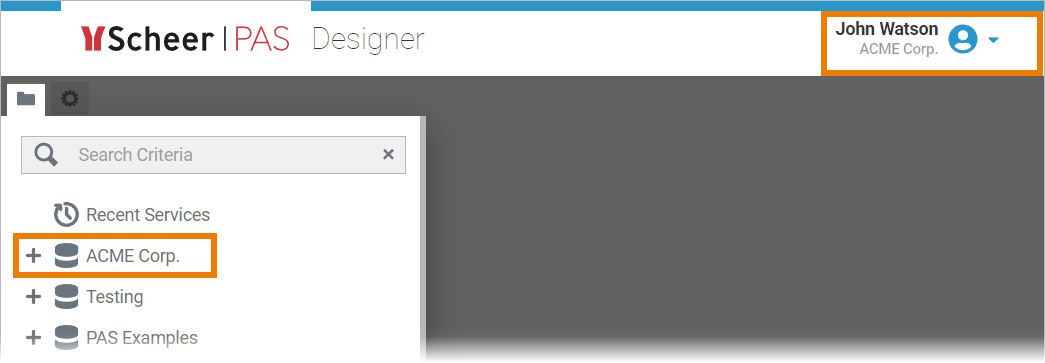
| Now all assigned users will see the namespace in the Explorer of Scheer PAS Designer.
|
| Panel | ||
|---|---|---|
| ||
|
| Panel | ||
|---|---|---|
|
| Otp | ||||
|---|---|---|---|---|
|
Overview
Content Tools