Page History
adding_a_role
| Info | ||
|---|---|---|
| ||
| Multiexcerpt | ||||||||||||||||||||
|---|---|---|---|---|---|---|---|---|---|---|---|---|---|---|---|---|---|---|---|---|
| ||||||||||||||||||||
|

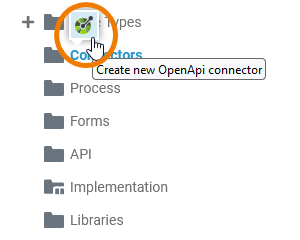
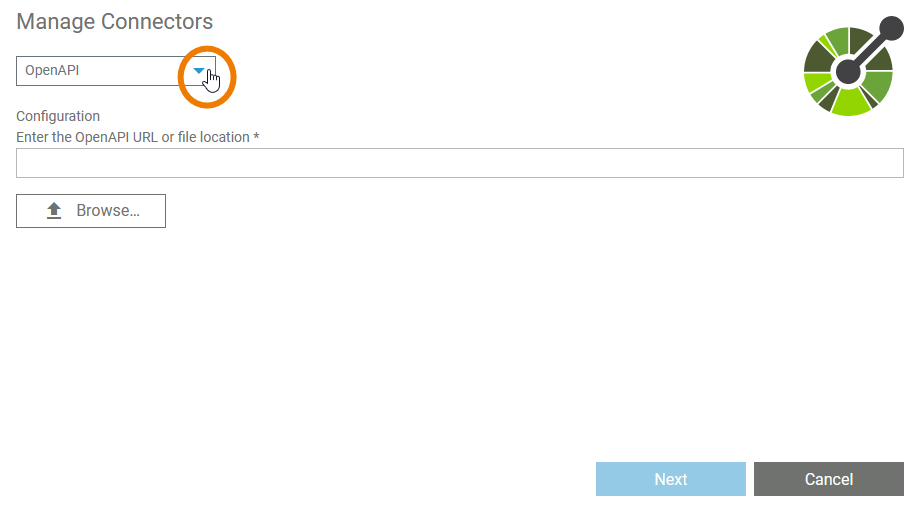
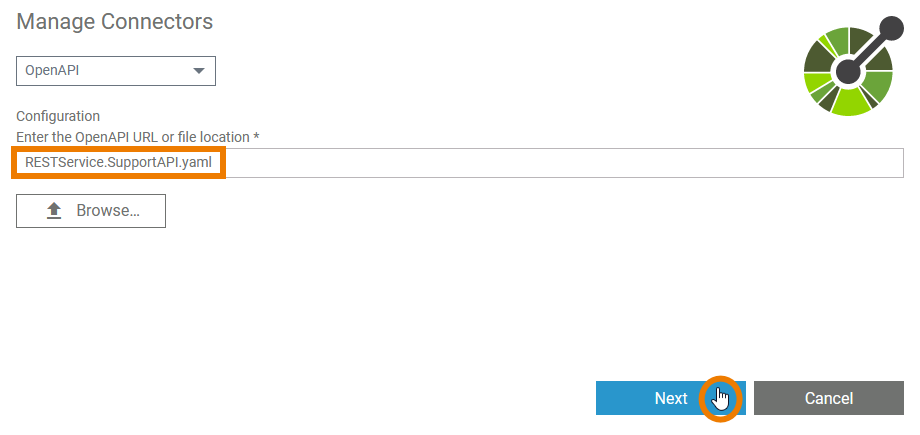
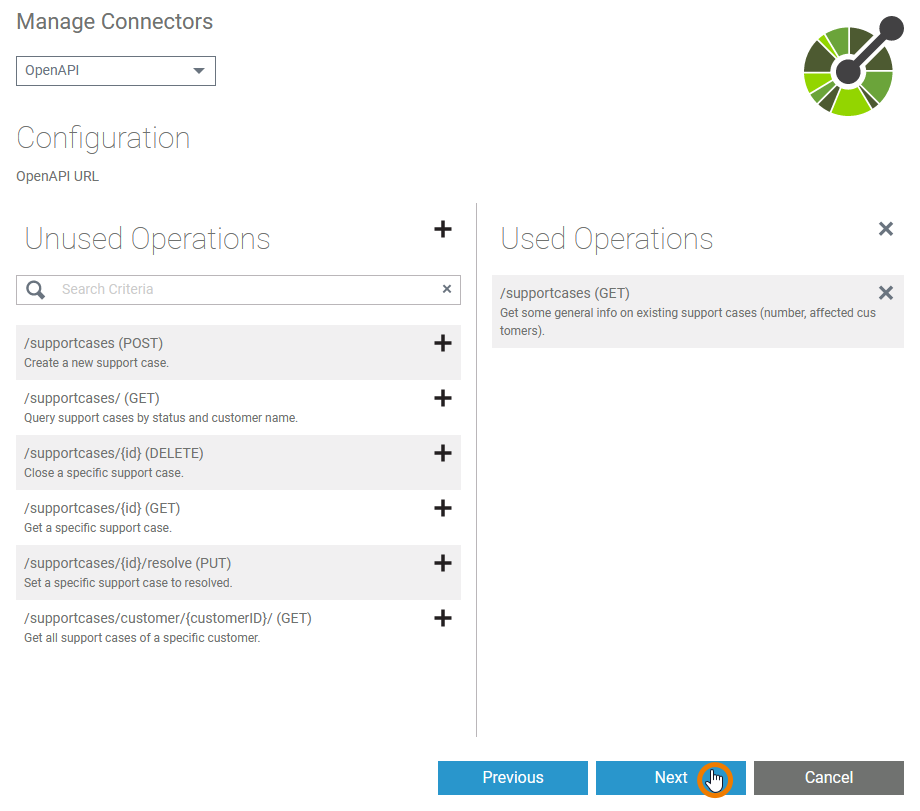
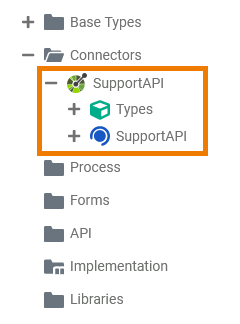
create_connector
| Info | ||
|---|---|---|
| ||
| Multiexcerpt | ||||||||||
|---|---|---|---|---|---|---|---|---|---|---|
| ||||||||||
|
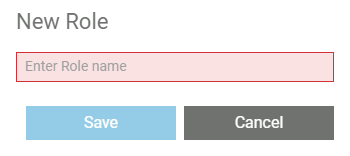
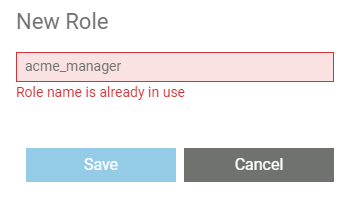
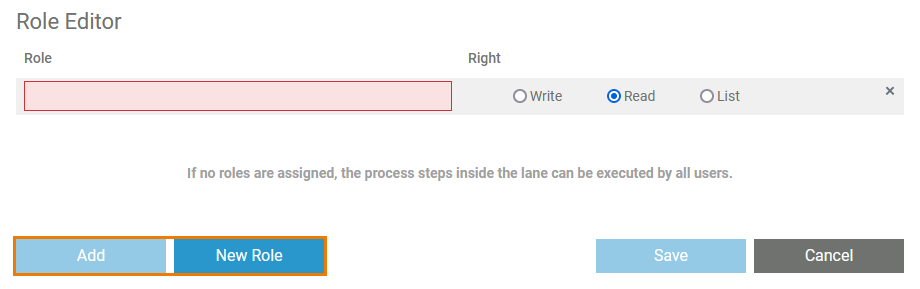
creating_a_role
| Info | ||
|---|---|---|
| ||
| Multiexcerpt | ||||||||||||||||||||||||||||
|---|---|---|---|---|---|---|---|---|---|---|---|---|---|---|---|---|---|---|---|---|---|---|---|---|---|---|---|---|
| ||||||||||||||||||||||||||||
|

cutting_and_pasting_explorer
| Info | ||
|---|---|---|
| ||
| Multiexcerpt | ||||||||
|---|---|---|---|---|---|---|---|---|
| ||||||||
|

field_config_editor
| Info | ||
|---|---|---|
| ||
| Multiexcerpt | ||||||||||||||||||||||||
|---|---|---|---|---|---|---|---|---|---|---|---|---|---|---|---|---|---|---|---|---|---|---|---|---|
| ||||||||||||||||||||||||
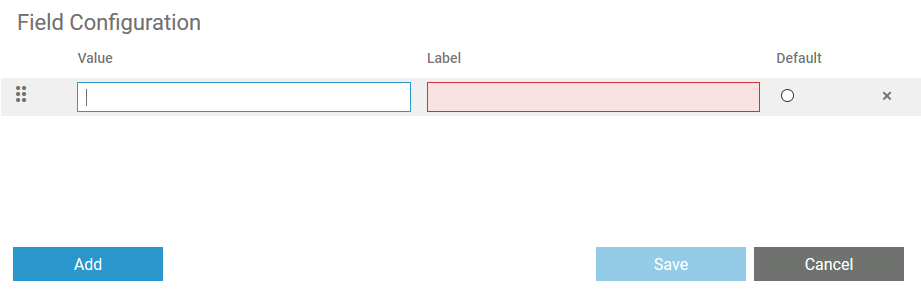
If you click icon
Use the editor to add and manage the content of your element:
| ||||||||||||||||||||||||
how_to_use_the_timer
| Info | ||
|---|---|---|
| ||
| Multiexcerpt | |||||||||||||||||||||||||||||||||||||||||||||||||||||||||||||||||||||||||||||
|---|---|---|---|---|---|---|---|---|---|---|---|---|---|---|---|---|---|---|---|---|---|---|---|---|---|---|---|---|---|---|---|---|---|---|---|---|---|---|---|---|---|---|---|---|---|---|---|---|---|---|---|---|---|---|---|---|---|---|---|---|---|---|---|---|---|---|---|---|---|---|---|---|---|---|---|---|---|
| |||||||||||||||||||||||||||||||||||||||||||||||||||||||||||||||||||||||||||||
|


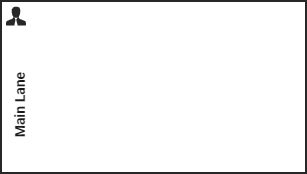
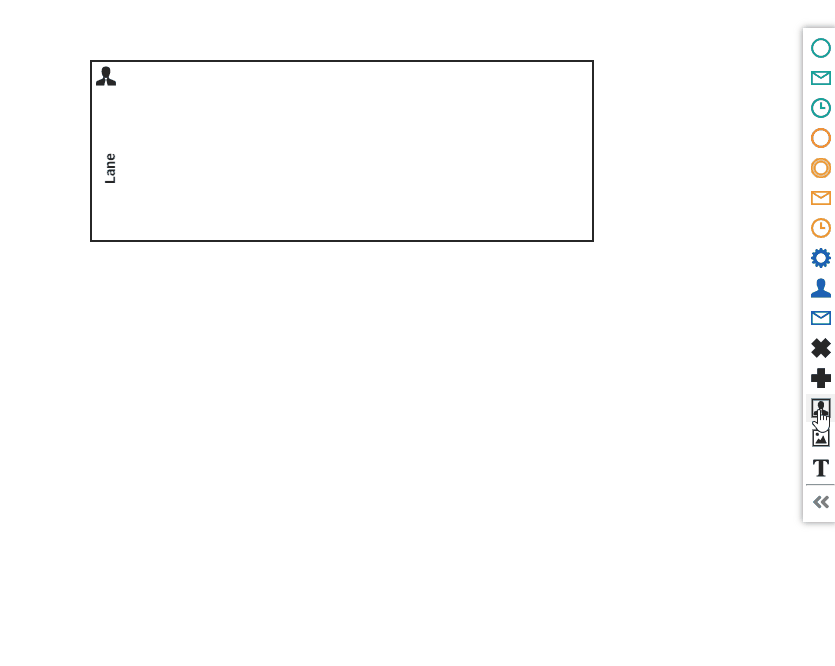
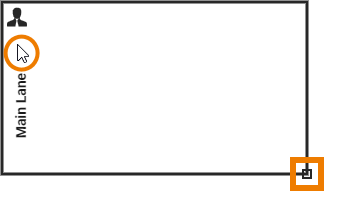
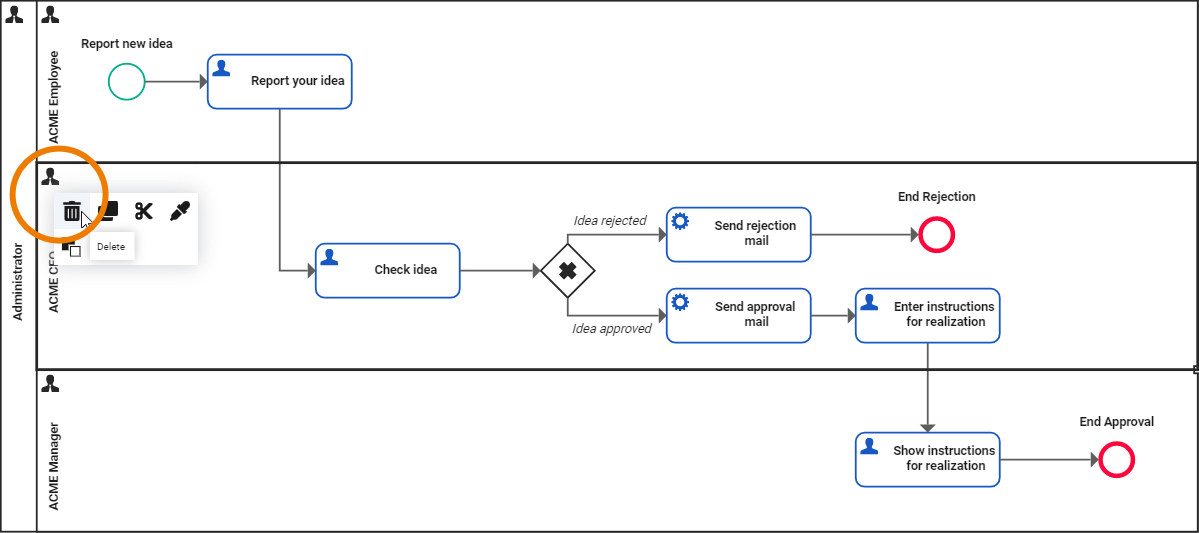
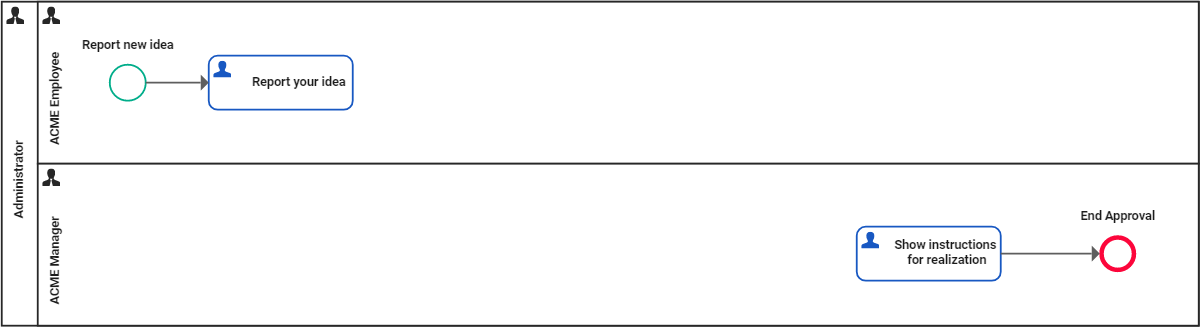
lane_handling
| Info | ||
|---|---|---|
| ||
| Multiexcerpt | |||||||||||||||||||||||
|---|---|---|---|---|---|---|---|---|---|---|---|---|---|---|---|---|---|---|---|---|---|---|---|
| |||||||||||||||||||||||
|
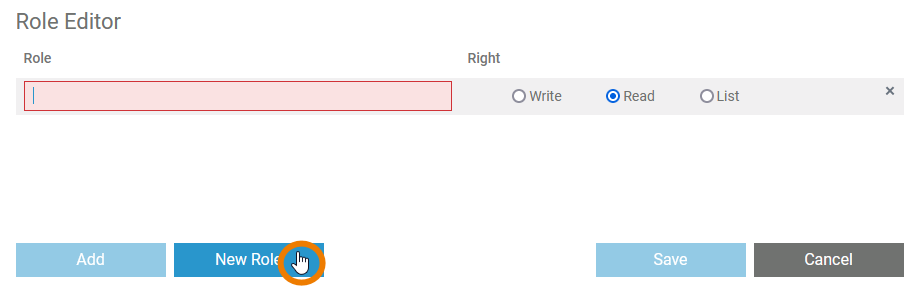
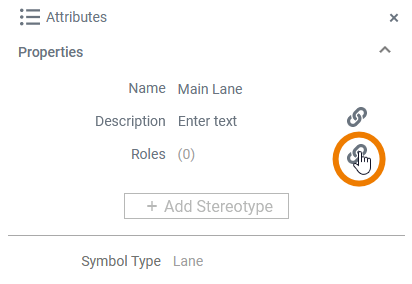
open_role_editor
| Info | ||
|---|---|---|
| ||
| Multiexcerpt | ||||
|---|---|---|---|---|
| ||||
|
| Otp | ||
|---|---|---|
|
Overview
Content Tools