Page History
Despite all precautions, it may happen that you want to recover from data loss or want to go back to an older state of a namespace. In this case, you may want to load a backup of a previous state of the namespace.
When operating with backups, please be careful and keep the following information in mind:
Backups in the administration menu are always created for an entire namespace.
Info If you want to create a backup copy of a single service, model or form use the export function in the explorer.
Restoring a backup deletes all existing data from the namespace.
Note Please note that during the restoring of a backup the content of a namespace is completely overwritten with the data from the backup.
If you upload a backup, the included data is not directly available - you need to restore it after upload.
Info See Restoring a Backup for detailed information.
Please note that you can only restore the content of an entire namespace from backup files - not single data items from within a backup.
Info If you want to create a backup copy of a single service, model or form use the export function in the explorer.
| Go to the Backup and Restore menu to create, manage and restore backups of your namespaces. Menu Backup and Restore contains two buttons:
|

Creating a Backup
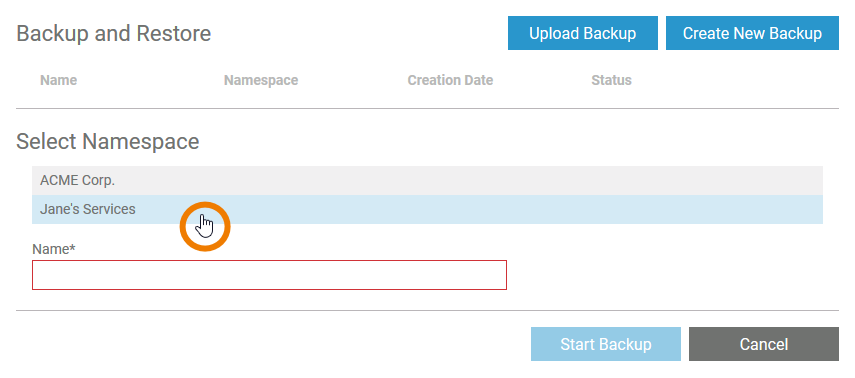
| Backups are always created for an entire namespace. Click the Create New Backup button to open section Select Namespace and select the namespace you want to back up. |
| Enter a name for your backup. As soon as field Name contains content and a namespace has been chosen, button Start Backup is enabled. Click the button to create your backup. |
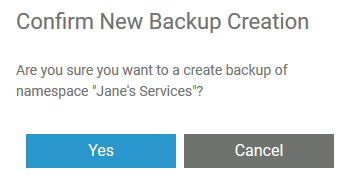
| Confirm the confirmation prompt to start the process. |
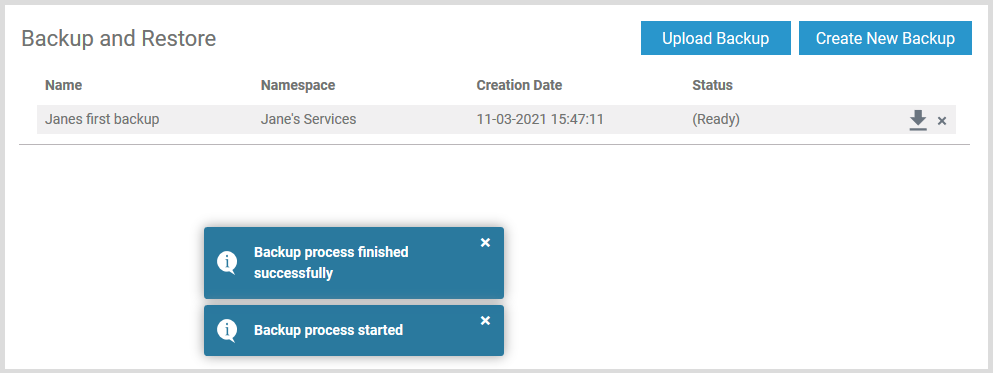
| Various notifications show the progress of the process:
|
| The backup is attached to the list of backups. |
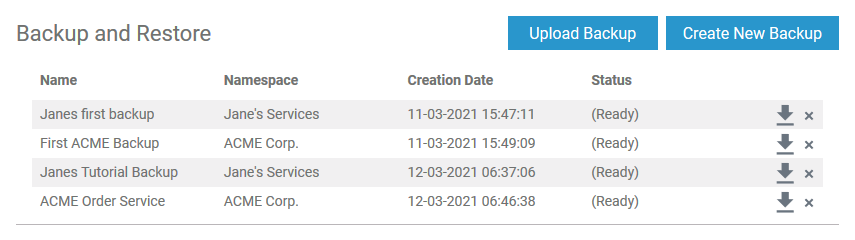
| The list is sorted by creation date and contains the following information:
|


Managing Backups
Use the backup list to manage your backups.
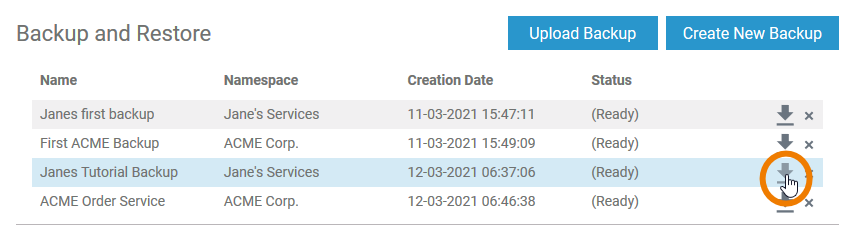
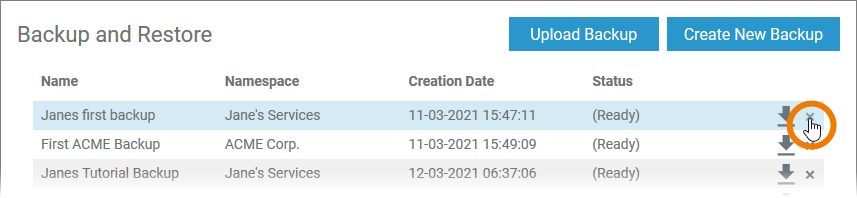
Downloading a Backup File
| Click The zip file will be downloaded to your computer.
|
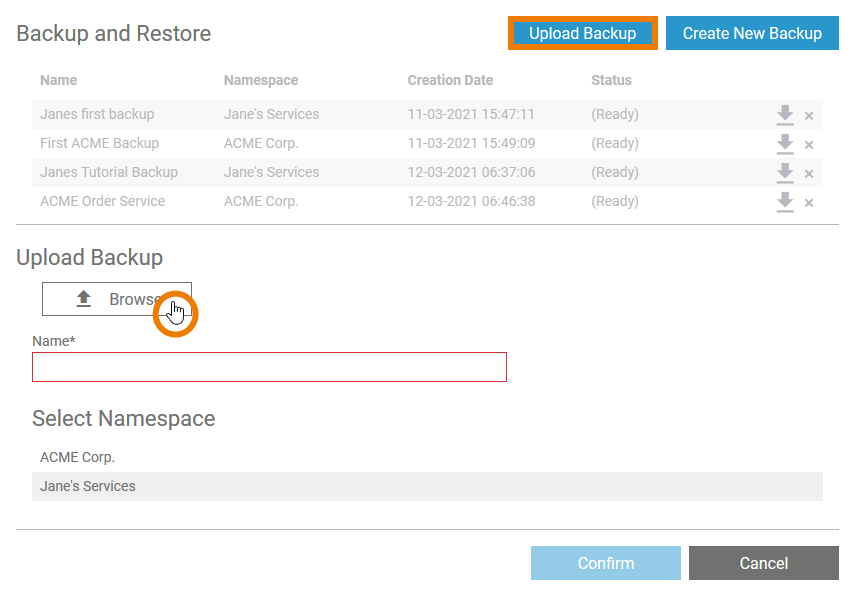
Uploding a Backup File
| If you want to upload a backup file, use button Upload Backup to open the section of the same name. Click the Browse button to select the file you want to upload. | ||||||||
|
| ||||||||
|
| ||||||||
| If you upload a backup, the included data is not directly available: You need to restore it after upload. See Restoring a Backup for details. | ||||||||
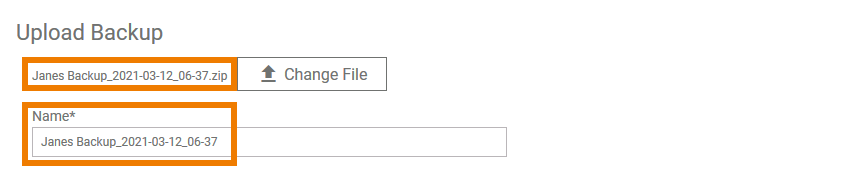
| It is possible to upload the same backup file multiple times. However, uploading the same backup multiple times will not overwrite any other backup file. The name of the file will remain the same if you don't change it and the timestamp will be different.
|

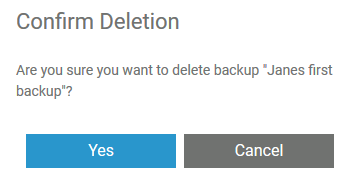
Deleting a Backup File
| To delete a backup from the list, click icon |
| You need to confirm the deletion in the pop-up window to proceed. |
Restoring a Backup
You have two possibilities to restore the content of an entire namespace:
| Note |
|---|
Restoring a backup deletes all existing data from the namespace, and overwrites them with the data from the backup. |
Restoring Backups from Earlier Designer Versions
When you use a backup file to restore its contents to a namespace, the data is first restored in the as-is state: An older version of the data structure may be used if the backup has been created in an earlier Designer version or if it was uploaded from another system. After the restore, the version of the database is checked, and any applicable migrations are run, updating the database to the newest version. However, migration is only possible when the database version needs to be increased. Restoring a newer database to a system that uses a lower application version is not supported.
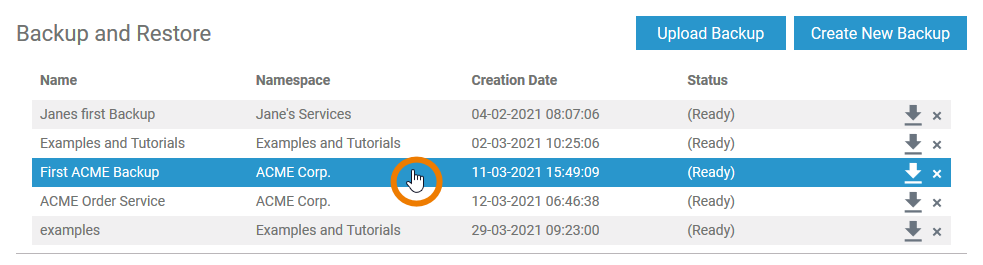
Using a Backup from the List
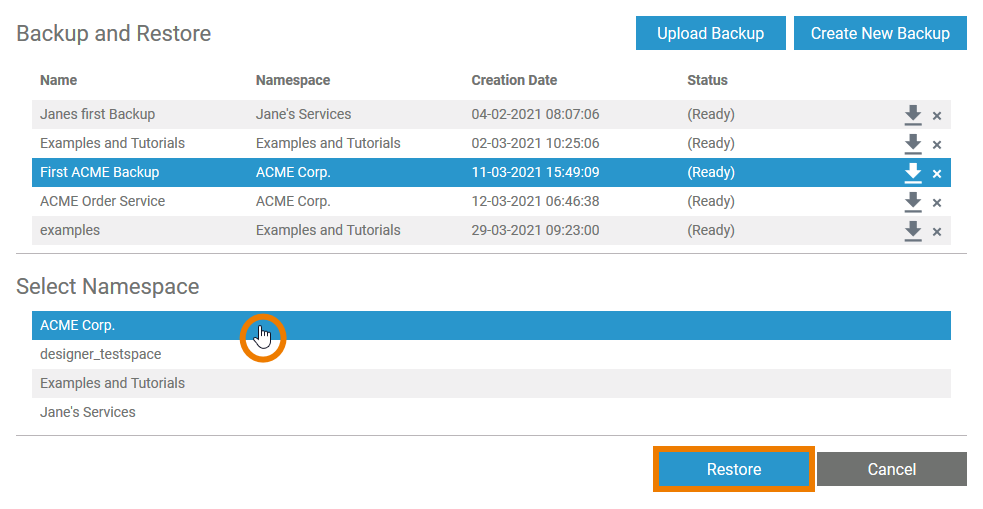
| Select the backup you want to restore with a click. |
| Section Select Namespace opens. Select the namespace you want to overwrite with the data from the backup. Button Restore is enabled. Click it to start the restoring process. |
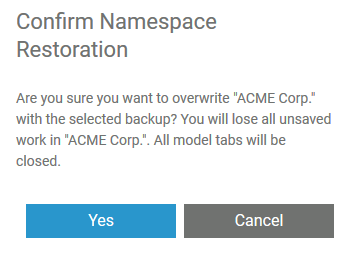
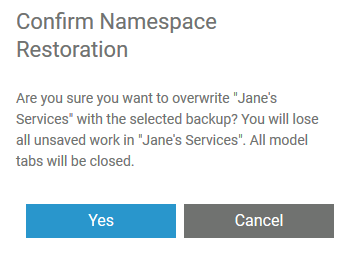
| You need to confirm the restoration in the pop-up window to proceed. |
| During the process, a corresponding toast message is displayed. |
Using a Downloaded Backup File
| If the backup is not available in the list of backups any more, you have to upload the backup file. Use the Upload Backup button to open the section of the same name. To select the file you want to upload, click the Browse button. | ||||||||
|
| ||||||||
|
| ||||||||
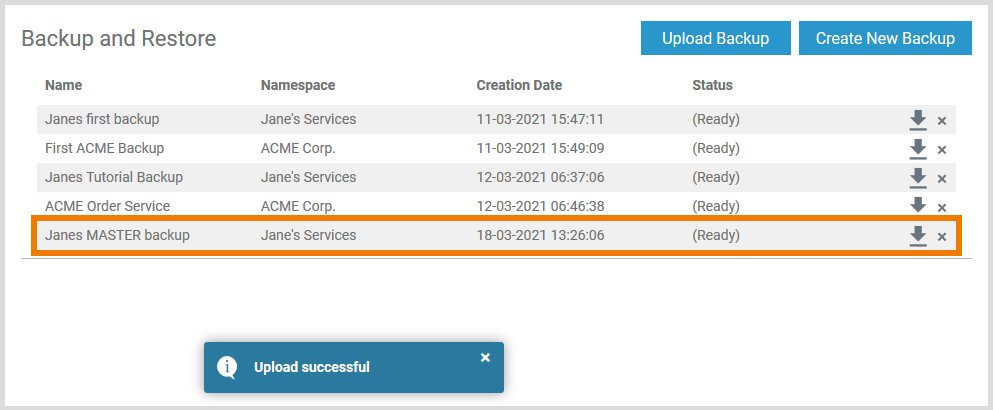
| A notification indicates a successful upload. The uploaded file is added to the list of backups under the chosen name. | ||||||||
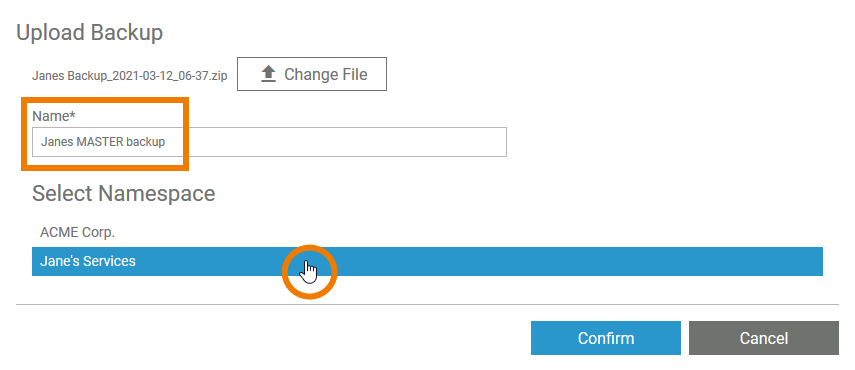
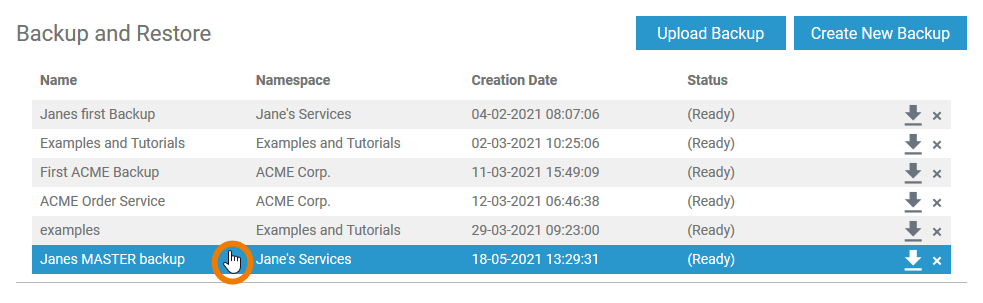
| Now you can use the uploaded backup to restore the data: First select it with a click. | ||||||||
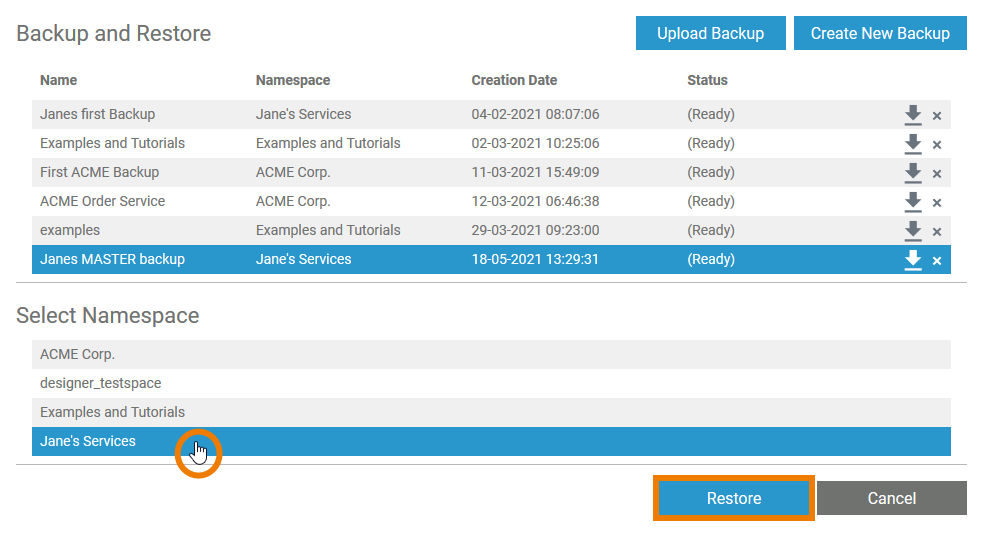
| Then, select the namespace you want to overwrite with the backup data. Button Restore is enabled. Click it to start the restoring process. | ||||||||
| You need to confirm the restoration in the pop-up window to proceed. | ||||||||
| During the process, a corresponding toast message is displayed. |
| Otp | ||||
|---|---|---|---|---|
|
| Rp |
|---|
| Rde |
|---|
Overview
Content Tools