Page History
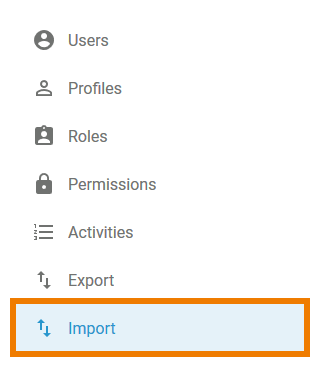
Using Menu "Import"
| You can import the following |
elements and their properties:
Use menu Import to import data into your PAS user management. | |
| Menu Import consists of two sections: |
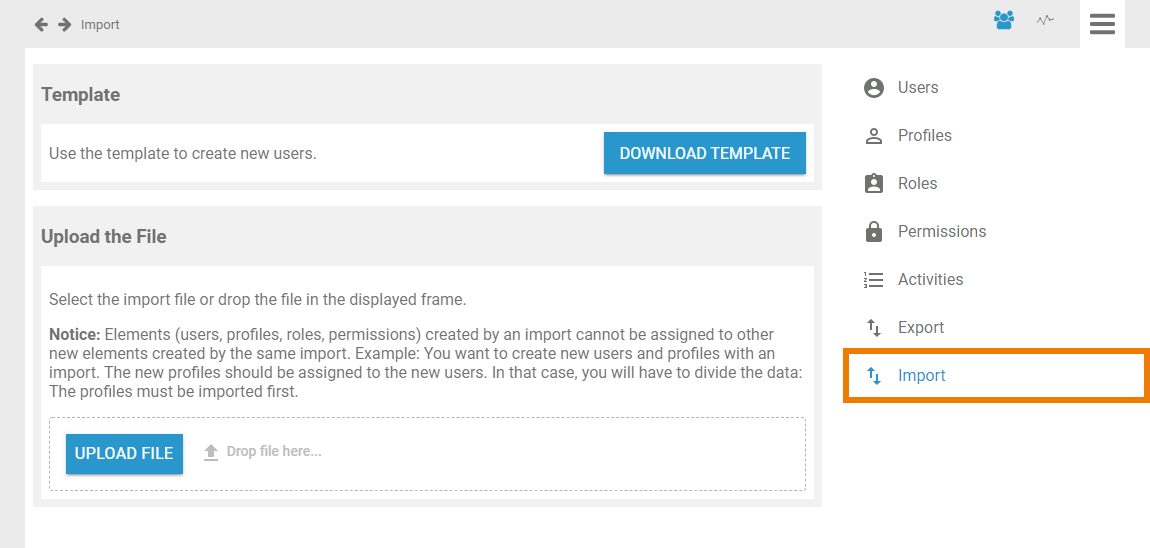
Using the Template
Template
| The structure of the import file must correspond to the objects and their properties in the |
user management. Only correctly structured files can be imported. Therefore, we recommend to use the template provided in section Template. |
The Excel file is properly formatted and contains all necessary columns. Use button Download Template to save the file to your computer |
. |
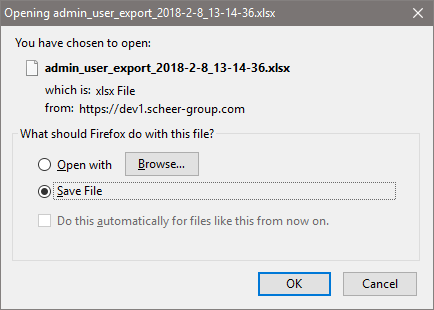
| Confirm the download in the pop-up window to open or save the template |
| . |
Overview of the Template's Content
|
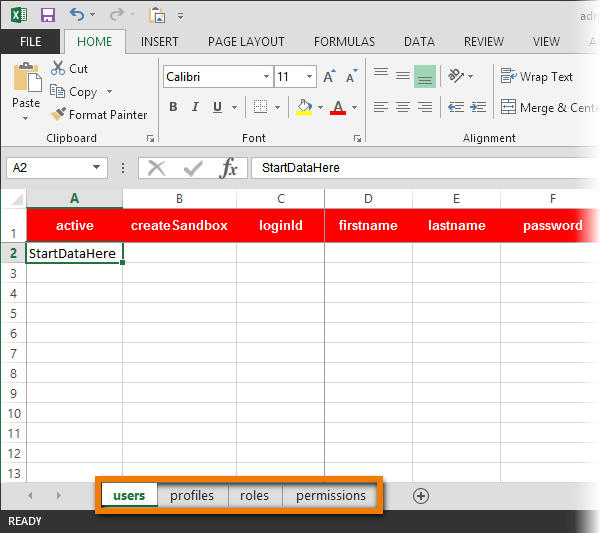
For every uploadable element you can find a separate tab in the Excel template |
: Every tab contains the preconfigured columns needed for the properties of this specific element. Mandatory fields are marked red |
. |
| Note | ||
|---|---|---|
Import of Profiles or Roles If you want to import profiles or roles, please note that you need to use the profile/role ID. The ID has to be inserted in the import file with double quotes:
Import of Boolean Values The fields active and create Sandbox must contain boolean values. Please :
|
User Properties
| With the help of the template, you can create new users including master data and additional data. Open tab users in the Excel file to insert user data |
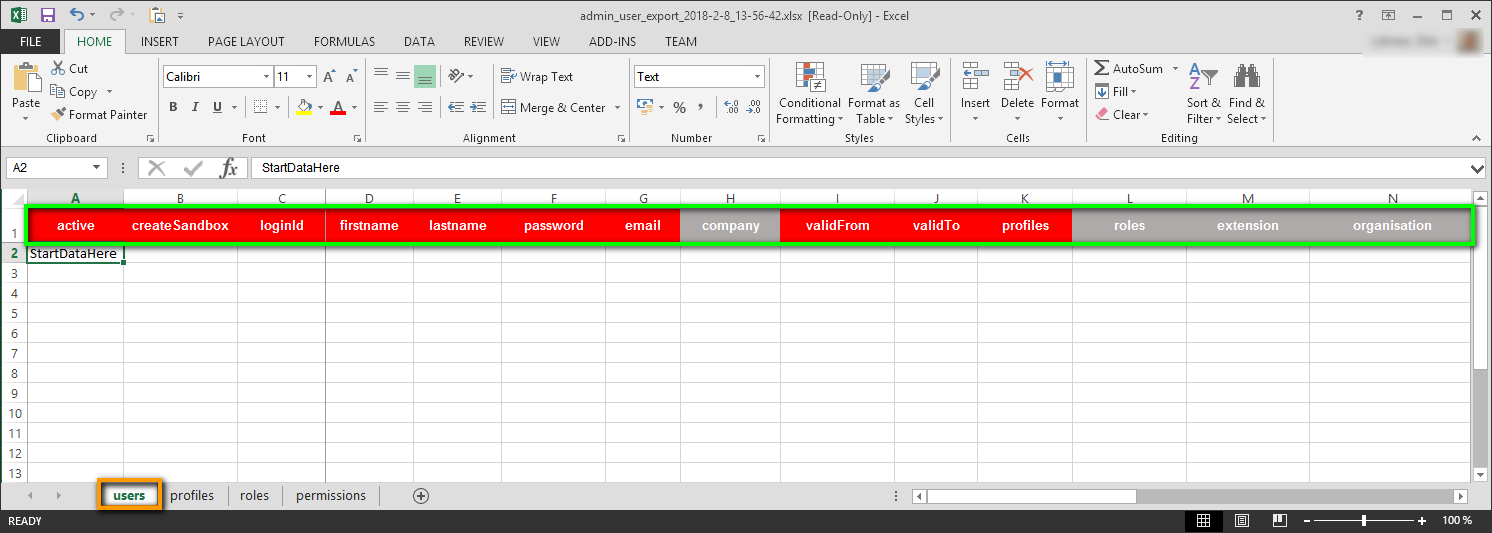
. |
The following table is searchable and shows all user properties that can be specified in the template file. You can search the table by:
- Technical Name: Name of the column in the template
- User Property: Name of the field in the user data sheet
| Table Filter | ||||||||||||||||||||||||||||||||||||||||||||||||||||||||||||||||||||||||||||||||||||||||||||
|---|---|---|---|---|---|---|---|---|---|---|---|---|---|---|---|---|---|---|---|---|---|---|---|---|---|---|---|---|---|---|---|---|---|---|---|---|---|---|---|---|---|---|---|---|---|---|---|---|---|---|---|---|---|---|---|---|---|---|---|---|---|---|---|---|---|---|---|---|---|---|---|---|---|---|---|---|---|---|---|---|---|---|---|---|---|---|---|---|---|---|---|---|
| ||||||||||||||||||||||||||||||||||||||||||||||||||||||||||||||||||||||||||||||||||||||||||||
|
Profile Properties
| Create new or update existing profiles by inserting their properties into the import file. To be able to do so, open tab profiles in the template file |
. |

The following profile properties can be imported:
| Technical Name | Profile Property | Mandatory | Where to be found? |
|---|---|---|---|
| active | Profile active | Menu "Profiles": Master Data | |
| name | Name | Menu "Profiles": Master Data | |
| namespace | Namespace | Menu "Profiles": Master Data | |
| description | Display Name | Menu "Profiles": Master Data | |
| permissons | Permissions | Menu "Profiles": Permissions |
Role Properties
| The properties of roles can be found in tab roles of the Excel template |
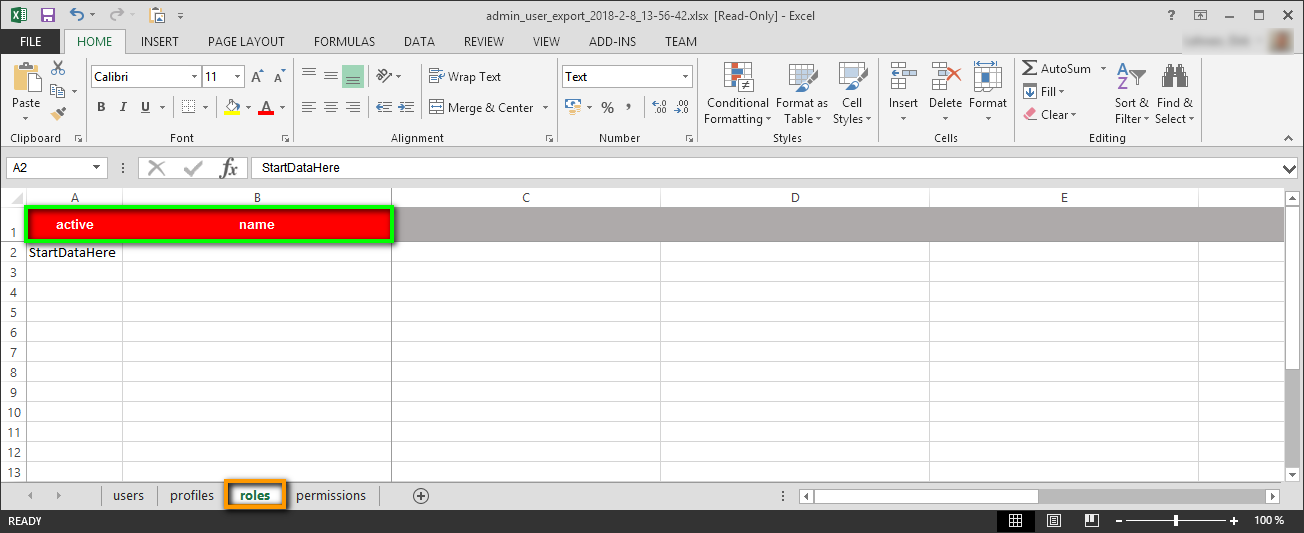
| . |
You can insert the following roles properties in the import template:
| Technical Name | Role Property | Mandatory | Where to be found? |
|---|---|---|---|
| active | Role active | Menu "Roles": Master Data | |
| name | Name | Menu "Roles": Master Data |
Permission Properties
| Open tab permissions in the template to insert the properties of permissions |
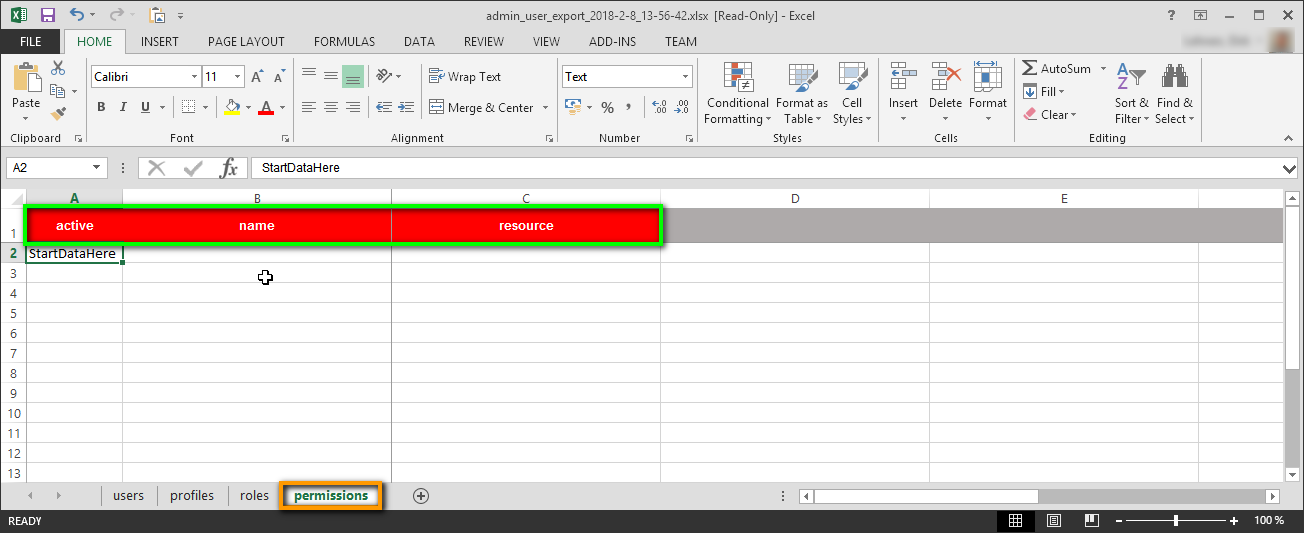
| . |
The following properties can be imported for permissions:
| Technical Name | Permission Property | Mandatory | Where to be found? |
|---|---|---|---|
| active | Permission active | Menu "Permissions": Master Data | |
| name | Name | Menu "Permissions": Master Data | |
| resource | Permission | Menu "Permissions": Permission |
Importing Data
| Go to section Upload the File when you have inserted all data into the Excel template |
| . |
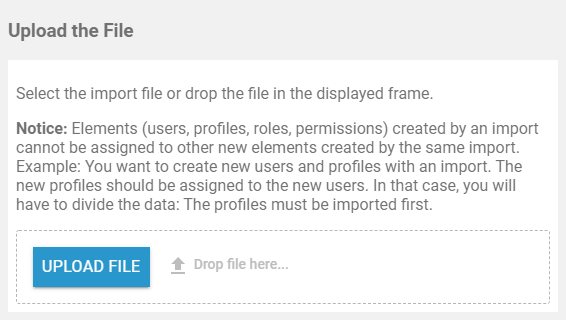
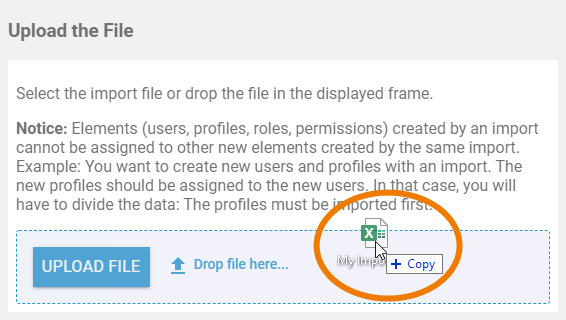
| You have two options to upload the import file:
|
|
| ||
| As soon as an import file has been uploaded, the content of the file will be analyzed. In section Result of the Analysis, an overview will appear, showing the following information for all four elements:
|

Click Start Import, to import your file. If you want to stop the operation and cancel the import, click Reset. |
| Otp | ||||
|---|---|---|---|---|
|
| Rp |
|---|
Overview
Content Tools