Creating a Plan
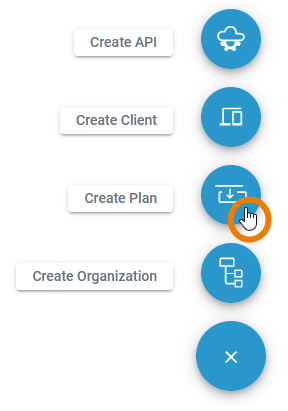
No matter where you are in the API Management, the Create button is always displayed at the bottom right and opens the creation menu.
Click Create Plan to add a new plan:
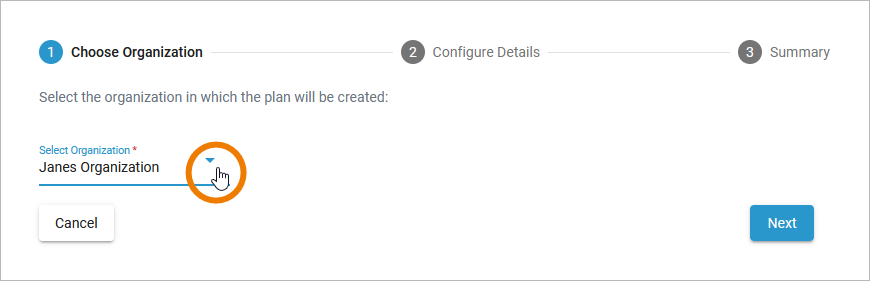
First, you need to select the organization in which the plan should reside:
Since plans can only be managed within an organization, you can also create a new plan from the empty Plans tab of an organization details page. Simply use the link Click here to create a new plan:
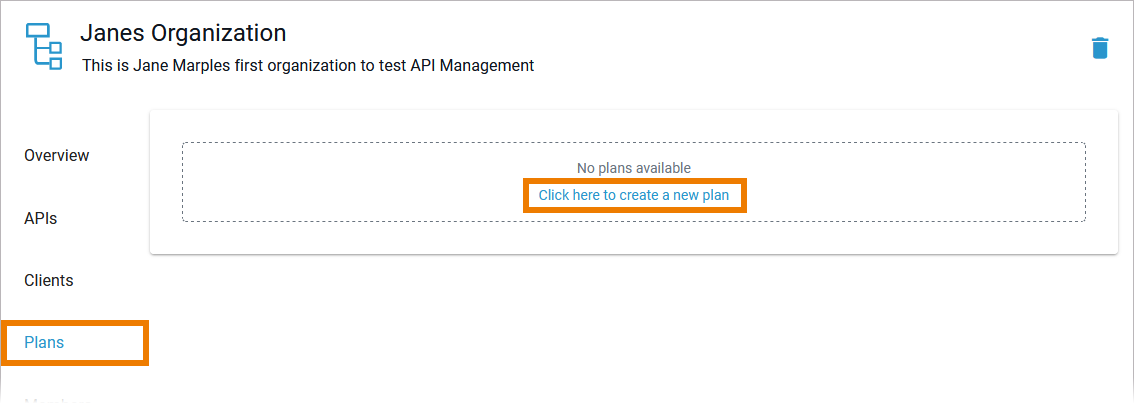
In that case, the organization is already set in the wizard.
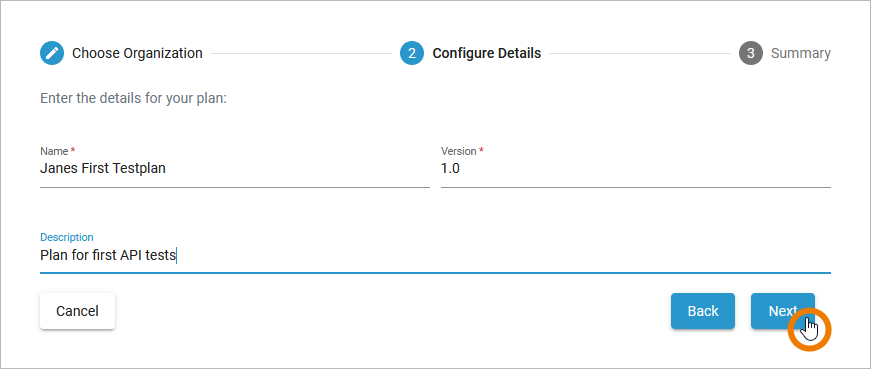
In the next step, you need to enter the following mandatory settings:
Name: Enter a name. The name is not changeable after creation.
Version: Enter a version number or name.
You can enter numbers and text in field Version. Refer to The Concepts of API Management for detailed information.
You can then enter a description. The description is optional and can also be entered or changed later on the details page. Click Next to continue:
In the next step you can check your entries again. The summary is read-only.
Click Create Plan to finish.
Click Back if you want to revise your settings.
Click Cancel to abort the whole creation process.

After a successful creation, you will be taken to the plan details page:
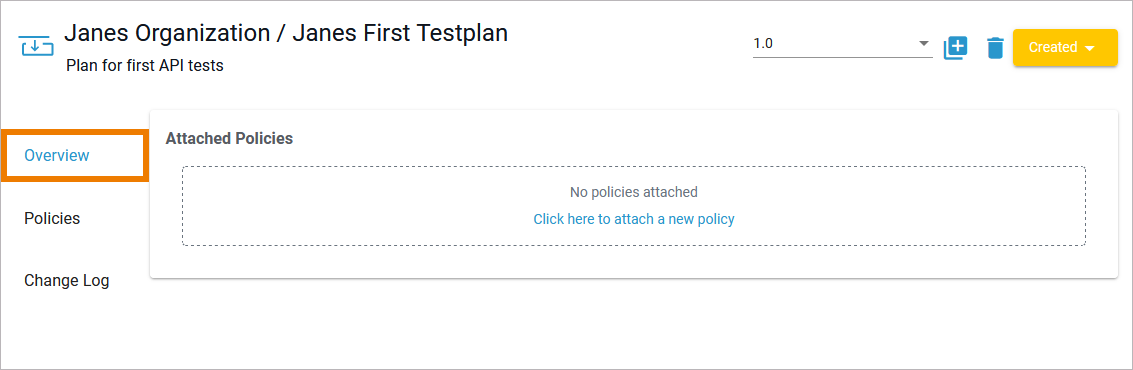
For detailed information about all plan details, refer to Plan Settings.
Related Pages: