Step 3: Differences in Testing
Testing the Service
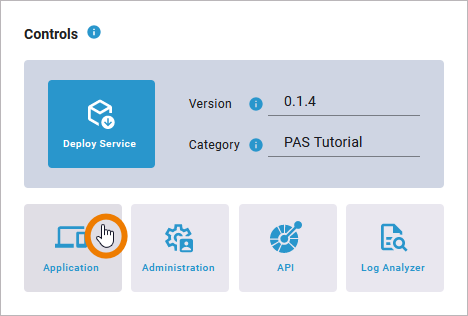
After a successful deployment, the deployed service is accessible via the deployment Controls section. Click Application to open your app:
The handling of the deployed service is the same as that of the test service:
You can create new instances and execute the process.
You can access the instance overview.
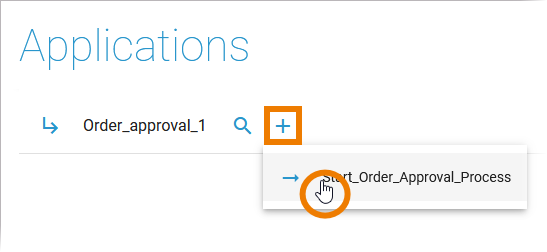
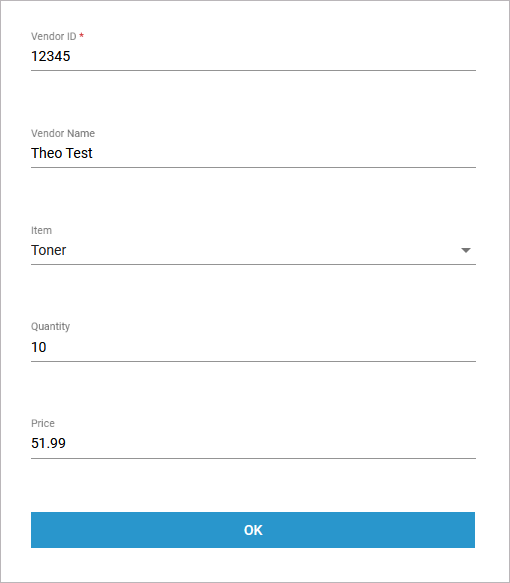
Create a test instance to verify that the UI looks the same as in your previous test:
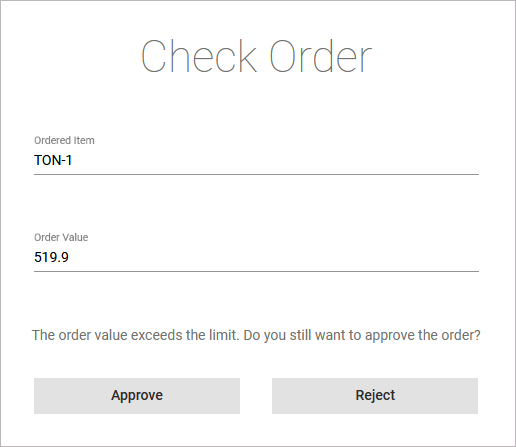
Check if the new order limit of 500 is applied:
Test Service vs. Deployed Service
The difference between a test service and a deployed service is: Even if the developer changes the test service, the deployed service is a stable version and not affected by changes in the test environment. Refer to Developing with Designer from Version 23.1 for a more detailed presentation of the development process with Scheer PAS Designer.
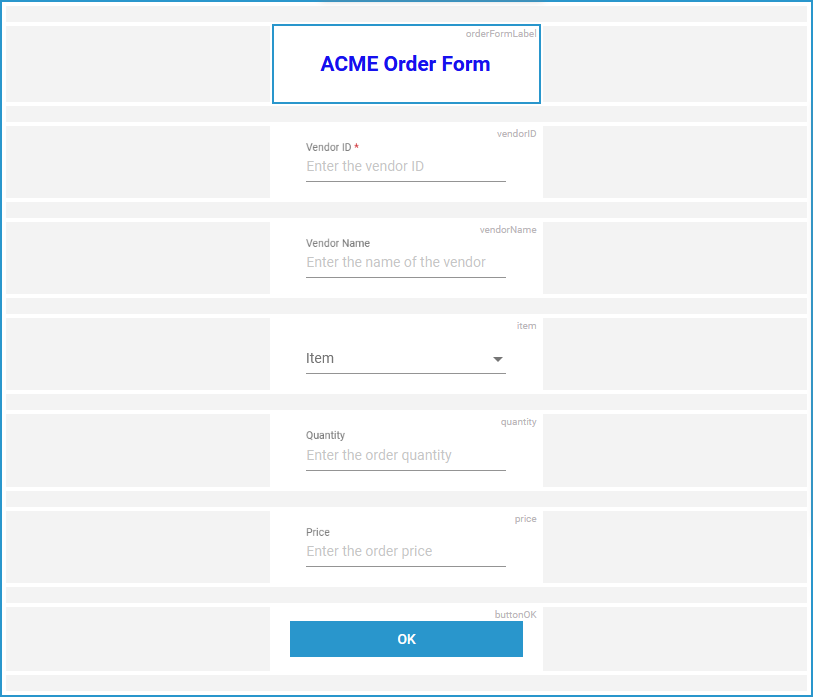
To test this, go back to the Designer and open Form_EnterWebOrder. Enter a new label element:

Configure the new element as follows:
Form Elements Name | Attributes Content |
|---|---|
orderFormLabel |
|
Test Service
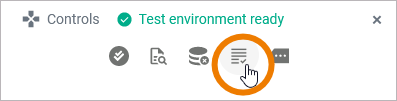
Check the controls panel.
If the test environment is ready, open the test service:
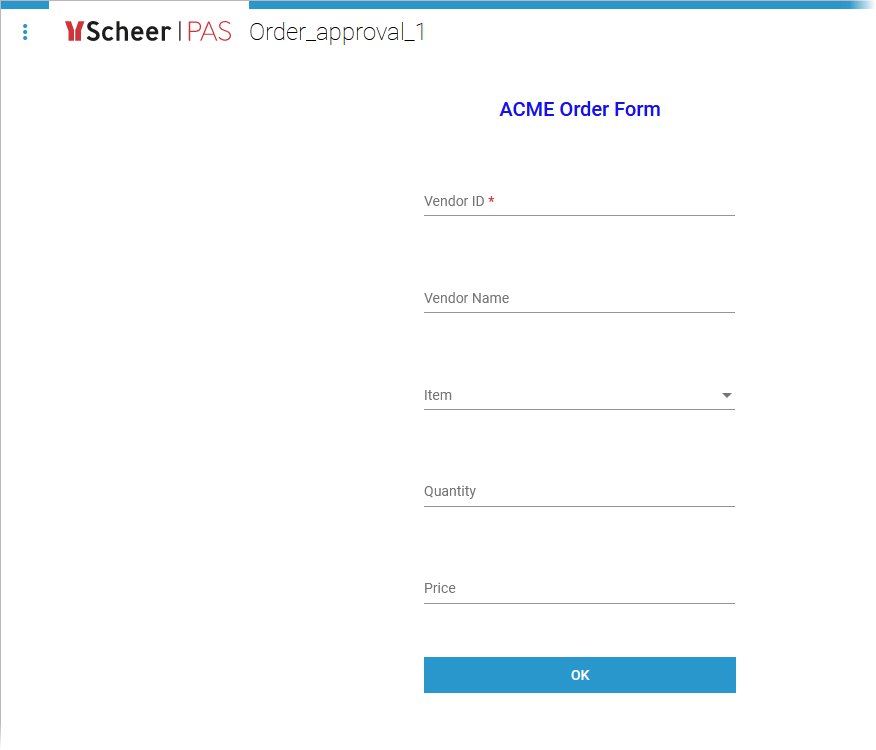
Create a new test instance:
Form_EnterWebOrder shows the last change: The new label element is displayed:
Deployed Service
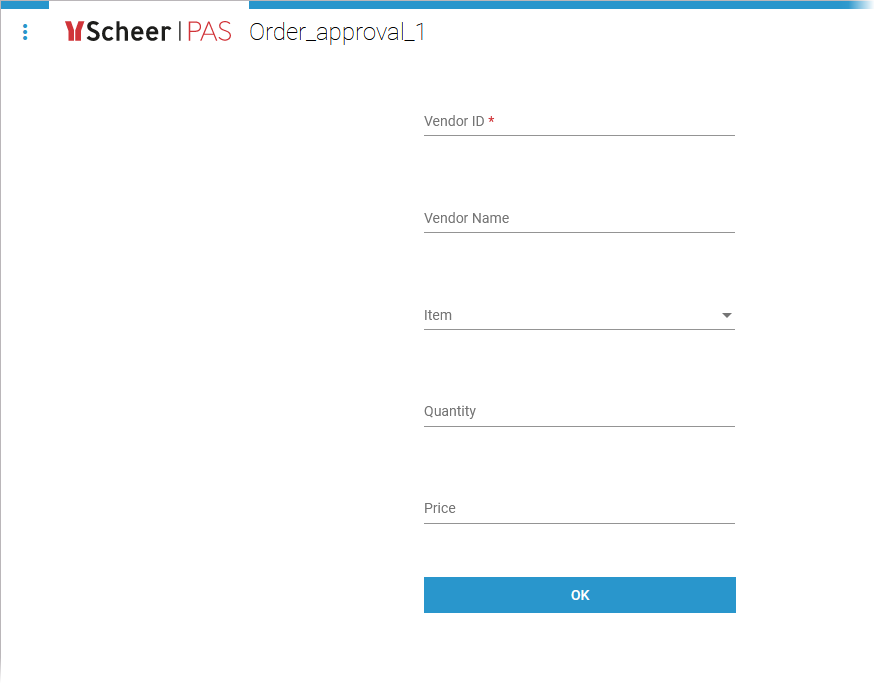
Open the deployed service:
Create a new test instance:

Form_EnterWebOrder does not show the last change as it was done after the deployment:

Congratulations - you have done it!
You have deployed, managed and tested your service.
Next Level
You want to discover more?
In Tutorial 5: Adding Roles to the Process you learn how to insert roles to your service to enable the approval.
Related Documentation: