Step 2: Creating a Plan
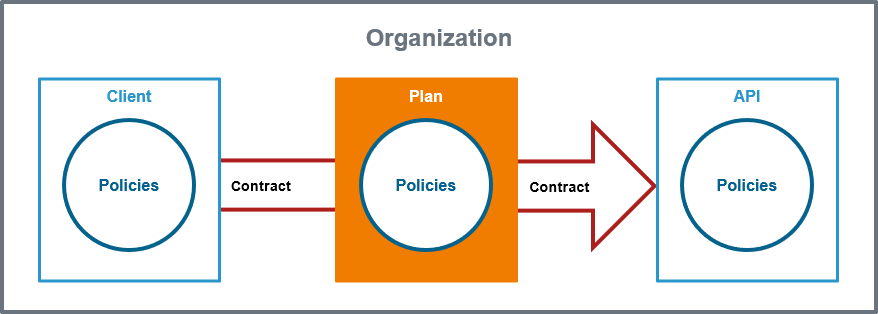
An organization can have multiple plans associated with it. Typically each plan within an organization consists of the same set of policies but with different configuration details.
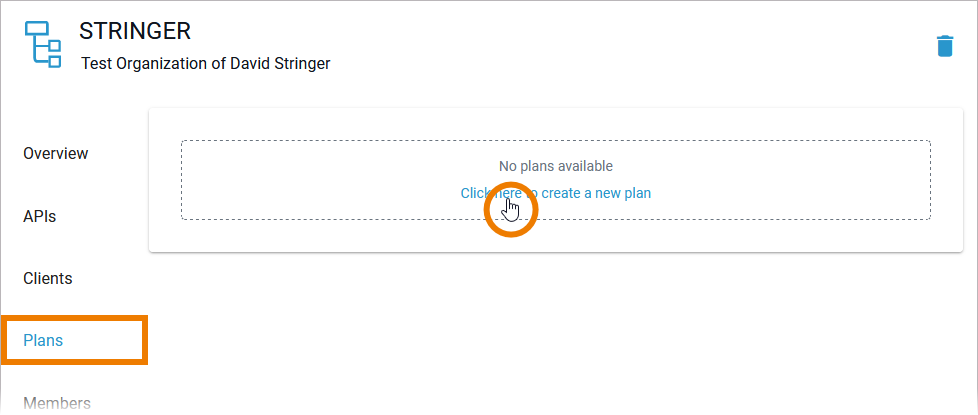
Open tab Plans on the organization's detail page and use the link Click here to create a new plan:
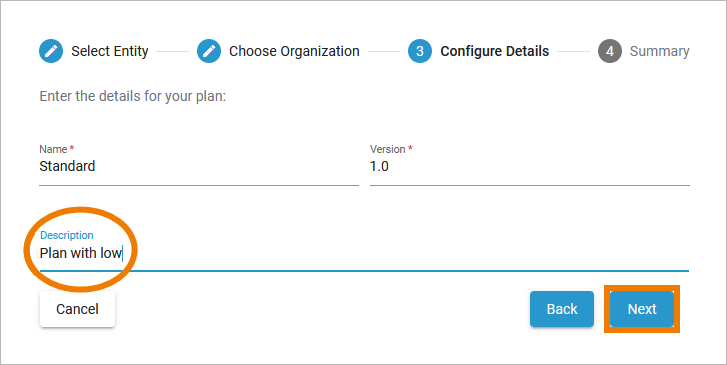
A wizard supports you during the creation process. First, enter a Name and an optional Description for your plan:
Plan Name: Standard
Initial Version: 1.0
Description: Plan with low rate limit
Click Next:
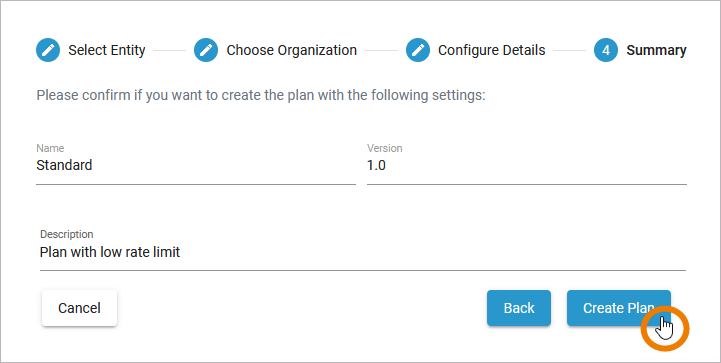
Click Create Plan to confirm your settings and create your first plan, click Back if you want to adapt your entries:
The plan has been created. The plan's detail page opens automatically:
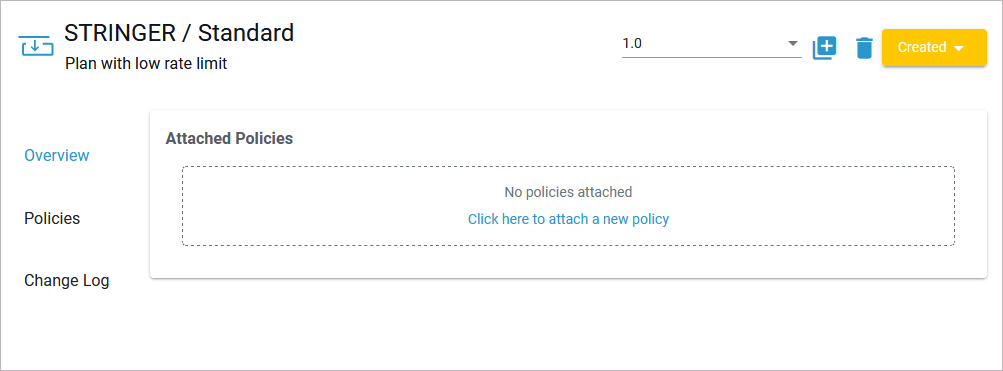
Refer to Plans in the API Management Guide to learn more about the details of a plan and its configuration options.
Adding a Policy to the Plan
To restrict access to the API, you need to add at least one policy to the plan.
In tab Overview > Attached Policies use the link Click here to attach a new policy to open the policy wizard:
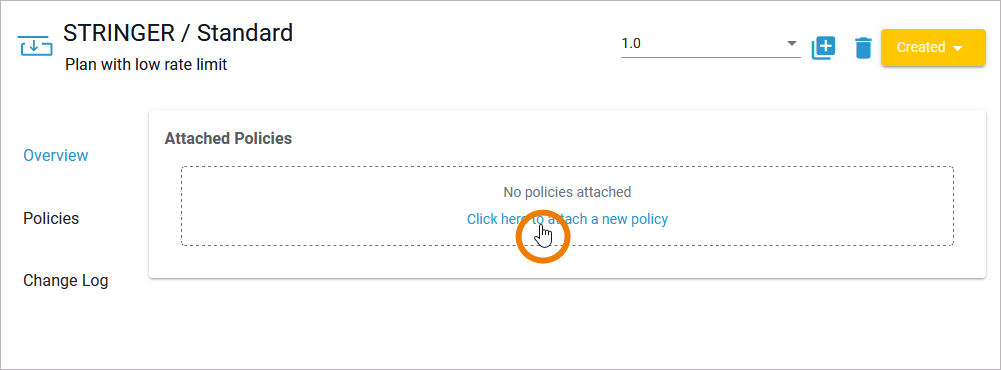
For an overview on all policies provided in API Management refer to Policies in the API Management Guide. Each policy and its configuration options are explained on dedicated pages.
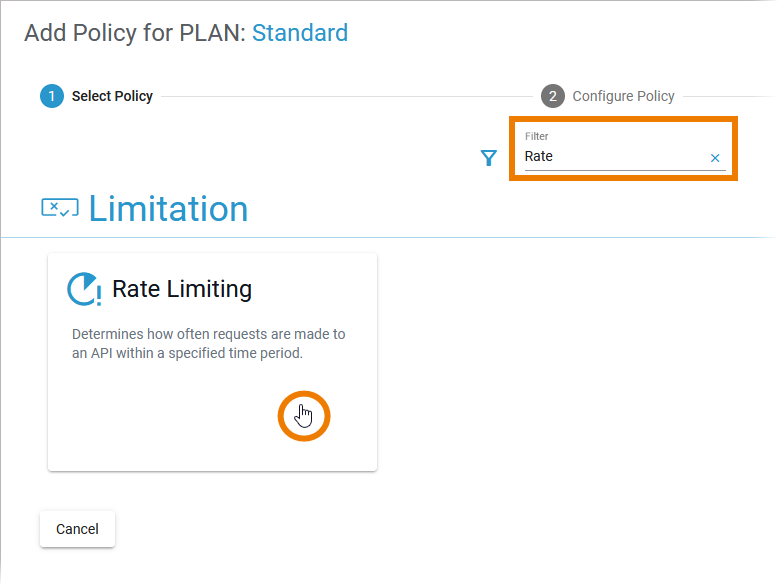
You are going to add a rate limiting policy to your setup. In the list of policies, search for the Rate Limiting policy and click its tile to select it:
As soon as one of the policies has been selected, the configuration of this policy is displayed. Using the Rate Limiting Policy, you can define the number of times requests can be made to the API within a specified period of time. For your Standard plan, you are going to limit requests to 10 requests per Client per Minute:
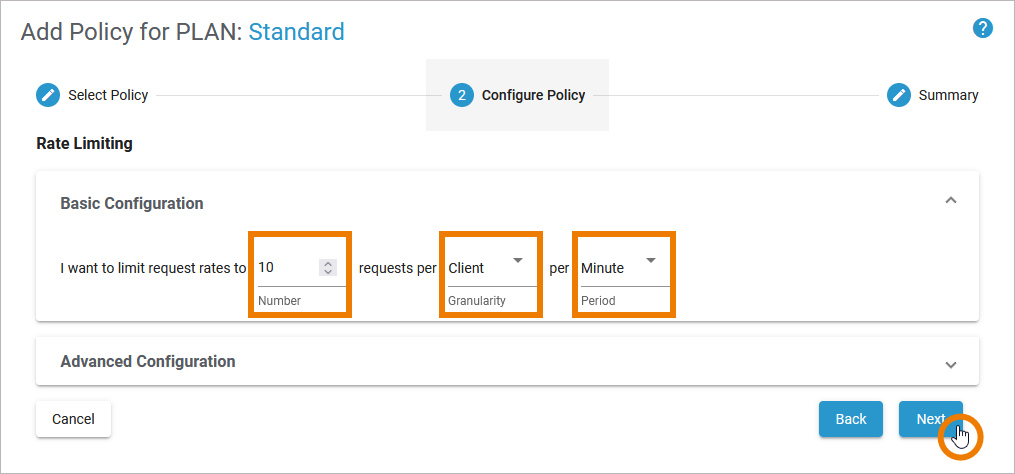
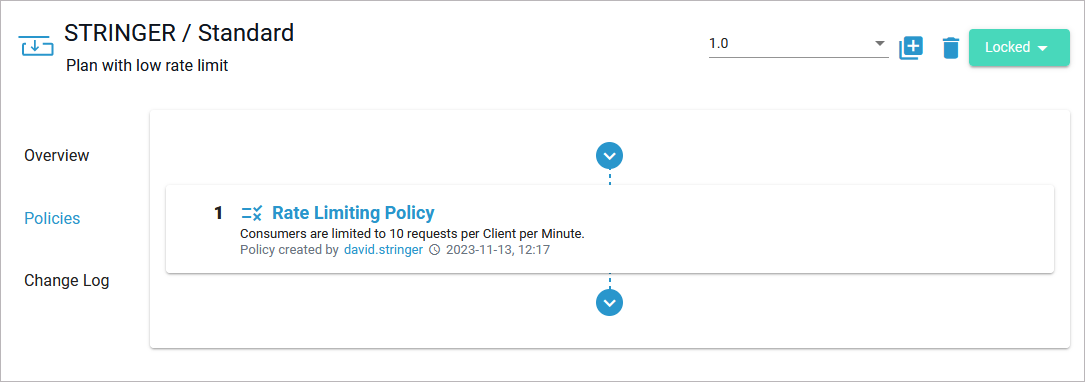
Click Next to display the summary and Save to finally attach the policy. The Rate Limiting Policy now is displayed on the plan's detail page > tab Policies:

Only locked plans can be used by APIs. This is necessary to prevent that API providers change the details of the plan while the client developers are already using it. To make you plan available, you have to lock it now. Open the status drop-down and click Lock:

The new status of the plan is displayed:
You cannot delete a locked plan. Locked plans are deleted only when the entire organization is deleted.
Create a Second Plan
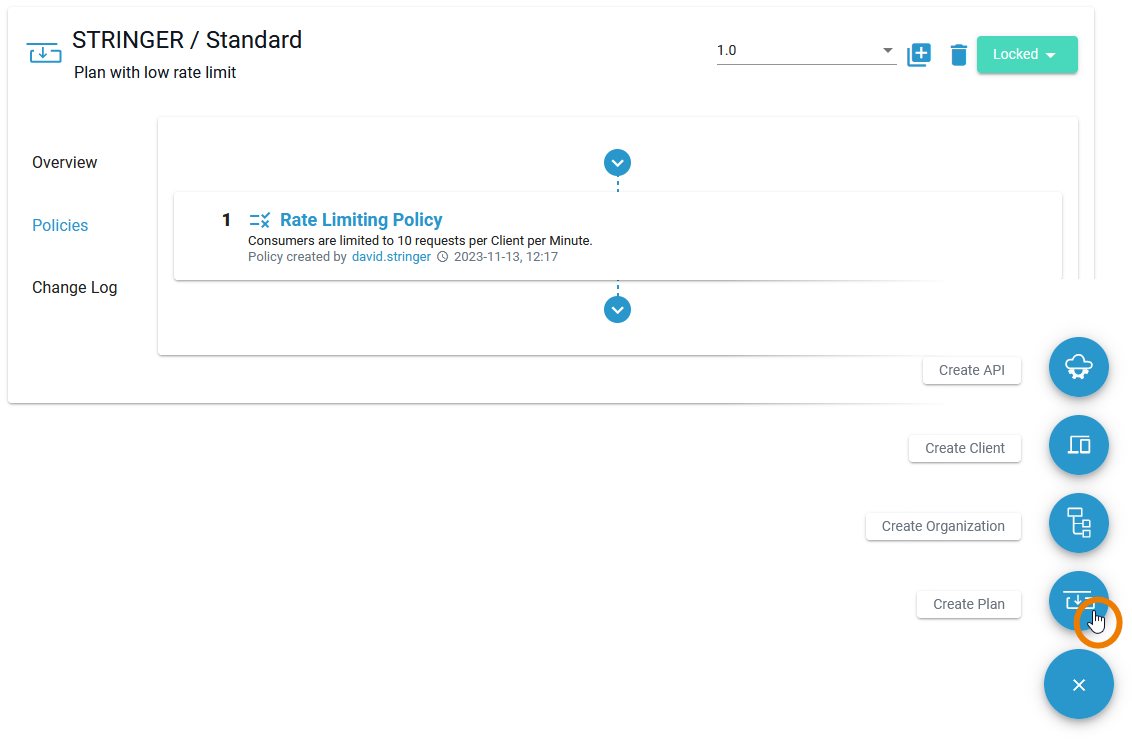
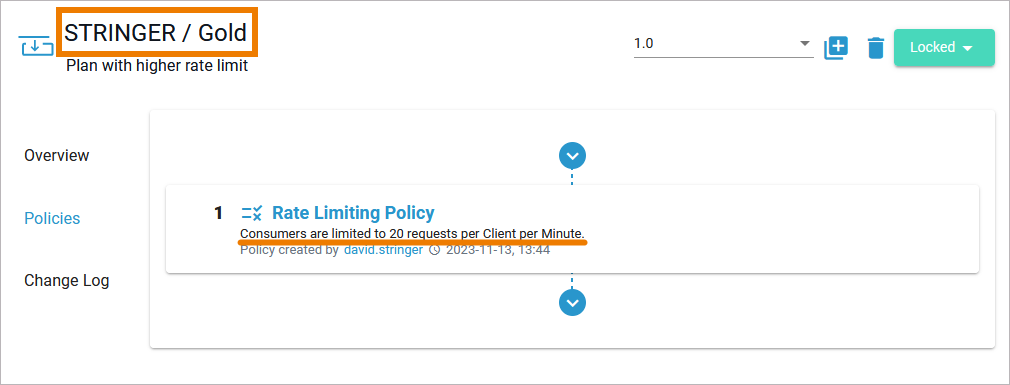
Wanting to provide different levels of access to the API, you can create a second plan named Gold in your organization:
Add a rate limiting of 20 requests per Client per Minute and lock your second plan:
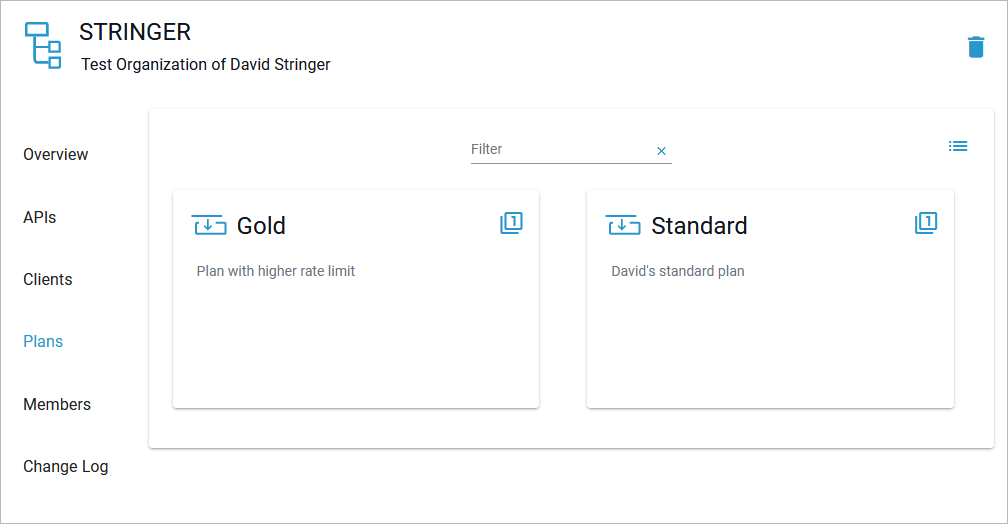
Open your organization STRINGER. Both plans are displayed within your organization now:
Related Documentation:
