Step 5: Creating Clients and Contracts
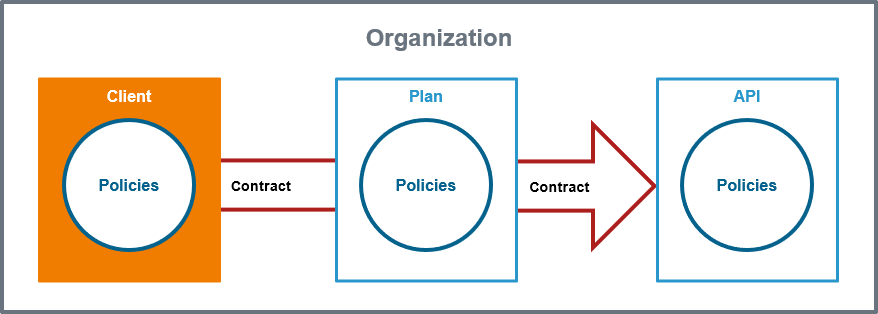
Private APIs are only accessible for known consumers, called clients. Every client version has an individual key to access the API.
Create Client "Spring Corp."
Follow Our Example User Story
David Stringer wants to enable the customer Spring Corp. to consume his PrivateEchoAPI with the higher rate limit. Therefore, he creates a client for the customer.
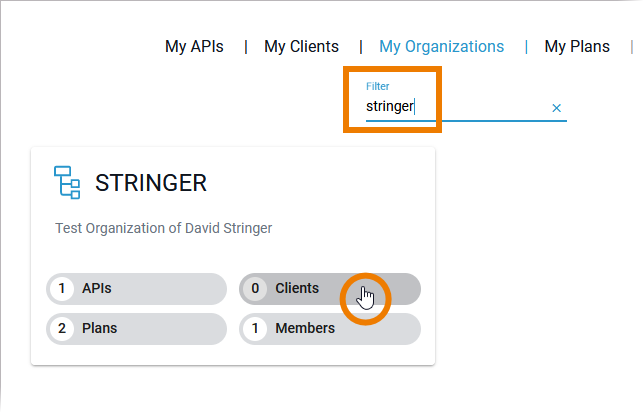
In API Management, search for your organization and click Clients:
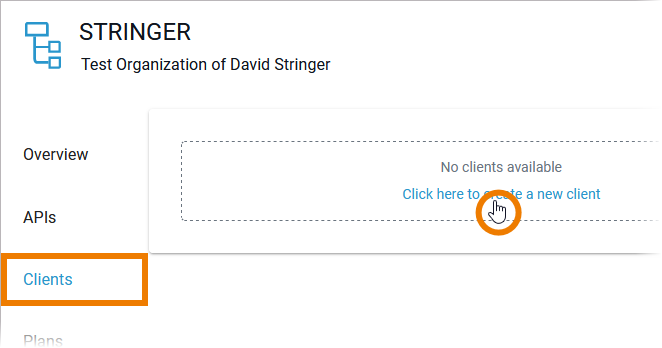
In tab Clients use the link Click here to create a new client:
API Management supports two ways to create clients. It can be done within API Management as well as in the API Developer Portal. Refer to Creating a Client in the API Management Guide for details.
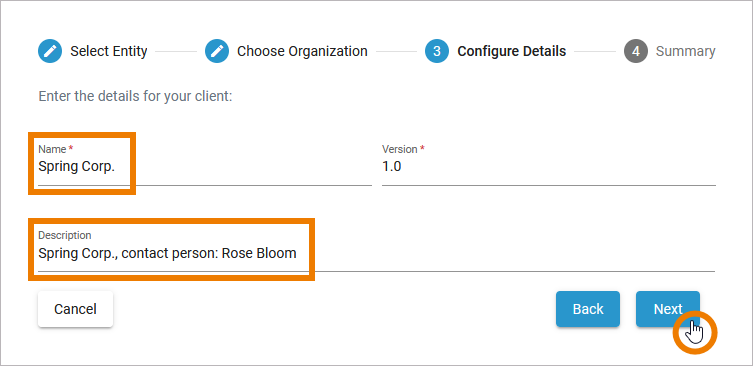
A wizard supports you during the creation process. First, enter a Name and an optional Description for the client:
Name: Spring Corp.
Description: Spring Corp., contact person: Rose Bloom
Click Next:
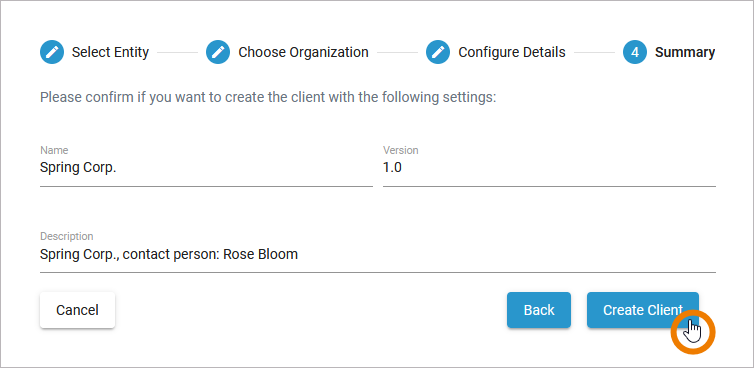
The Summary allows you to check your entries. Click Create Client to confirm your settings and create the new client, click Back if you want to adapt your entries:
The new client has been created. The client's detail page opens automatically:
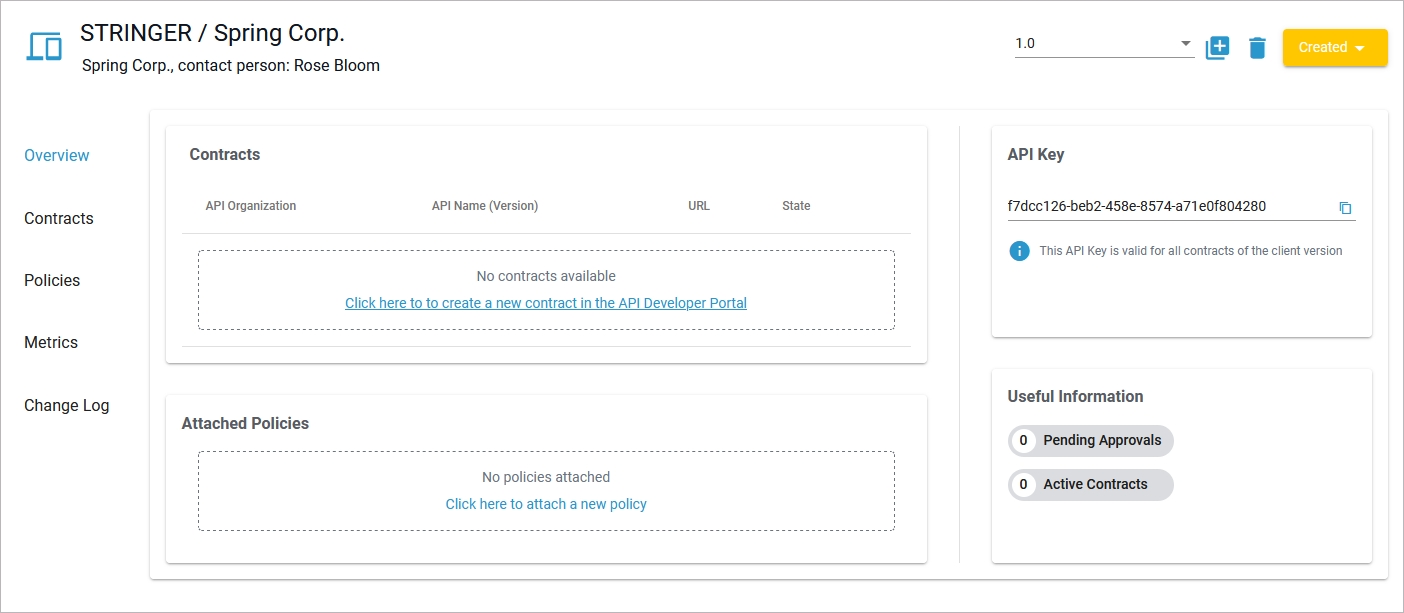
Refer to Clients in the API Management Guide to learn more about the details of a client and its configuration options.
Create a Contract for "Spring Corp."
The relation between client and API is defined via a contract and a plan.
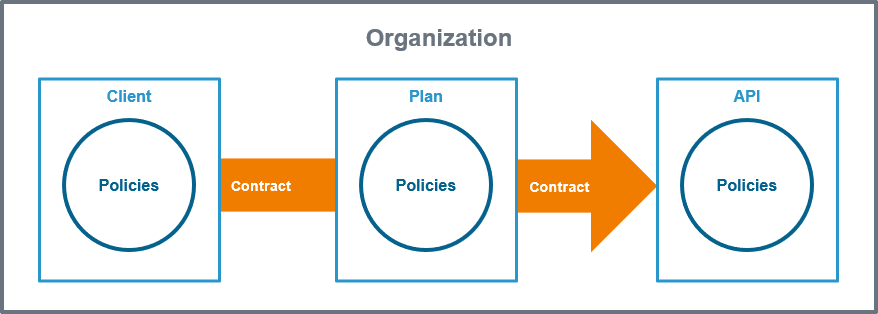
Follow Our Example User Story
David Stringer wants to enable the customer Spring Corp. to consume his PrivateEchoAPI with the higher rate limit. Therefore, he creates a contract between the PrivateEchoAPI and the client Spring Corp. for plan Gold.
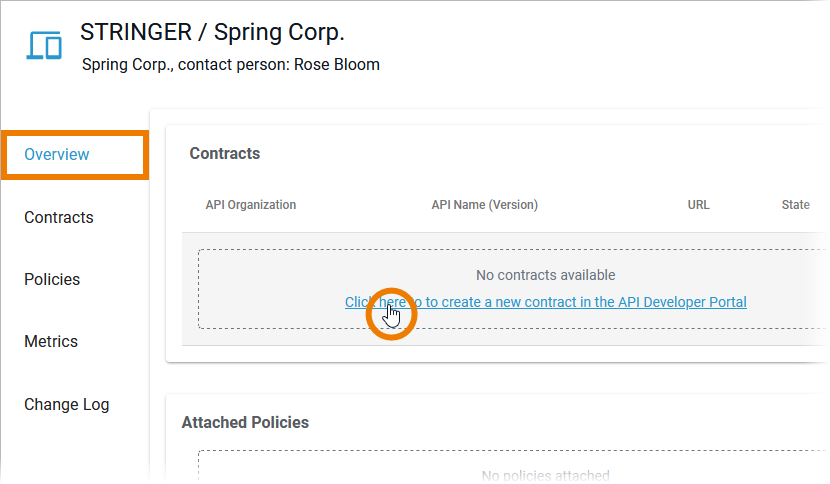
In tab Overview > Contracts use the link Click here to create a new contract in the API Developer Portal:
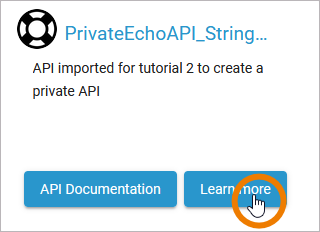
The API Developer Portal will open. Since you featured your API, it is displayed directly on the portal homepage. Click Learn more to open the API details:
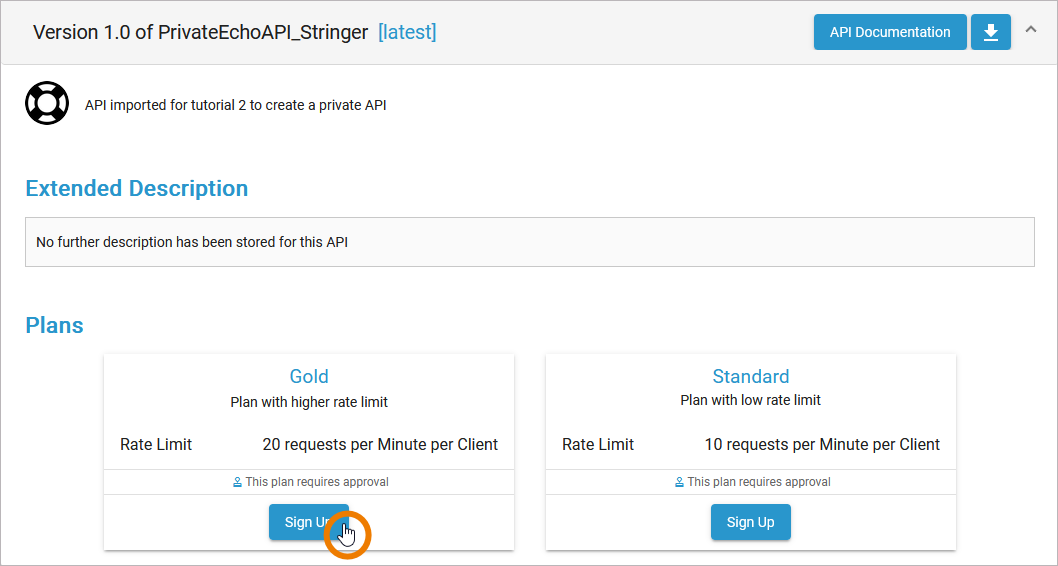
In the Plans section, you find all available plans for the API and information on whether approval is required for a plan. Click Sign Up on plan Gold:
Now follow the wizard through some simple steps:
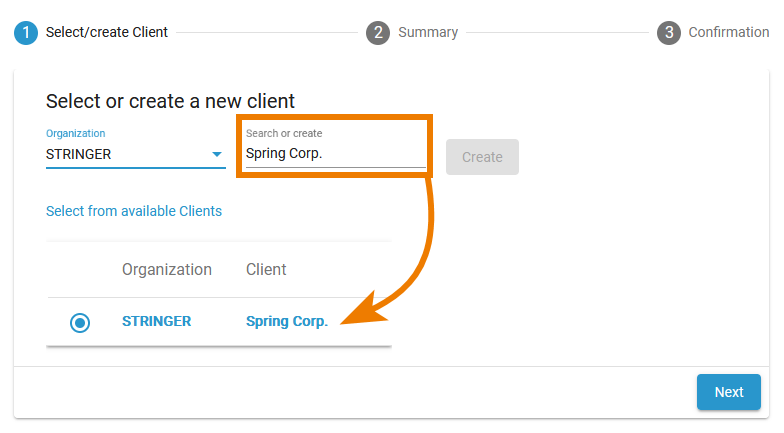
Select your organization.
Only the Spring Corp. client exists in your organization. This client is therefore already selected:
In step 2, the summary displays the API-related information. Click Confirm to send your request:
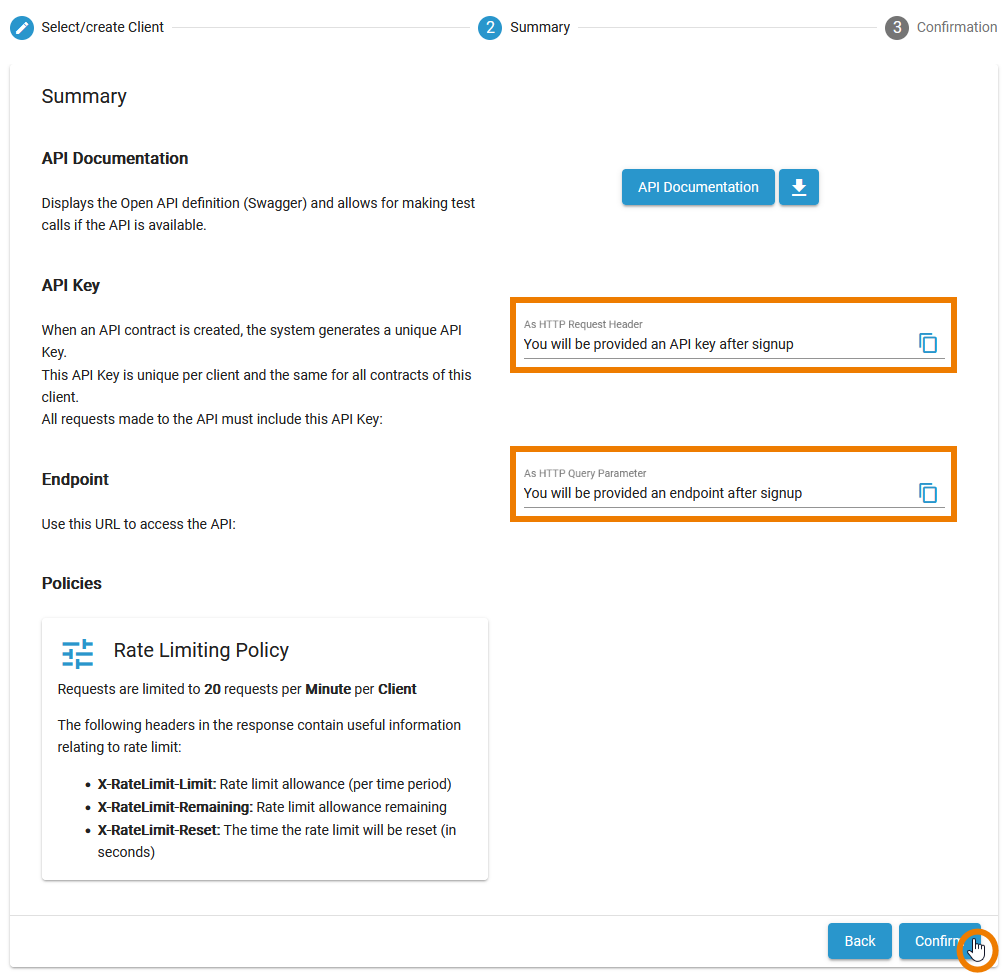
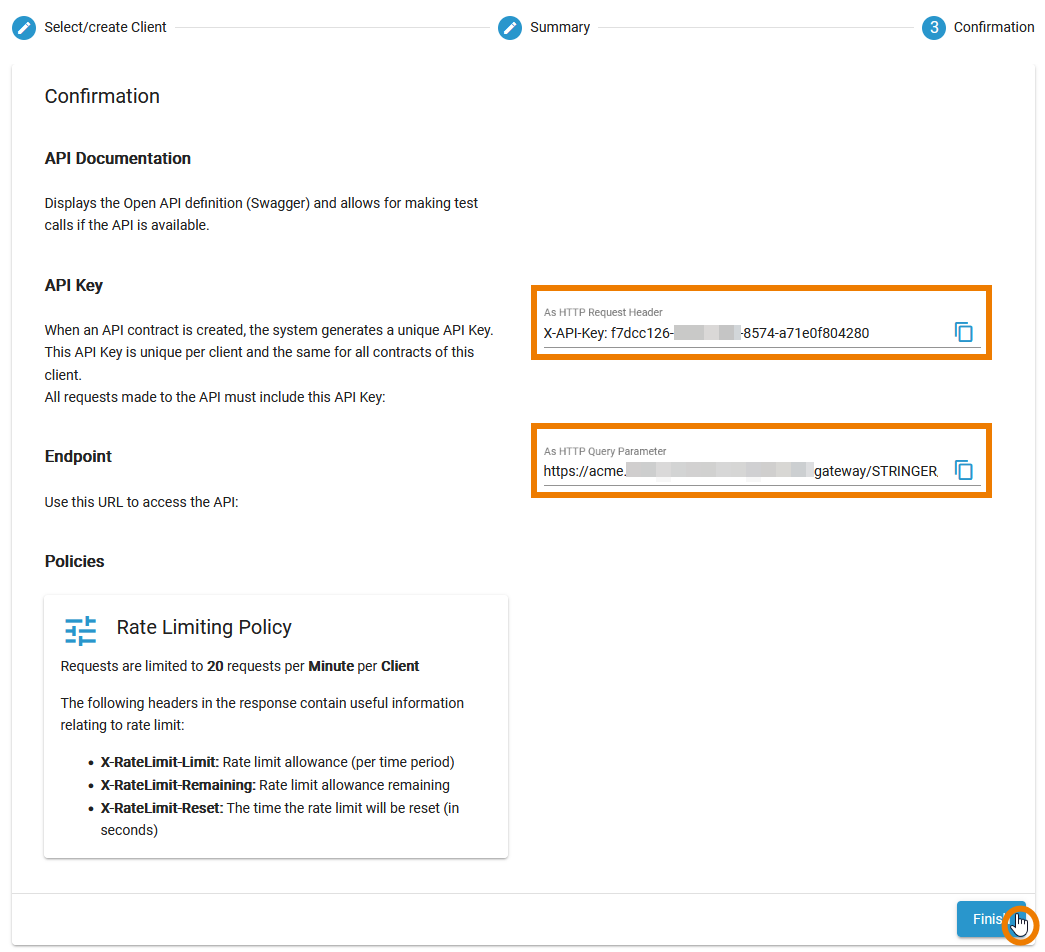
In the next step, API Key and Endpoint are provided.
The Gold plan is actually subject to approval. However, since your user has editing rights for the organization in which the plan is stored, you can create the contract without approval and your client is directly registered.
Refer to Tutorial 3: Understanding the Approval Process for details about the approval process.
Click Finish to close the wizard:
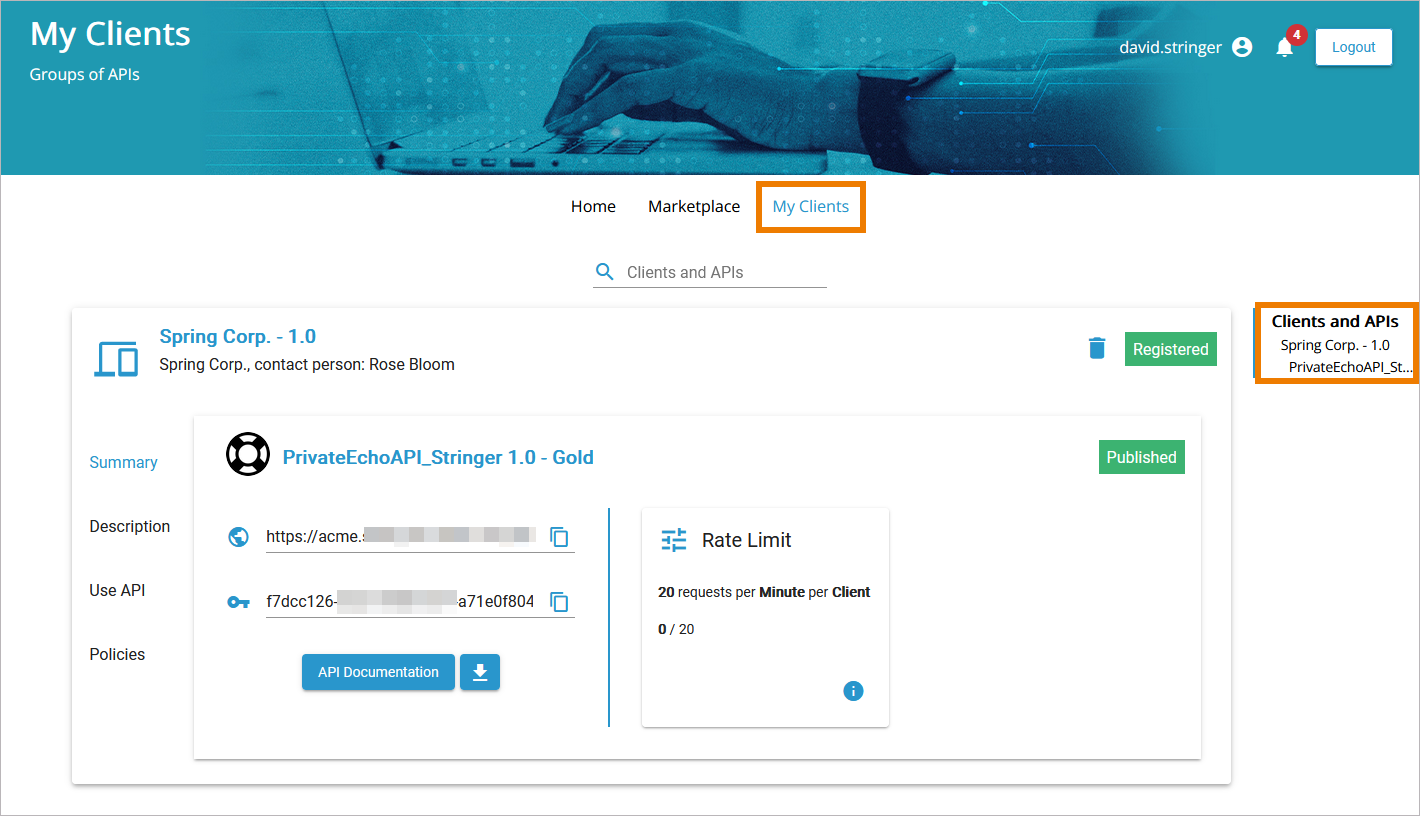
You are redirected to tab My Clients. This tab provides an overview on all your clients and contracts and a table of contents on the right side for easy navigation:
Open API Management again:
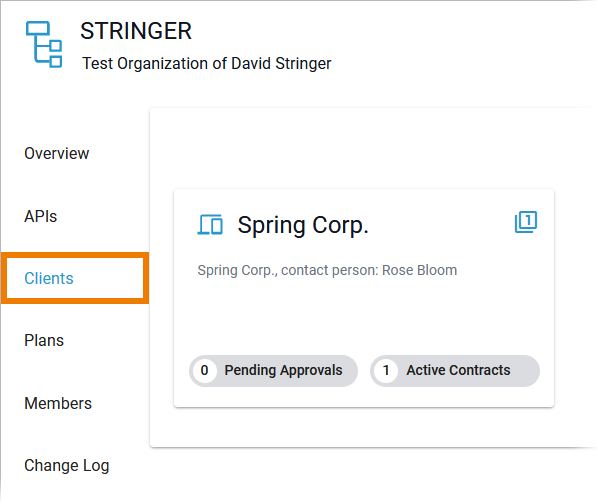
Your new client is also displayed in tab Clients of organization STRINGER.
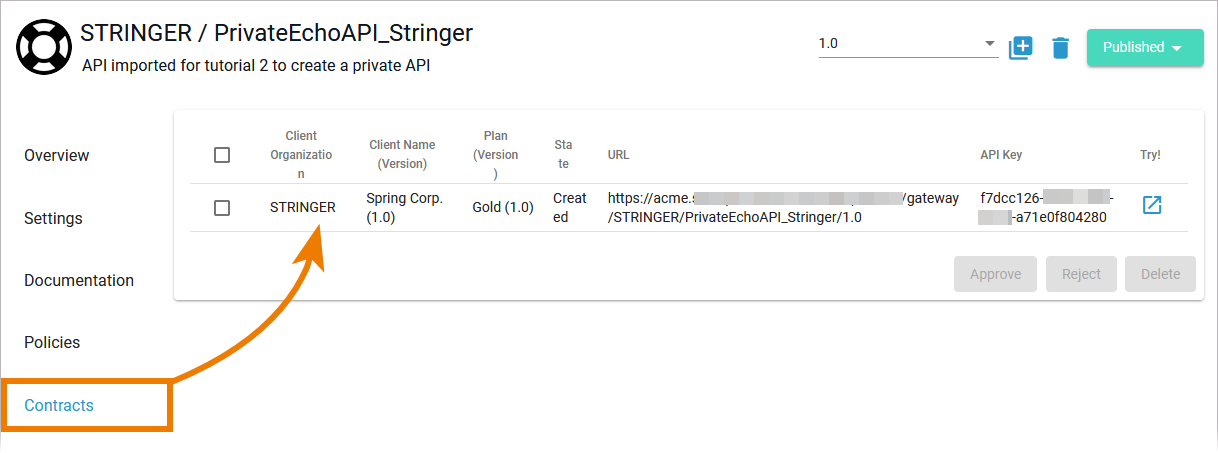
The new contract is shown in tab Contracts of the PrivateEchoAPI_Stringer...
... and in tab Contracts of the client Spring Corp:

Your API is ready for testing.
Related Documentation:
